
1. Important Compatibility Information
This remote control is specifically designed for use with Harbor Breeze Pawtucket ceiling fans, including models 40958, 40959, and 40047. It is not a universal remote. Please confirm your ceiling fan model before proceeding with installation or setup to ensure compatibility.
2. Package Contents
Verify that all items are present in your package:
- Pawtucket Ceiling Fan Remote Control
- Wall-mount bracket
- Mounting screws
- Instruction Manual (this document)
Note: One 12V A23 battery is required for operation and is not included.
3. Specifications
| Brand | Comfort Direct |
| Model Name | CDTX001-R1-4 |
| Connectivity Technology | Radio Frequency (RF) |
| Max Number of Supported Devices | 1 (Fan) |
| Controller Type | Button Control |
| Maximum Range | 30 feet |
| Battery Type | 1 x 12V A23 Alkaline (not included) |
| Item Dimensions (L x W x H) | 2.76" x 1.8" x 4.57" |
| Item Weight | 3 ounces |
4. Battery Installation
- Locate the battery compartment on the back of the remote control.
- Slide the battery cover open.
- Insert one 12V A23 battery, ensuring correct polarity (+ and - terminals match the markings inside the compartment).
- Close the battery cover securely.

Image: Rear view of the remote control with the battery compartment open, illustrating where to insert the 12V A23 battery.
5. Setup and Programming
Follow these steps to pair your remote control with your Pawtucket ceiling fan:
- Power Off Fan: Turn off the power to your ceiling fan at the wall switch or circuit breaker. Wait for at least 10 seconds.
- Power On Fan: Restore power to your ceiling fan.
- Press LEARN Key: Within 30 seconds of restoring power, locate the 'LEARN' key inside the remote control's battery compartment (next to the battery). Press and hold this key for approximately 3-5 seconds until the fan light blinks or the fan jogs, indicating successful pairing.
If the pairing is unsuccessful, repeat the steps. Ensure the remote is within range of the fan during the programming process.
6. Operating Instructions
The remote control provides intuitive control over your ceiling fan and light functions.
Fan Control
- High: Press the 'HIGH' button for maximum fan speed.
- Medium: Press the 'MEDIUM' button for moderate fan speed.
- Low: Press the 'LOW' button for minimum fan speed.
- OFF: Press the 'OFF' button to turn the fan off.
Light Control
The remote supports both dimming and non-dimming light fixtures. A slide switch inside the battery compartment allows you to select the appropriate mode:
- Incandescent (DIM) Mode: For dimmable incandescent bulbs. Press and hold the light button to dim or brighten the light. Press briefly to turn on/off.
- CFL Mode (ON/OFF Only): For non-dimmable CFL or LED bulbs. The light button will only function as an on/off switch.
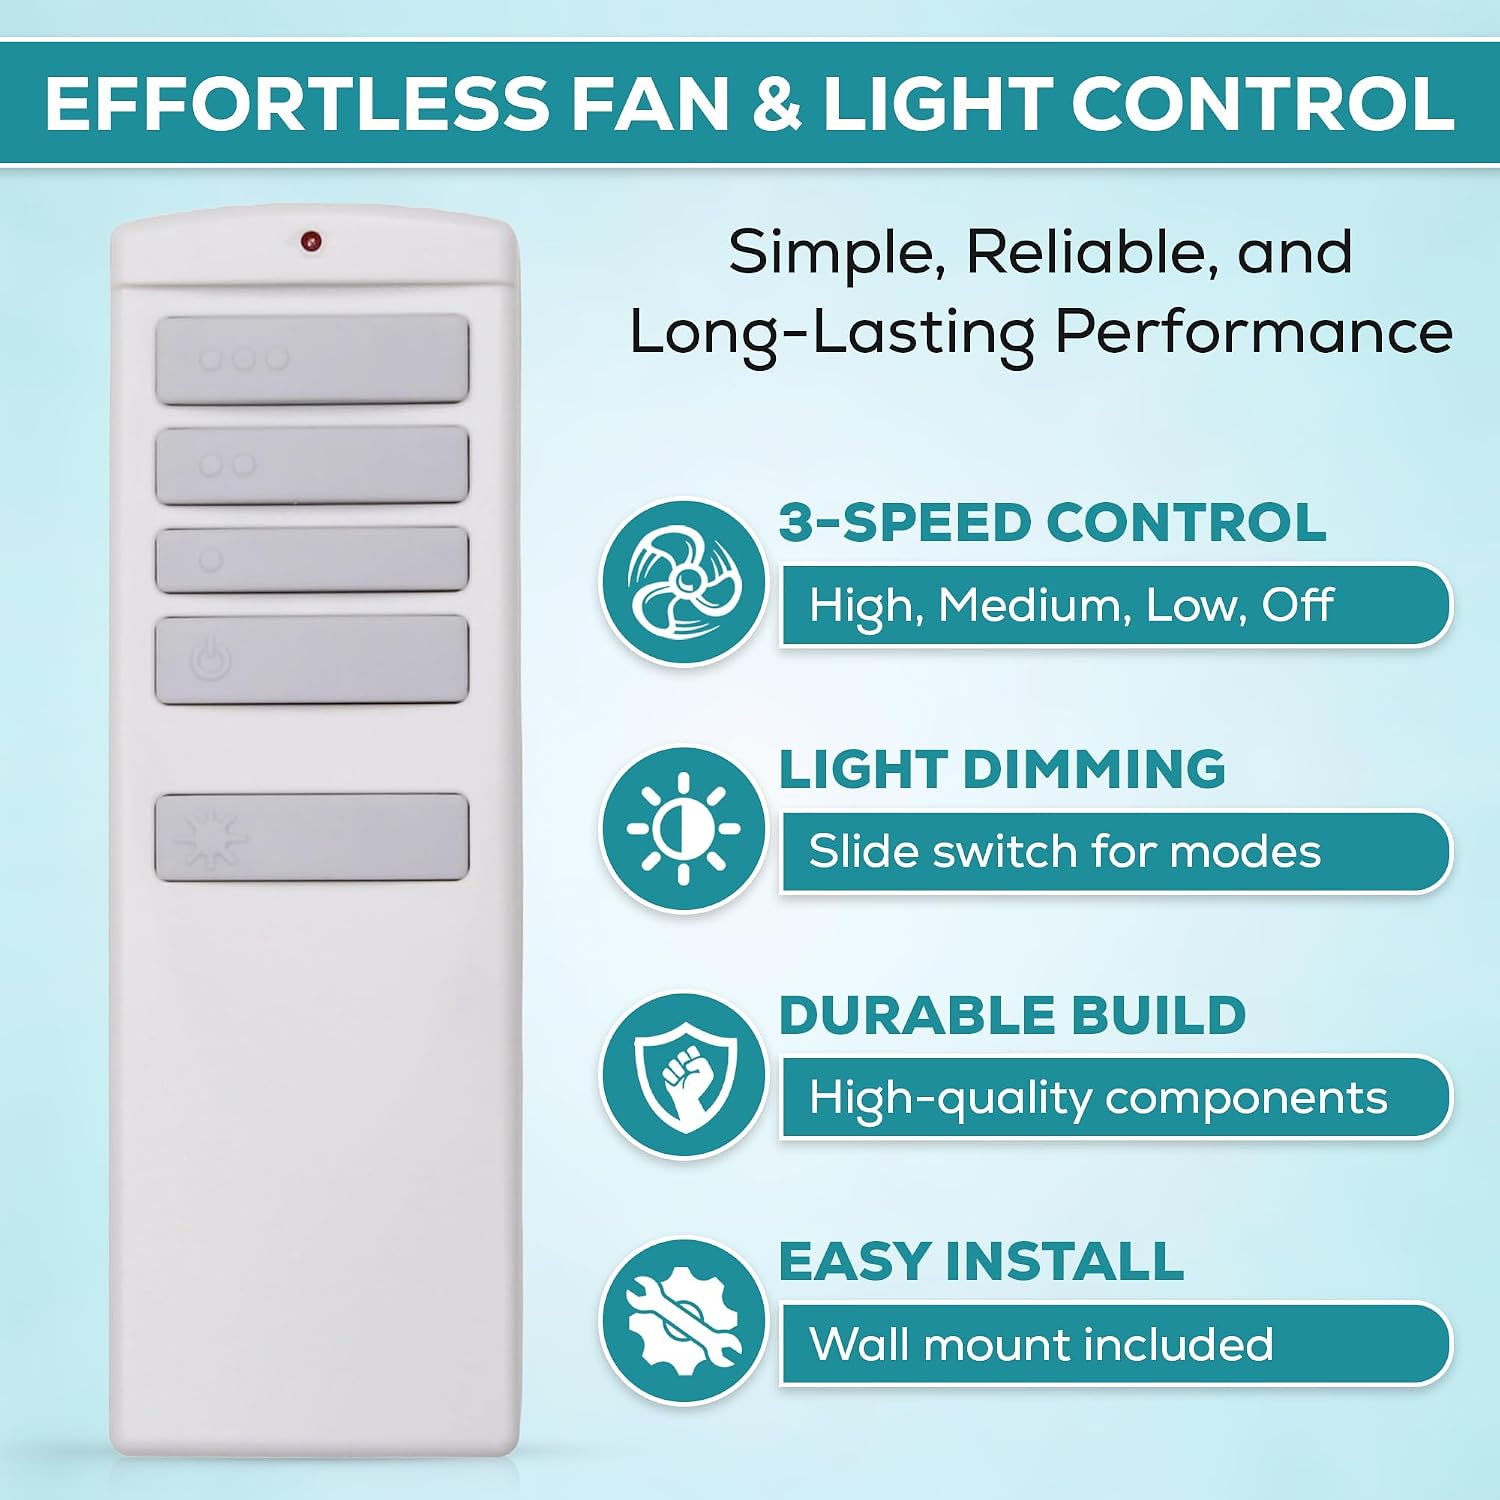
Image: Front view of the remote control highlighting the fan speed buttons (High, Medium, Low, Off) and the light control button.
7. Wall Mount Installation
To keep your remote control easily accessible, use the included wall-mount bracket:
- Choose a convenient location on a wall, away from direct sunlight or heat sources.
- Use the wall-mount bracket as a template to mark the positions for the two mounting screws.
- Drill pilot holes if necessary, then secure the bracket to the wall using the provided screws.
- Slide the remote control into the mounted bracket.

Image: The remote control securely placed in its wall-mount bracket, demonstrating convenient storage.
8. Troubleshooting
If you experience issues with your remote control, try the following:
- Remote Not Responding: Check the battery. Ensure it is a fresh 12V A23 battery and inserted with correct polarity.
- Fan Not Responding: Ensure the fan's power is on at the wall switch. Re-attempt the programming steps (Section 5).
- Light Not Dimming: Verify the slide switch inside the battery compartment is set to 'Incandescent (DIM)' mode for dimmable bulbs. If using CFL/LED bulbs, ensure they are dimmable and the switch is set correctly.
- Interference: Radio frequency interference can sometimes affect remote operation. Try moving closer to the fan or checking for other RF devices nearby.
9. Maintenance
To ensure optimal performance and longevity of your remote control:
- Keep the remote control dry and clean. Wipe with a soft, dry cloth.
- Avoid exposing the remote to extreme temperatures or direct sunlight.
- Replace the battery annually or when the remote's range decreases.
- Do not attempt to disassemble the remote control, as this may void the warranty.
10. Warranty and Support
This Comfort Direct Pawtucket Ceiling Fan Remote Control is backed by a 1-Year Limited Warranty from the manufacturer. This warranty covers manufacturing defects under normal use from the date of purchase.
For warranty claims or technical support, please contact Comfort Direct customer service. Keep your proof of purchase for warranty validation.