Introduction
This manual provides essential information for the proper installation, operation, and maintenance of the Solarhome Gen 5 Circuit Board. This circuit board is designed for compatibility with various Genie Vertical Mast Lifts and Scissor Lifts. Please read this manual thoroughly before attempting any installation or operation to ensure safety and optimal performance.
Safety Information
Warning: Always disconnect power to the equipment before installing, removing, or servicing the circuit board. Failure to do so can result in serious injury or damage to the equipment.
- Ensure all electrical connections are secure and correctly polarized.
- Avoid touching electronic components directly to prevent electrostatic discharge (ESD) damage. Use appropriate ESD protection.
- Refer to the original equipment manufacturer's (OEM) service manual for specific safety procedures related to your Genie lift model.
- Only qualified personnel should perform installation and maintenance.
Package Contents
The package for the Solarhome Gen 5 Circuit Board typically includes:
- 1x Gen 5 Circuit Board (Part Numbers: 285-22550, 109503GT, 109503)
Please inspect the contents upon receipt to ensure all items are present and undamaged.
Compatibility
This Gen 5 Circuit Board is compatible with the following Genie lift models:
- Genie Vertical Mast Lifts: GR-12, GR-15, GR-20
- Genie Scissor Lifts: GS-1530, GS-1532, GS-1930, GS-1932, GS-2032, GS-2046
Refer to your equipment's service manual to confirm the correct part number for your specific model.
Setup and Installation
Installation of the circuit board should only be performed by trained and qualified technicians. Always follow the specific installation procedures outlined in the Genie lift's service manual for your model.
- Power Disconnection: Ensure the lift's main power supply is completely disconnected and locked out according to safety protocols.
- Access Panel: Locate and open the control panel or housing where the existing circuit board is situated.
- Documentation: Before removal, carefully document all existing cable connections to the old circuit board. Take photographs if necessary.
- Removal: Gently disconnect all cables and mounting hardware from the old circuit board. Remove the old board.
- Installation: Carefully position the new Solarhome Gen 5 Circuit Board into place. Secure it with the appropriate mounting hardware.
- Connections: Reconnect all cables to the new circuit board, ensuring each connection matches your documentation from step 3. Verify correct polarity and secure fit.
- Inspection: Double-check all connections and ensure no tools or debris are left inside the control panel.
- Panel Closure: Close and secure the control panel or housing.
- Power Restoration: Restore power to the lift and perform functional tests as per the OEM service manual.

Image: Front view of the Solarhome Gen 5 Circuit Board, showing various connectors and four green indicator lights. This view is crucial for identifying connection points during installation.

Image: Rear view of the Solarhome Gen 5 Circuit Board, displaying the intricate layout of surface-mounted components and solder points. This side is typically mounted internally within the control panel.
Operating Instructions
The Solarhome Gen 5 Circuit Board functions as a replacement component within the control system of compatible Genie lifts. Its operation is integrated with the lift's existing control interface. No direct user interaction with the circuit board itself is required during normal operation.
- After successful installation, the lift should operate according to its original specifications.
- Refer to the Genie lift's operator manual for specific instructions on operating the lift.
- Monitor any diagnostic indicators or error codes displayed on the lift's control panel, which may be influenced by the circuit board's function.

Image: Top-down view of the Solarhome Gen 5 Circuit Board, featuring a two-digit digital display and four green indicator lights. These indicators provide diagnostic feedback during operation or troubleshooting.
Maintenance
The Gen 5 Circuit Board is designed for reliable operation and typically requires minimal maintenance. However, periodic inspection is recommended as part of the overall lift maintenance schedule.
- Visual Inspection: During routine lift maintenance, visually inspect the circuit board for any signs of damage, corrosion, loose connections, or overheating.
- Cleaning: If necessary, gently clean the board with a soft, dry brush or compressed air to remove dust and debris. Do not use liquid cleaners unless specifically approved for electronic components.
- Connection Check: Ensure all cable connections to the board remain secure and free from corrosion.
- Environmental Protection: Ensure the control panel housing remains sealed to protect the circuit board from moisture and contaminants.
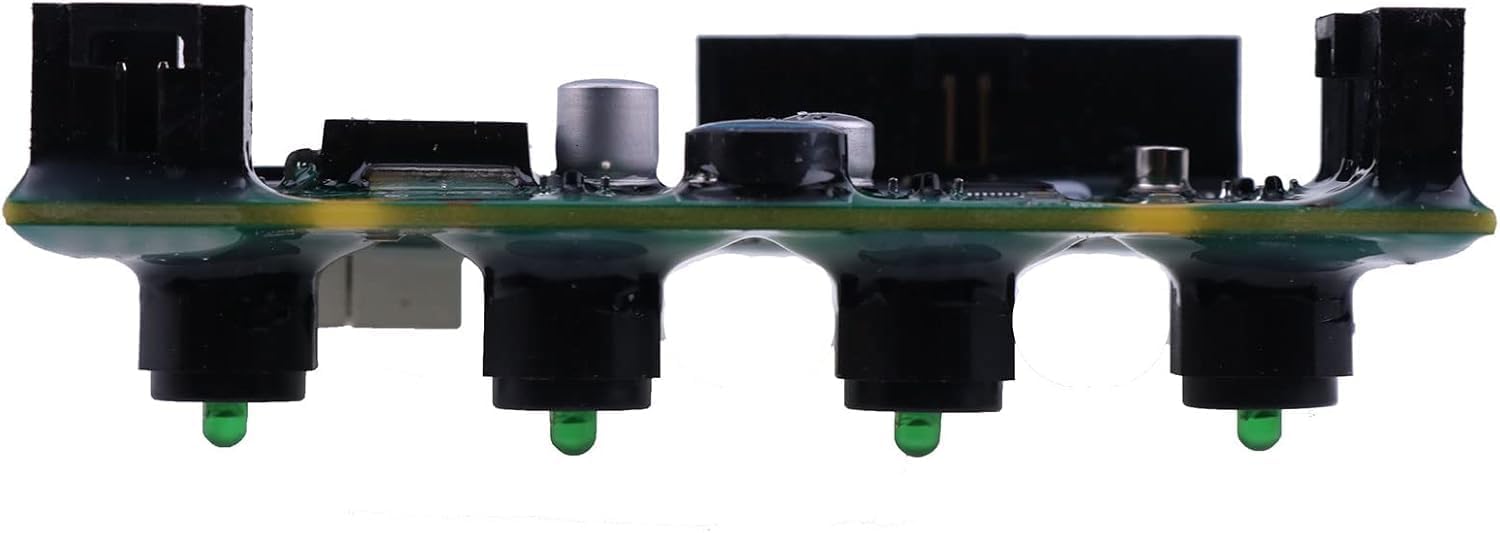
Image: Side view of the Solarhome Gen 5 Circuit Board, illustrating its compact profile and the arrangement of its components, including the green indicator lights.
Troubleshooting
If the Genie lift experiences operational issues after circuit board replacement, consider the following troubleshooting steps:
- Verify Connections: Re-check all cable connections to the circuit board for proper seating and polarity.
- Power Supply: Confirm that the lift is receiving adequate power and that all fuses or circuit breakers are intact.
- Diagnostic Codes: Consult the Genie lift's service manual for interpretation of any error codes displayed on the control panel. These codes can help pinpoint the source of the problem.
- Component Integrity: Visually inspect the circuit board for any burnt components, damaged traces, or signs of liquid ingress.
- Other Components: Rule out issues with other lift components (e.g., sensors, wiring harnesses, motors) that might be affecting the circuit board's function.
- Professional Assistance: If issues persist, contact a qualified service technician or Solarhome support for further assistance.
Specifications
| Feature | Detail |
|---|---|
| Product Name | Gen 5 Circuit Board |
| Product Numbers | 285-22550, 28522550, 109503, 109503GT, 251452A |
| Manufacturer | Solarhome |
| Package Dimensions | 3.94 x 2.36 x 1.57 inches |
| Item Weight | 1.76 ounces |
| Batteries Required | No |
| Included Components | 1X Gen 5 Circuit Board |
Warranty Information
Solarhome products are typically covered by a manufacturer's warranty against defects in materials and workmanship. The specific warranty period and terms may vary. Please retain your proof of purchase. For detailed warranty information, refer to the documentation provided with your purchase or contact Solarhome customer support.
Support
For technical assistance, troubleshooting, or warranty claims, please contact Solarhome customer support. You may also visit the official Solarhome store for additional product information and resources.
Solarhome Store: Visit the Solarhome Store on Amazon