
1. Product Overview
The HDView Body Camera is a compact and portable video recorder designed for various applications including law enforcement, outdoor sports, travel, and driving. It features 1080P HD video recording, a 180° rotatable lens, and enhanced infrared night vision for clear recording in diverse conditions. The camera supports loop recording and utilizes a Micro SD card for storage (not included).

Figure 1: HDView Body Camera highlighting key features.
2. Setup
2.1 Package Contents
- HDView Body Camera
- USB Charging/Data Cable
- Adapter
2.2 Identifying Parts
Familiarize yourself with the camera's buttons and ports. Refer to the video below for a visual guide.
Video 1: HDView Body Camera overview, showing button identification, lens rotation, and Micro SD card insertion. (Relevant sections: 0:00-0:06 for button identification, 0:22-0:26 for Micro SD card insertion).
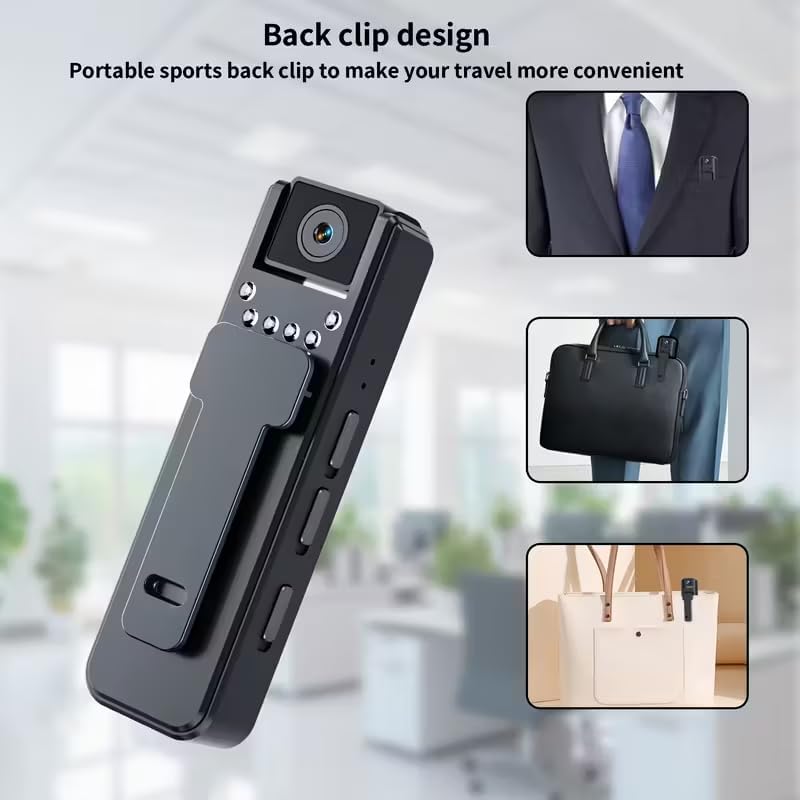
Figure 2: The camera features a back clip for easy attachment to clothing or bags.
2.3 Inserting a Micro SD Card
The camera requires a Micro SD card (up to 128GB, not included) for recording. Ensure the camera is powered off before inserting or removing the card.
- Locate the TF card slot on the side of the camera (refer to Video 1, 0:00-0:06).
- Gently insert the Micro SD card into the slot until it clicks into place (refer to Video 1, 0:22-0:26).
- To remove, push the card in slightly until it springs out.
2.4 Charging the Camera
Before first use, fully charge the camera. Connect the camera to a power source using the provided USB cable and adapter. The charging indicator light will show the charging status.
3. Operating Instructions
3.1 Powering On/Off
- To power on: Slide the 'ON/OFF' switch to the 'ON' position. The indicator light will illuminate.
- To power off: Slide the 'ON/OFF' switch to the 'OFF' position. The indicator light will turn off.
3.2 Recording Video
- Ensure the camera is powered on and a Micro SD card is inserted.
- Press the 'Record/Save' button to start video recording. The indicator light will change to indicate recording is in progress.
- Press the 'Record/Save' button again to stop recording. The video file will be saved to the Micro SD card. (Refer to Video 1, 0:14-0:22 for saving a recording).
3.3 Activating Night Vision
The camera is equipped with 6 enhanced infrared night vision lights for low-light environments.
- To activate night vision: Locate the 'Night Vision On/Key' button (refer to Video 1, 0:00-0:06) and press it.
- To deactivate night vision: Press the 'Night Vision On/Key' button again.
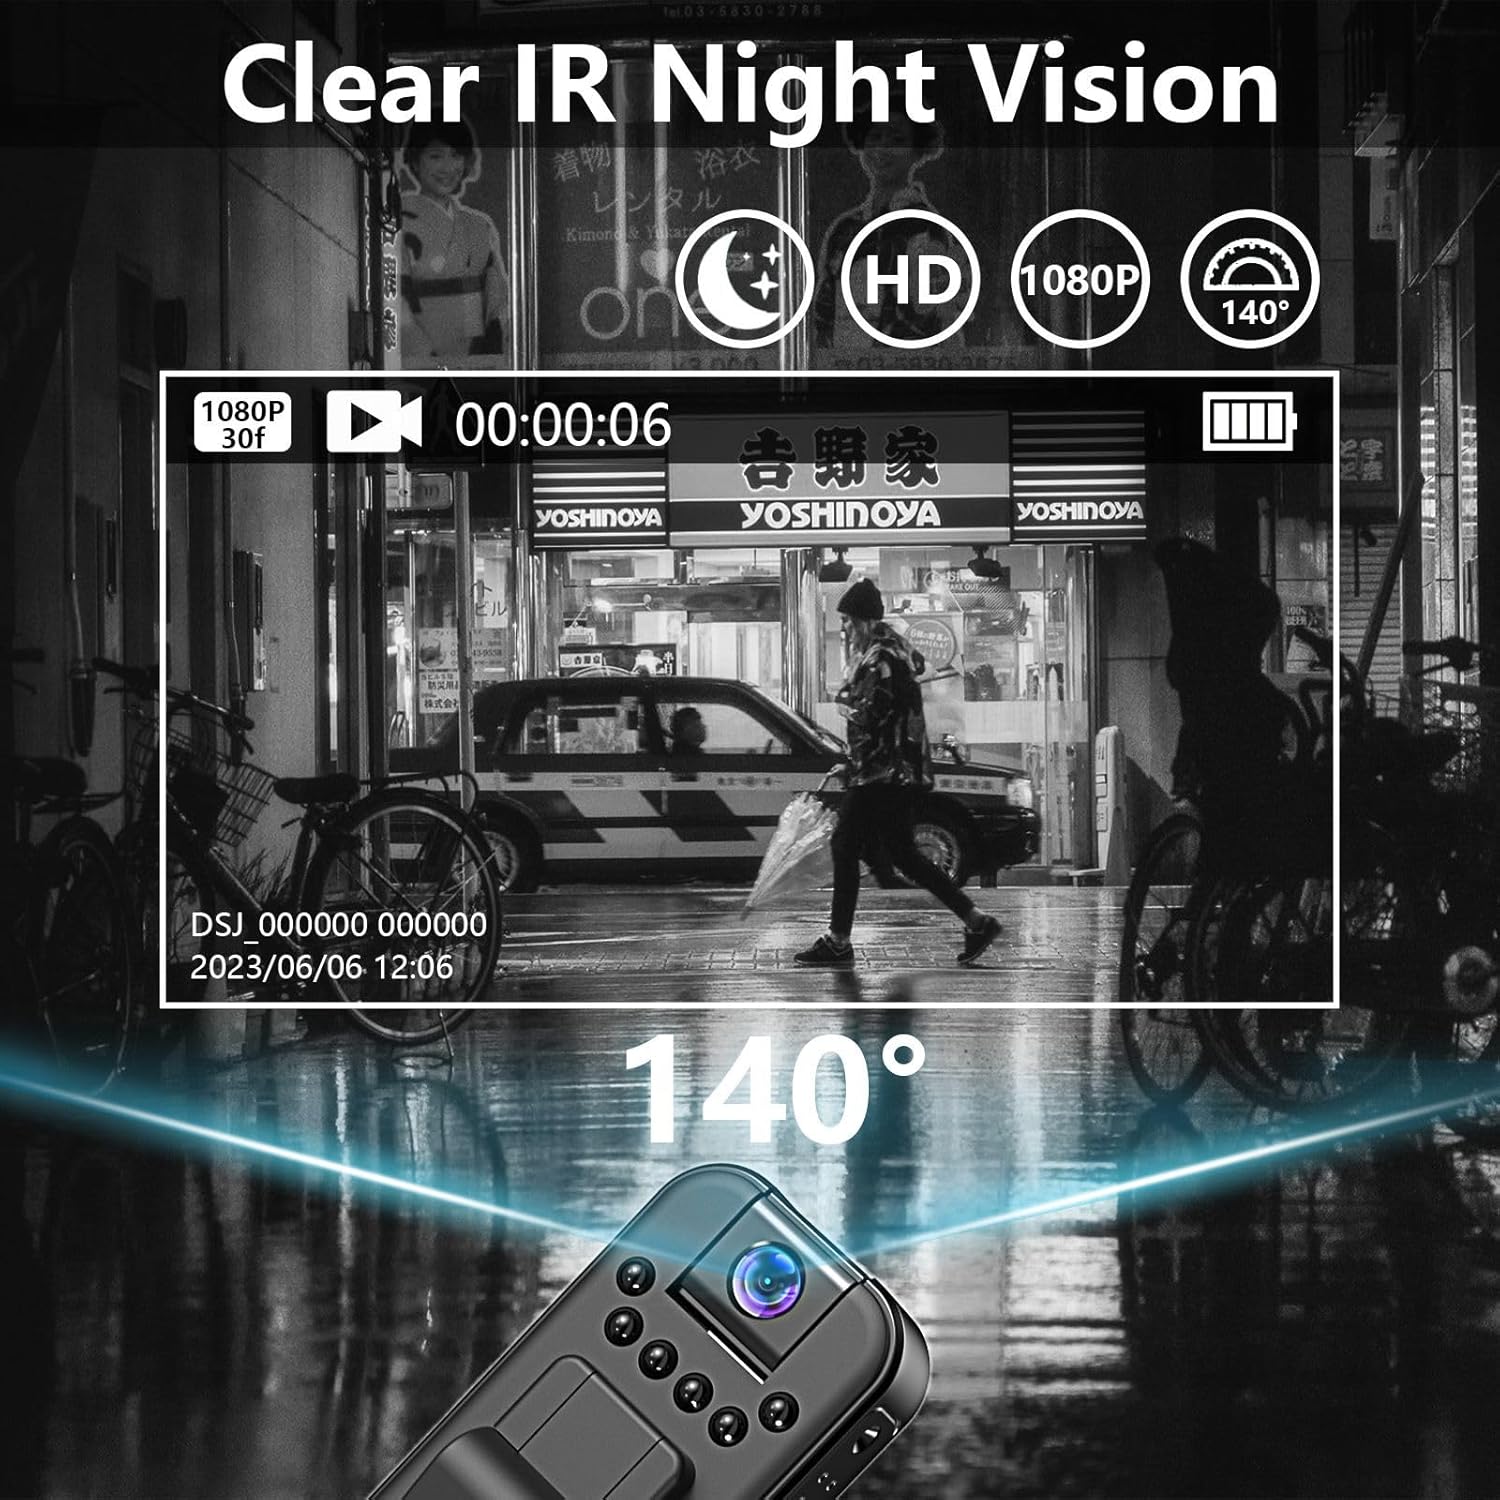
Figure 3: Example of night vision recording quality.
3.4 Rotating the Lens
The camera features a 180° rotatable lens to capture different angles.
- Gently rotate the lens assembly to your desired angle (0°, 90°, or 180°). (Refer to Video 1, 0:07-0:14 for lens rotation demonstration).

Figure 4: The 180° rotatable lens allows for flexible recording angles.
3.5 Loop Recording
The camera supports intelligent loop recording. When the Micro SD card storage is full, the camera will automatically overwrite the oldest recorded files to continue recording.
3.6 Connecting to a Computer
To access recorded files or charge the camera, connect it to a computer.
- Connect the camera to your computer using the provided USB cable.
- The camera will appear as a removable disk drive. You can then access the video and audio files. (Refer to Video 1, 0:41-0:48 for connecting to a computer).
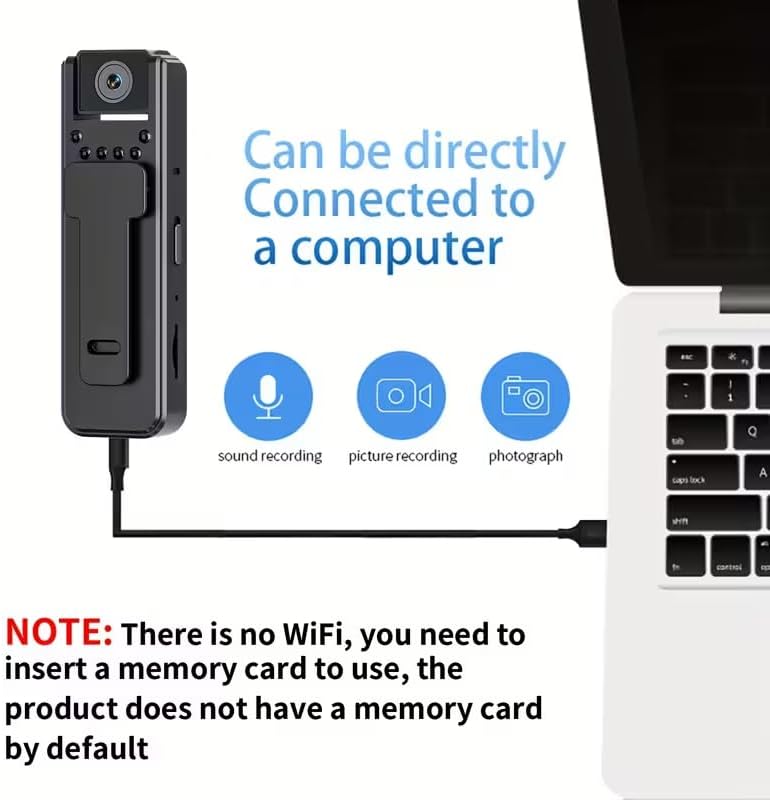
Figure 5: Connecting the camera to a computer for data transfer.
4. Maintenance
4.1 Cleaning
- Use a soft, dry cloth to clean the camera body.
- For the lens, use a specialized lens cleaning cloth and solution to avoid scratches.
- Do not use harsh chemicals or abrasive materials.
4.2 Storage
- Store the camera in a cool, dry place away from direct sunlight and extreme temperatures.
- Avoid storing in dusty or humid environments.
4.3 Battery Care
- Charge the camera regularly, even if not in use, to maintain battery health.
- Avoid fully discharging the battery frequently.
5. Troubleshooting
- Camera not turning on: Ensure the battery is charged. Connect to a power source and try again.
- Cannot record: Verify that a Micro SD card is properly inserted and has sufficient free space. The camera does not have internal storage.
- Poor video quality: Ensure the lens is clean. Check lighting conditions; activate night vision if in a low-light environment.
- Computer not recognizing camera: Try a different USB port or cable. Ensure the camera is powered on when connected.
- Night vision not working: Ensure the night vision feature is activated.
- No Wi-Fi connectivity: This product does not support Wi-Fi. All data transfer is via USB connection.
6. Specifications
| Brand | HDView |
| Model Number | Body-Camera |
| Video Capture Resolution | 1080p |
| Photo Sensor Technology | CCD |
| Flash Memory Type | Micro SD (up to 128GB, not included) |
| Video Capture Format | AVI |
| Connectivity Technology | USB |
| Special Feature | Night Vision, 180° Rotatable Lens, Loop Recording |
| Water Resistance Level | Not Water Resistant |
| Included Components | Adapter |
7. Warranty
This product comes with a 1-year manufacturer's warranty. Please retain your proof of purchase for warranty claims.
8. Support
For further assistance or technical support, please refer to the contact information provided with your product packaging or visit the official HDView website.