1. Introduction
This manual provides essential information for the proper installation, operation, and maintenance of your new Premium Air Filter, designed for Zoomlion Excavator models 135, 150, 155, 205, 215, 230, and 330E-10. This heavy-duty replacement part is engineered to protect your excavator's engine by effectively filtering airborne contaminants, ensuring optimal performance and extending engine life. Please read this manual thoroughly before installation and use.
2. Safety Information
- Always ensure the excavator engine is turned off and has cooled down completely before attempting any installation or maintenance.
- Wear appropriate personal protective equipment (PPE), such as gloves and eye protection, during installation and handling.
- Refer to your excavator's official service manual for specific instructions regarding air filter housing access and safety procedures.
- Keep all tools and parts away from moving engine components.
- Dispose of old filters and packaging materials responsibly and in accordance with local regulations.
3. Package Contents
Verify that all items are present in the package:
- 1x Premium Air Filter
- Installation Instructions (this manual)
- Rubber Gasket (if applicable)
- Mounting Hardware (if applicable)
4. Setup & Installation
Follow these steps to properly install the air filter:
- Prepare the Excavator: Ensure the Zoomlion excavator is parked on a level surface, the engine is off, and has completely cooled down.
- Locate Air Filter Housing: Identify the air filter housing on your specific Zoomlion excavator model. Consult your excavator's service manual if needed.
- Access Housing: Carefully open the air filter housing. This typically involves releasing clips, latches, or unscrewing fasteners.
- Remove Old Filter: Gently pull out the old air filter. Observe its orientation to ensure the new filter is installed correctly.
- Clean Housing: Use a clean cloth to wipe away any dust, dirt, or debris from the inside of the air filter housing. Avoid introducing debris into the engine's air intake.
- Inspect Gasket/Hardware: Check the condition of the existing rubber gasket and any mounting hardware. Replace if they show signs of wear or damage.
- Install New Filter: Insert the new Premium Air Filter into the housing. Ensure it seats firmly and correctly, matching the orientation of the old filter. The pleated media should be positioned to maximize filtration.
- Secure Housing: Close and securely fasten the air filter housing. Ensure all clips, latches, or screws are properly engaged and tightened to prevent air leaks.
- Final Check: Double-check all connections and ensure the filter is securely in place before restarting the excavator.
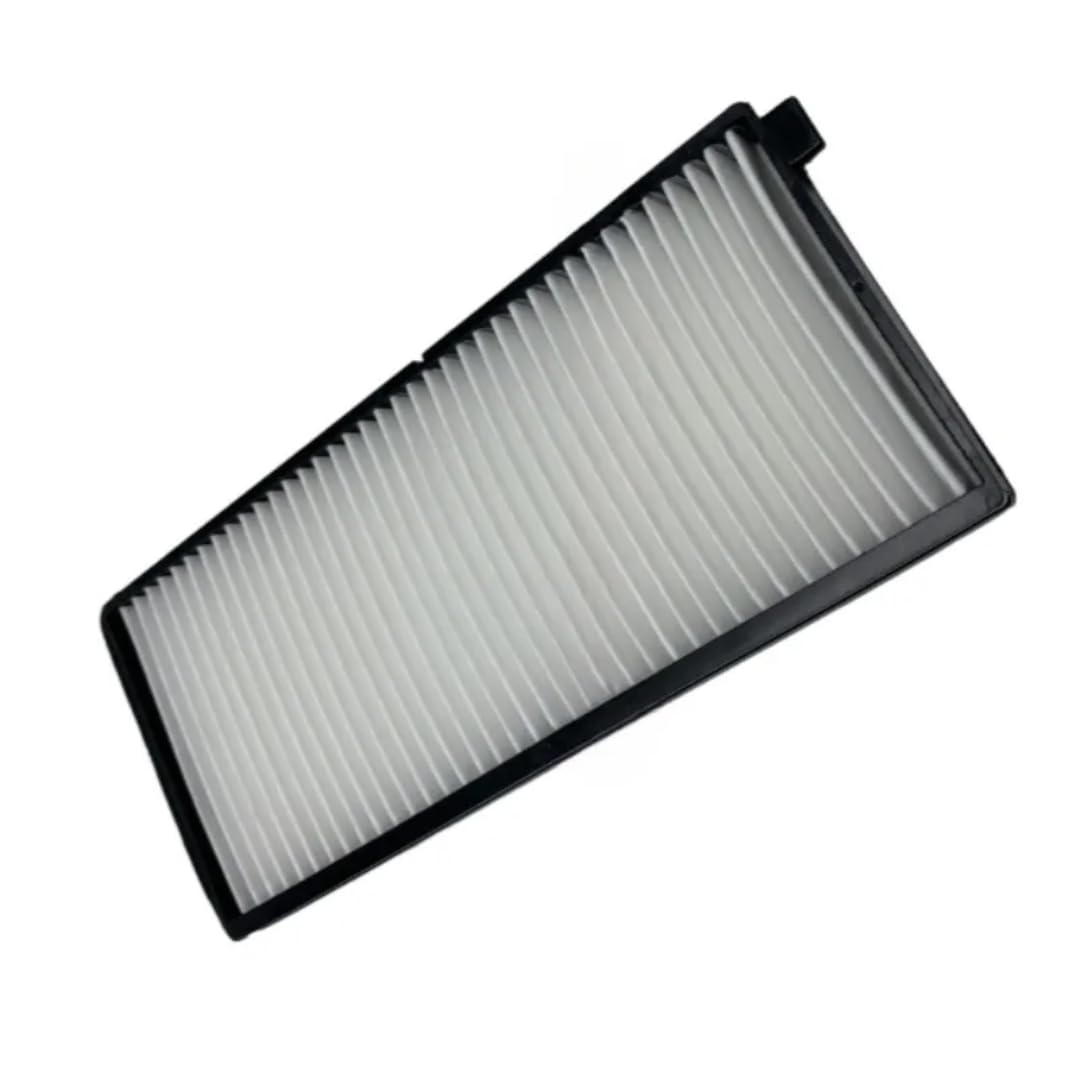
Image showing the premium air filter, featuring its black frame and white pleated filter media, ready for installation.
5. Operation
The air filter functions passively during engine operation. Its primary role is to clean the air entering the engine, preventing harmful dust, dirt, and debris from causing wear and damage to internal components. Once installed, the air filter continuously performs this function as long as the engine is running. No specific operational steps are required for the filter itself beyond proper installation and regular maintenance.
6. Maintenance
Regular maintenance of your air filter is crucial for maintaining engine efficiency and longevity.
- Inspection Frequency: Inspect the air filter every 250 operating hours or monthly, whichever comes first. In extremely dusty or harsh environments, more frequent inspections are recommended.
- Replacement: Replace the air filter when it appears visibly dirty, clogged, or shows signs of damage (e.g., tears in the media, damaged frame). A clogged filter restricts airflow, leading to reduced engine power, increased fuel consumption, and potential engine damage.
- Cleaning: Do not attempt to clean the air filter by washing it with water or using compressed air. This can damage the delicate filter media, reducing its effectiveness and potentially allowing contaminants to enter the engine. Always replace a dirty filter with a new one.
- Genuine Parts: Always use a high-quality replacement filter designed for your specific Zoomlion excavator model to ensure proper fit and filtration performance.
7. Troubleshooting
If you experience any of the following issues, your air filter may require inspection or replacement:
- Reduced Engine Power: A clogged air filter restricts the amount of air reaching the engine, leading to a noticeable decrease in power and acceleration.
- Increased Fuel Consumption: An engine struggling to draw air through a dirty filter will work harder, resulting in higher fuel consumption.
- Excessive Engine Smoke: In severe cases, a lack of clean air can lead to incomplete combustion, causing the engine to produce more black or dark smoke from the exhaust.
- Unusual Engine Noises: While less common, a severely compromised air filter or housing can sometimes lead to unusual sounds from the engine's intake system.
Solution: If any of these symptoms occur, immediately inspect the air filter. If it appears dirty, clogged, or damaged, replace it following the installation instructions in Section 4. If the problem persists after replacing the filter, consult a qualified technician.
8. Specifications
| Brand | Generic |
| Product Dimensions | 12.5"L x 8"W x 2"H |
| OEM Part Numbers | Zl135-af, Zl150-af, Zl155-af, Zl205-af, Zl215-af, Zl-af-330e10 |
| Shape | Rectangular |
| Automotive Fit Type | Vehicle Specific Fit |
| Model Compatibility | Zoomlion Excavator 135, 150, 155, 205, 215, 230, 330E-10 |
| Item Weight | 12 ounces |
| Product Grade | Premium Heavy-duty |
9. Warranty Information
This product is covered by a limited manufacturer's warranty. For specific terms, conditions, and duration of the warranty, please refer to the documentation provided with your purchase or contact the retailer from whom you purchased the product. Keep your proof of purchase for warranty claims.
10. Customer Support
For technical assistance, product inquiries, or to report any issues, please contact your retailer or the manufacturer directly. When contacting support, please have your product model number and purchase information readily available.


