
Introduction
This manual provides essential information for the safe and effective operation, maintenance, and troubleshooting of your TREND T8 Dual-Mode 3-1/4 HP Plunge Router. Please read all instructions carefully before use to ensure optimal performance and user safety.
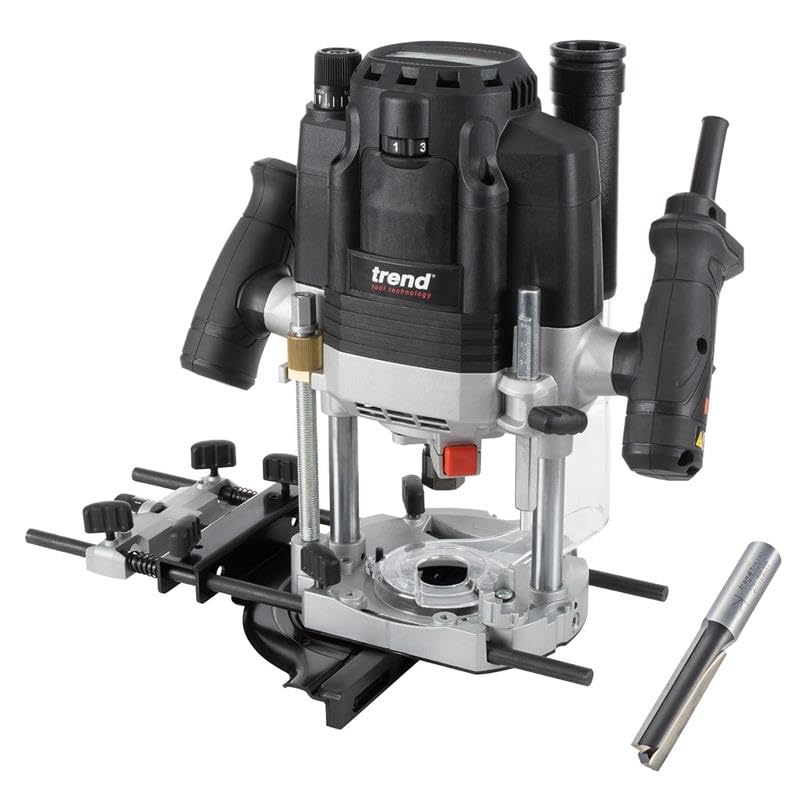
Figure 1: TREND T8 Dual-Mode 3-1/4 HP Plunge Router with included carrying case and accessories.
Safety Information
Always prioritize safety when operating power tools. Failure to follow safety instructions can result in serious injury or property damage.
- Read the Manual: Understand all instructions and warnings before operating the router.
- Wear Personal Protective Equipment (PPE): Always wear safety glasses, hearing protection, and a dust mask.
- Secure Workpiece: Ensure the workpiece is firmly clamped or secured to prevent movement during routing.
- Inspect Router and Bit: Before each use, check the router for damage and ensure the bit is sharp, clean, and securely installed.
- Maintain a Clean Work Area: Keep the work area free of clutter and well-lit.
- Disconnect Power: Always unplug the router before making adjustments, changing bits, or performing maintenance.
- Avoid Overreaching: Maintain proper footing and balance at all times.
- Use Correct Speed: Adjust the router speed according to the bit size and material being routed.
Components Overview
Familiarize yourself with the main components of your TREND T8 Plunge Router:

Figure 2: Annotated diagram showing the main features of the TREND T8 router, including the motor, handles, plunge mechanism, and base.
- Motor Housing: Contains the 3-1/4 HP 15 Amp motor.
- Plunge Mechanism: Allows for controlled vertical movement of the router bit.
- Handles: Ergonomically designed for comfortable grip and control.
- Variable Speed Dial: Adjusts RPM from 10,000 to 26,000.
- Depth Adjustment System: Includes a fine height adjuster for precise depth setting.
- Collet: Secures the router bit. The T8 includes 1/2 inch and 1/4 inch collets.
- Base Plate: Provides a stable surface for routing.
- Twin LED Work Lights: Illuminates the work area for improved visibility.
- Dust Extraction Port: Connects to a dust collection system.
Setup
Installing and Changing Router Bits
- Ensure the router is unplugged from the power source.
- Press the spindle lock button to secure the spindle.
- Use the provided wrench to loosen the collet nut by turning it counter-clockwise.
- Insert the router bit into the collet, ensuring at least 3/4 inch of the shank is seated.
- Tighten the collet nut clockwise with the wrench until the bit is secure. Do not overtighten.

Figure 3: Securing a router bit into the collet using the provided wrench.
Adjusting Plunge Depth
- Place the router on a flat surface with the desired bit installed.
- Release the plunge lock lever.
- Lower the router until the bit touches the workpiece surface.
- Lock the plunge mechanism.
- Use the fine height adjuster to set the precise cutting depth. Each increment on the dial represents a specific depth change.
- Unlock the plunge mechanism and raise the router.

Figure 4: Adjusting the fine height adjuster for precise cutting depth.
Attaching the Edge Guide
The included edge guide assists in routing straight lines parallel to the edge of a workpiece.
- Slide the guide rods of the edge guide into the designated holes on the router base.
- Secure the edge guide by tightening its locking knobs.
- Adjust the distance from the bit to the guide fence as required for your cut.

Figure 5: The router being used with an edge guide for parallel cuts.
Connecting Dust Extraction
For a cleaner work environment and improved visibility, connect a dust extraction system to the router's dust port.
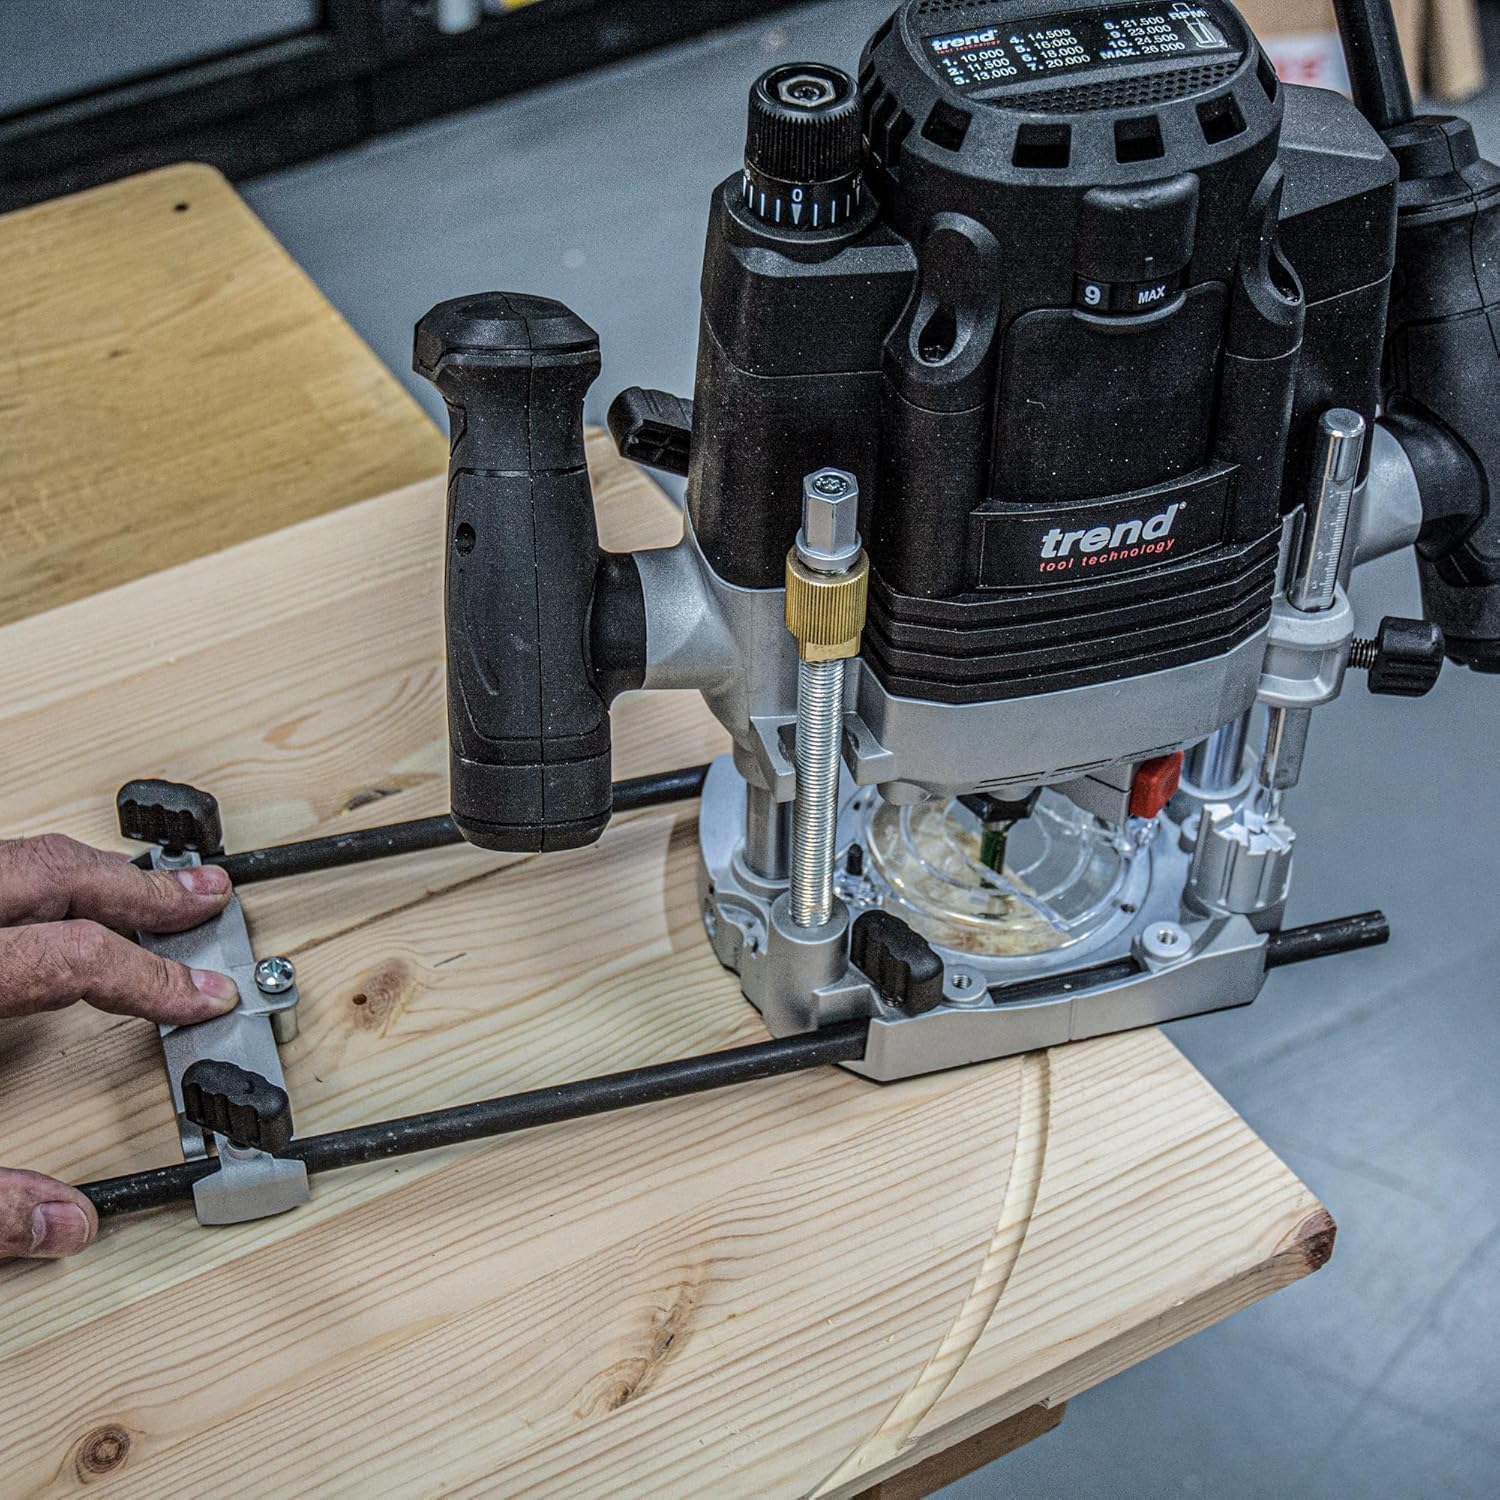
Figure 6: Router in operation with a dust extraction hose connected to the vertical extraction spout.
Operating Instructions
Powering On/Off
The router features a power trigger with a soft-start function to prevent sudden jolts upon startup. To turn on, press the power trigger. To turn off, release the trigger.
Variable Speed Control
The T8 router offers an eleven-step variable speed dial, allowing you to match the RPM to the specific router bit, material, and application. Refer to the dial for recommended speed settings.

Figure 7: Adjusting the variable speed dial to select the appropriate RPM for the task.
Using the Plunge Mechanism
The plunge mechanism allows for controlled entry and exit of the router bit into the workpiece. After setting the depth, release the plunge lock, lower the router smoothly into the material, and then re-engage the lock for consistent depth during the cut.

Figure 8: Engaging the plunge lock lever to secure the router at the desired depth.
Precision Centering System and LED Work Lights
The precision centering system ensures accurate alignment of the cutter with guide bushes for jig work. Twin LED work lights automatically illuminate the bit area when the router is powered on, enhancing visibility.

Figure 9: The twin LED work lights illuminating the router bit and workpiece.
Router Table Use
The T8 router is designed for secure mounting in a router table, offering above-table height adjustment for convenience and safety during repetitive cuts.
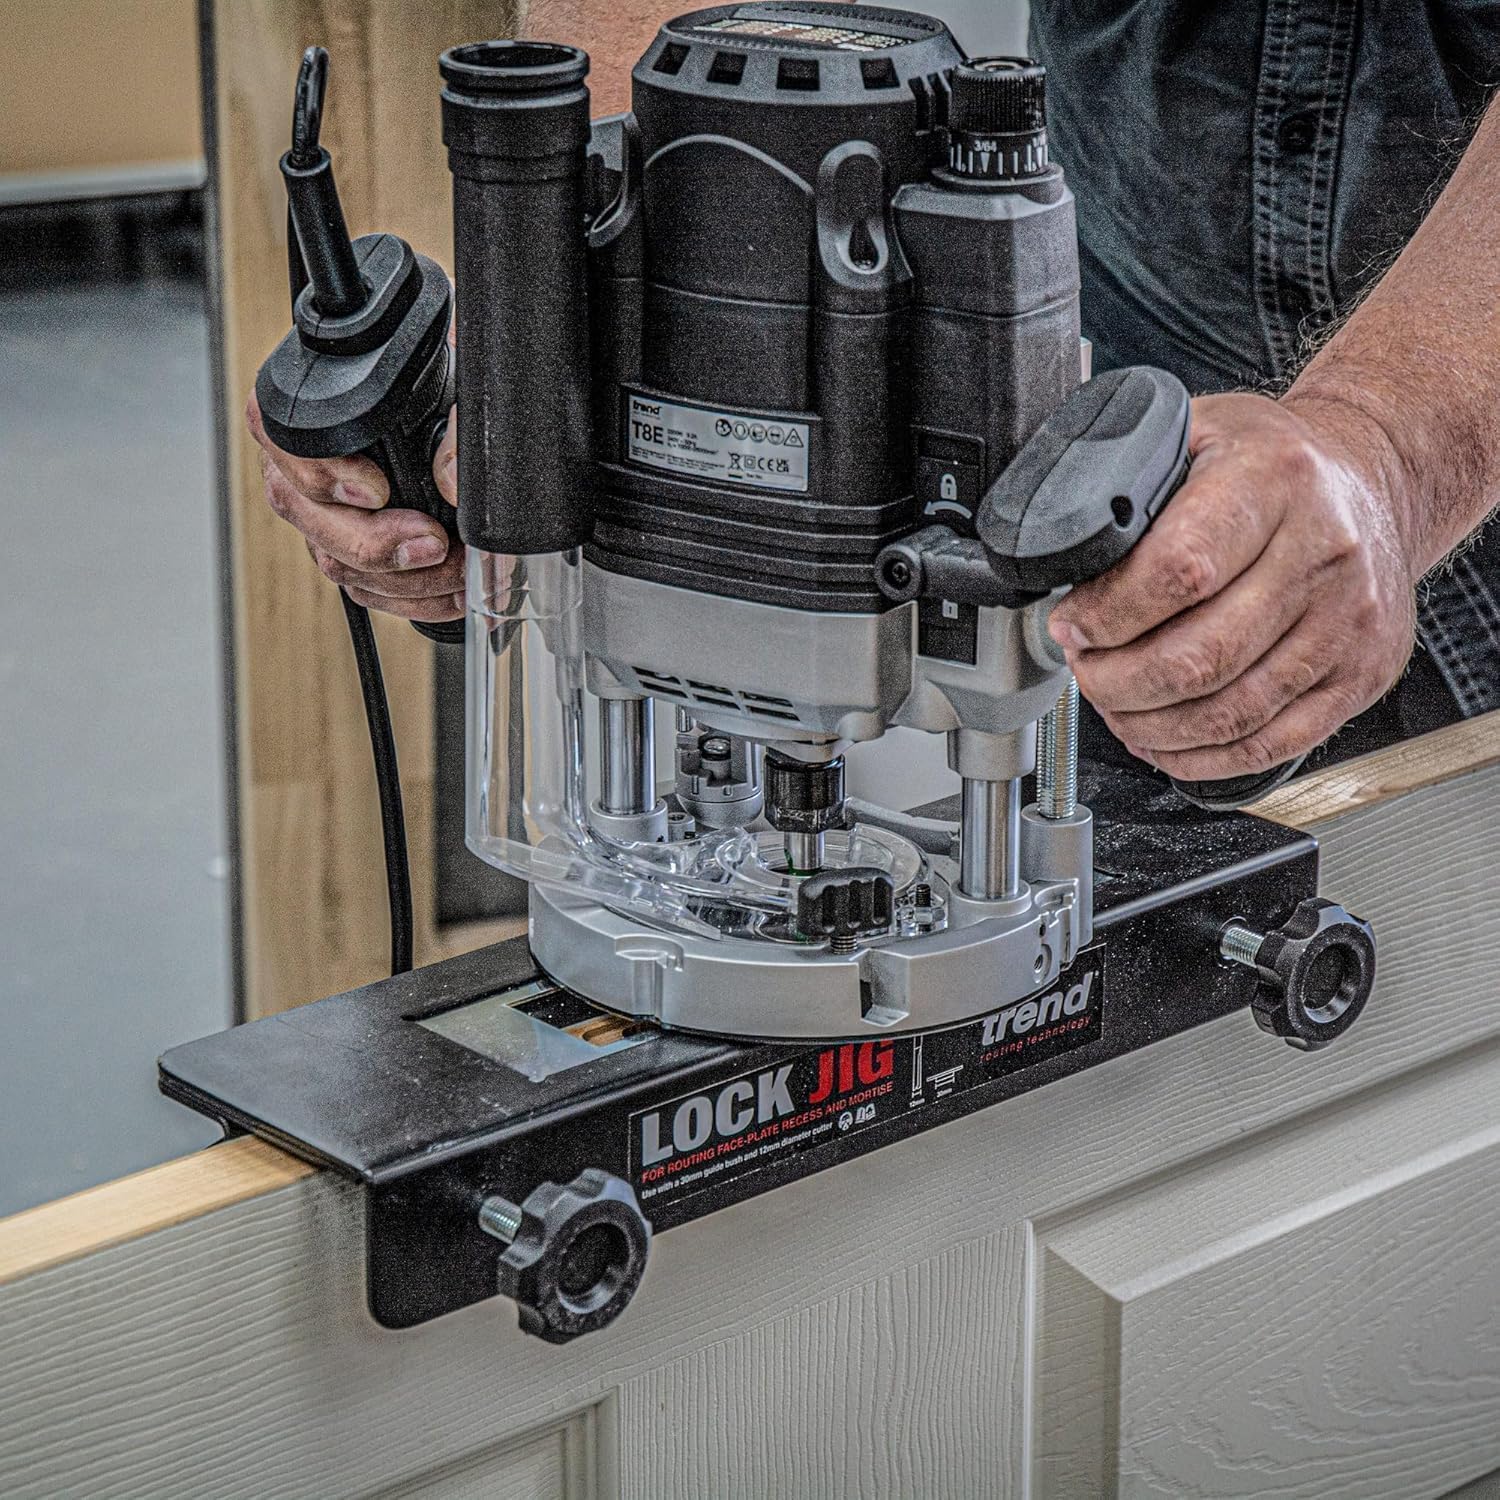
Figure 10: The router installed in a router table, demonstrating its compatibility and above-table adjustment.
Official Product Video
Video 1: An official product video demonstrating the features and capabilities of the Trend 3-1/4 HP Dual-Mode Plunge Router, including its plunge depth, precision centering system, router table compatibility, variable speed control, and LED work lights.
Maintenance
Cleaning
Regularly clean the router to ensure proper function and longevity. Disconnect power before cleaning.
- Use a soft brush or compressed air to remove dust and debris from the motor vents and base plate.
- Wipe down external surfaces with a damp cloth. Avoid using harsh chemicals.
- Keep the collet and collet nut clean to ensure proper bit gripping.
Bit Care
Sharp bits are crucial for clean cuts and safe operation. Replace dull or damaged bits promptly.
Troubleshooting
| Problem | Possible Cause | Solution |
|---|---|---|
| Router does not start | No power supply; Faulty power cord/plug; Trigger not fully depressed. | Check power connection; Inspect cord/plug for damage; Ensure trigger is fully depressed. |
| Poor cut quality / Burning wood | Dull bit; Incorrect speed setting; Feeding too slowly or too quickly. | Replace or sharpen bit; Adjust speed according to material; Maintain consistent feed rate. |
| Excessive vibration | Loose bit; Damaged bit; Unbalanced bit. | Ensure bit is securely tightened; Replace damaged or unbalanced bits. |
| Router overheats | Blocked ventilation; Overloading the motor. | Clear vents; Reduce depth of cut or feed rate. |
Specifications
| Feature | Specification |
|---|---|
| Model Number | U*T8EK/A |
| Motor Horsepower | 3-1/4 HP |
| Amperage | 15 Amps |
| Voltage | 120 Volts (AC) |
| Maximum Rotational Speed | 26,000 RPM |
| Plunge Depth | 3-1/8 inches |
| Collet Size | 1/2 Inch (includes 1/4 inch adapter) |
| Item Weight | 26.8 pounds (12.18 Kilograms) |
| Power Source | Corded Electric |
Warranty
TREND products are manufactured to high standards. This product typically comes with a manufacturer's warranty. Please refer to the warranty card included with your product or visit the official TREND website for detailed warranty terms and conditions.
Support
For technical assistance, spare parts, or further information, please visit the official TREND website or contact customer support.
Official Product Page: TREND T8 Router