1. Introduction
This manual provides essential information for the proper installation, operation, and maintenance of your new Generic Replacement Starter, Model Mod-E11PG-1469. This starter is designed as a direct replacement for various John Deere equipment models, ensuring reliable performance. Please read this manual thoroughly before attempting any installation or service.
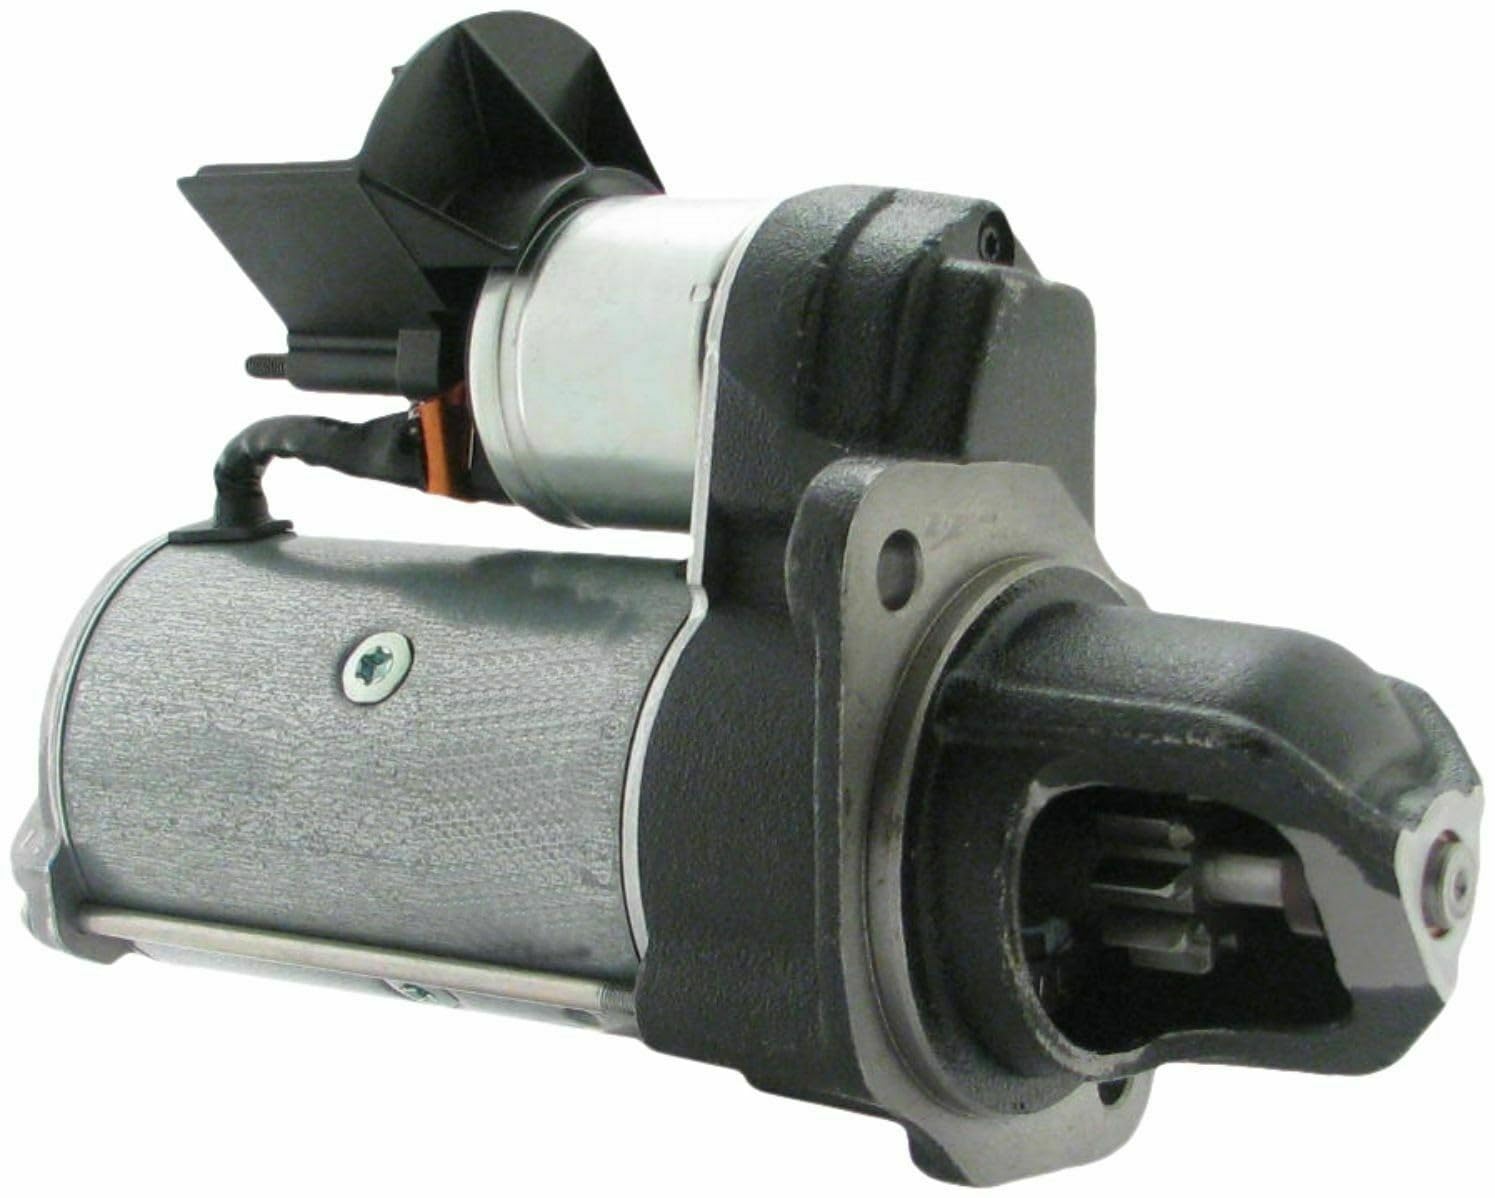
Figure 1: Generic Replacement Starter, Model Mod-E11PG-1469. This image shows the complete starter unit, including the solenoid, gear, and mounting points, ready for installation.
2. Safety Information
Always observe the following safety precautions to prevent injury or damage to equipment:
- Disconnect Battery: Before beginning any work, always disconnect the negative (-) battery cable first, followed by the positive (+) battery cable, to prevent accidental starting or electrical shock.
- Wear Protective Gear: Use appropriate personal protective equipment, including safety glasses and gloves.
- Secure Vehicle/Equipment: Ensure the vehicle or equipment is on a stable, level surface and properly supported with jack stands if raised.
- Avoid Hot Surfaces: Engine components can be extremely hot. Allow the engine to cool before working on the starter.
- Proper Tools: Use only the correct tools for the job to avoid damaging fasteners or components.
- Professional Installation: If you are unsure about any step, consult a qualified mechanic.
3. Package Contents
Verify that all items are present in the package:
- 1 x Generic Replacement Starter (Model Mod-E11PG-1469)
4. Compatibility
This replacement starter (Model Mod-E11PG-1469) is designed to be compatible with various John Deere models and replaces the following OEM part numbers:
Replaces OEM Part Numbers:
- RE501680
- RE501693
- RE501713
- RE502156
- RE502196
- RE516455
- RE519568
- RE60641
- RE63010
- SE501861
- SE501869
- 187031
- 438012
- 455735
- D7R14
- S187031A
- 17086
Compatible John Deere Models (Partial List):
- 240, 8875
- 5210 (3 Cyl. 2.93L 2912cc 178cid, 1998-2000)
- 5410
- 1020OU, 1020VU (3.164, 5.8, 1981-1983)
- 1630, 1630OU, 1630VU (3.179DL-01, 2.9, 1973-1982)
- 1640, 1640F (4.239DL-03, 3.9, 1979-1986)
- 1840, 1840F (4.239DL-04, 3.9, 1979-1986)
- 1850, 1850F, 1850V (3.179DL, 2.9, 1986-1994)
- 1950, 1950F (3.179TL, 2.9, 1988-1994)
- 2030OU (4.219DL-03, 3.6, 1972-1979)
- 2040F, 2040S (4.239DL-04, 3.9, 1979-1986)
- 2130 (4.239DL-01, 3.9, 1972-1979)
- 2140 (4.239TL-02, 3.9, 1979-1986)
- 2150 (3.179 Diesel, 2.9, 1982-1986)
- 2250F (4.239DL, 3.9, 1986-1994)
- 2255 (3.179 Diesel, 2.9, 1983-1987)
- 2450, 2450F (4.239DL, 3.9, 1986-1994)
- 2555 (4.239, 3.9, 1987-1992)
- 2750 (4.239TL-04, 3.9, 1982)
- 2755 (4.239, 3.9, 1987-1992)
- 2855N (4.239, 3.9, 1987-1993)
- 2940 (6.359DL-03, 5.9, 1982)
- 2950 (6.359DL-04, 5.9, 1982)
- 2955 (6.359, 1987-1992)
- 3050 (6.359DL, 5.9, 1986-1993)
- 3100 (3.029D, 2.9, 1995-1998)
- 5045D JD (3029, 3-cyl, 45HP, 2.9, 2008)
- 5050D JD (3029, 3-cyl, 50HP, 2.9, 2008)
- 5055E (3.029HPY40/TPY24, 2.9, 2013)
- 5065E (3.029HPY40/TPY24, 2.9, 2013)
- 5075E (3.029HPY40/TPY24, 2.9, 2013)
- 5080G (Tier III, 4.5, 2013)
- 5090G (4.045HAT81, 4.5, 2013)
Always cross-reference the OEM part number and vehicle specifications to ensure proper fitment.
5. Installation Instructions
This starter features a direct-fit design for quick replacement without modification. Follow these general steps for installation. Specific procedures may vary by vehicle model; refer to your equipment's service manual for detailed instructions.
- Prepare for Installation:
- Ensure the vehicle/equipment is turned off and the ignition key is removed.
- Disconnect the negative (-) battery cable first, then the positive (+) battery cable.
- Locate the existing starter motor. It is typically mounted on the engine block near the transmission.
- Remove Old Starter:
- Disconnect the main battery cable and the solenoid wire(s) from the old starter. Note their positions for reinstallation.
- Remove the mounting bolts that secure the starter to the engine block.
- Carefully remove the old starter from its mounting position. It may be heavy.
- Install New Starter:
- Position the new Generic Replacement Starter into the mounting location.
- Install the mounting bolts and tighten them to the manufacturer's specified torque. Do not overtighten.
- Connect the main battery cable and the solenoid wire(s) to the new starter. Ensure connections are clean and secure.
- Reconnect Battery:
- Reconnect the positive (+) battery cable first, then the negative (-) battery cable.
- Ensure all connections are tight.
- Test Operation:
- Attempt to start the engine. Listen for proper starter engagement and engine cranking.
- If the engine does not start or the starter does not engage, refer to the Troubleshooting section.
6. Operation
The starter motor is an electrical device designed to rotate the engine's crankshaft to initiate the combustion process. Once installed, its operation is integrated with your vehicle's ignition system. When the ignition key is turned to the 'START' position, electrical current flows to the starter, causing it to engage the flywheel and crank the engine. Release the key once the engine starts.
7. Maintenance
The Generic Replacement Starter is designed for long-lasting durability with minimal maintenance. However, periodic checks can help ensure its longevity and reliable performance:
- Inspect Connections: Periodically check all electrical connections to the starter (battery cable, solenoid wire) for corrosion or looseness. Clean and tighten as necessary.
- Battery Health: Ensure your vehicle's battery is in good condition and fully charged. A weak battery can strain the starter.
- Cleanliness: Keep the starter free from excessive dirt, oil, and debris, which can affect its operation and heat dissipation.
8. Troubleshooting
If you experience issues with your starter, consider the following common problems and solutions:
| Problem | Possible Cause | Solution |
|---|---|---|
| Starter does not crank or makes a single click | Dead or weak battery Loose or corroded battery terminals Faulty starter solenoid Faulty ignition switch | Charge or replace battery Clean and tighten battery terminals Test starter solenoid; replace if faulty Test ignition switch; replace if faulty |
| Starter cranks slowly | Weak battery Corroded battery cables High resistance in starter circuit | Charge or replace battery Inspect and clean battery cables Check all electrical connections for corrosion or looseness |
| Starter spins but engine does not crank | Bendix drive (starter gear) not engaging flywheel Damaged flywheel teeth | Inspect starter gear and flywheel for damage; replace as needed Ensure proper starter installation |
| Grinding noise during cranking | Misalignment of starter Damaged starter gear or flywheel teeth | Recheck starter mounting Inspect starter gear and flywheel for damage; replace as needed |
If these steps do not resolve the issue, it is recommended to consult a professional mechanic.
9. Specifications
Key technical specifications for the Generic Replacement Starter (Model Mod-E11PG-1469):
| Feature | Specification |
|---|---|
| Model | Mod-E11PG-1469 |
| Brand | Generic |
| Voltage | 12 Volts |
| Kilowatts (KW) | 2.5 KW |
| Rotation | CW (Clockwise) |
| Teeth | 10 Teeth |
| Gear OD | 1.291 inches / 32.8 mm |
| Mounting Ear 1 Hole | 10.7mm Unthreaded |
| Battery & Motor Studs | M10-1.5 Threaded |
| Material | Metal |
| Included Components | Starter |
10. Warranty Information
This product is covered by a standard manufacturer's warranty against defects in materials and workmanship. The specific terms and duration of the warranty may vary. Please retain your proof of purchase for any warranty claims. For detailed warranty information, refer to the product packaging or contact customer support.
11. Customer Support
If you have any questions regarding the installation, operation, or troubleshooting of your Generic Replacement Starter, please contact our customer support team. Provide your product model number (Mod-E11PG-1469) and purchase details for efficient assistance.
Contact Information:
Please refer to your purchase documentation or the seller's contact information for support channels.