1. Introduction
Thank you for purchasing the HOMCOM Floating Nightstands Set of 2. This manual provides essential information for the safe assembly, operation, and maintenance of your new nightstands. Please read these instructions thoroughly before beginning assembly and retain them for future reference.
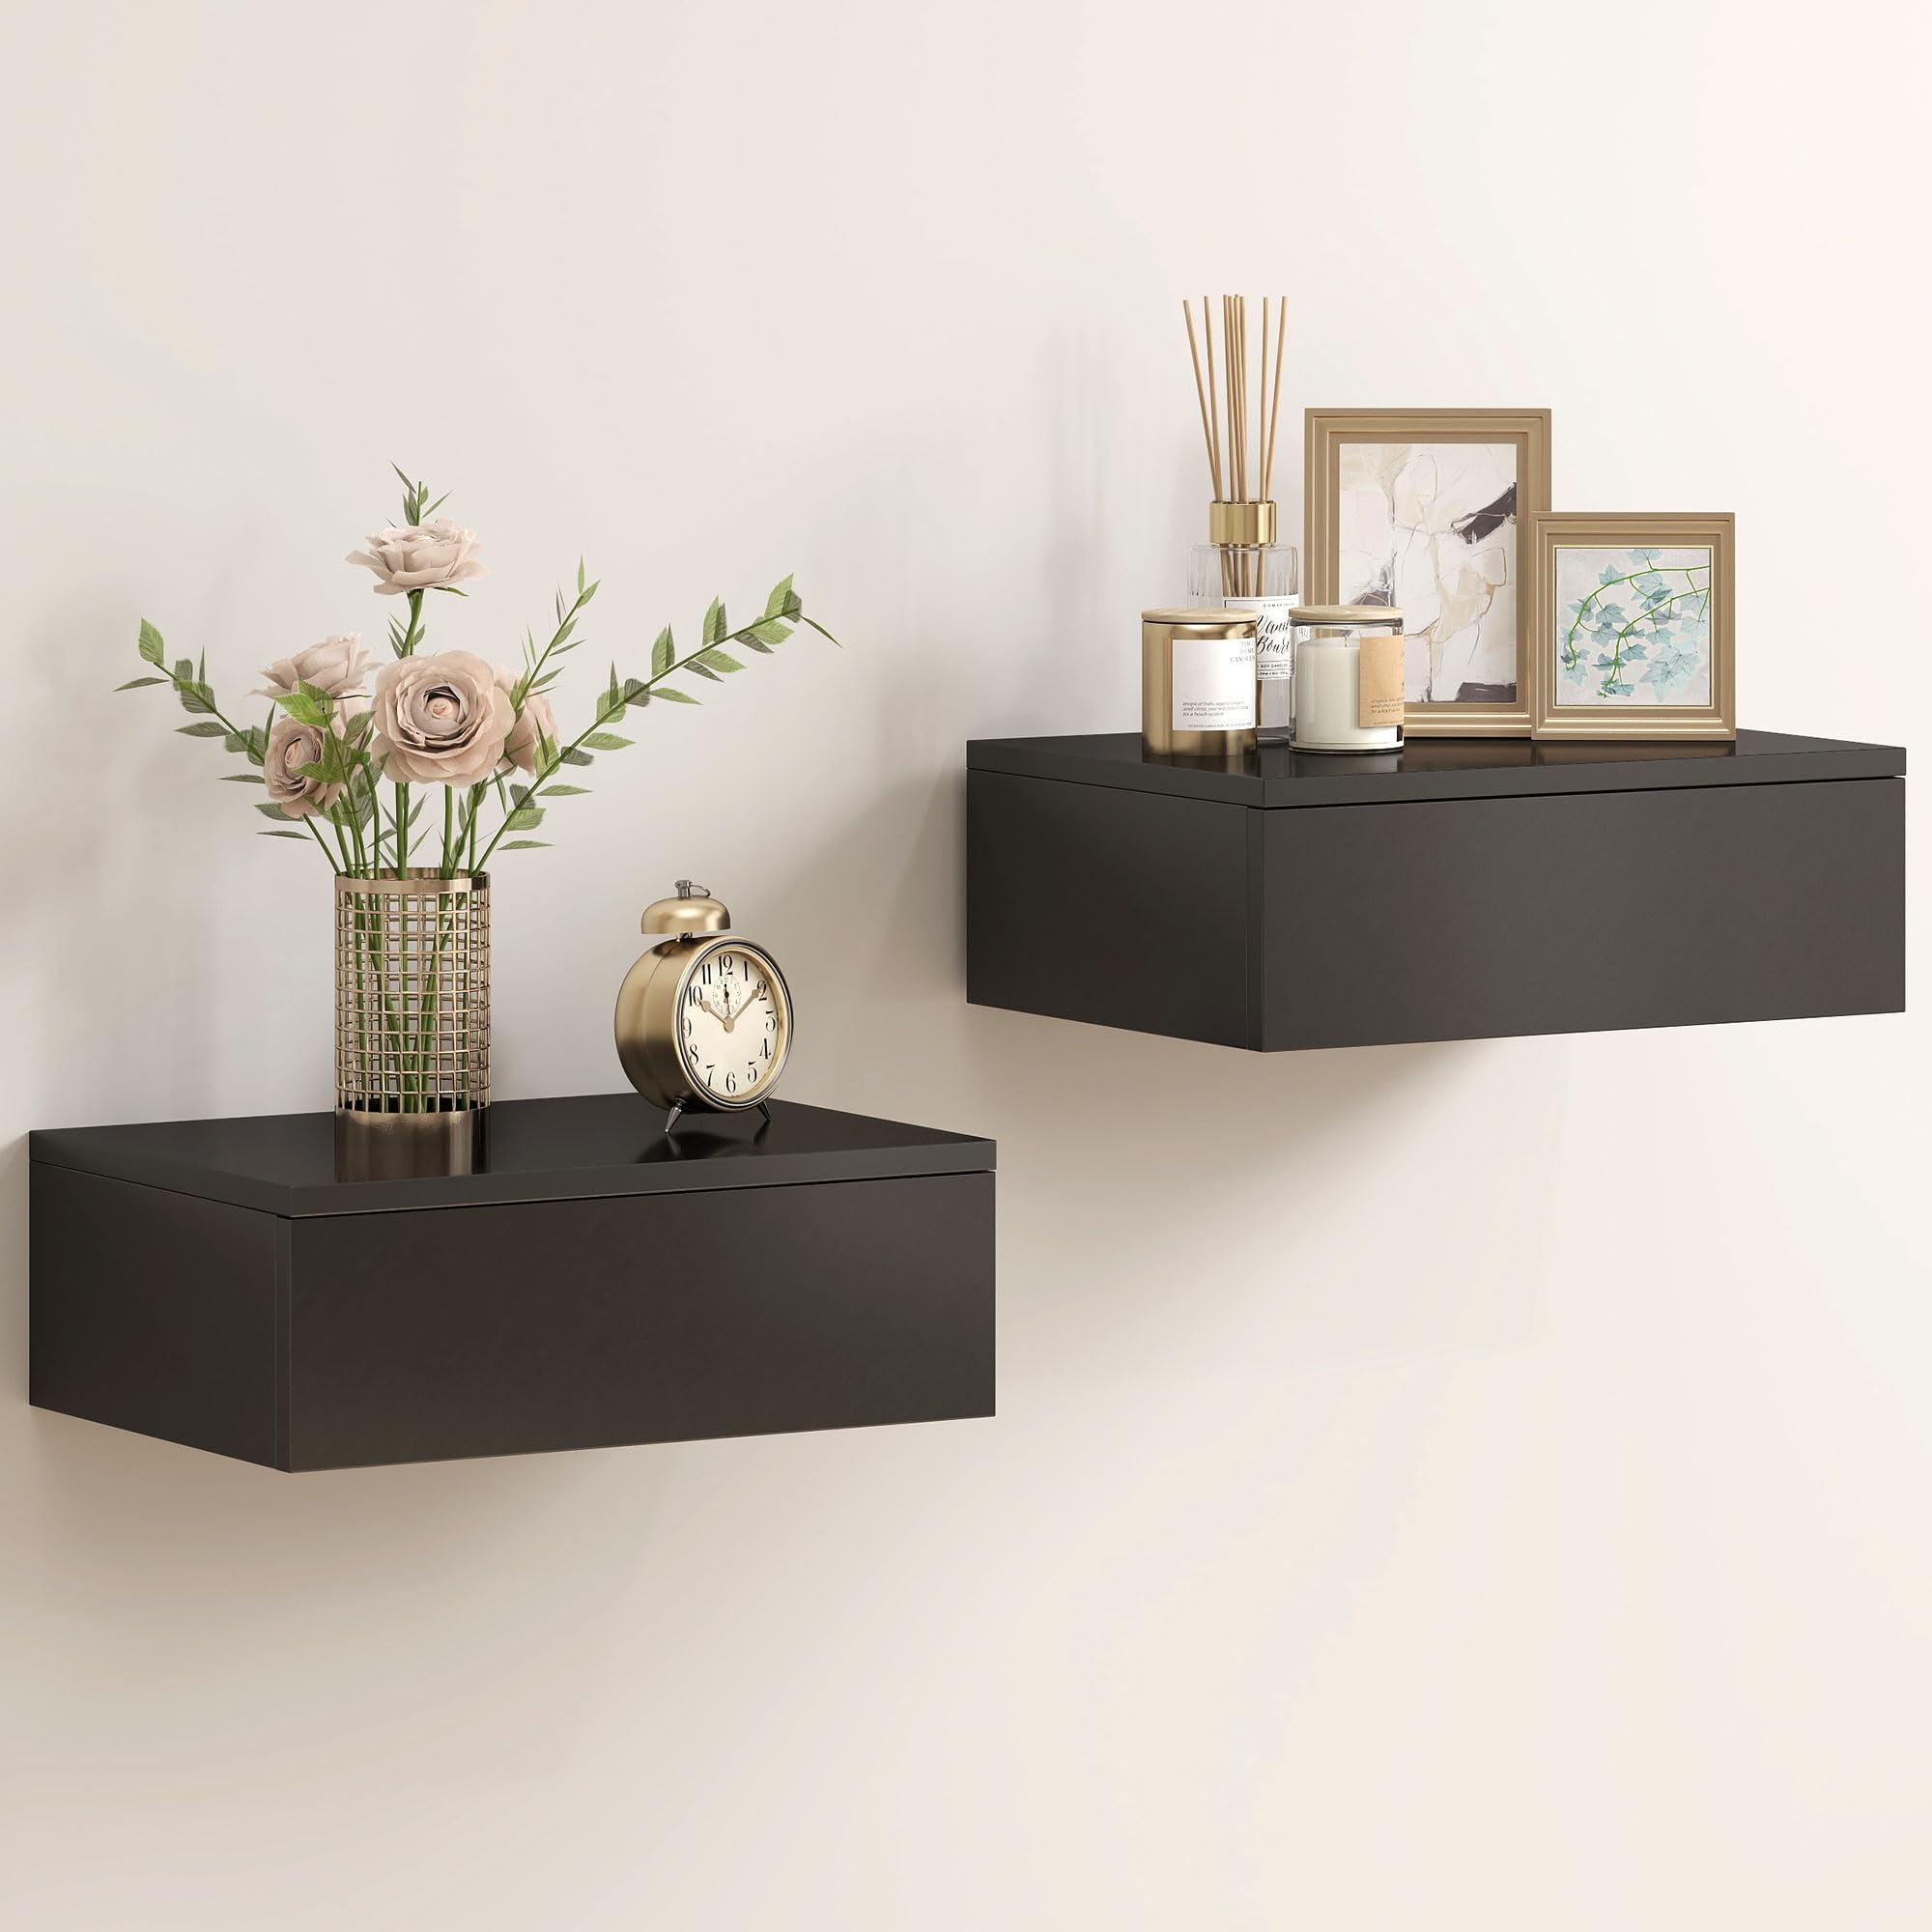
Image 1.1: HOMCOM Floating Nightstands Set of 2.
2. Safety Information
Always follow these safety guidelines to prevent injury and damage to the product.
- Assembly Precautions: Always follow the assembly instructions carefully to avoid injury. Be cautious of sharp edges during assembly and use.
- Wall Mounting: Ensure the wall material is suitable for mounting and can support the weight of the nightstands and their contents. Use appropriate hardware for your wall type (e.g., studs, drywall anchors). If unsure, consult a qualified professional.
- Weight Capacity: Do not overload the nightstands or drawers. Exceeding the recommended weight capacity may cause the unit to detach from the wall or collapse.
- Stability: Ensure the nightstands are securely mounted to the wall before placing items on them or using the drawers.
- Children and Pets: Keep small parts and assembly hardware away from children and pets to prevent choking hazards.
- Placement: Avoid placing the nightstands in areas with high humidity or direct sunlight, which can damage the material.
3. Package Contents
Before assembly, verify that all components are present and undamaged. If any parts are missing or damaged, please contact customer support.
- Floating Nightstand Units (x2)
- Drawer Components (for x2 drawers)
- Mounting Hardware (screws, anchors)
- Assembly Instructions Manual

Image 3.1: The set of two floating nightstands as they appear when installed.
4. Specifications
| Feature | Detail |
|---|---|
| Brand | HOMCOM |
| Model Number | CA83D-120V80BK0231 |
| Material | Engineered Wood |
| Colour | Black |
| Product Dimensions (L x W x H) | 30 x 40 x 14 cm (11.8 x 15.7 x 5.5 inches) |
| Item Weight | 8.62 kg (per unit) |
| Assembly Required | Yes |
| Special Features | Easy Assembly, Floating Design, Space Saving |

Image 4.1: Detailed dimensions of the floating nightstand.
5. Assembly Instructions
Assembly is required for these floating nightstands. Please follow these steps carefully.
- Unpack Components: Carefully remove all parts from the packaging. Lay them out on a clean, soft surface to prevent scratches.
- Assemble Drawer: Follow the specific instructions provided in the included assembly guide to construct the drawer unit. Ensure all slides are correctly aligned and secured.
- Prepare Wall for Mounting: Identify the desired location on your wall. Use a stud finder to locate wall studs for secure mounting, if possible. Mark the drilling points according to the nightstand's mounting bracket.
- Drill Pilot Holes: Drill pilot holes at the marked locations. Ensure the drill bit size matches the recommended size for your wall anchors/screws.
- Attach Mounting Bracket: Securely attach the nightstand's mounting bracket to the wall using the provided screws and anchors. Ensure it is level.
- Mount Nightstand: Carefully align the nightstand with the wall-mounted bracket and slide it into place until it is securely fastened.
- Insert Drawer: Once the nightstand is securely mounted, insert the assembled drawer into its compartment.
- Repeat for Second Unit: Follow the same steps to assemble and mount the second floating nightstand.
Note: The assembly process involves attaching the unit to the wall using screws and assembling the drawer. Always ensure the wall is capable of supporting the weight.

Image 5.1: The nightstand features a drawer for storage and a top surface for items.
6. Operating Instructions
The HOMCOM Floating Nightstands are designed for convenient bedside storage and display.
- Top Surface Usage: Use the top surface to place items such as lamps, alarm clocks, books, or a glass of water. Ensure items are placed stably to prevent them from falling.
- Drawer Functionality: The integrated drawer provides concealed storage for personal items, keeping your bedside area tidy. Gently pull the drawer open and push it closed. Avoid forcing the drawer.
- Space Saving Design: The floating design frees up floor space, making your bedroom feel more open and facilitating easier cleaning underneath the nightstands.

Image 6.1: The floating design allows for easy floor cleaning.

Image 6.2: The high gloss drawer panel adds a modern aesthetic.
7. Maintenance
Proper care will ensure the longevity and appearance of your nightstands.
- Cleaning: Wipe with a dry cloth. For stubborn marks, use a slightly damp cloth with mild soap, then dry immediately. Avoid abrasive cleaners or harsh chemicals.
- Dusting: Regularly dust the surfaces to prevent buildup.
- Inspection: Periodically check the wall mounting screws and drawer slides to ensure they remain tight and secure. Tighten any loose fasteners as needed.
- Avoid Moisture: Do not allow liquids to sit on the surface for extended periods, as this can cause damage to the engineered wood.
8. Troubleshooting
If you encounter any issues with your HOMCOM Floating Nightstands, refer to the following common solutions:
| Problem | Possible Cause | Solution |
|---|---|---|
| Nightstand feels wobbly after mounting. | Mounting screws are loose or not properly secured to the wall. | Ensure all mounting screws are tightened. Verify that appropriate wall anchors were used for your wall type. If necessary, re-mount using stronger anchors or by securing into wall studs. |
| Drawer does not slide smoothly. | Drawer slides are misaligned or dirty. | Remove the drawer and check for any obstructions on the slides. Clean the slides with a dry cloth. Ensure the drawer is inserted correctly and the slides are aligned. |
| Scratches or minor surface damage. | Accidental impact or abrasive cleaning. | For minor scratches, a furniture repair marker or polish matching the black finish may help. Avoid abrasive materials for cleaning. |
9. Warranty and Support
HOMCOM products are manufactured with quality and care. For warranty information or if you require further assistance, please contact the retailer or manufacturer directly. Keep your purchase receipt as proof of purchase.
Manufacturer: Aosom Canada
Contact Information: Refer to your purchase documentation or the Aosom Canada website for customer service details.


