
1. Introduction
This manual provides detailed instructions for the installation, operation, and maintenance of your LCLCTEK Solar 4G LTE Cellular Security Camera Kit. This system is designed for remote monitoring in locations without Wi-Fi access, utilizing 4G LTE cellular networks and solar power for continuous operation. Please read this manual thoroughly before using the product to ensure proper setup and functionality.
2. Package Contents
Please verify that all components are present in your package:
- 1 x 4G Host (with integrated solar panel)
- 4 x Wireless Security Cameras
- 4 x Camera Solar Panels
- Mounting Brackets and Screws for all components
- USB Charging Cable
- User Manual (this document)

Image: Overview of the LCLCTEK Solar 4G LTE Cellular Security Camera Kit, showing the 4G host, four cameras, and their respective solar panels.
3. Setup Instructions
3.1 SIM Card Installation
- Locate the SIM card slot on the 4G Host. This is typically protected by a waterproof rubber plug.
- Open the rubber plug and insert a Nano SIM card into the designated slot. Ensure the SIM card is correctly oriented as indicated on the device.
- Close the rubber plug firmly to maintain waterproofing.

Image: Rear view of the 4G Host, highlighting the SIM card slot, TF card slot, reset button, power switch, and indicator light. Only Nano SIM cards are supported.
3.2 Initial Charging
Before first use, it is recommended to fully charge the 4G Host and each camera using the provided USB charging cable. Connect the cable to a 5V/2A power adapter (not included) and plug it into the Type-C input port on the devices. The indicator light will show charging status.
3.3 Mounting the Cameras and Solar Panels
The system is designed for 100% wireless installation. Each camera has a built-in 7800mAh rechargeable battery and connects to its dedicated solar panel for continuous power.
- Camera Placement: Choose locations that provide optimal viewing angles and are within the 4G Host's signal range (up to 200m+ in open areas).
- Solar Panel Placement: Mount the solar panels in areas that receive at least 3 hours of direct sunlight daily for optimal charging. The flexible design allows for separate positioning from the cameras.
- Use the provided mounting brackets and screws to securely attach the cameras and solar panels to walls, eaves, or poles.
- Connect the solar panel cable to the camera's charging port.

Image: A single wireless camera connected to its solar panel, illustrating the 7800mAh battery and flexible solar panel design.
3.4 App Download and Pairing
- Download the recommended mobile application (e.g., EseeCloud) from your smartphone's app store.
- Create an account and log in.
- Power on the 4G Host. The cameras will automatically connect to the host once powered on, without manual configuration.
- In the app, use the 'Scan Code' function to add the 4G Host by scanning the QR code located on the device.
- Once the host is added, all connected cameras will appear in the app, allowing for simultaneous monitoring.
4. Operating Instructions
4.1 Live View and Playback
- Open the mobile app to view live feeds from all four cameras simultaneously.
- Select a specific camera to view its full-screen live feed.
- Access recorded footage from the app's playback section. Footage is typically stored on a TF card in the 4G Host.
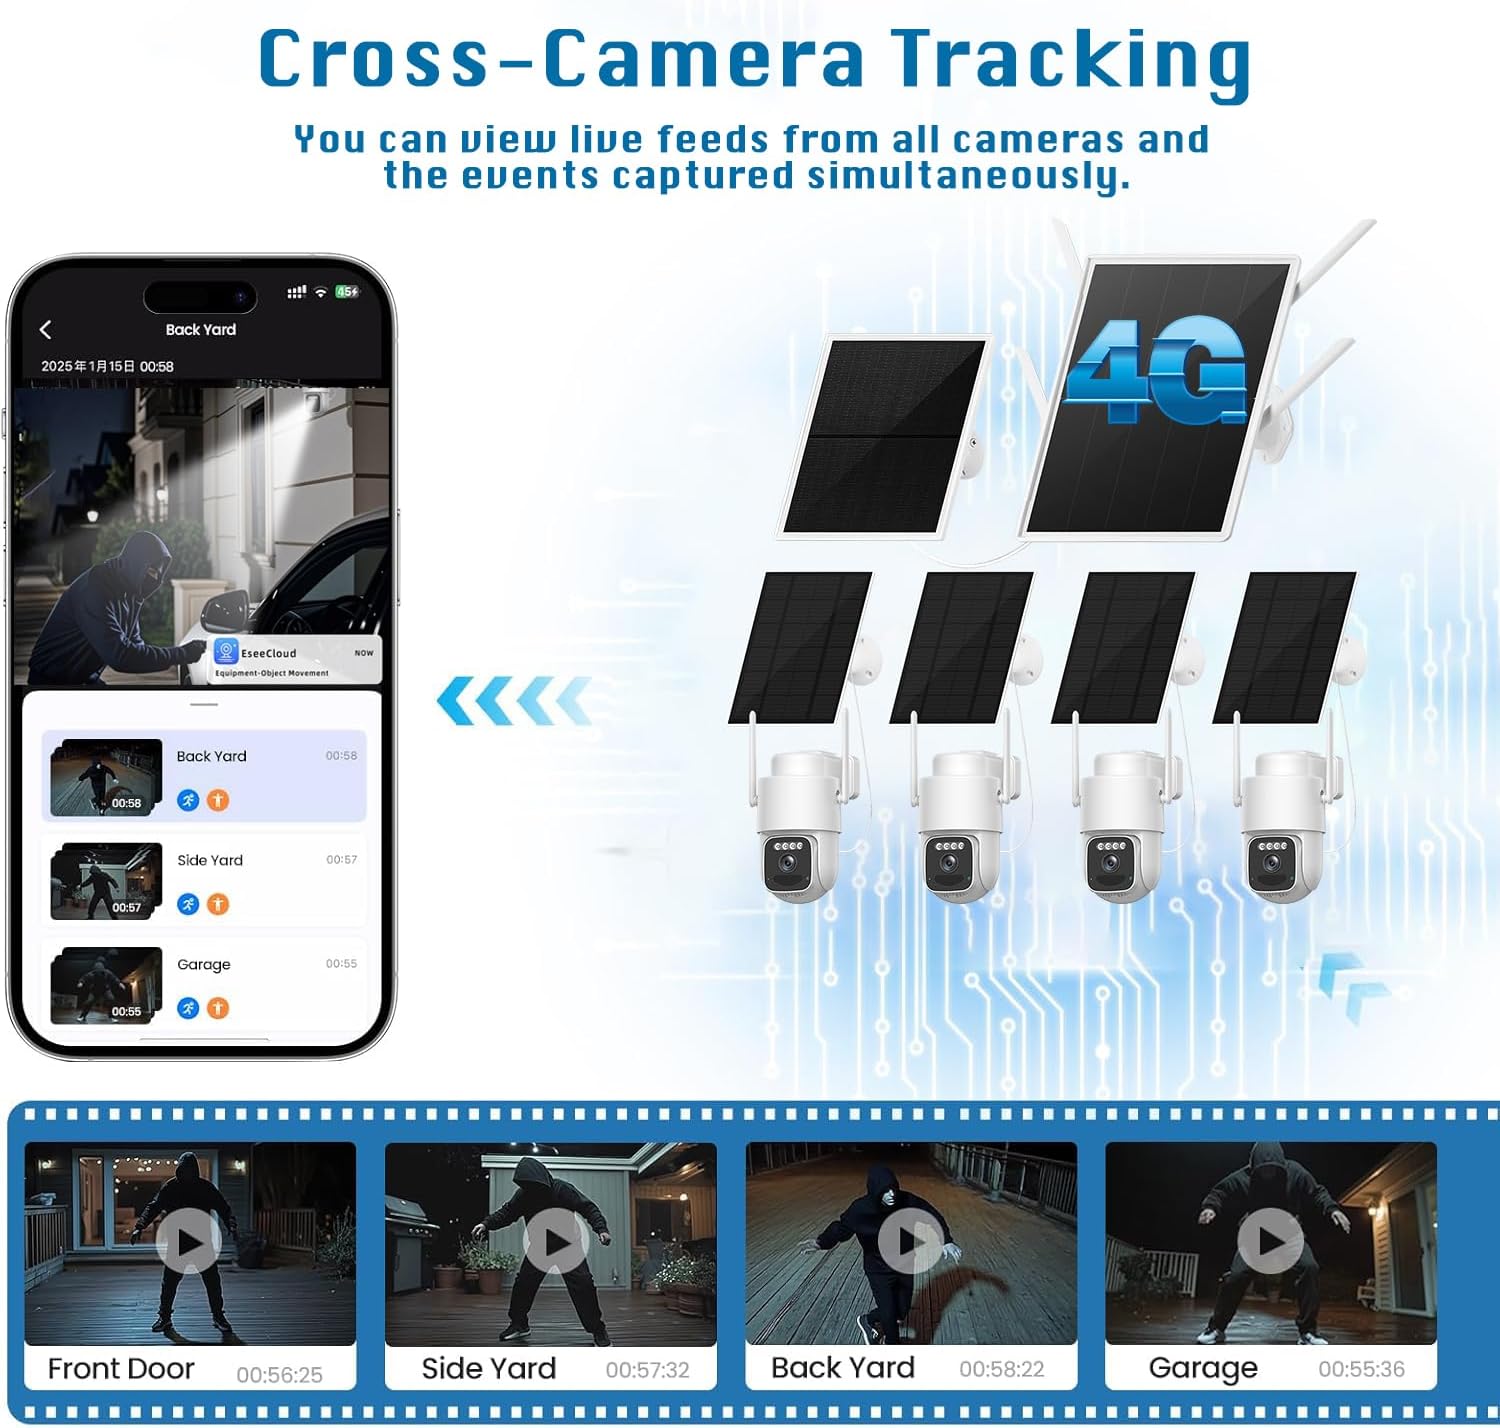
Image: The mobile application interface demonstrating cross-camera tracking, allowing users to view live feeds and captured events from multiple cameras simultaneously.
4.2 Two-Way Audio
The cameras are equipped with two-way audio. In the live view, tap the microphone icon to speak through the camera's speaker and the speaker icon to listen to audio from the camera's location.
4.3 Motion Detection and Alerts
- The advanced PIR sensor detects motion and triggers automatic recording.
- Upon detection, the system sends real-time push notifications to your mobile app.
- You can configure manual or automatic activation of spotlights and sirens via the app to deter intruders.
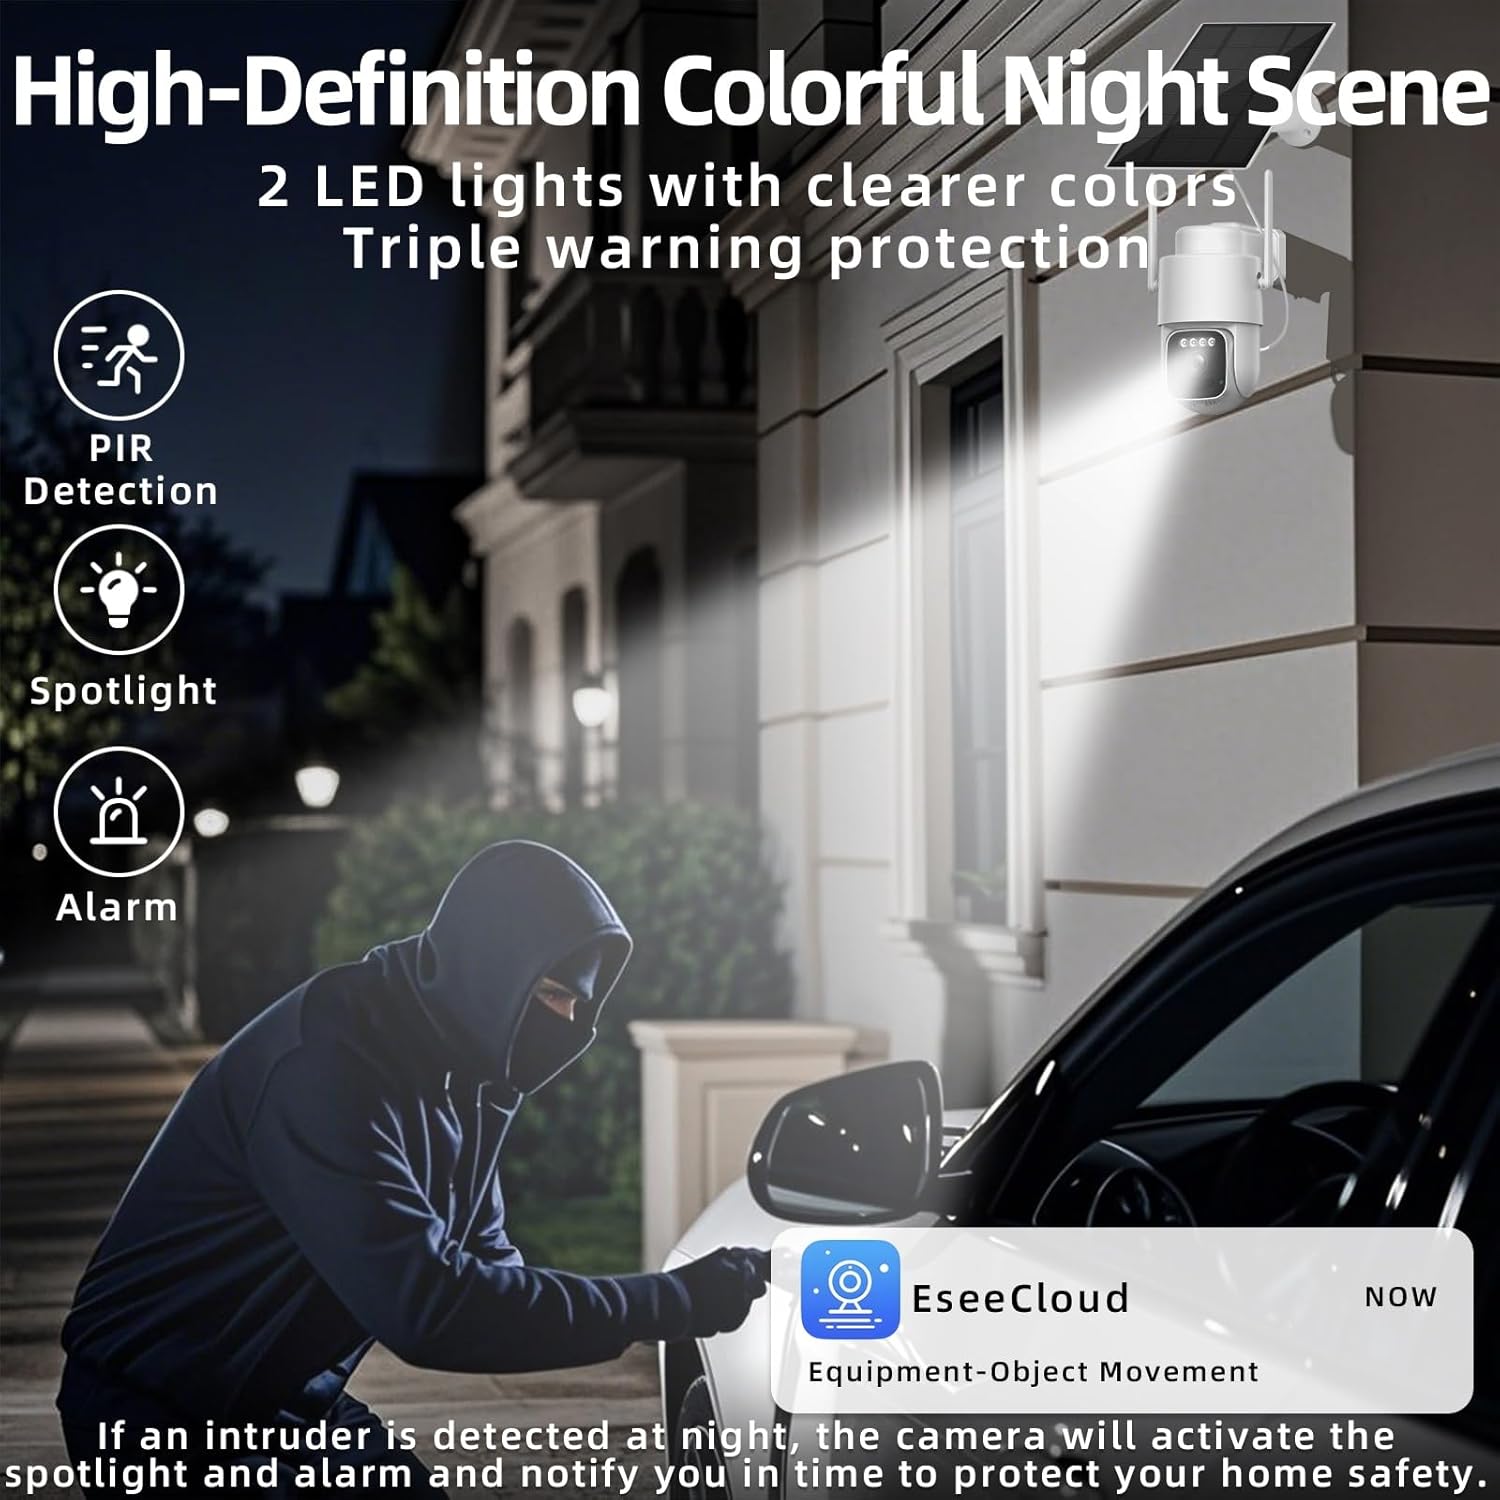
Image: Illustration of the camera's night vision capabilities, showing PIR detection, spotlight activation, and alarm functionality to deter intruders.
4.4 Pan-Tilt-Zoom (PTZ) Control
Each camera supports 355° horizontal rotation and 90° vertical rotation. Use the controls within the mobile app to adjust the camera's viewing angle remotely, eliminating blind spots.

Image: Diagram illustrating the camera's 355° horizontal and 90° vertical rotation capabilities, ensuring comprehensive coverage without blind spots.
4.5 Sharing Access
You can share access to your camera system with family and friends by scanning a QR code within the mobile app, allowing multiple users to monitor the property.
5. Features Overview
- 4G LTE Network: Operates independently without Wi-Fi, ideal for remote locations.
- 100% Wireless Solar Power: Cameras and host are powered by solar panels, ensuring continuous operation with minimal sunlight.
- 4MP HD Video Quality: Provides clear and detailed 2K resolution video for both day and night monitoring.
- Color Night Vision: White spotlights enable full-color night vision for vivid visuals in low-light conditions.
- Smart PIR Motion Detection: Reduces false alarms by detecting human and animal movement.
- Two-Way Audio: Allows real-time communication through the camera.
- PTZ Functionality: 355° horizontal and 90° vertical rotation for comprehensive area coverage.
- IP66 Weatherproof: Enhanced material ensures durability in various weather conditions (rain, snow, sun).

Image: A smartphone screen showing a clear 4MP HD live view from one of the security cameras, demonstrating the high image quality.

Image: An aerial view illustrating the placement of four solar-powered cameras around a property, providing comprehensive, all-round home monitoring.
6. Maintenance
- Solar Panel Cleaning: Regularly clean the surface of the solar panels to ensure maximum sunlight absorption and charging efficiency. Use a soft, damp cloth to remove dust and debris.
- Battery Health: While solar-powered, extreme prolonged periods of low sunlight may affect battery levels. Monitor battery status via the app.
- Firmware Updates: Check the mobile app periodically for available firmware updates to ensure optimal performance and security.
- Physical Inspection: Periodically check mounting hardware for tightness and ensure all cables are securely connected and free from damage.
7. Troubleshooting
7.1 No Signal / Offline Cameras
- Check SIM Card: Ensure the Nano SIM card is correctly inserted into the 4G Host and has an active data plan.
- 4G Signal Strength: Verify that the installation location has adequate 4G LTE cellular coverage.
- Host Power: Ensure the 4G Host is powered on and its solar panel is receiving sufficient sunlight.
- Camera Connection: Confirm cameras are within the 4G Host's operating range and are powered on.
- Restart Devices: Try restarting the 4G Host and cameras.
7.2 Battery Not Charging
- Solar Panel Exposure: Ensure solar panels are positioned to receive direct sunlight for at least 3 hours daily, free from obstructions.
- Panel Cleanliness: Clean any dirt or debris from the solar panel surface.
- Cable Connection: Verify the solar panel cable is securely connected to the camera/host.
- Initial Charge: Ensure initial full charge was performed via USB.
7.3 App Connectivity Issues
- Internet Connection: Ensure your smartphone has a stable internet connection (Wi-Fi or mobile data).
- App Version: Update the mobile app to the latest version.
- Device Status: Confirm the 4G Host and cameras are online and functioning.
8. Specifications
| Feature | Specification |
|---|---|
| Model Name | Solar 4G Security Cameras (L8) |
| Connectivity Technology | 4G LTE Cellular (Nano SIM required) |
| Video Capture Resolution | 4MP (2K, 1920p) |
| Night Vision Range | 50 Feet (with color night vision) |
| Special Features | 2-Way Audio, HD Resolution, Motion Sensor (PIR), Night Vision, PTZ Technology (355° H, 90° V) |
| Power Source | Solar Powered (with rechargeable batteries) |
| Indoor/Outdoor Usage | Outdoor (IP66 Weatherproof) |
| Compatible Devices | Smartphone (via dedicated app) |
| Number of Items | 4 Cameras + 1 Host |
| Item Dimensions | 14 x 10 x 12 inches (overall package) |
| Item Weight | 9 Pounds (overall package) |
9. Warranty and Support
This LCLCTEK Solar 4G LTE Cellular Security Camera Kit (Model L8) comes with a 1-Year Manufacturer Warranty from the date of purchase. This warranty covers defects in materials and workmanship under normal use.
For technical support, troubleshooting assistance, or warranty claims, please contact LCLCTEK customer service through the contact information provided on your purchase platform or the official LCLCTEK website.