1. Introduction
The AnseTo HS-ST02 Solar Sprinkler Timer is an advanced, energy-efficient device designed to automate your garden watering system. Featuring a high-efficiency solar panel and a built-in rechargeable battery, it offers continuous operation without frequent battery replacements. Its durable brass inlet and IP55 waterproof rating ensure long-term outdoor use. With dual outlets, rain delay, child lock functions, and an easy-to-read LCD display, this timer provides flexible and convenient control over your irrigation needs.
2. What's in the Box
- AnseTo HS-ST02 Solar Sprinkler Timer (1 unit)
- Quick Connect Adapter (1 unit)
- Extra O-ring (1 unit)
- Thread Seal Tape (1 roll)
- User Manual (this document)
3. Product Overview
Familiarize yourself with the main components of your AnseTo Solar Sprinkler Timer:
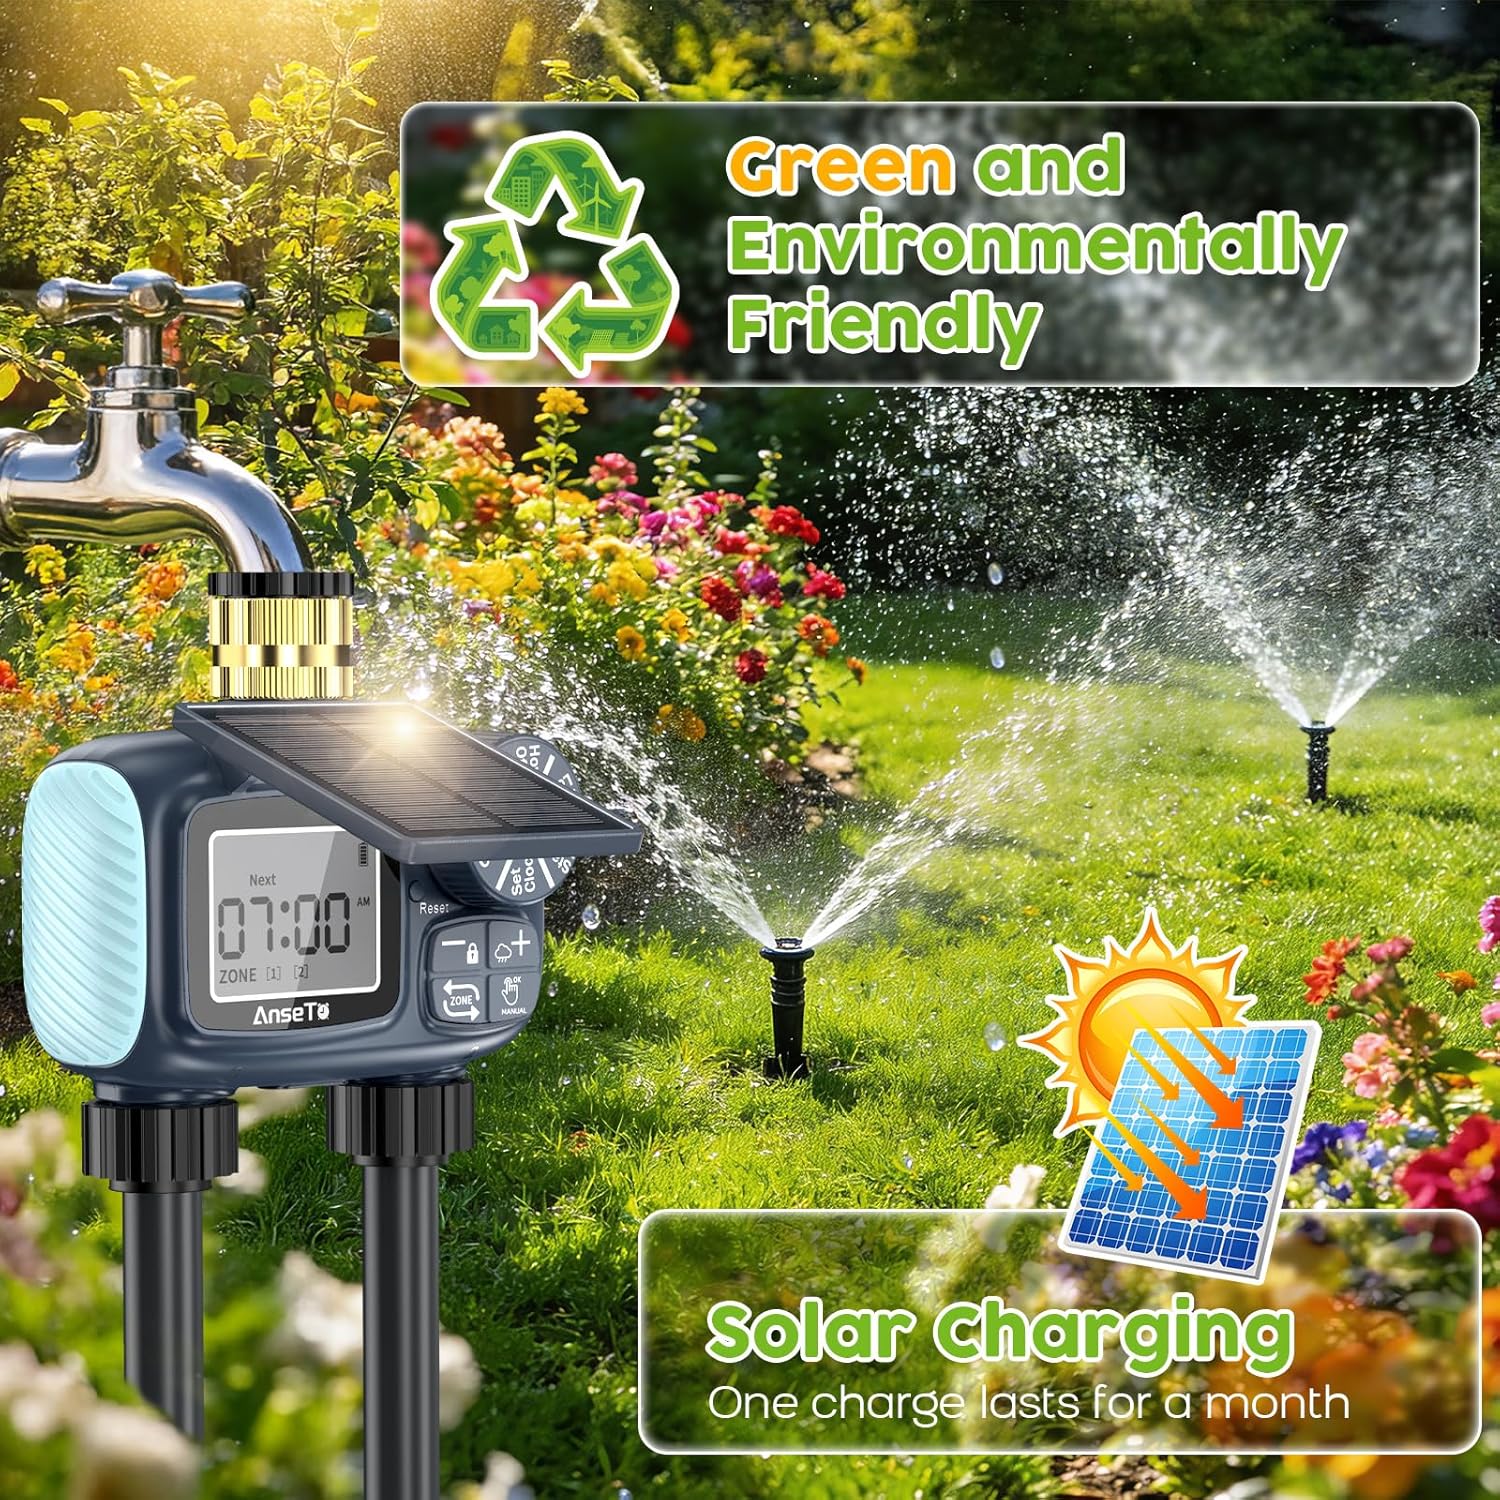
Figure 3.1: Front view of the AnseTo Solar Sprinkler Timer, highlighting the adjustable solar panel, LCD display, control dial, and dual outlets.
- Adjustable Solar Panel: Collects sunlight to charge the internal battery. Can be adjusted to various angles (30°, 60°, 90°, 120°) for optimal sun exposure.
- Brass Inlet: High-quality brass connection for durability and stability when attached to a faucet. Includes a metal filter screen.
- LCD Display: Shows current time, watering schedule, battery status, and other settings.
- Control Dial: Used to navigate through different setting modes (OFF, Set Clock, Start Time, How Long, How Often, ON).
- Buttons: '+', '-', 'OK', 'Manual', 'Zone' buttons for adjusting values and selecting options.
- Dual Outlets: Allows for independent programming and watering of two separate zones.
- Type-C Charging Port: For initial charging or supplemental charging if solar power is insufficient.

Figure 3.2: Detailed view of the adjustable solar panel, brass water inlet, and metal filter screen.
Video 3.1: A brief overview of the AnseTo Solar Sprinkler Timer, highlighting its brass inlet and key features.
4. Setup Instructions
Follow these steps to set up your AnseTo Solar Sprinkler Timer:
- Initial Charging: Before first use, fully charge the product using a Type-C charging cable (not included). This ensures the internal battery is ready for operation.
- Attach to Faucet: Securely screw the brass inlet of the timer onto your garden faucet. Ensure the included O-ring is properly seated to prevent leaks. Use the provided thread tape if necessary for a tight seal.
- Connect Hoses: Attach your garden hoses or irrigation lines to the dual outlets at the bottom of the timer.
- Position Solar Panel: Adjust the solar panel to the most suitable angle (30°, 60°, 90°, or 120°) to receive maximum sunlight throughout the day. This ensures continuous charging and optimal performance.
- Set Clock:
- Turn the control dial to 'Set Clock'.
- Use the '+' and '-' buttons to adjust the hour and minutes. Press 'OK' to switch between hour and minute settings.
- Select 12H or 24H time format by pressing 'OK' when '24H' appears.
- Press 'OK' to confirm the time.
Video 4.1: Step-by-step guide on setting up the AnseTo Solar Water Timer, including clock and initial settings.
5. Operating Instructions
The AnseTo Solar Sprinkler Timer offers flexible programming for automatic and manual watering.
5.1. Automatic Watering Schedule
To set an automatic watering schedule for each zone:
- Select Zone: Press the 'ZONE' button to toggle between Zone 1 and Zone 2. Program each zone independently.
- Set Start Time:
- Turn the control dial to 'Start Time'.
- Use '+' and '-' buttons to set the desired start time for watering. Press 'OK' to confirm.
- Set Watering Duration ('How Long'):
- Turn the control dial to 'How Long'.
- Use '+' and '-' buttons to set the watering duration (from 1 minute to 239 minutes). Press 'OK' to confirm.
- Set Watering Frequency ('How Often'):
- Turn the control dial to 'How Often'.
- Use '+' and '-' buttons to set how often the timer waters (e.g., every 1 hour to 12 hours, or every 1 day to 7 days). Press 'OK' to confirm.
- Activate Schedule: Turn the control dial to 'ON' to activate the programmed watering schedule.

Figure 5.1: Example of independent zone control settings for different plant needs.
Video 5.1: Detailed operation manual for setting up the 2-zone watering schedule.
5.2. Manual Watering
To initiate manual watering without affecting your programmed schedule:
- Press and hold the 'Manual' button.
- The display will show a default manual watering duration (e.g., 10 minutes). Use '+' and '-' to adjust the duration if needed.
- Press 'OK' to start manual watering.
- To stop manual watering, press and hold the 'Manual' button again.

Figure 5.2: Illustration of manual watering mode and automatic watering schedule.
5.3. Rain Delay Function
To temporarily pause your watering schedule due to rain:
- Press and hold the '+' button (rain delay icon).
- Use '+' and '-' buttons to select the desired delay duration (24H, 48H, or 72H).
- Press 'OK' to confirm the rain delay. The timer will automatically resume its schedule after the delay period.
- To cancel the rain delay, press and hold the '+' button again.

Figure 5.3: Rain Delay feature with options for 24, 48, or 72-hour delays.
5.4. Child Lock Function
To prevent accidental changes to your settings:
- Press and hold the '-' button (lock icon) to activate the child lock. A lock icon will appear on the display.
- To deactivate, press and hold the '-' button again.
6. Maintenance
Proper maintenance ensures the longevity and optimal performance of your sprinkler timer.
- Cleaning: Periodically wipe the solar panel and display with a soft, damp cloth to remove dirt and debris that may obstruct sunlight or visibility.
- Filter Screen: Regularly check and clean the metal filter screen in the brass inlet to prevent blockages from sediment or debris in your water supply.
- Winterization: This product is not antifreeze. During winter months or when temperatures are expected to drop below 5°C (41°F), disconnect the timer from the faucet and store it indoors in a dry, frost-free location. This prevents damage from freezing water.
- Battery: The built-in rechargeable battery is designed for continuous operation via solar charging. If prolonged periods of low sunlight occur, you may use the Type-C port for supplemental charging.
7. Troubleshooting
If you encounter issues with your AnseTo Solar Sprinkler Timer, refer to the following common problems and solutions:
| Problem | Possible Cause | Solution |
|---|---|---|
| No water flow | Faucet is off; low battery; clogged filter; incorrect programming; valve malfunction. | Ensure faucet is fully open. Check battery level and charge if necessary. Clean the inlet filter. Verify programming settings. Contact support if valve is suspected to be faulty. |
| Timer not watering at scheduled time | Incorrect clock setting; incorrect start time; timer set to 'OFF'; rain delay active; low battery. | Check and reset the clock. Verify 'Start Time' for each zone. Ensure the dial is set to 'ON'. Check if rain delay is active and cancel if needed. Charge the battery. |
| Water leaking from connections | Loose connection; missing/damaged O-ring; insufficient thread tape. | Tighten all connections. Check and replace O-rings if damaged. Apply thread tape to threaded connections. |
| Display is blank or dim | Low battery; solar panel obstructed. | Charge the timer via Type-C port. Ensure solar panel is clean and positioned for maximum sunlight exposure. |
| Child lock engaged, cannot change settings | Child lock activated. | Press and hold the '-' button to deactivate the child lock. |
8. Specifications
| Feature | Detail |
|---|---|
| Model Number | HS-ST02 |
| Brand | AnseTo |
| Material | Plastic (Casing), Brass (Inlet) |
| Product Dimensions | 5"D x 4.5"W x 2.4"H |
| Number of Settings | 20 (various combinations of duration and frequency) |
| Water Outlets | 2 (independent control) |
| Power Source | Solar-powered with built-in rechargeable battery (Type-C charging) |
| Waterproof Rating | IP55 |
| Rain Delay Options | 24H, 48H, 72H |
| Watering Duration | 1 minute to 239 minutes |
| Watering Frequency | Every 1-12 hours or every 1-7 days |
9. Warranty and Support
AnseTo products are designed for reliability and performance. For warranty information, technical assistance, or any questions regarding your HS-ST02 Solar Sprinkler Timer, please refer to the contact information provided on the product packaging or visit the official AnseTo website. Our customer service team is available to assist you.


