1. Introduction
Thank you for purchasing the ACEBEAM X20-R LUXEON HL4X LED Flashlight. This high-performance flashlight is designed for reliability and versatility, offering up to 10,000 lumens of output. Please read this manual thoroughly before using the product to ensure proper operation and maintenance.
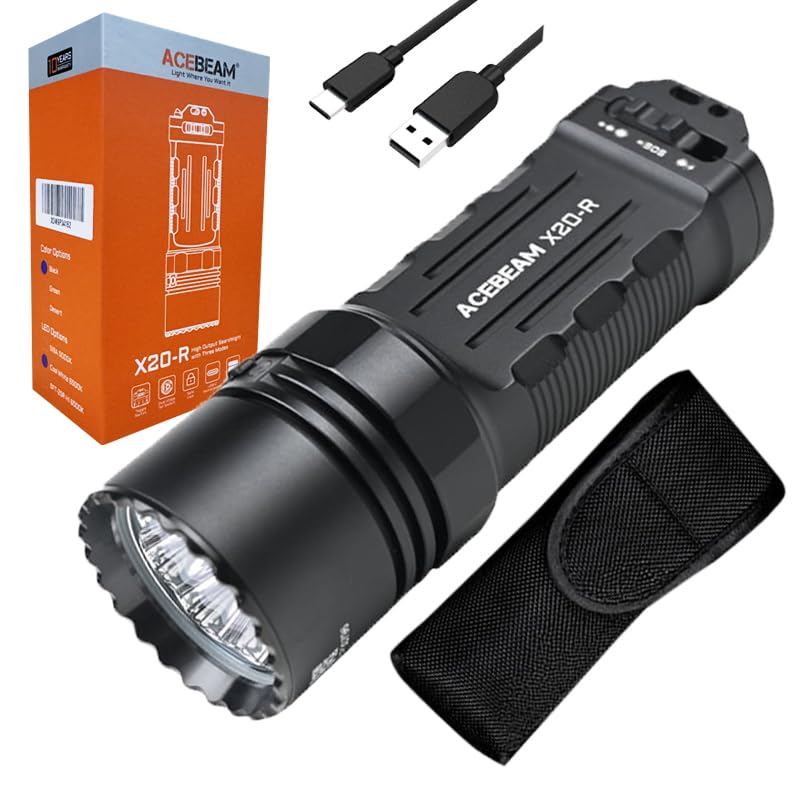
Image 1.1: The ACEBEAM X20-R LUXEON HL4X LED Flashlight, showcasing its compact design and black finish.
2. Safety Instructions
To prevent injury or damage to the flashlight, observe the following safety precautions:
- Do not shine the flashlight directly into eyes. The high intensity beam can cause temporary vision impairment or permanent eye damage.
- Keep out of reach of children.
- Do not disassemble the flashlight head or main body. This may damage the flashlight and void the warranty.
- Use only recommended batteries. Incorrect battery types may cause damage or explosion.
- Avoid exposing the flashlight to extreme temperatures or direct sunlight for prolonged periods.
- Ensure the USB-C charging port cover is securely closed when not charging to maintain water resistance.
3. Package Contents
Please check the package contents upon receipt. If any items are missing or damaged, contact your retailer.
- ACEBEAM X20-R LUXEON HL4X LED Flashlight
- 2 x 3000mAh Li-ion Batteries (included and pre-installed)
- Eco-Sensa USB-C Charging Cable
- User Manual (this document)
4. Setup
4.1 Battery Installation
The ACEBEAM X20-R comes with two 3000mAh Li-ion batteries pre-installed. If you need to replace them:
- Unscrew the tail cap of the flashlight counter-clockwise.
- Insert the new 18650 Li-ion batteries with the positive (+) terminal facing towards the head of the flashlight.
- Screw the tail cap back on clockwise until it is finger-tight.
4.2 Charging
The flashlight supports direct USB-C charging. Ensure the flashlight is turned off before charging.
- Locate the USB-C charging port on the flashlight body.
- Open the rubber cover of the USB-C port.
- Connect the provided Eco-Sensa USB-C charging cable to the flashlight and to a compatible USB power source (e.g., wall adapter, computer USB port).
- The indicator light near the charging port will show charging status (e.g., red for charging, green for fully charged).
- Once charging is complete, disconnect the cable and securely close the rubber cover to maintain water resistance.
5. Operating Instructions
The ACEBEAM X20-R features a toggle switch and a dual-stage tail switch for various operations.
5.1 Basic Operation (Tail Switch)
- Momentary ON: Half-press the tail switch. Release to turn off.
- Constant ON/OFF: Fully press the tail switch until it clicks to turn the flashlight ON. Fully press again to turn OFF.
- Turbo Mode: From OFF, fully press and hold the tail switch to instantly access Turbo mode. Release to turn off.
- Strobe Mode: From OFF, quickly double-press and hold the tail switch to activate Strobe mode. Release to turn off.
5.2 Mode Selection (Toggle Switch)
The toggle switch allows selection between Duty, Ultra Low/SOS, and other brightness modes.
- Duty Mode: Toggle the switch to the "Duty" position. Use the tail switch to cycle through brightness levels (Ultra Low, Low, Med1, Med2, High, Turbo) with a single press while ON.
- Ultra Low/SOS Mode: Toggle the switch to the "Ultra Low/SOS" position. A single press of the tail switch will activate Ultra Low. A quick double-press will activate SOS.
- Mechanical Lock: The patented mechanical lock prevents accidental activation during transport. Ensure the toggle switch is in the locked position when not in use.
5.3 Brightness Levels and Runtime
The flashlight offers multiple brightness levels. Runtimes are approximate and may vary based on environmental conditions and battery age.
| Mode | Output (Lumens) | Runtime | Beam Distance (Meters) |
|---|---|---|---|
| Ultra Low | 90 | 28 hours | 40 |
| Low | 170 | 18 hours | 58 |
| Med1 | 450~170 | 8h~20min | 85 |
| Med2 | 850~170 | 4.5h~20min | 120 |
| High | 2100~170 | 1.7h ~ 20min | 180 |
| Turbo | 10000~2400~170 | 50s ~ 1h20min~20min | 440 |
| Strobe | 10000~2400 | 3min~3h | - |
| SOS | 10000~2000 | 3min~3.5h | - |
Note: Output levels above 170 lumens are regulated and will step down to prevent overheating and prolong battery life.
6. Maintenance
- Cleaning: Clean the flashlight body with a soft, damp cloth. Do not use abrasive cleaners or solvents.
- O-rings: Periodically check and lubricate the O-rings with silicone grease to maintain water resistance. Replace O-rings if they are damaged or worn.
- Threads: Keep the threads of the tail cap clean and lightly lubricated to ensure smooth operation and good electrical contact.
- Battery Care: If the flashlight will not be used for an extended period, remove the batteries to prevent leakage. Store batteries in a cool, dry place.
7. Troubleshooting
| Problem | Possible Cause | Solution |
|---|---|---|
| Flashlight does not turn on |
|
|
| Intermittent operation |
|
|
| Charging not working |
|
|
8. Specifications
| Feature | Detail |
|---|---|
| LED | 8 x LUXEON HL4X LEDs (6500K) |
| Max Output | 10,000 lumens |
| Max Beam Distance | 440 meters |
| Max Runtime | 28 hours (Ultra Low mode) |
| Peak Beam Intensity | 48,400 cd |
| Power Source | 2 x 3000mAh Li-ion batteries (included) |
| Charging | USB-C direct charging |
| Material | AL6061-T6 High-Quality Aluminum Alloy |
| Finish | HA III hard-anodized anti-abrasive and corrosion-resistant |
| Water Resistance | IP68 (submersible to 2 meters for 30 minutes) |
| Impact Resistance | 1.5 meters |
| Dimensions (L x Head Dia. x Body Dia.) | 136.3mm x 45.5mm x 22.6mm |
| Weight (incl. battery) | 293g |
9. Warranty and Support
9.1 Manufacturer Warranty
ACEBEAM provides a manufacturer warranty for 2 years from the date of purchase. This warranty covers defects in materials and workmanship under normal use. Please retain your proof of purchase for warranty claims.
9.2 Customer Support
For technical assistance, warranty claims, or general inquiries, please contact ACEBEAM customer support through their official website or your authorized retailer. Refer to the product packaging or ACEBEAM's official website for the most current contact information.