Introduction
Thank you for choosing the TONOR E7 Dynamic Podcast Microphone Kit. This comprehensive kit combines a professional dynamic microphone with an audio interface mixer, designed to provide an immersive audio experience for podcasting, recording, game streaming, and content creation. This manual provides detailed instructions for setup, operation, and maintenance to ensure optimal performance and longevity of your device.
What's in the Box
Please check the package contents to ensure all items are present:
- 1 x Dynamic Microphone (MIC)
- 1 x XLR Cable
- 1 x Boom Arm Kit
- 1 x Audio Interface Mixer
- 2 x USB Type-A to Type-C Cables
- 1 x 3.5mm TRS Audio Cable
- 2 x User Manuals

Image: The complete TONOR E7 Dynamic Podcast Microphone Kit, including the microphone, mixer, and boom arm.
Setup Guide
Follow these steps to set up your TONOR E7 Dynamic Podcast Microphone Kit:
- Assemble the Boom Arm: Securely attach the desk mount clamp to your table. Insert the adjustable suspension scissor arm stand into the clamp and tighten it. Adjust the arm to your desired position.
- Attach the Microphone: Mount the microphone onto the boom arm. Ensure it is firmly attached to prevent movement during use.
- Connect the Microphone to the Mixer: Use the provided XLR cable to connect the microphone to the XLR input on the audio interface mixer. For USB connectivity, connect the microphone directly to your computer using a USB-C to USB-A cable.
- Connect the Mixer to Your Computer: Use one of the USB Type-A to Type-C cables to connect the audio interface mixer to your computer (Mac OS, Windows, PS4/PS5).
- Connect Additional Audio Devices: Use the 3.5mm TRS audio cable to connect external audio devices to the LINE IN port. Connect headphones to the HEADPHONE or HEADSET output ports for monitoring.
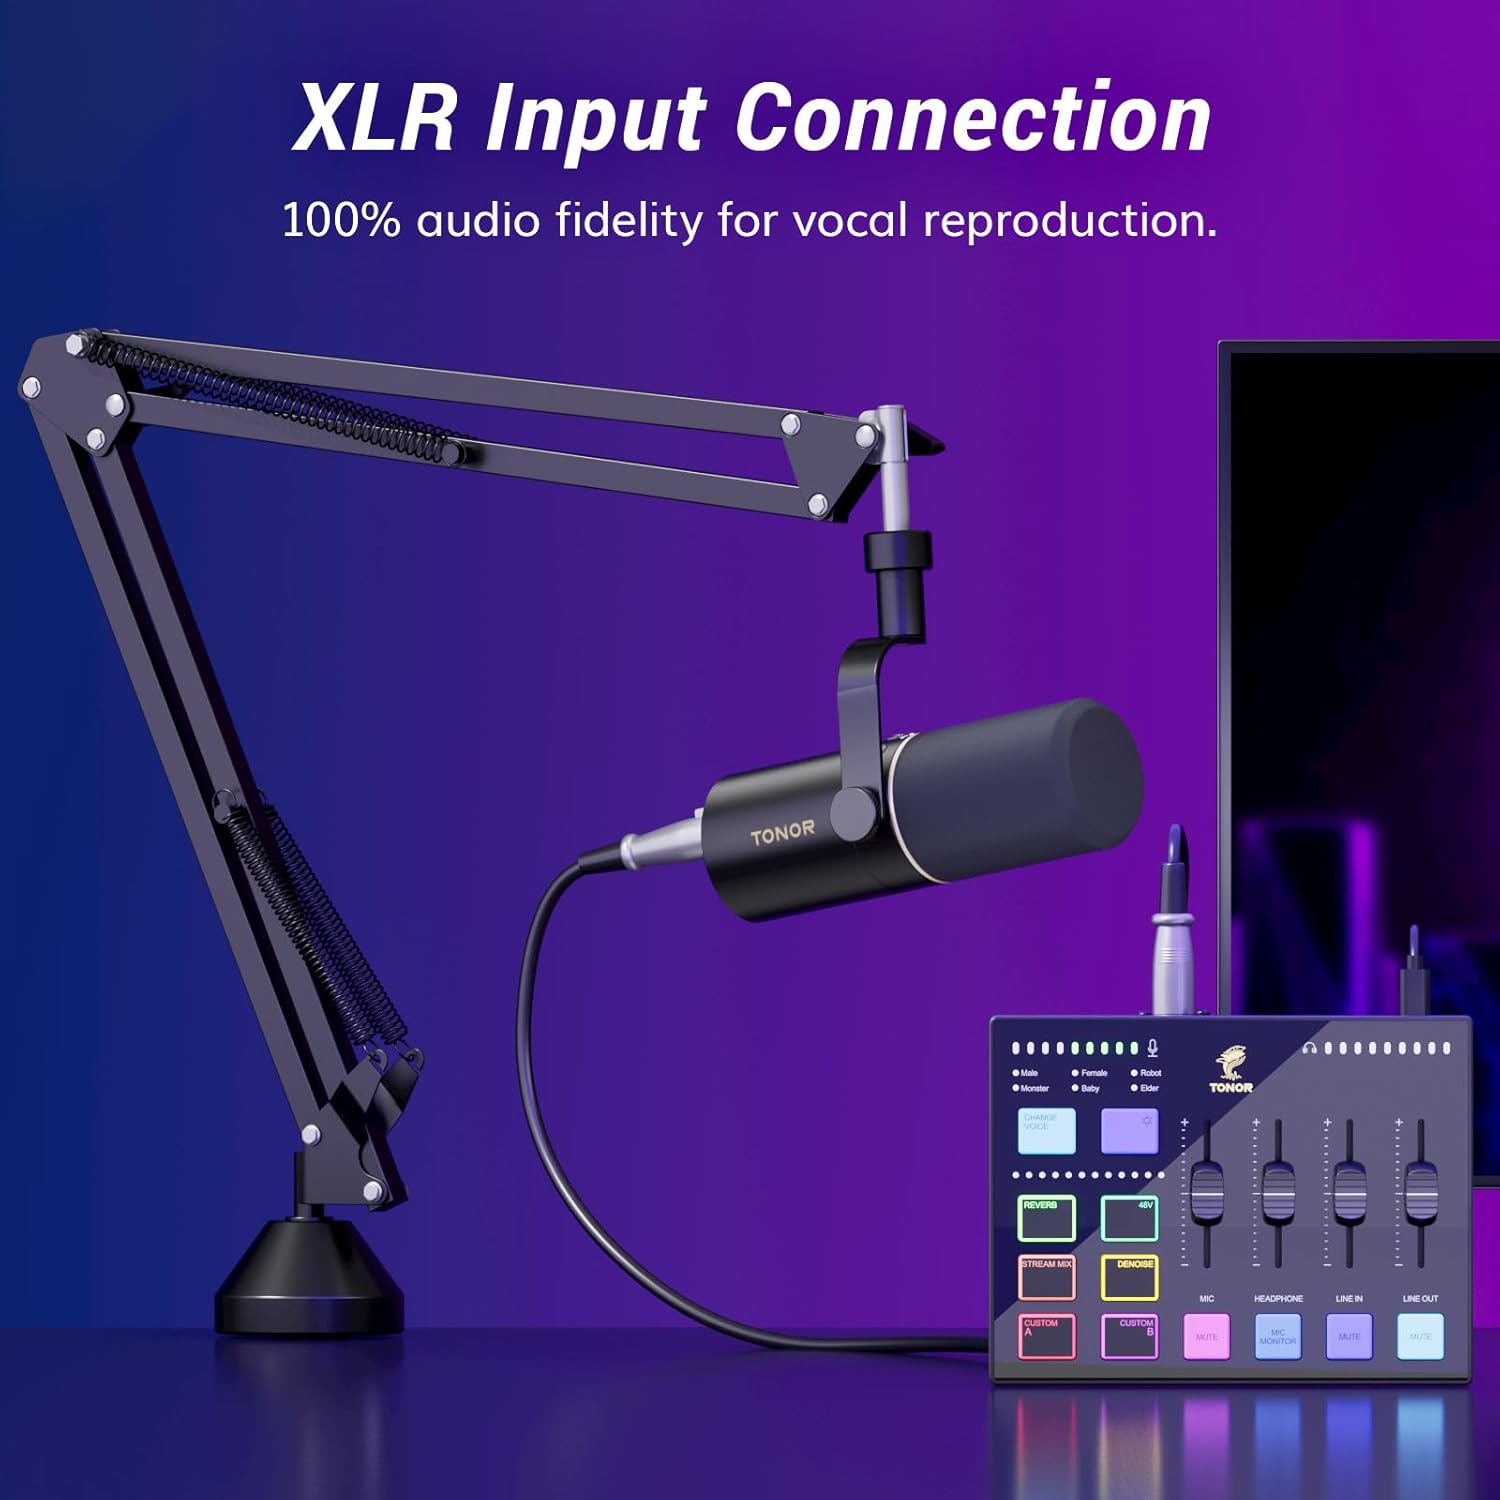
Image: Close-up of the TONOR E7 microphone showing the XLR input connection for high-fidelity audio.

Image: Diagram of the TONOR E7 audio mixer's input and output ports, highlighting wide compatibility with various devices like PCs, headphones, speakers, XLR mics, and instruments.
Video: An unboxing and setup guide for a TONOR microphone, demonstrating how to assemble the components and connect the microphone.
Operating Instructions
The TONOR E7 audio interface mixer provides extensive control over your audio. Familiarize yourself with the following functions:
- Volume Sliders: Adjust the volume independently for microphone, line-in, headphone, and line-out channels using the smooth sliders.
- Mute Button: Use the dedicated mute button for quick and convenient audio management.
- Real-time Mic Monitoring: Monitor your voice in real-time through connected headphones, ensuring clear feedback during live streams or recordings.
- RGB Lighting Effects: Choose from 11 built-in customizable RGB lighting modes to match your streaming setup or personal preference.
- Customizable Buttons: Utilize 2 pre-recorded customizable buttons for quick access to frequently used functions.
- Voice-Changing Modes: Experiment with 6 voice-changing modes for creative content.
- Reverb Adjustment: Adjust the 12-level reverb to add depth and richness to your audio.
- AI Noise Reduction: Activate AI noise reduction for a cleaner, more professional sound by minimizing background noise.
- Music Mixing Streaming: Seamlessly mix music into your streams for enhanced content.
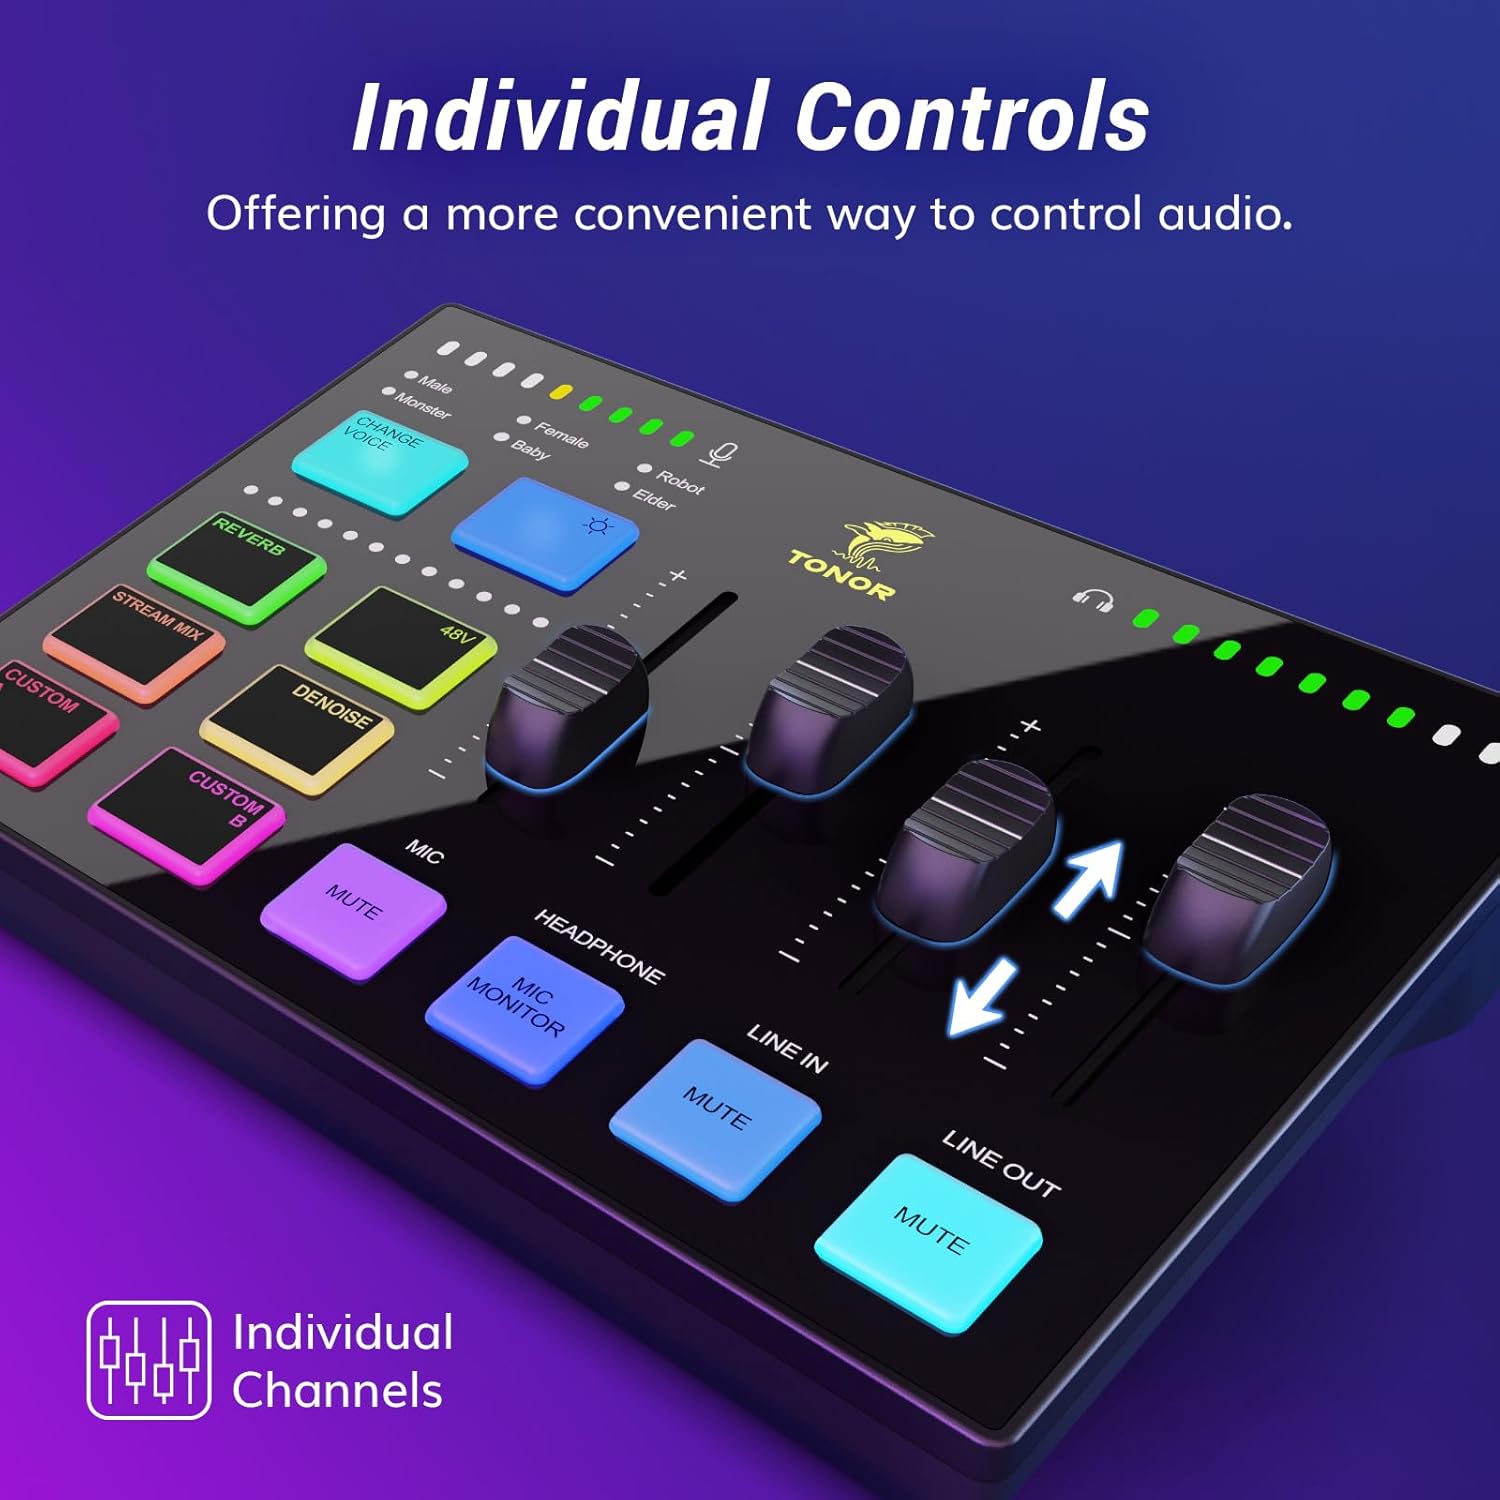
Image: Detailed view of the TONOR E7 audio mixer with individual sliders for microphone, headphone, line-in, and line-out, along with mute buttons and other controls.

Image: Angled view of the TONOR E7 audio mixer showcasing its vibrant RGB lighting effects.
Video: A review of the TONOR Dynamic Microphone, highlighting its USB/XLR plug-and-play functionality and sound quality.
Specifications
| Feature | Detail |
|---|---|
| Brand | TONOR |
| Model Name | E7 |
| Connectivity Technology | Auxiliary, USB, XLR |
| Connector Type | USB Connection |
| Special Feature | Plug and play |
| Compatible Devices | Headphone, Microphone, Personal Computer, Speaker |
| Color | Black |
| Item Weight | 2320 Grams |
| Item Dimensions (L x W x H) | 16.69 x 8.5 x 6.06 inches |
| Number of Channels | 7 |
| Manufacturer | TONOR |
Maintenance
To ensure the longevity and optimal performance of your TONOR E7 Microphone Kit, please follow these maintenance guidelines:
- Cleaning: Use a soft, dry cloth to clean the microphone and mixer surfaces. Avoid using harsh chemicals or abrasive materials that could damage the finish.
- Storage: When not in use, store the microphone and mixer in a cool, dry place away from direct sunlight and extreme temperatures.
- Cable Care: Avoid bending or twisting cables excessively. Store cables neatly to prevent damage.
Troubleshooting
If you encounter any issues with your TONOR E7 Microphone Kit, please refer to the following common troubleshooting tips:
- No Sound Output:
- Ensure all cables (XLR, USB, 3.5mm) are securely connected.
- Check the volume sliders on the mixer and your computer's audio settings.
- Verify that the correct input device (TONOR E7) is selected in your computer's sound settings.
- Poor Sound Quality:
- Ensure the microphone is positioned correctly, speaking directly into the top of the microphone.
- Activate the AI noise reduction feature on the mixer.
- Check for any interference from other electronic devices.
- RGB Lights Not Working:
- Ensure the mixer is powered on and connected correctly.
- Cycle through the RGB lighting modes to see if they respond.
Warranty and Support
TONOR provides a TWO-YEAR warranty from the date of purchase for the E7 Dynamic Podcast Microphone Kit. This warranty covers manufacturing defects and ensures your product functions as intended.
For technical support, warranty claims, or any inquiries, please contact TONOR customer service. Refer to the contact information provided in the included user manuals or visit the official TONOR website.