1. Product Overview
The Poolin EOC07 is an advanced embroidery machine designed for both hobbyists and small businesses. It features a large embroidery area, intuitive touchscreen control, and smart connectivity for seamless design transfer.

Figure 1: Front view of the Poolin EOC07 Embroidery Machine.
2. Setup
2.1 Unboxing and Initial Placement
Carefully remove the machine and all accessories from the packaging. Place the machine on a stable, level surface. Due to its weight (approximately 35 pounds), it is recommended to have assistance when moving the machine to prevent injury.
2.2 Attaching the Extension Table
The extension table provides additional support for larger projects and hoops. Align the table with the machine's free arm and gently slide it into place until it clicks securely.

Figure 2: The Poolin EOC07 Embroidery Machine with its extension table attached, providing a larger work surface.
2.3 Power Connection
Connect the power cord to the machine and then to a suitable electrical outlet. Ensure the power switch is in the 'Off' position before connecting.
2.4 Included Starter Supplies
The machine comes with essential starter supplies, including embroidery thread, stabilizers, and pre-wound bobbins. These allow for immediate use and testing of the machine's capabilities.

Figure 3: The Poolin EOC07 Embroidery Machine displayed with its included starter supplies, such as thread, bobbins, and stabilizers.
3. Operating Instructions
3.1 Powering On and Touchscreen Navigation
Turn on the machine using the power switch. The 7-inch color touchscreen will display the Institch OS3 interface. Navigate through menus using touch gestures to select designs, adjust settings, and monitor progress.

Figure 4: The 7-inch touchscreen displaying the Institch OS3 system, showing the three easy steps to start embroidery: Choose Design, Place Fabric, Start Embroidering.
3.2 Design Transfer and Selection
Designs can be transferred wirelessly via Wi-Fi through the Institch website or directly using a USB drive. The machine supports DST and DSB embroidery file formats. Select your desired design from the machine's memory or transferred files.
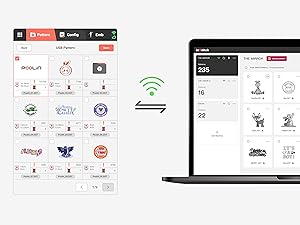
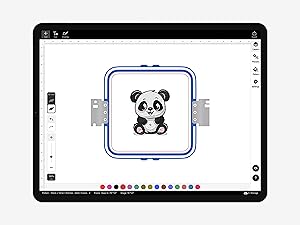
Figure 5: Options for design transfer, including USB and Institch Cloud, and design selection interface.
3.3 Hooping Fabric
Choose the appropriate hoop size for your project. The EOC07 supports 5.5"x5.5", 7.9"x7.9", and 7.9"x15" embroidery areas. Securely hoop your fabric with suitable stabilizer to ensure optimal stitch quality.
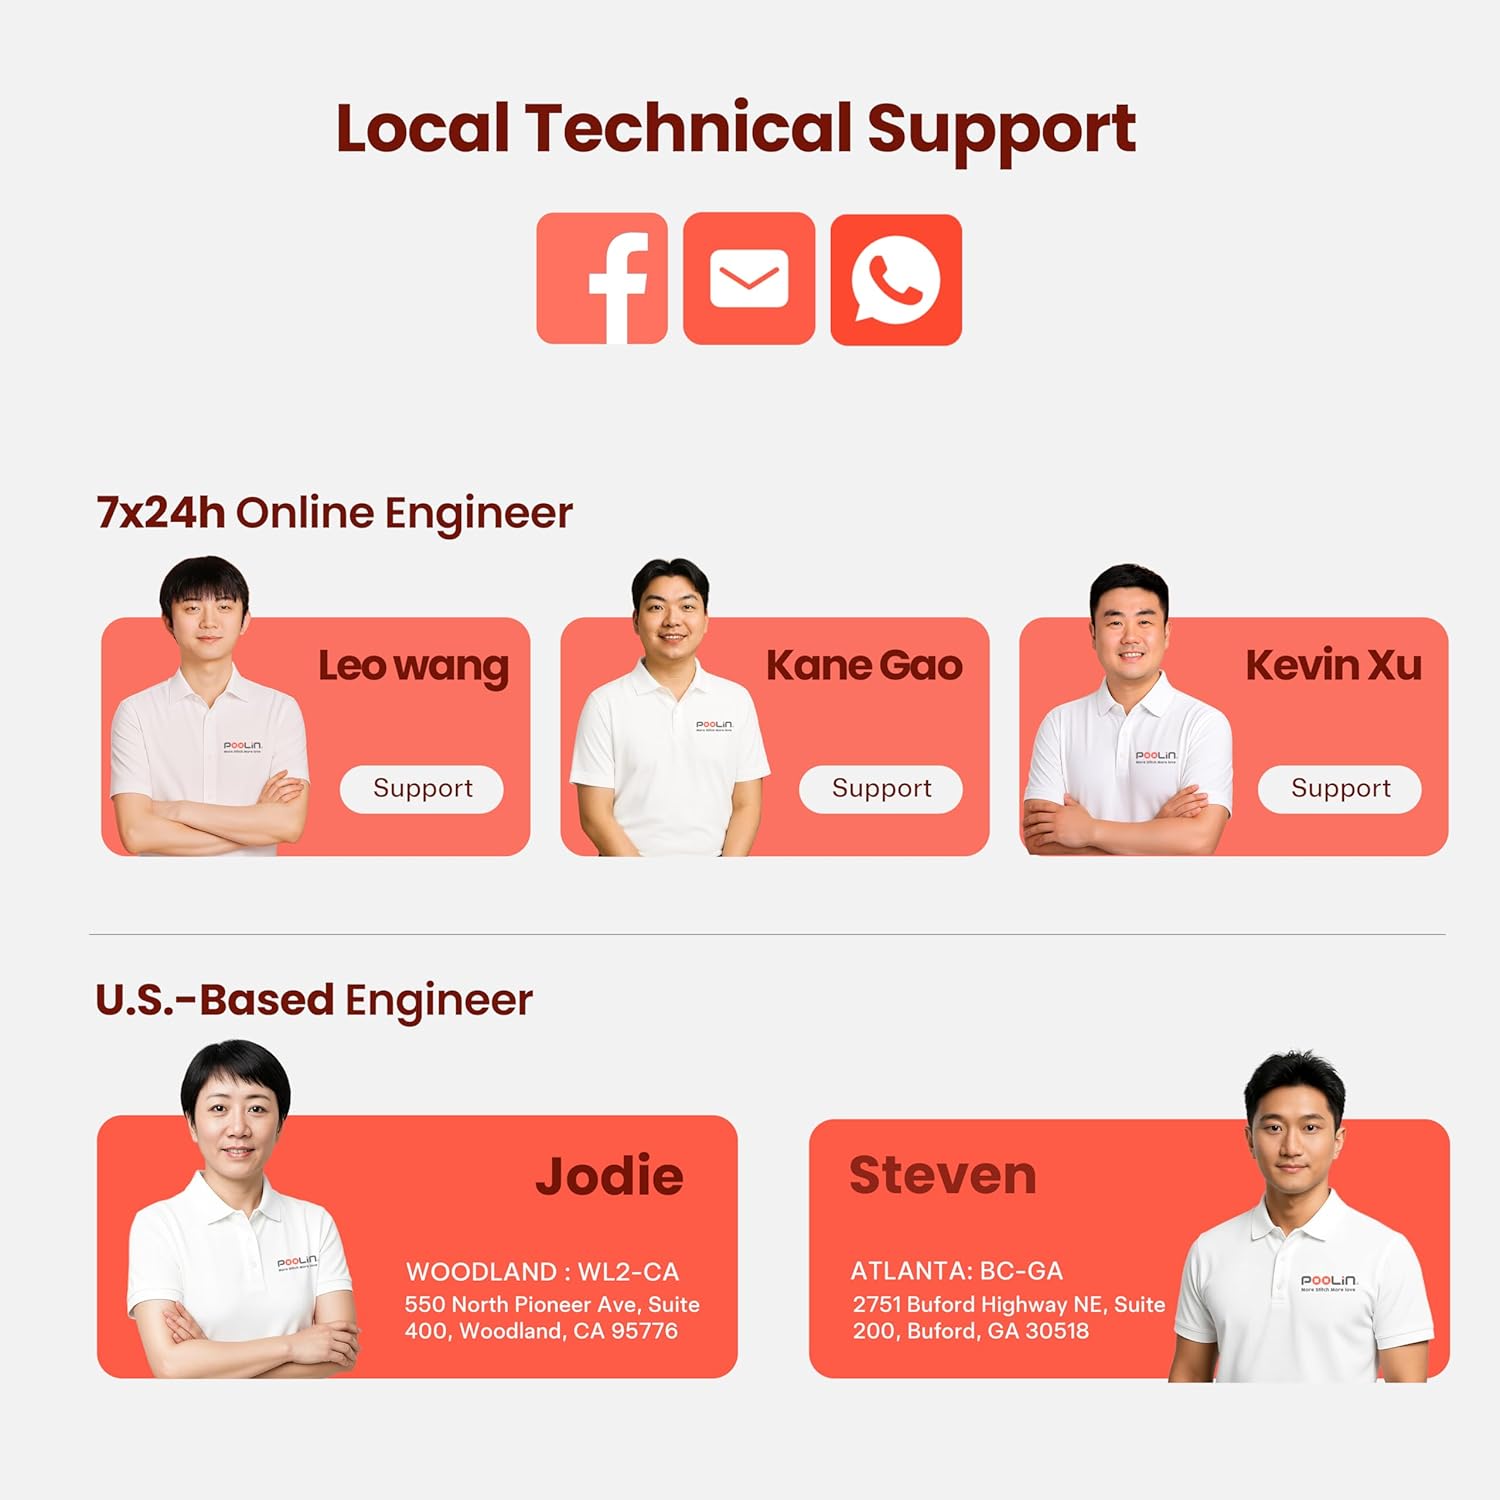
Figure 6: Illustration of the different hoop sizes available for the Poolin EOC07, demonstrating versatility for various project dimensions.
3.4 Starting Embroidery
Once the design is selected and the fabric is hooped, attach the hoop to the machine. Follow the on-screen prompts to thread the machine and begin stitching. The clear display provides real-time stitch progress tracking.
Video 1: Demonstrates the process of hooping fabric and initiating an embroidery project on the Poolin EOC07 machine.
Video 2: Shows the creation of a double applique letter embroidery project, highlighting the machine's precision.
Video 3: Illustrates the process of embroidering patches and applying them to a lunch bag, showcasing versatility.
4. Maintenance
Regular maintenance ensures the longevity and optimal performance of your Poolin EOC07. Always power off and unplug the machine before performing any maintenance.
4.1 Cleaning
- Bobbin Area: Regularly remove the needle plate and clean out any lint or thread residue from the bobbin case area using a small brush or vacuum.
- Feed Dogs: Ensure the feed dogs are free of debris for smooth fabric movement.
- Exterior: Wipe down the exterior of the machine with a soft, dry cloth. Avoid using harsh chemicals.
4.2 Oiling (if applicable)
Refer to the detailed manual for specific instructions on oiling points and frequency. Use only recommended sewing machine oil.
4.3 Needle Replacement
Replace needles regularly, especially when starting a new project or if you notice skipped stitches or thread breaks. Use the correct needle type and size for your fabric.
5. Troubleshooting
This section addresses common issues you might encounter. For detailed troubleshooting steps, refer to the comprehensive manual or contact customer support.
5.1 Common Issues
- Thread Breaks: Check for proper threading, correct needle size, burrs on the needle plate, or incorrect tension.
- Skipped Stitches: Ensure the needle is inserted correctly, is not bent or dull, and is the appropriate type for the fabric.
- Poor Stitch Quality: Verify tension settings for both upper and bobbin threads, use quality thread and stabilizer, and ensure proper hooping.
- Machine Not Responding: Check power connection, ensure the foot pedal (if used) is connected, and restart the machine.
6. Specifications
| Feature | Specification |
|---|---|
| Brand | Poolin |
| Model Number | EOC07 |
| Color | White |
| Material | Metal, Plastic |
| Product Dimensions (D x W x H) | 23"D x 27"W x 12.5"H |
| Item Weight | 35 Pounds |
| Power Source | Corded Electric |
| Embroidery Area Sizes | 5.5"x5.5", 7.9"x7.9", 7.9"x15" |
| Touchscreen | 7-inch Color Touchscreen Institch OS3 |
| Connectivity | Wi-Fi, USB |
| Included Components | 1 machine, 2 hoops 5.5x5.5 inch, 1 hoop 7.9x7.9 inch, 1 hoop 7.9x15 inch, 6 rolls thread, 100 pieces backing paper, 24 rolls bobbins, 1 thread rack stand, 1 Instruction manual, 1 operation guide, 1 Accessories Bag |
7. Warranty and Support
7.1 Manufacturer's Warranty
The Poolin EOC07 Embroidery Machine comes with a 1 Year Manufacturer Warranty covering defects in materials and workmanship.
7.2 Extended Protection Plans
Optional extended protection plans are available for purchase:
- 3-Year Protection Plan
- 4-Year Protection Plan
- Complete Protect (monthly billing for eligible past and future purchases)
7.3 Customer Support
Poolin offers free one-on-one after-sales support to assist with any issues or questions. Detailed manuals and a quick start guide are also provided to help users efficiently resolve problems and continue their projects.

Figure 7: Poolin's local technical support team, including online and U.S.-based engineers, available via Facebook, email, and WhatsApp.