1. Introduction
This manual provides detailed instructions for the installation, operation, and maintenance of your AZIJYV M1 Heads Up Display. Please read this manual thoroughly before using the product to ensure proper function and safety.
2. Product Overview
2.1 Key Features
- GPS Mode Heads Up Display: Projects essential driving data onto your windshield.
- Simple Display: Focuses on speed for minimal driver distraction.
- Main Functions: Displays speed, GPS compass direction, overspeed alarm, and fatigue driving warning.
- Speed Units: Supports both MPH and KM/H, adjustable in settings.
- Automated Brightness: Adjusts display brightness based on ambient light conditions, with manual adjustment option.
- Plug and Play Installation: Connects via USB cable to the car.
- Universal Compatibility: Works with all vehicle models by collecting speed from GPS satellites.
- Automatic Switch: Turns on and off with the car engine.
- Dual-mode Chip: GPS+Beidou for stronger signal and rapid speed refresh.
2.2 Product Components
The AZIJYV M1 Heads Up Display package includes the following items:
- M1 Head-Up Display Unit
- USB Cable
- Reflective Film
- English Manual
- 3M Sticker

Image: Contents of the AZIJYV M1 Heads Up Display package.

Image: Dimensions and button layout of the M1 HUD unit.
3. Setup and Installation
3.1 Initial Placement
Place the M1 Heads Up Display unit on your dashboard in a position that allows for clear projection onto the windshield without obstructing your view of the road.
3.2 Connecting Power
- Connect the provided USB cable to the M1 HUD unit.
- Plug the other end of the USB cable into a car charger or USB port in your vehicle.
- Start the car engine to power on the device. The device will automatically turn on and off with the car's ignition.

Image: Step-by-step guide for non-destructive installation of the HUD unit.
3.3 Reflective Film Application (Optional)
For clearer projection, especially in bright conditions, you can apply the included reflective film to your windshield.
- Clean the glass thoroughly in the projection area on your windshield.
- Remove protective film 1 from the reflective film.
- Paste the reflective film vertically onto the cleaned glass area.
- Carefully remove any air bubbles.
- Remove protective film 2.

Image: Instructions for applying the high-definition reflective film.
3.4 Satellite Signal Acquisition
After powering on, the satellite icon on the display will flash continuously, indicating that the product is searching for satellites. The speed will only be displayed once the device successfully acquires a satellite signal. For best results, ensure your car is in an open area away from garages, overpasses, or dense buildings during initial setup.

Image: Illustration of the GPS+Beidou dual-mode chip for enhanced signal.
4. Operating Instructions
4.1 Display Modes and Functions
The M1 HUD primarily displays vehicle speed. It also includes a GPS compass for driving direction, overspeed alarms, and fatigue driving warnings.
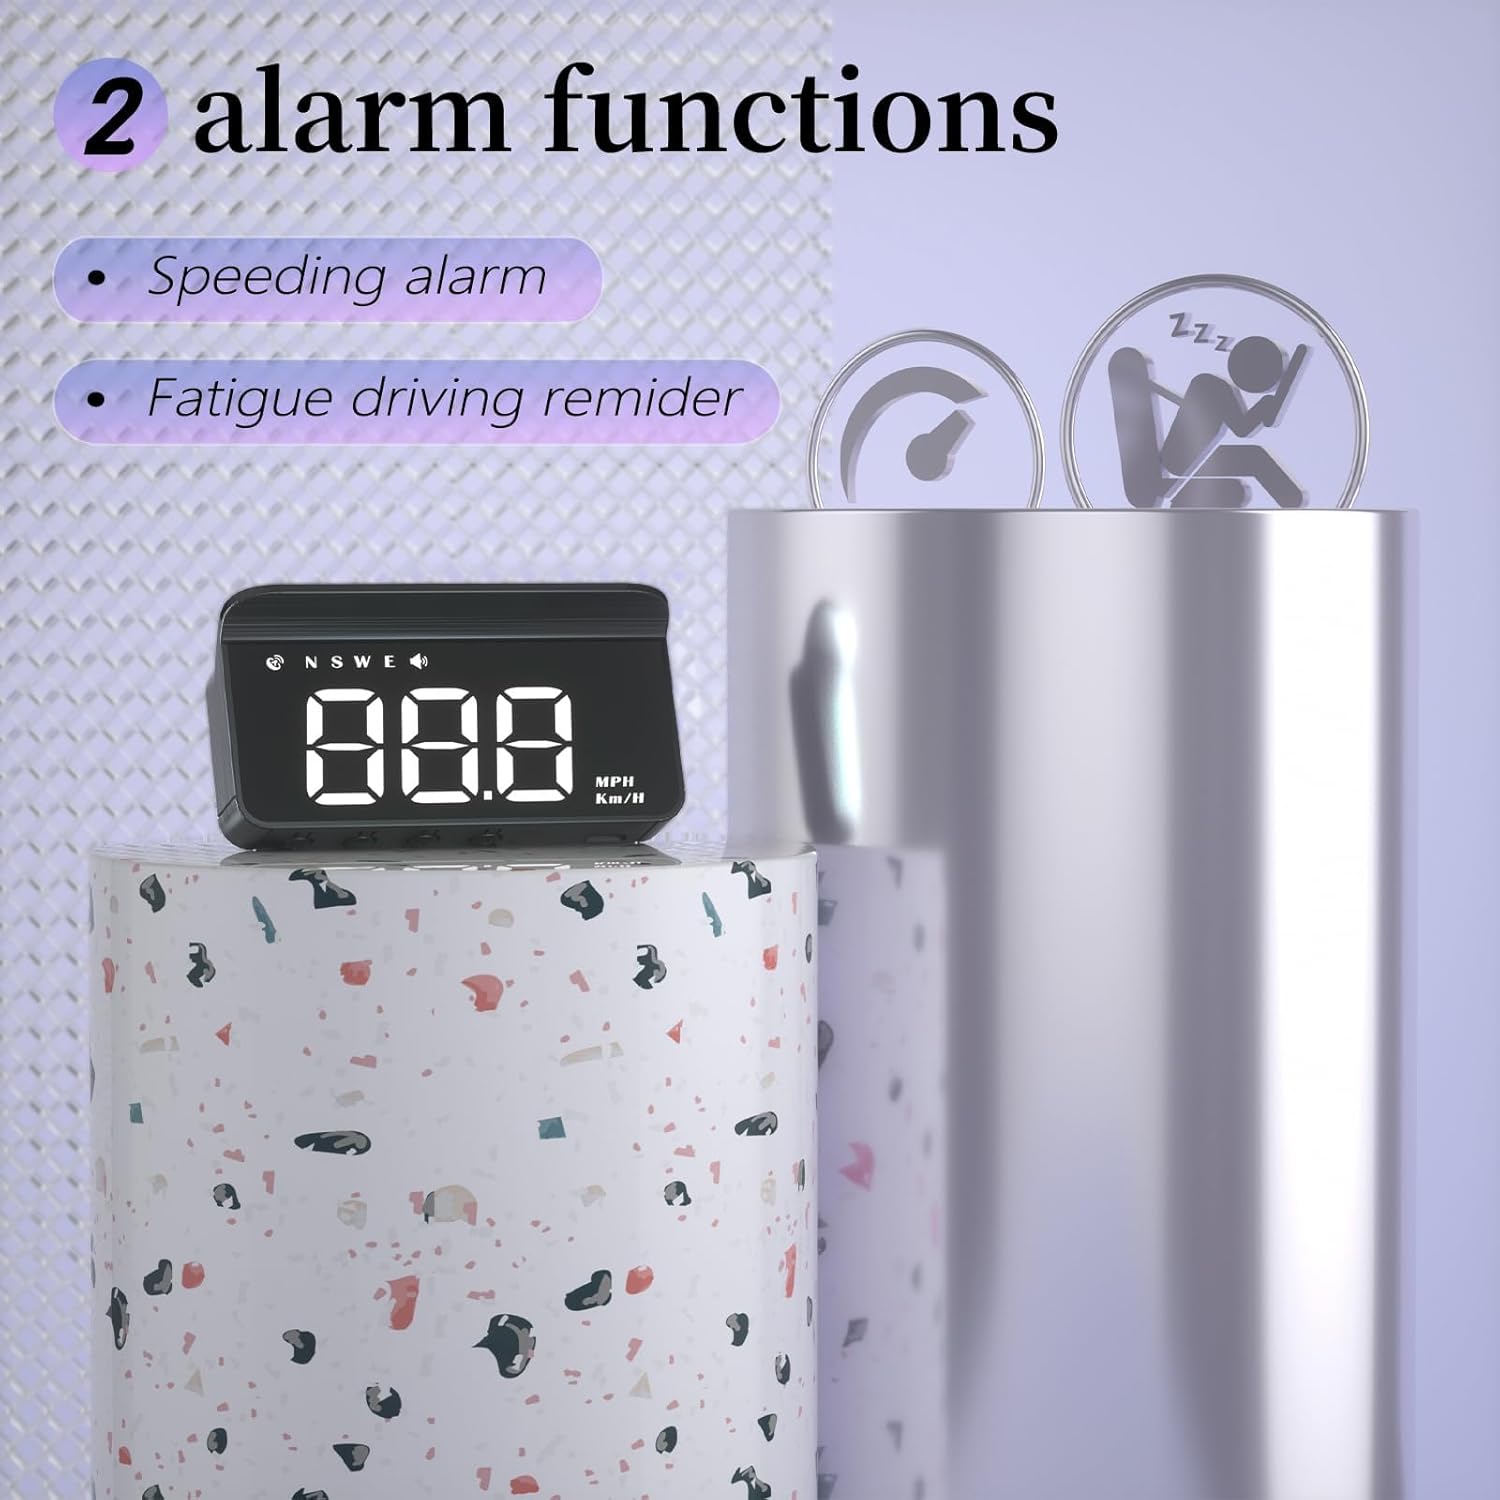
Image: Overview of the multi-function car display features.
4.2 Adjusting Speed Units (MPH/KM/H)
To switch between MPH and KM/H:
- Press and hold the "M" button for three seconds until the screen displays "1".
- Press the "+" button until the screen displays "5".
- Press the "M" button once. The screen will display "0 km/h".
- Press the "+" button once. The screen will display "1 mph".
- Press and hold the "M" button for three seconds to save the settings and exit.
Video: Demonstration of changing speed units (MPH/KM/H) on the M1 HUD.
4.3 Automated Brightness Adjustment
The device features advanced light-sensitive elements that automatically adjust display brightness. It brightens in strong daylight and dims at night. Manual brightness adjustment is also available.

Image: Day and night visibility of the HUD display with automatic brightness.
4.4 Safety Alarms
The M1 HUD includes a speeding alarm and a fatigue driving warning. These functions provide audible alerts to remind the driver to maintain safe driving practices.

Image: Visual representation of the speeding alarm and fatigue driving reminder features.
5. Maintenance
To ensure the longevity and optimal performance of your AZIJYV M1 Heads Up Display, keep the unit clean and free from dust. Use a soft, dry cloth for cleaning. Avoid using harsh chemicals or abrasive materials.
Ensure the USB connection is secure and free from damage. Do not expose the device to extreme temperatures or direct sunlight for prolonged periods when not in use.
6. Troubleshooting
6.1 Common Issues and Solutions
- No vehicle speed displayed: After power on, if the satellite icon flashes, it indicates the device is searching for a signal. Move the car to an open road and wait for the satellite icon to stop flashing for normal operation.
- Incorrect display of driving direction: When there is no vehicle speed, the satellite cannot accurately determine your driving direction. The direction will display normally once the vehicle speed exceeds 5 KM/H.
- Speed still displayed after the car stops: In underground parking lots, tunnels, or under overpasses, signal obstructions can cause unstable GPS signals and satellite drift, leading to an incorrect speed display. Drive your vehicle to an open road surface for accurate readings.
- Inaccurate Speed Reading: If the displayed speed is consistently different from your vehicle's speedometer, you can adjust the calibration. Press and hold the "M" button to enter settings. The first screen shows an adjustment value (e.g., 107). Adjust this value downwards if the HUD speed is too fast, or upwards if it's too slow. Press and hold "M" again to save and exit.
6.2 Important Notes
- Garages, overpasses, and dense buildings can affect GPS signal acquisition speed.
- Having another GPS device installed in your car may interfere with this product's signal acquisition. Avoid placing two GPS devices together.
- Vehicles with metal film on the windshield may also affect GPS signal reception.
- The working voltage of this product is 5V. Do not use power supplies with voltage higher than 5V.
7. Specifications
| Feature | Detail |
|---|---|
| Product Dimensions | 3 x 0.6 x 1.4 inches |
| Item Weight | 1.06 ounces (30 Grams) |
| Manufacturer | AZIJYV |
| Model Number | M1white |
| Material | Glass |
| Power Input | 5V (USB) |
| Speed Source | GPS Satellites |
8. Warranty Information
Specific warranty details for the AZIJYV M1 Heads Up Display are not provided in this manual. Please refer to the product packaging or contact the manufacturer directly for warranty terms and conditions.
9. Customer Support
For further assistance or inquiries regarding your AZIJYV M1 Heads Up Display, please refer to the contact information provided with your purchase or visit the official AZIJYV website.