1. Introduction
Thank you for choosing the Dingdongwu Nexaero F3 GPS Drone. This manual provides essential information for safe operation, setup, and maintenance of your drone. Please read it thoroughly before your first flight to ensure optimal performance and safety.
The Nexaero F3 is a lightweight, foldable GPS drone equipped with an EIS 2K camera, a 7.22-inch screen remote controller, and intelligent flight features designed for both beginners and experienced users.
2. Safety Guidelines
Always prioritize safety during drone operation. Failure to follow these guidelines may result in injury, property damage, or legal consequences.
- Pre-Flight Check: Ensure all components are in good condition and batteries are fully charged.
- Flight Environment: Fly in open areas, away from people, animals, buildings, and power lines. Avoid flying in strong winds (Level 5 wind resistance is supported, but caution is advised in higher winds) or adverse weather conditions.
- Line of Sight: Maintain visual line of sight with the drone at all times.
- Battery Safety: Use only approved batteries and chargers. Do not overcharge or puncture batteries.
- Respect Privacy: Be mindful of privacy laws and regulations when recording videos or taking photos.
- FAA Compliance: Weighing under 249g, this drone is exempt from FAA Remote ID registration requirements. However, always check local regulations before flying.
3. Package Contents
Verify that all items are present in your package:
- F3 Drone x1
- Remote Control with 7.22-inch Screen x1
- Intelligent Flight Batteries (7.4V 2000mAh) x2
- Carrying Case x1
- Spare Propellers x4
- USB Charging Cables x2
- Screwdriver x1
- SD Card (8G) x1
- SD Card Reader x1
- User Manual x1

4. Component Identification
4.1 Drone Overview

The F3 drone features a sleek, foldable design for portability. Key components include:
- Foldable Arms: For compact storage and transport.
- Propellers: Four propellers for flight.
- 2K HD Camera: Located at the front, with 90° adjustable lens and Electronic Image Stabilization (EIS).
- Intelligent Battery: Slots into the rear of the drone.
- LED Indicators: Provide status information (e.g., GPS signal, battery level).
- Brushless Motors: Provide powerful and stable flight, offering Level 5 wind resistance.
4.2 Remote Controller Overview

The remote controller features a large 7.22-inch display for real-time FPV (First Person View) without needing a separate smartphone. It includes:
- Joysticks: Left for altitude and rotation, right for directional movement.
- Power Button: To turn the controller on/off.
- One-Key Takeoff/Landing Button: For automated flight initiation and termination.
- Return to Home (RTH) Button: Initiates automatic return to the takeoff point.
- Speed Mode Button: Toggles between 3 adjustable speed settings.
- Photo/Video Button: For capturing images and recording video.
- Gimbal Control Wheel: Adjusts the camera's vertical angle.
- Micro SD Card Slot: For storing recorded footage and photos.
5. Setup
5.1 Charging Batteries
Before first use, fully charge both intelligent flight batteries and the remote controller. Use the provided USB charging cables.
- Connect the USB cable to the battery/remote and a suitable USB power adapter (not included).
- Charging indicators will show progress. Once fully charged, disconnect the cables.
5.2 Installing Batteries
Insert a fully charged intelligent flight battery into the designated slot at the rear of the drone until it clicks securely into place.
5.3 Unfolding the Drone
Carefully unfold the drone's arms. Start with the front arms, then the rear arms, ensuring they lock into position.
5.4 Remote Controller Setup
Attach the joysticks to the remote controller by screwing them into the designated ports.
5.5 Powering On/Off
- Drone: Short press the power button once, then long press for 2 seconds until the LED indicators light up.
- Remote Controller: Short press the power button once, then long press for 2 seconds until the screen turns on.
- To power off, long press the power button on both the drone and remote until they shut down.
5.6 Pairing and Calibration
For stable flight, pairing and calibration are crucial. Follow the on-screen instructions on the remote controller.
- Pairing: After powering on both devices, they should automatically attempt to pair. The remote screen will display "connected" once successful.
- Compass Calibration: On the remote, push both joysticks to the bottom-outer corners simultaneously. The remote screen will prompt you to rotate the drone horizontally 2-3 times until calibration is complete. Then, rotate the drone vertically 2-3 times. Listen for a beep and observe the LED indicators for successful calibration (green light indicates enough satellites for GPS flight).
6. Operating the Drone
6.1 Basic Flight Controls
- Motor Start: Push both joysticks to the bottom-inner corners simultaneously to start the motors.
- One-Key Takeoff: Press the One-Key Takeoff/Landing button on the remote. The drone will automatically ascend and hover at a safe altitude.
- Manual Takeoff: After motors start, slowly push the left joystick up to ascend.
- Landing: Press the One-Key Takeoff/Landing button again, or slowly pull the left joystick down to descend and land.
- Movement: Use the right joystick for forward, backward, left, and right movement. Use the left joystick for altitude (up/down) and rotation (left/right).
6.2 Speed Modes
The drone offers 3 adjustable speed modes (Low, Medium, High) to suit different skill levels and flight conditions. Press the Speed Mode button on the remote to cycle through the modes.
6.3 GPS Functions

- GPS Assisted Flight: Provides stable hovering and precise positioning.
- One-Key Return (RTH): Press the RTH button to make the drone automatically return to its takeoff point.
- Auto Return on Low Battery/Signal Loss: The drone will automatically return home if the battery is low or signal is lost, enhancing safety.
- Follow Me: The drone will automatically follow the remote controller's position.
- AI Track: Utilizes AI models for object locking, allowing the drone to automatically follow a selected subject.
6.4 Camera Operation
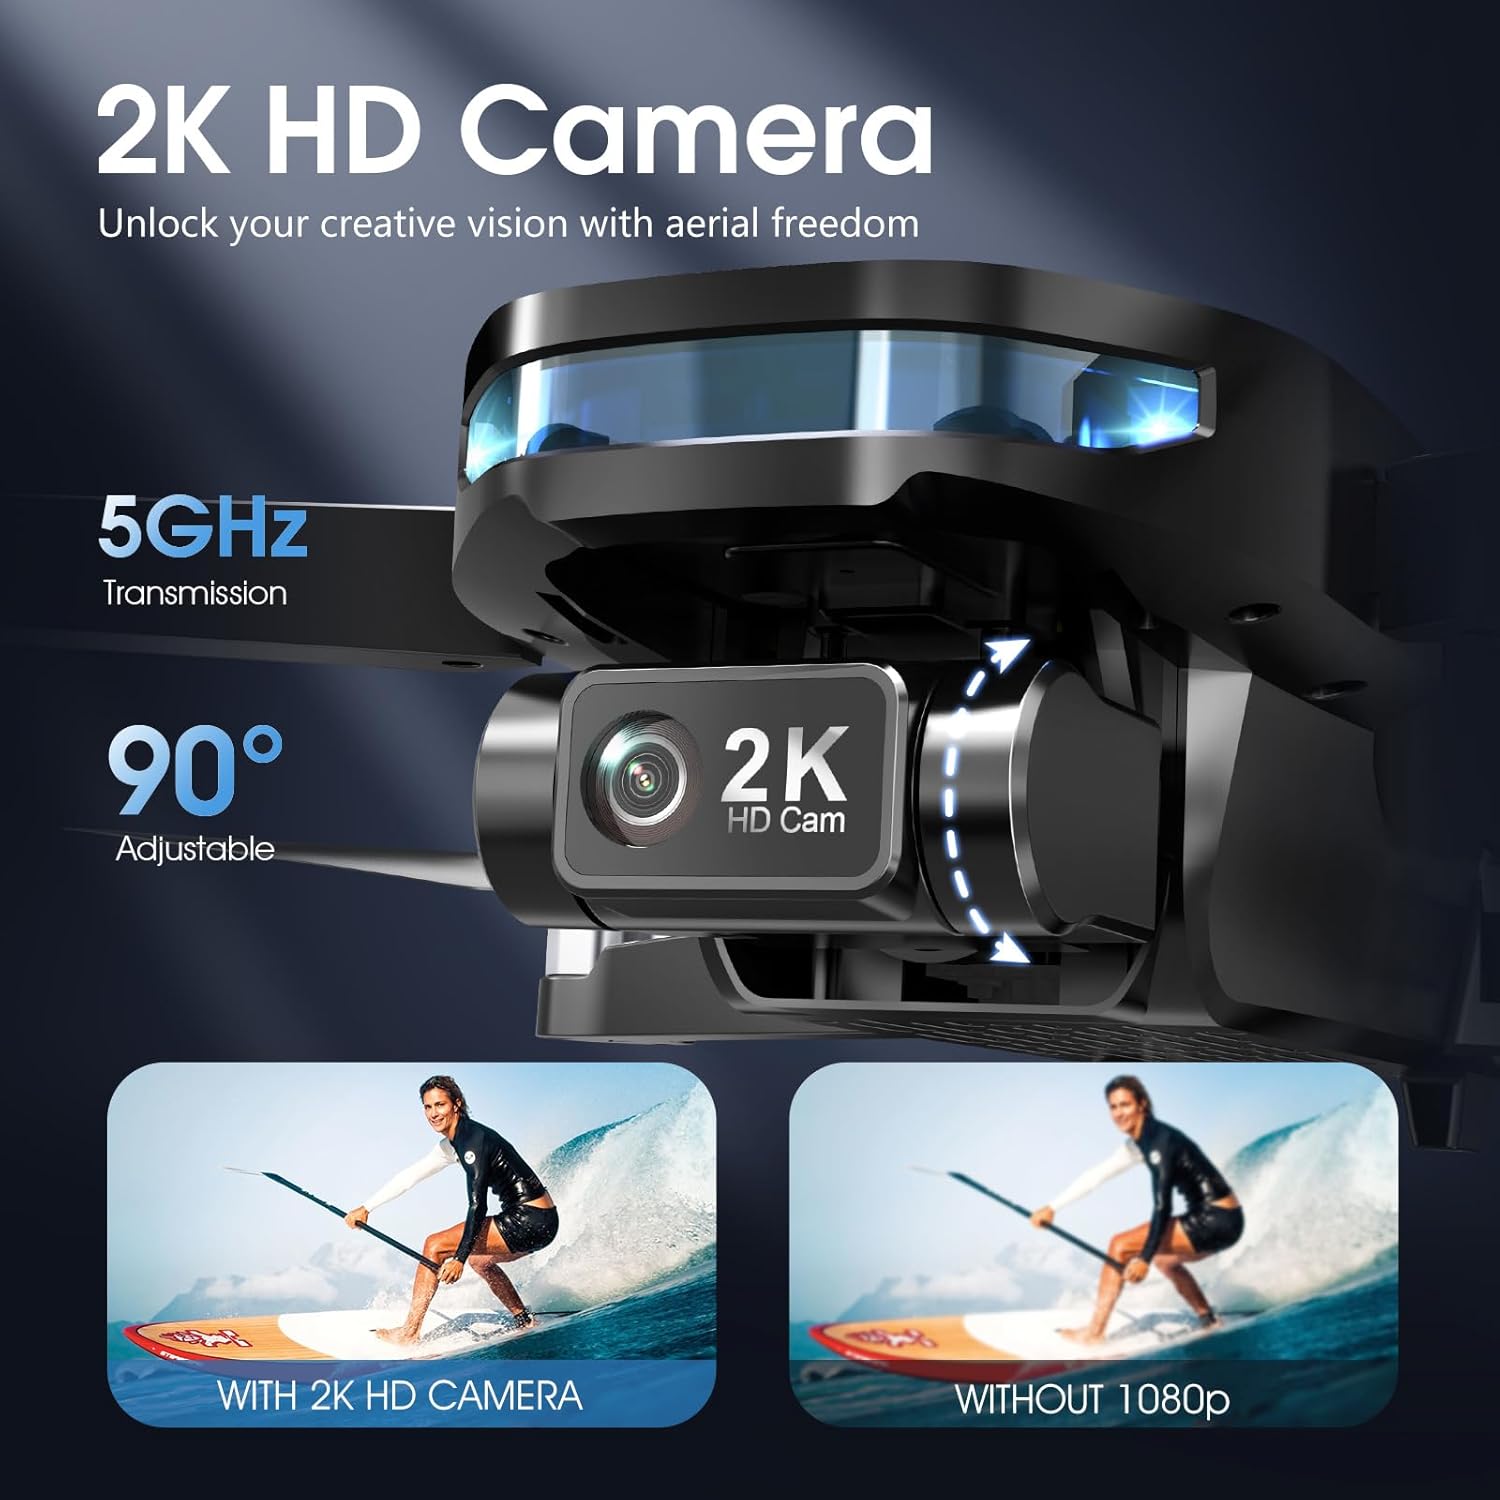
The integrated 2K HD camera (2048x1152 resolution) captures high-quality aerial footage. The 90° adjustable lens and 5GHz transmission ensure stable video and photos.
- Take Photo: Short press the Photo/Video button on the remote.
- Record Video: Long press the Photo/Video button to start/stop recording.
- Adjust Camera Angle: Use the gimbal control wheel on the remote to tilt the camera up or down.
- EIS (Electronic Image Stabilization): Helps to deliver smooth and clear footage by reducing shake.
6.5 AI Night Shot
The AI Night Shot feature allows for clear video capture in low-light conditions, enhancing your creative possibilities.
7. Maintenance
7.1 Propeller Replacement
If a propeller is damaged, replace it immediately using the provided spare propellers and screwdriver. Ensure the correct propeller type (A or B) is installed on the corresponding motor.
7.2 Battery Care
- Do not expose batteries to extreme temperatures.
- Store batteries in a cool, dry place.
- Charge batteries fully before long-term storage and recharge every 3 months to maintain battery health.
7.3 Cleaning
Use a soft, dry cloth to clean the drone and remote controller. Avoid using harsh chemicals or solvents.
7.4 Storage
When not in use, fold the drone and store all components in the provided carrying case to protect them from damage.
8. Troubleshooting
| Problem | Possible Cause | Solution |
|---|---|---|
| Drone does not power on | Low battery; incorrect power-on sequence | Charge battery; follow correct power-on sequence (short press, then long press). |
| Drone cannot take off | Not calibrated; insufficient GPS signal; motors not started | Perform compass calibration; ensure green GPS indicator; start motors using joystick command. |
| Unstable flight | Poor calibration; strong wind; damaged propeller | Recalibrate compass; avoid flying in strong winds; replace damaged propellers. |
| No FPV feed on remote | Drone and remote not paired; interference | Ensure proper pairing; move to an area with less interference. |
| Photos/Videos not saving | No SD card; full SD card; faulty SD card | Insert SD card; delete old files or use new SD card; try a different SD card. |
9. Specifications
| Feature | Detail |
|---|---|
| Brand | Dingdongwu |
| Model Name | F3 Drone |
| Camera | 2K HD (2048x1152), 90° Adjustable Lens, EIS |
| Transmission Frequency | 5GHz |
| Remote Controller Screen | 7.22-inch FPV Display |
| Flight Time | Up to 64 minutes (with 2 batteries, approx. 32 mins/battery) |
| Battery Capacity | 7.4V 2000mAh (per battery) |
| Weight | Under 249g |
| Wind Resistance | Level 5 |
| Motors | 1503 Brushless Motors |
| Special Features | GPS Assisted Flight, Auto Return, Follow Me, AI Track, AI Night Shot, Foldable Design, 3 Speed Adjustable |
| Storage | Supports up to 128G SD Card (8G included) |
10. Warranty and Support
Nexaero provides expert support, clear tutorials, and a 24-hour response time for any inquiries or issues you may encounter. Please refer to the contact information provided with your product for assistance.
For further support, you may contact Nexaero directly via email at Nexaero222@outlook.com.