1. Introduction
The IBKINXX 24-Egg Automatic Incubator is designed for efficient and reliable egg hatching. This device features automatic egg turning, precise temperature and humidity control, and a 360-degree viewing window, making it suitable for various types of poultry eggs including chicken, duck, and quail. It is ideal for family use, educational purposes, or small-scale farming, providing a high success rate for incubation.
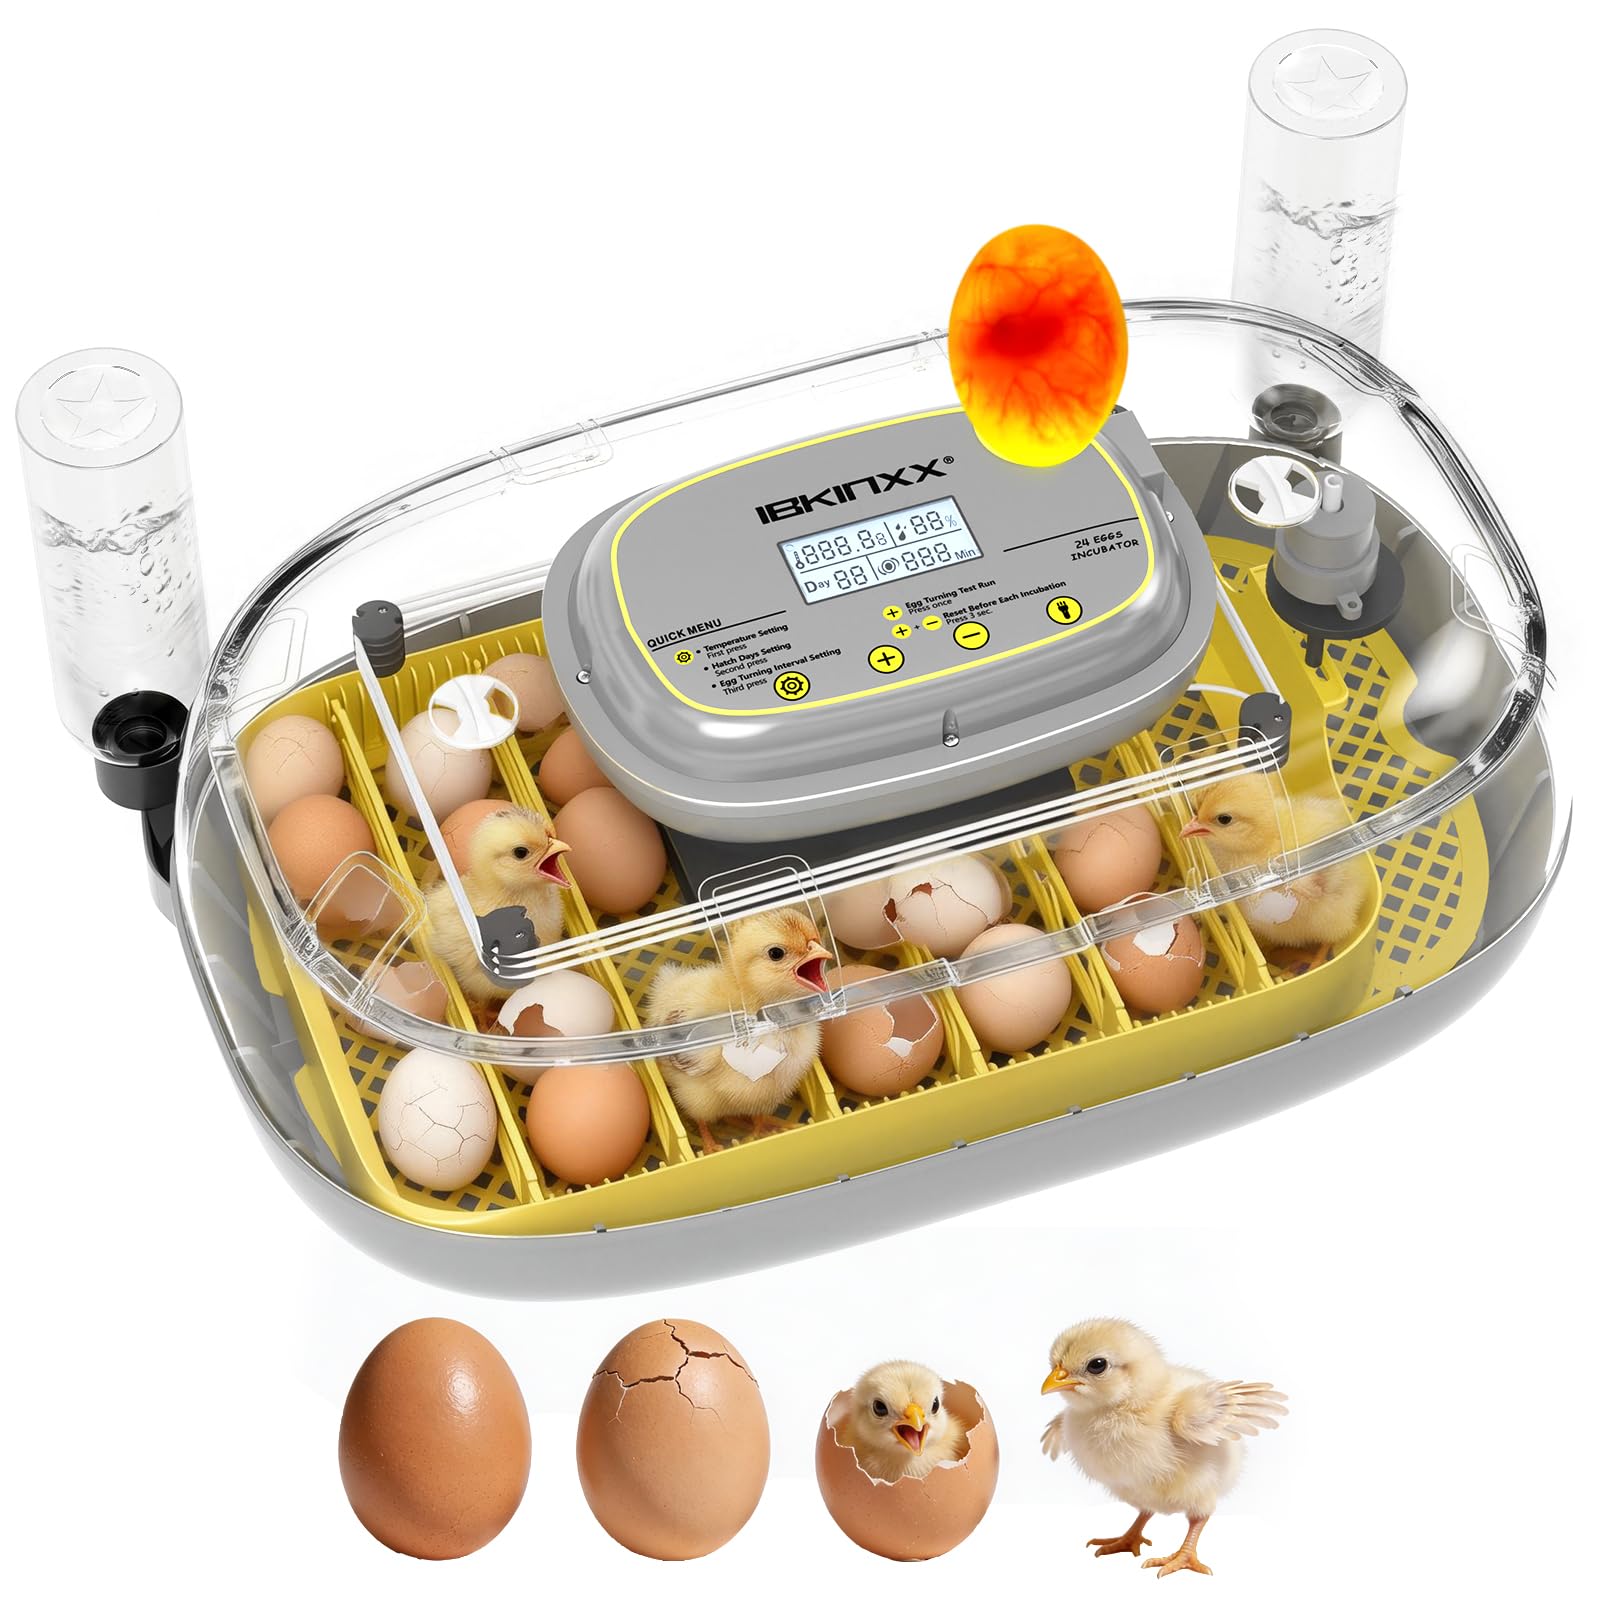
Figure 1: IBKINXX 24-Egg Automatic Incubator in use.
2. Components and Package Contents
Before starting, please ensure all components are present in the package:
- Top Cover
- Base
- Grid
- Egg Frame
- Card Strips (8 pieces for adjusting egg spacing)
- Tube Assembly
- Water Bottle

Figure 2: Overview of incubator components.
3. Setup Instructions
Follow these steps to set up your incubator for the first use:
- Assemble the Base: Place the grid and egg frame into the base. Ensure the egg frame's rotating shaft fits into the groove of the base.
- Adjust Egg Dividers: Use the provided card strips to adjust the spacing within the egg frame according to the size of the eggs you intend to incubate. This allows for optimal positioning of different egg sizes (e.g., 24 chicken eggs, 8 goose eggs, 18 duck eggs, 48 pigeon/quail eggs).
- Place Fertilized Eggs: Carefully place the fertilized eggs into the egg frame.
- Attach Top Cover: Securely place the transparent top cover onto the base.
- Connect Power: Plug the incubator into a suitable power outlet. The digital display will illuminate.
- Fill Water Bottle: Fill the water bottle with distilled water and attach it to the external water injection port for humidity control.

Figure 3: Visual guide for initial setup steps.
4. Operating Instructions
4.1 Control Panel Overview
The incubator features an intelligent control panel with a high-definition digital display for real-time monitoring of temperature and humidity. It also provides instant alarm notifications for abnormalities.

Figure 4: Digital display and control buttons.
4.2 Setting Incubation Conditions
The incubator comes with pre-set conditions for common egg types. You can also customize settings:
- Temperature Setting: Press the 'Set' button (often indicated by a gear icon) once to enter temperature adjustment mode. Use the '+' and '-' buttons to set the desired temperature. The recommended range is 68°F-104°F (20°C-40°C).
- Humidity Setting: Press the 'Set' button a second time to adjust humidity. Use '+' and '-' to set the desired humidity level.
- Hatch Days Setting: Press the 'Set' button a third time to set the total incubation days.
- Egg Turning Interval Setting: Press the 'Set' button a fourth time to adjust the automatic egg turning interval.
The incubator simulates natural hen behavior with timed egg flipping to prevent adhesion and ensure uniform development.
4.3 Automatic Egg Turning
The 360° automatic horizontal egg turning system ensures eggs are rotated regularly without manual intervention. This is crucial for embryo development.
4.4 Egg Candling
A built-in egg candler allows you to observe embryo development without opening the incubator. Simply press the 'Candler' button (often indicated by a light bulb icon) to activate the light.

Figure 5: Using the built-in egg candler to observe embryo development.
4.5 Humidity Control and Refill System
The incubator maintains constant humidity. The external water injection system allows you to refill water without opening the lid, preventing disruption to the incubation environment.

Figure 6: Automatic water refill system for humidity.
5. Maintenance
Proper maintenance ensures the longevity and optimal performance of your incubator:
- Cleaning: After each incubation cycle, unplug the unit and carefully disassemble the egg frame and grid. Clean all parts with a mild disinfectant solution and warm water. Ensure all components are completely dry before reassembly or storage.
- Water Tray: Regularly clean the water tray in the base to prevent mold or bacterial growth.
- Storage: Store the incubator in a clean, dry place away from direct sunlight when not in use.
6. Troubleshooting
Here are some common issues and their solutions:
| Problem | Possible Cause | Solution |
|---|---|---|
| Temperature fluctuation | External environmental changes, sensor issue | Ensure incubator is in a stable environment. Check sensor connection. |
| Humidity too low | Insufficient water, water bottle empty | Refill water bottle. Ensure tube assembly is correctly placed. |
| Eggs not turning | Egg turning mechanism jammed, power issue | Check for obstructions. Verify power connection. Perform egg turning test from control panel. |
| Low hatching rate | Incorrect temperature/humidity, infertile eggs, poor egg quality | Verify settings against recommended values for egg type. Use fresh, fertile eggs. |
If problems persist, please contact customer support.
7. Specifications
| Feature | Detail |
|---|---|
| Brand | IBKINXX |
| Model | B0G2G3GL21 |
| Egg Capacity | 24 Standard Eggs (adjustable for various sizes) |
| Dimensions (L x W x H) | 7"L x 12"W x 18"H |
| Automatic Egg Turning | Yes, 360° horizontal turning |
| Temperature Control | Automatic, with digital display (± 0.5 ℃ accuracy) |
| Humidity Control | Automatic, with external water refill system |
| Built-in Features | Egg Candler, Digital Display, Alarm Notifications |
| Safety Features | Power-off memory, Overheat protection, Flame-retardant material |
8. Official Product Videos
Incubator for Hatching Eggs
Video 1: An overview of the IBKINXX incubator's features and operation.
24 Eggs Incubator
Video 2: Demonstrating the 24-egg capacity and key functions of the incubator.
9. Warranty and Support
For warranty information and customer support, please refer to the documentation included with your purchase or visit the official IBKINXX website. Ensure you retain your proof of purchase for any warranty claims.