
1. Setup
1.1 Unboxing and Initial Placement
Carefully remove the projector and all accessories from the packaging. Place the projector on a stable, flat surface. Ensure adequate ventilation around the device.

Image: The ZCGIOBN A10 Smart 4K Projector and its included accessories.
1.2 Power Connection
Connect the power cord to the projector's power input and then to a power outlet. The projector is designed for AC 100-240V input.
1.3 Initial Power-On and Auto Adjustment
Press the power button to turn on the projector. The projector features automatic focus and keystone correction. It will automatically adjust the image for clarity and proper geometry upon startup, avoiding obstacles and aligning the screen. No manual settings are required for basic image correction.

Image: Visual representation of the projector's auto focus, auto keystone correction, intelligent obstacle avoidance, and intelligent screen fit features.
1.4 Connectivity Options
The projector offers various connectivity options:
- HDMI: Two HDMI ports (HDMI1, HDMI2) for connecting devices like gaming consoles, laptops, and streaming sticks.
- USB: Two USB ports (USB1, USB2) for connecting USB disk drives, mice, or keyboards.
- LAN: An Ethernet port for wired network connection.
- AV: An AV input for older devices.
- 3.5mm Audio: A headphone jack for external audio output.
- WiFi6 & 2.4/5G WiFi: For wireless network connectivity and streaming.
- Two-way Bluetooth 5.2: For connecting external Bluetooth speakers or using the projector as a Bluetooth speaker.
- NFC Casting: For quick screen mirroring from compatible NFC-enabled devices.

Image: Diagram showing the various input and output ports on the projector, including HDMI, USB, LAN, AV, and audio out.
2. Operation
2.1 Basic Controls
The projector can be controlled using the included remote control or the physical buttons on the top panel. The remote control allows navigation through menus, volume adjustment, and input selection.
2.2 Smart System and Applications
The projector runs on Android TV OS, providing access to a wide range of applications without the need for an external TV stick. It includes 32GB of storage for installing additional apps.

Image: The projector displaying its Android TV interface with popular streaming and entertainment applications.
2.3 Screen Mirroring and Casting
Utilize the dual-band 2.4/5G WiFi6 for ultra-fast, buffer-free gaming and 4K streaming. NFC casting allows for quick and easy mirroring of content from compatible smartphones.

Image: A user enjoying seamless gaming and streaming via WiFi6 connectivity on the projector.
2.4 Audio Features
The projector is equipped with dual 20W full-range premium speakers and a DSP chip for multi-channel sound. It supports two-way Bluetooth 5.2, allowing it to function as a standalone Bluetooth speaker.
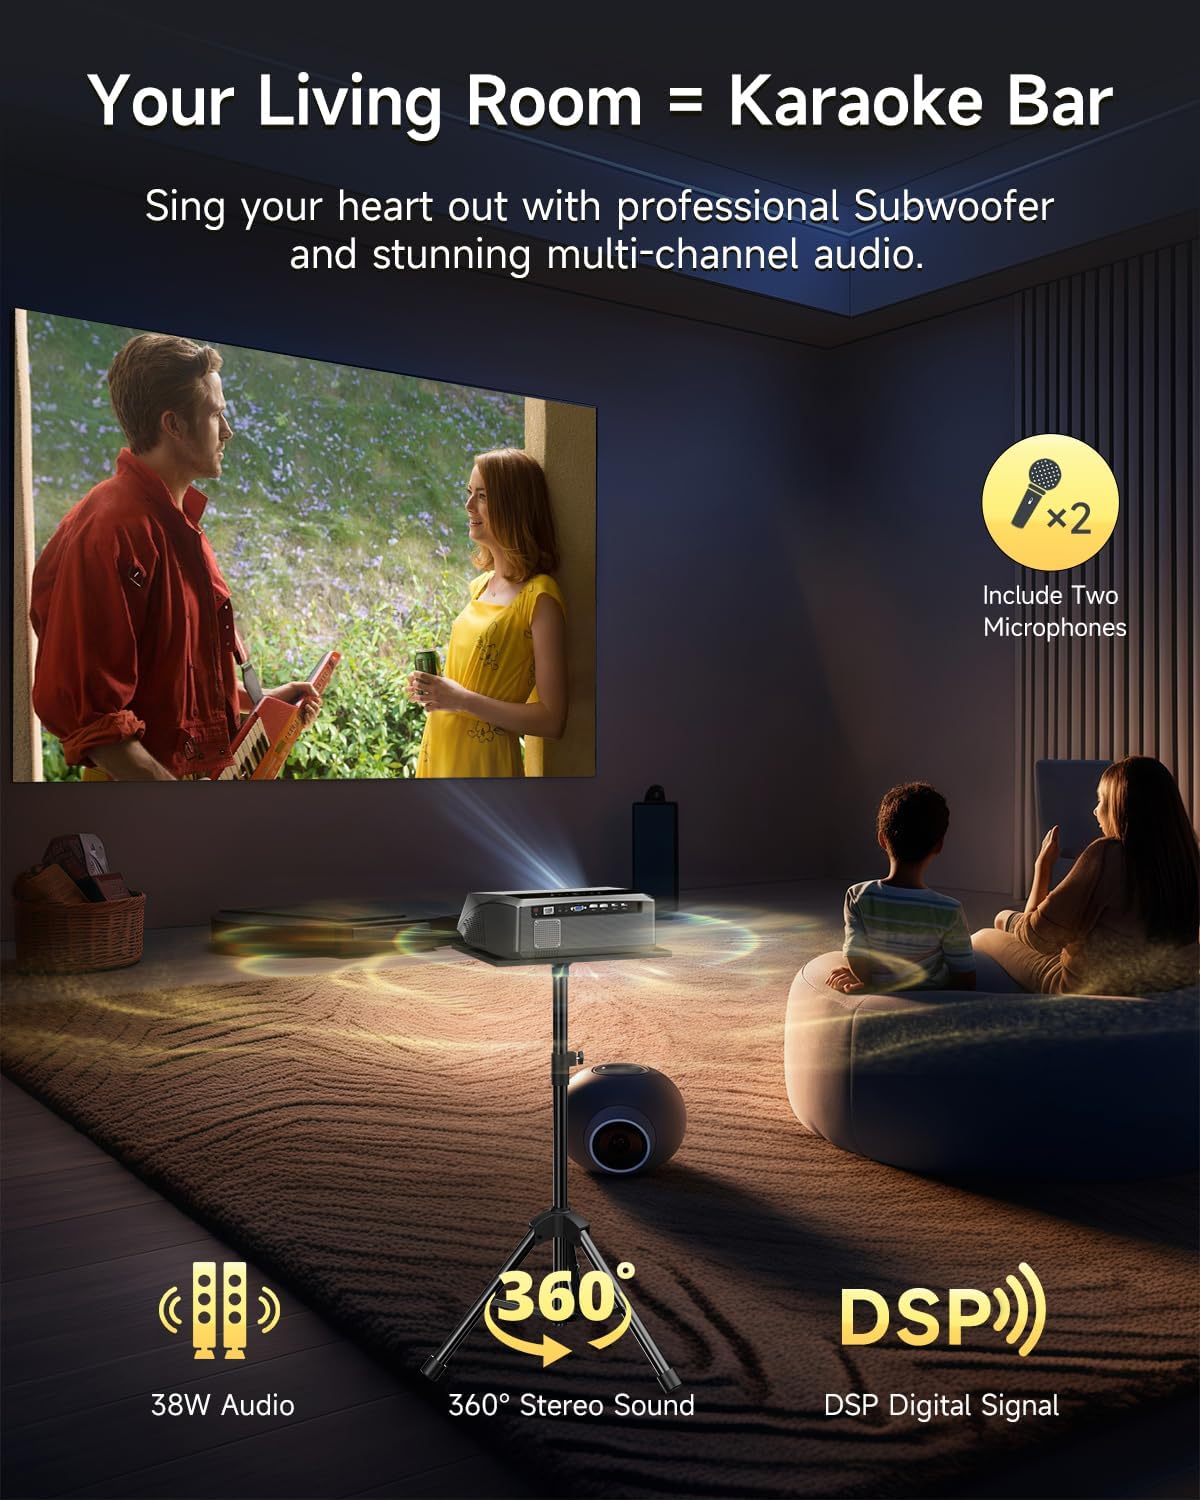
Image: The projector set up for karaoke with two wireless microphones, highlighting its 38W audio, 360° stereo sound, and DSP digital signal processing.
2.5 Picture Quality and Brightness
Experience native 1080P resolution with 4K Ultra HD decoding, HDR10+, and AI color optimization. The TS-LED brightening technology provides 2300 ANSI lumens for clear visuals in various lighting conditions. The high-transmittance DSLR lens minimizes reflection.
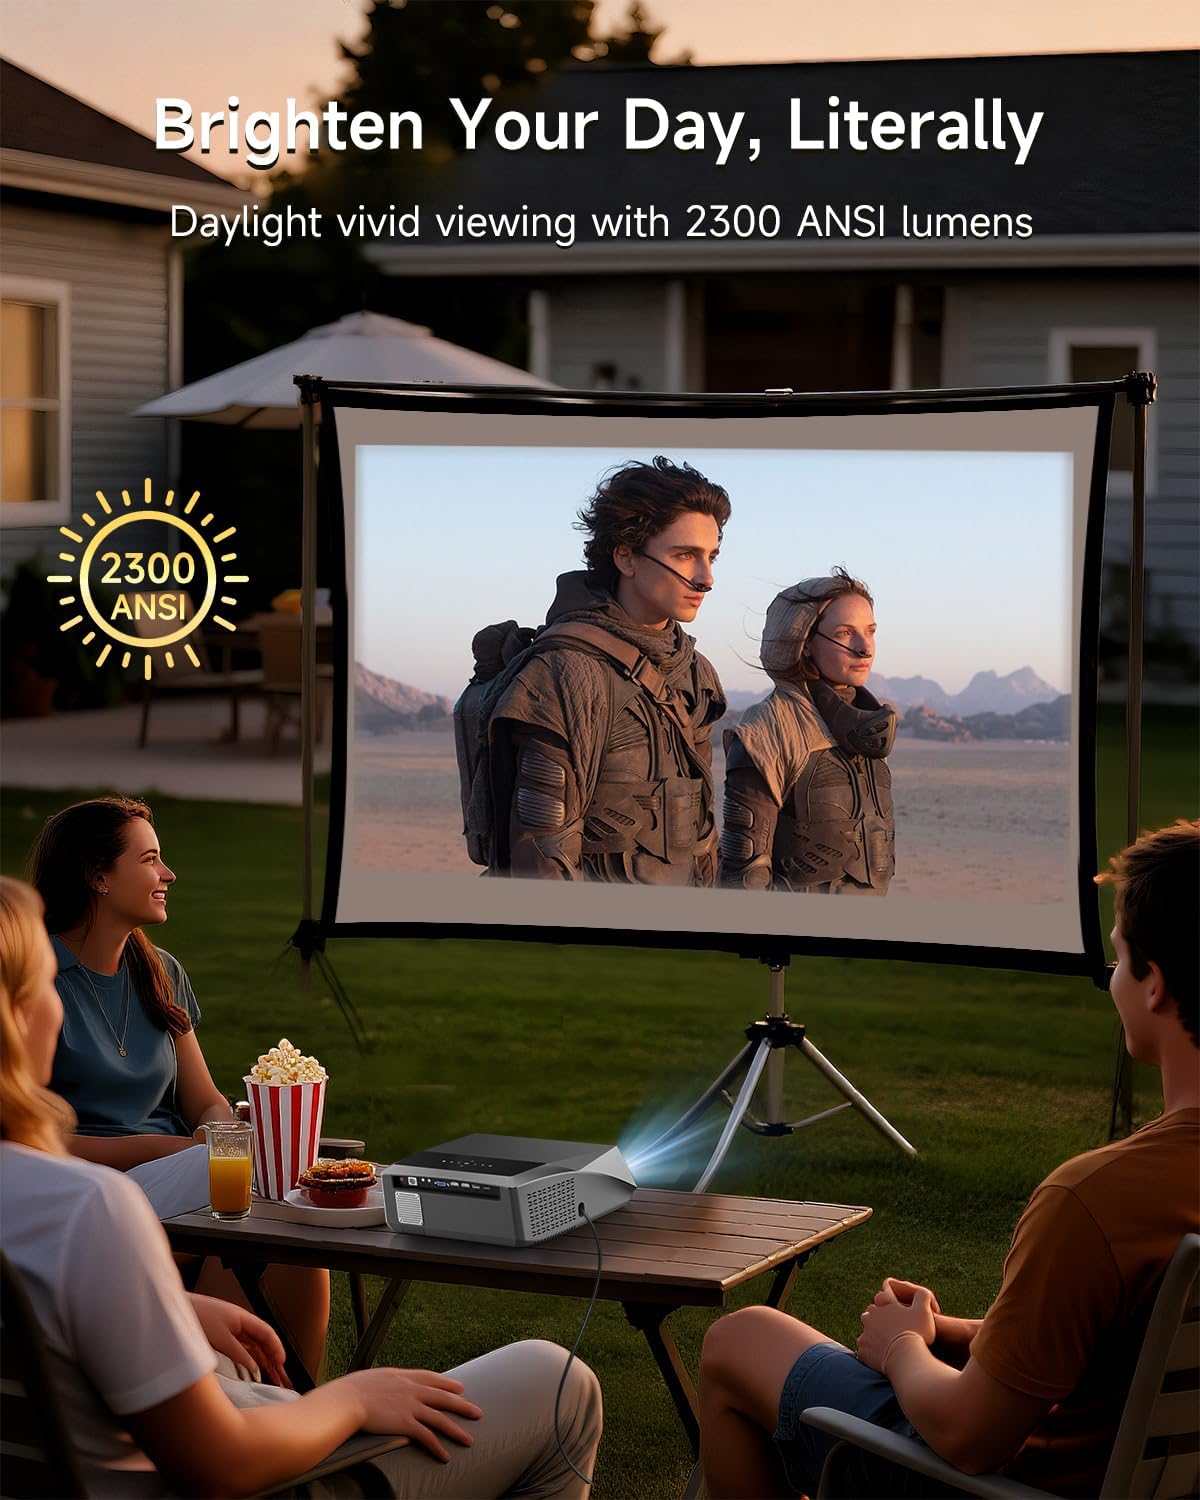
Image: The projector displaying a vivid image on a screen outdoors during daytime, demonstrating its 2300 ANSI lumens brightness.
3. Maintenance
Regular maintenance ensures optimal performance and longevity of your projector.
3.1 Cleaning the Filter and Vents
To maintain cooling and extend the projector's life, regularly clean the filter and vents.
Video: Instructions on how to remove and clean the projector's filter and vents to prevent dust buildup and ensure proper cooling.
3.2 Cleaning the Internal Screen
If dust spots appear on the projection, clean the internal screen as instructed.
Video: Guide on how to access and clean the internal screen of the projector to remove dust or spots affecting image quality.
3.3 General Care
The projector features a sealed optical engine and HEPA triple filtration to block dust intrusion, helping maintain brightness and clarity over time. Its low-power design and ultra-quiet operation (under 30dB) contribute to a long-lasting, immersive viewing experience.
4. Troubleshooting
Refer to the following common issues and solutions:
- The lens cover is stuck and cannot close completely: Go to Settings -> Projection Settings, and then open the "Power Off Auto Retract Lens" option.
- The remote control is not working/not responding: The remote control does not come with batteries. Please install batteries first.
- Auto focus not working well? Focus failure for blurry image?: Wipe the autofocus sensor clean and ensure there are no obstructions in front of it.
- How is it with light? Can it be used outdoors?: Avoid strong light surrounding the projected image. It is not recommended for outdoor daytime use.

Image: A visual guide to frequently asked questions and troubleshooting steps for the projector.
4.1 Online Update & Mouse Cursor Mode
To perform an online update or switch to mouse cursor mode in apps, follow these steps:
- Go to Settings -> About.
- Select "Online Upgraded", it will detect new software. Then click "Download".
- Once downloading is complete, click "Update" on the same page. It will start the system updating process.
- To use mouse cursor mode, enter into the main interface, and open the App.
- Long press the OK button on the remote control to switch to Mouse Cursor Mode.
- Use the arrow keys to move the mouse cursor, log in to the application, and browse.

Image: Step-by-step instructions for performing an online system update and activating the mouse cursor mode for app navigation.
5. Specifications
| Feature | Detail |
|---|---|
| Brand | ZCGIOBN |
| Model Name | A10 |
| Display Resolution | 1920 x 1080 (Native 1080P), 4K Support |
| Brightness | 2300 ANSI Lumens |
| Connectivity Technology | WiFi6 & 2.4/5G WiFi, NFC Casting, Two-way Bluetooth 5.2, HDMI, USB, AV, 3.5mm Audio |
| Special Features | Home Karaoke with 2 mics, Auto Focus & Keystone, Android 9.0 TV, Authorized Apps, Electronic Focus/Keystone/Zoom |
| Display Type | LED |
| Mounting Type | Ceiling/Floor/Tabletop/Tripod/Wall Mount |
| Maximum Image Size | 300 Inches |
| Minimum Image Size | 50 Inches |
| Contrast Ratio | High |
| Built-In Media | HDMI Cable, Power Cord, Remote, User Manual |
| Storage | 32GB |
6. Warranty & Support
6.1 Warranty Information
The ZCGIOBN A10 Smart 4K Projector comes with a 1-Year Manufacturer Warranty.
6.2 Customer Support
For any inquiries or technical assistance, please contact customer support. The manufacturer offers 24-hour customer support and lifetime technical support.
Contact Email: zcgioxb@outlook.com
Additionally, a 30-day free return and exchange policy is available.

Image: Overview of customer care services including 24-hour support, 30-day returns, 12-month warranty, and lifetime technical support.
