
1. Introduction
This manual provides detailed instructions for the installation, operation, and maintenance of your Zomolither Android 15 Car Stereo. Please read this manual thoroughly before using the product to ensure proper function and to prevent damage. Keep this manual for future reference.

Image: Zomolither Android 15 Car Stereo for Honda Civic 2006-2011, highlighting 4GB RAM and 64GB ROM.
2. Safety Information
- Do not operate the device in a manner that distracts you from driving. Always prioritize road safety.
- Ensure all wiring connections are secure and correctly insulated to prevent short circuits and electrical hazards.
- Consult a professional for installation if you are unsure about any steps.
- Keep the device away from water and excessive moisture.
- Do not attempt to disassemble or modify the unit. This may void the warranty and cause damage.
3. Product Overview
The Zomolither Android 15 Car Stereo is designed to enhance your driving experience with advanced features and seamless integration. Key features include:
- Android 15 Operating System: Provides a smooth and responsive user interface.
- 10-inch Incell Touchscreen: 1280*720 resolution for vivid visuals and precise touch response.
- Wireless Carplay & Android Auto: Seamless smartphone integration for navigation, music, and calls.
- Bluetooth 5.0: Stable hands-free calling and high-quality audio streaming.
- Built-in GPS Navigation: Supports both online and offline maps.
- WiFi Connectivity: Access to online services and app downloads.
- FM/RDS Radio: Clear reception for radio stations with station information display.
- 32-Band Equalizer (EQ): Customizable audio settings.
- Split Screen Function: Run two applications simultaneously.
- Multiple UI Themes: Personalize the interface appearance.
- Steering Wheel Control (SWC) Support: Control functions directly from your steering wheel.
- AHD Backup Camera Input: For safe parking assistance.
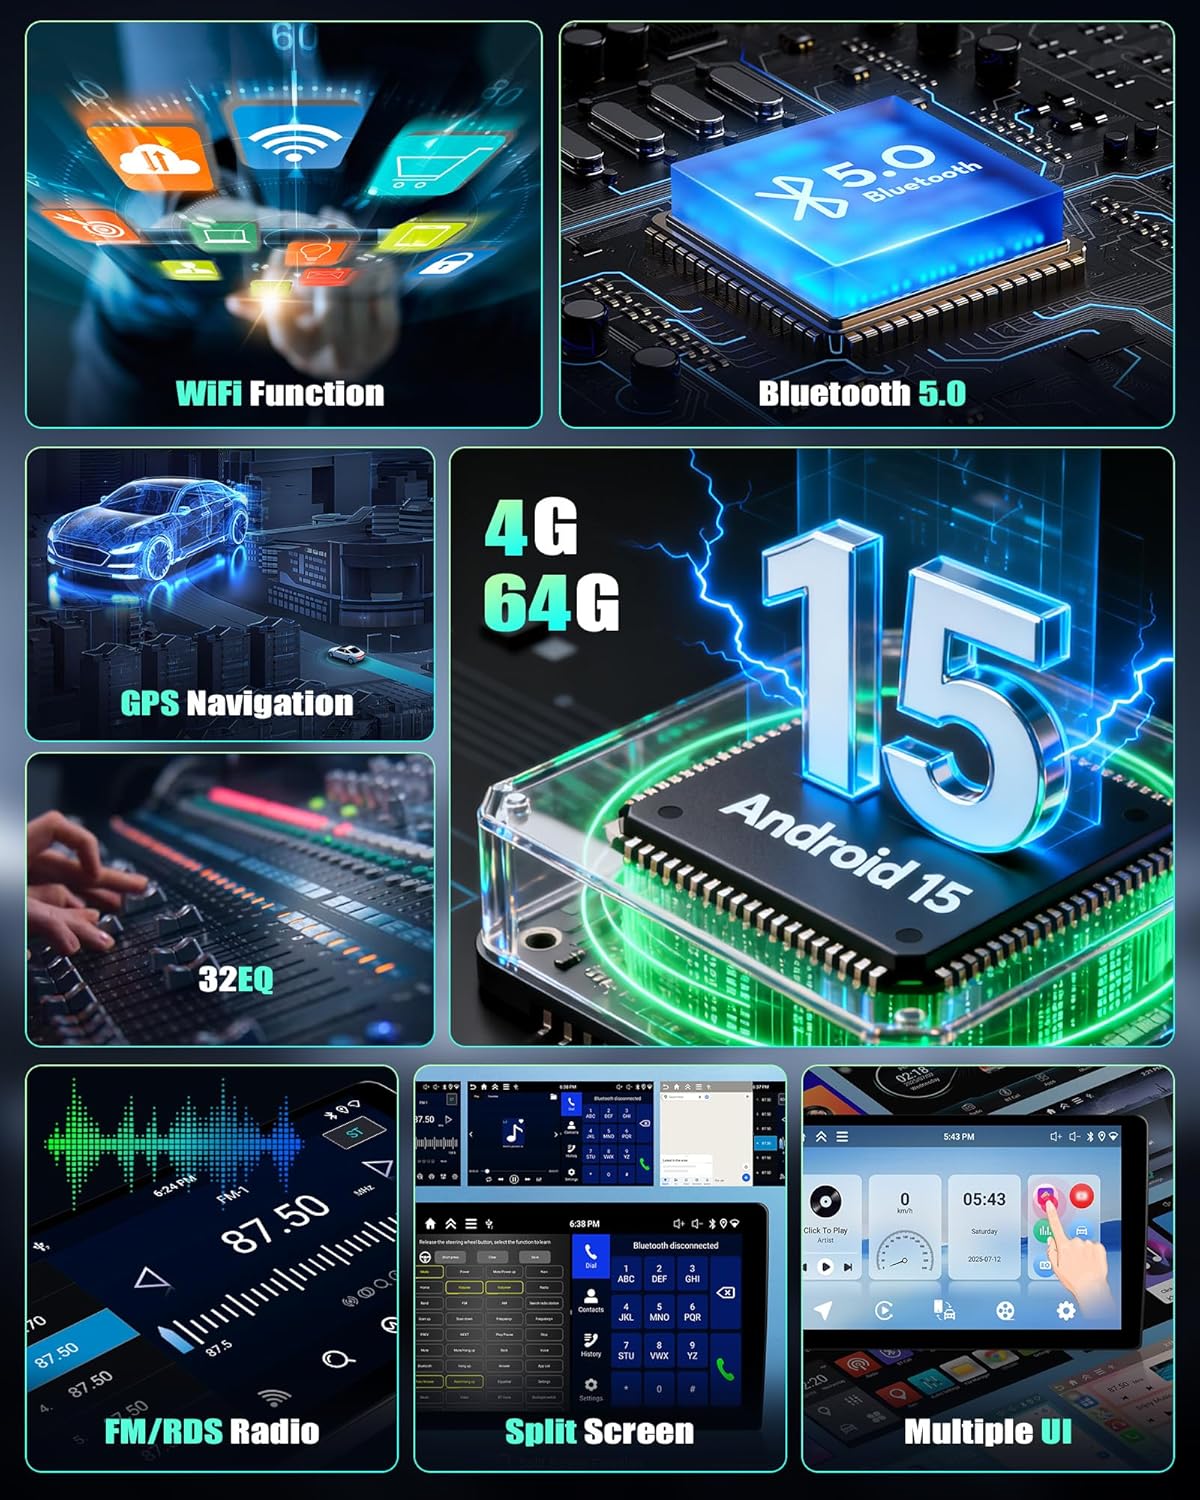
Image: Visual representation of key features including WiFi, Bluetooth 5.0, 4G 64G, Android 15, GPS, 32EQ, FM/RDS Radio, Split Screen, and Multiple UI.
4. Specifications
| Operating System | Android 15 |
| RAM + ROM | 4GB RAM + 64GB ROM |
| Display Size | 10 Inches |
| Screen Type | Incell Touchscreen |
| Resolution | 1280*720 |
| Bluetooth Version | 5.0 |
| Connectivity | Bluetooth, Wi-Fi |
| Audio Output Mode | Stereo |
| Mounting Type | Dashboard Mount |
| Compatible Vehicle | Honda Civic (2006-2011) |
| Item Weight | 4.84 pounds |
| Package Dimensions | 16 x 12.1 x 8 inches |
5. Setup and Installation
Proper installation is crucial for optimal performance. If you are not confident in performing the installation yourself, it is recommended to seek professional assistance.
5.1 General Installation Steps
- Preparation: Disconnect the vehicle's battery to prevent electrical shorts.
- Remove Old Head Unit: Carefully remove the existing car stereo and trim panels. Refer to your vehicle's service manual for specific instructions.
- Connect Wiring Harness: Connect the provided wiring harness to your vehicle's factory harness. Ensure all connections are secure.
- Connect Antennas: Connect the GPS antenna, WiFi antenna, and FM antenna to the corresponding ports on the new head unit. Position the GPS antenna in a location with a clear view of the sky.
- Install Backup Camera (Optional): If installing a backup camera, follow the wiring instructions below.
- Mount the Head Unit: Secure the new head unit into the dashboard opening.
- Reconnect Battery: Reconnect the vehicle's battery.
- Test Functionality: Power on the unit and test all functions (radio, Bluetooth, GPS, touchscreen, etc.).
- Reassemble: Reinstall any removed trim panels.

Image: A visual comparison showing the Honda Civic dashboard before and after the Zomolither car stereo installation, demonstrating the integrated look.
5.2 Backup Camera Wiring
For connecting the AHD backup camera:
- Connect the Red Cable (1) to the positive pole of the car's reversing light.
- Connect the Black Cable (2) to the negative pole (GND) of the car's reversing light.
- Connect the Camera Power Cable (3) to the camera.
- Connect the Video Output Cable (4) from the camera to the 'Video In' port on the car stereo.
- The other two red extension cables (labeled 3 and 4 in some diagrams) do not need to be connected for standard operation.

Image: Detailed wiring diagram illustrating how to connect the backup camera to the car stereo and vehicle's reversing lights.
6. Operating Instructions
6.1 Basic Operation
- Power On/Off: Press and hold the power button on the unit or steering wheel control. A short press typically mutes/unmutes audio.
- Volume Control: Use the volume buttons on the unit or steering wheel controls.
- Home Screen: Tap the home icon to return to the main interface.
- Back Button: Tap the back icon to return to the previous screen.
6.2 Wireless Carplay & Android Auto
Connect your smartphone wirelessly for seamless access to navigation, music, calls, and messages.
- Ensure Bluetooth and Wi-Fi are enabled on your smartphone.
- On the car stereo, open the Carplay or Android Auto application.
- Search for the car stereo's Bluetooth name on your phone and pair.
- Confirm the pairing code on both devices.
- Once paired, Carplay or Android Auto will launch automatically.

Image: Visual guide for connecting to Wireless Carplay, Android Auto, and Mirror Link, showing phone interfaces.
6.3 Mirror Link Function
Mirror Link allows you to display your phone's screen directly on the car stereo. This function supports both iOS (via WiFi) and Android (via WiFi & USB).
- Open the 'Mirror Link' application on the car stereo.
- Follow the on-screen instructions to connect your specific phone model via WiFi or USB.
6.4 Bluetooth 5.0
For hands-free calling and audio streaming:
- Go to the Bluetooth settings on the car stereo.
- Enable Bluetooth on your smartphone and search for available devices.
- Select the car stereo's Bluetooth name (e.g., 'Zomolither Car Stereo') from your phone's list.
- Confirm the pairing code.
- Once connected, you can make/receive calls and play music through the car's speakers.

Image: Display of Bluetooth hands-free calling interface and GPS navigation, along with WiFi app icons.
6.5 GPS Navigation
The unit comes with a built-in GPS module for navigation.
- Online Maps: Connect to WiFi to use online navigation apps like Google Maps, Waze, etc.
- Offline Maps: Download map data for offline use. Refer to the specific navigation app's instructions for downloading maps.
6.6 WiFi Function
Connect to a WiFi network to access online features and download applications.
- Go to 'Settings' and select 'Wi-Fi'.
- Turn on Wi-Fi and select your desired network from the list.
- Enter the password if prompted and connect.
6.7 FM/RDS Radio
Access radio stations and receive RDS information.
- Open the 'Radio' application.
- Use the 'Scan' function to automatically search and save available stations.
- Manually tune by frequency or select from saved presets.
- RDS (Radio Data System) will display station information like song title or program name if available.

Image: Display of the FM/RDS Radio interface and the 32-band Equalizer settings for audio customization.
6.8 32-Band Equalizer (EQ)
Customize your audio experience with the built-in 32-band equalizer.
- Open the 'EQ' or 'Sound Settings' application.
- Adjust the frequency bands to your preference.
- Select from various preset sound effects (e.g., Pop, Rock, Jazz) or create custom profiles.
6.9 Split Screen Function
Run two applications side-by-side for enhanced multitasking.
- Open the first application you wish to use.
- Press and hold the 'Recent Apps' button (usually a square icon) or swipe up from the bottom and hold (depending on UI).
- Drag the first app to one side of the screen.
- Select the second application from the recent apps list or app drawer to fill the other side.

Image: Demonstrations of the split-screen feature running navigation and music simultaneously, and various customizable user interface themes.
6.10 Multiple UI Themes
Personalize the look and feel of your car stereo's interface.
- Go to 'Settings' and look for 'UI Themes' or 'Display Settings'.
- Browse through the available themes and select your preferred one.
6.11 Steering Wheel Control (SWC)
Program your steering wheel buttons to control the car stereo functions.
- Go to 'Settings' and find 'Steering Wheel Control' or 'SWC Learning'.
- Follow the on-screen instructions to assign functions (e.g., volume up/down, skip track, mode) to your vehicle's steering wheel buttons.
- Press and hold a button on your steering wheel, then select the corresponding function on the screen to program it.

Image: Illustration of easy backup camera installation and the process for setting up steering wheel controls.
7. Maintenance
- Cleaning: Use a soft, dry cloth to clean the screen and unit. Avoid abrasive cleaners or solvents.
- Software Updates: Periodically check for software updates via the system settings to ensure optimal performance and access to new features. Connect to a stable Wi-Fi network for updates.
- Temperature: The unit is designed to operate within a temperature range of -20°C to 70°C. Avoid exposing it to extreme temperatures outside this range.
8. Troubleshooting
| Problem | Possible Cause | Solution |
|---|---|---|
| Unit does not power on. | Loose power connection, blown fuse, vehicle battery issue. | Check power wiring, inspect vehicle fuses, ensure battery is charged. |
| No sound. | Volume muted, incorrect audio source, speaker wiring issue. | Check volume level, select correct audio source, verify speaker connections. |
| GPS signal weak or lost. | GPS antenna obstructed or improperly placed. | Ensure GPS antenna has a clear view of the sky, check antenna connection. |
| Bluetooth not connecting. | Bluetooth not enabled, incorrect pairing process, interference. | Ensure Bluetooth is on for both devices, re-attempt pairing, clear previous pairings. |
| Backup camera not displaying. | Incorrect wiring, camera malfunction, reverse gear not detected. | Verify camera wiring (refer to Section 5.2), check camera power, ensure vehicle is in reverse. |
9. Warranty and Support
This Zomolither car stereo comes with a 1-Year Warranty from the date of purchase. This warranty covers manufacturing defects and malfunctions under normal use.
The warranty does not cover damage caused by:
- Improper installation or wiring.
- Accident, misuse, abuse, or neglect.
- Unauthorized repairs or modifications.
- Natural disasters or external causes.
For warranty claims or technical support, please contact Zomolither customer service through the retailer where the product was purchased or visit the official Zomolither website for contact information.