1. Introduction
This manual provides essential instructions for the safe and effective operation, setup, and maintenance of your ARCCAPTAIN iControl TIG 205 Pro welder. Please read this manual thoroughly before using the equipment to ensure proper function and to prevent injury or damage.

Figure 1: The ARCCAPTAIN iControl TIG 205 Pro Welder. This image displays the front panel of the welding machine with its various connections and digital display.
2. Safety Information
Welding operations can be hazardous. Always follow safety precautions to prevent electric shock, fire, burns, and other serious injuries. Keep this manual for future reference.
- Electric Shock: Always ensure the welder is properly grounded. Do not touch live electrical parts. Wear dry welding gloves and protective clothing.
- Fumes and Gases: Ensure adequate ventilation to remove welding fumes and gases from the breathing zone.
- Arc Rays: Arc rays can burn eyes and skin. Wear a welding helmet with appropriate shade filter and protective clothing.
- Fire and Explosion: Remove all flammable materials from the welding area. Have a fire extinguisher readily available.
- Hot Parts: Allow welded materials and equipment to cool before handling.
3. Product Features
The ARCCAPTAIN iControl TIG 205 Pro offers advanced features designed for precision and versatility:
- First App-Controlled TIG Welder: Connect to a mobile application by scanning a QR code on the welder. The app allows real-time monitoring, multi-functional welding process selection, parameter adjustments, error code analysis, and access to FAQs.
- 5-in-1 Multi-Process TIG Welder: This 205 amp welding machine supports COLD TIG, 4T DC TIG, COLD SPOT TIG, 2T DC TIG, and STICK welding processes. It is compatible with the ARCCAPTAIN 5-pin TIG foot pedal and WP-17 TIG torch for remote control.
- Large LED Display: The smart LED screen provides clear and accurate data display, making it easy to read welding parameters without removing your helmet.
- MCU Precision Control: Exclusive internal MCU control ensures a 99.99% arc initiation success rate and a 400% increase in arc start response speed. This provides precise control for sheet metal or bodywork and enhances electrode welding performance with stable current and minimal spatter.
- ER70S-6 TIG Welding Rod: The included ER70S-6 welding rods are composed of C, Mn, and Si, providing moderate carbon content for weld strength and enhancing mechanical properties, crack resistance, toughness, and strength.

Figure 2: Mobile application interface for controlling the ARCCAPTAIN TIG 205 Pro welder. The image shows a smartphone displaying welding parameters and settings, with the welder visible in the background.

Figure 3: Visual representation of the five welding modes: Cold TIG, 4T (DC) HF TIG, Cold Spot TIG, 2T (DC) HF TIG, and Stick welding, demonstrating the versatility of the machine.

Figure 4: Close-up view of the welder's large LED display, showing various welding parameters such as voltage, amperage, and time settings, designed for enhanced visibility.

Figure 5: Illustration of the welder's high-frequency arc start capability, highlighting a 99.99% arc striking success rate and 400% increased arcing response speed for precise welding.
4. Setup Instructions
- Unpacking and Inspection: Carefully remove the welder and all accessories from the packaging. Inspect for any shipping damage.
- Power Connection: Connect the welder to a suitable power supply (120V or 240V) using the appropriate power cord. Ensure the power source matches the welder's requirements.
- Gas Connection (for TIG): Connect your argon gas cylinder to the welder's gas inlet using a gas hose and regulator. Ensure all connections are tight to prevent leaks.
- Torch and Ground Clamp Connection: Connect the TIG torch to the designated port on the welder. Attach the ground clamp to the workpiece, ensuring a clean, secure electrical connection.
- Optional Foot Pedal: If using a foot pedal, connect it to the 5-pin port on the welder.
5. Operating Instructions
- Power On: Turn on the welder using the main power switch. The LED display will illuminate.
- Mode Selection: Use the 'MODE' button on the front panel or the mobile app to select your desired welding process (COLD TIG, 4T DC TIG, COLD SPOT TIG, 2T DC TIG, or STICK).
- Parameter Adjustment: Adjust welding parameters such as amperage, pre-flow, post-flow, and pulse settings using the control knob on the panel or through the mobile app. Refer to the app for detailed parameter descriptions and error code analysis.
- App Control: Scan the QR code on the welder to connect your mobile device. The app allows for comprehensive control and monitoring of the welding process.
- Begin Welding: Once parameters are set, initiate the arc according to the selected welding process. Always wear appropriate personal protective equipment.
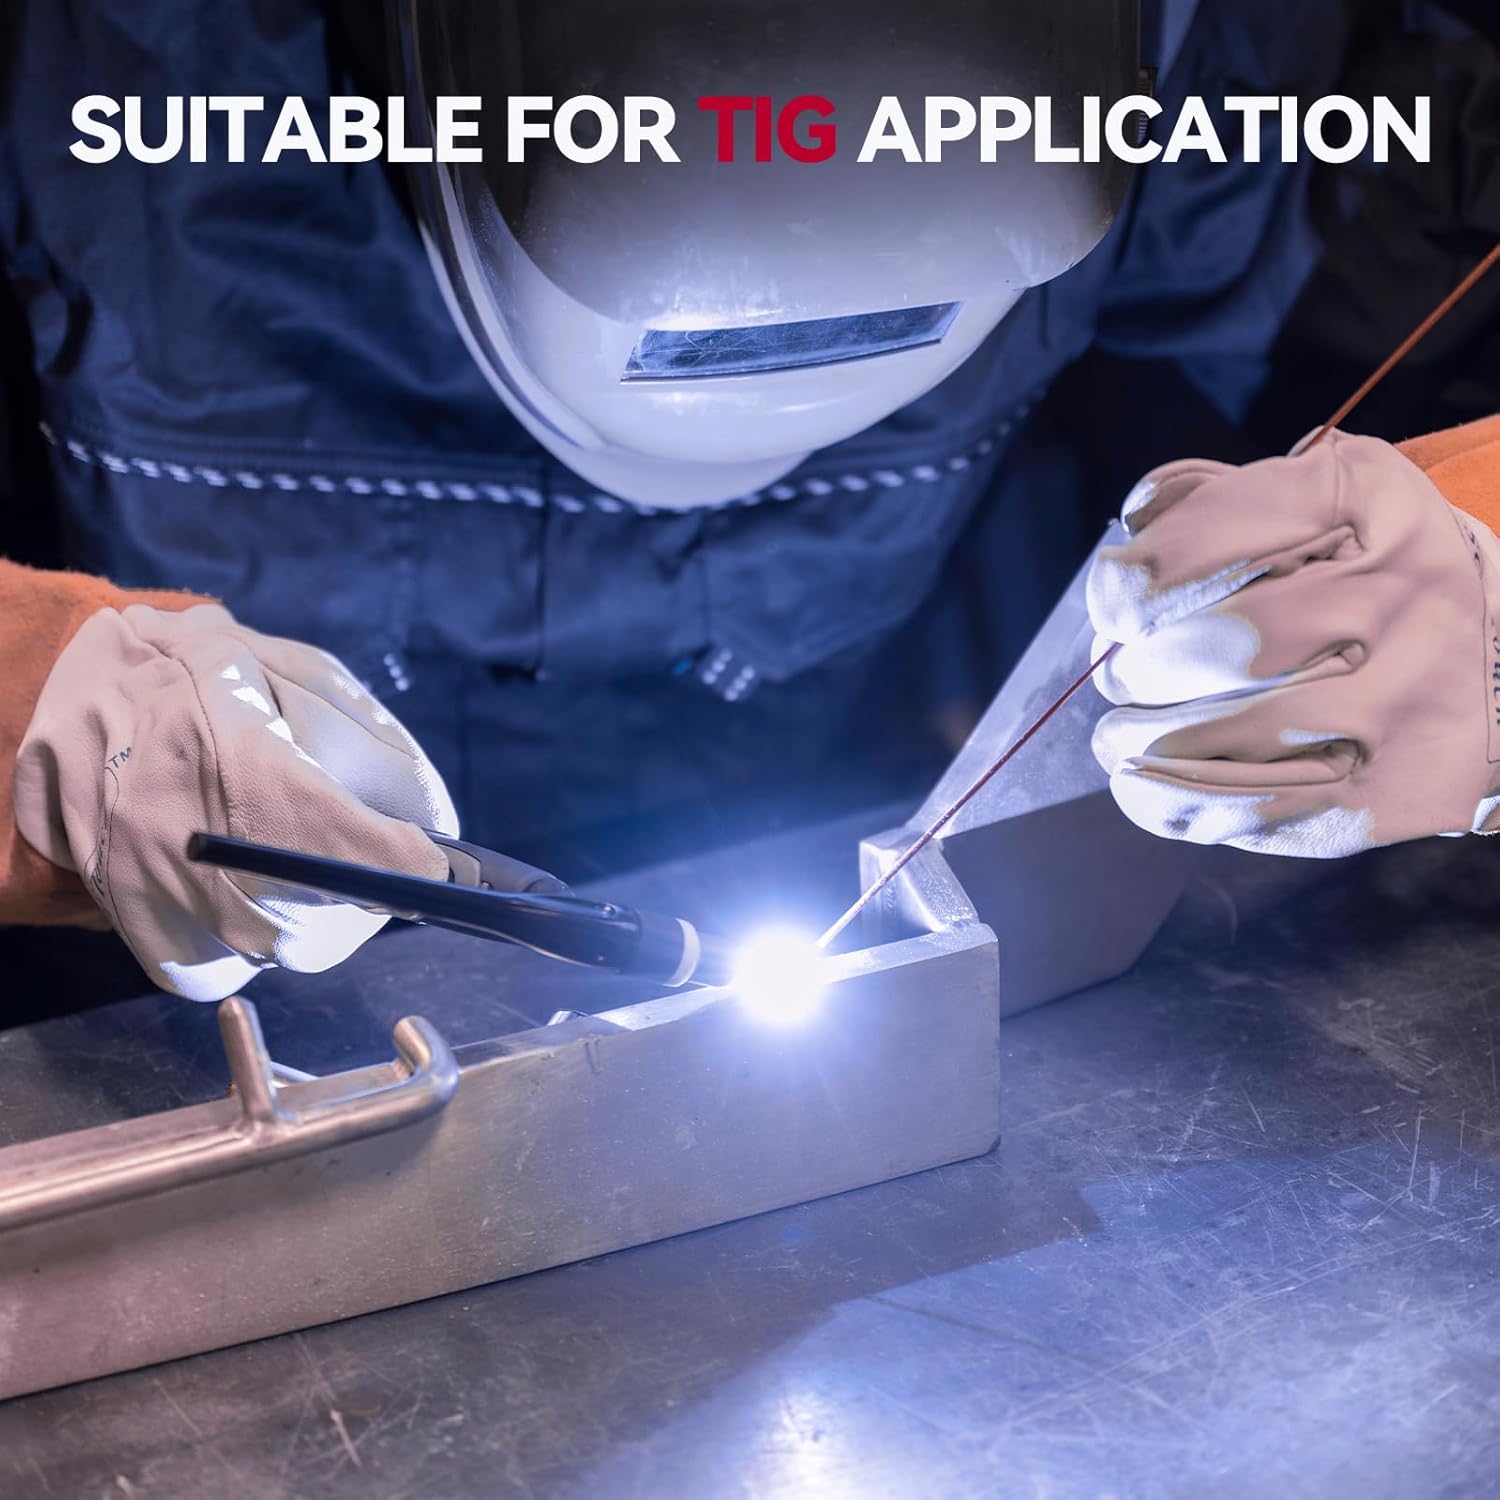
Figure 6: A welder performing a TIG welding operation on a metal workpiece, demonstrating the machine in practical use.
6. Maintenance
Regular maintenance ensures the longevity and optimal performance of your welder.
- Cleaning: Periodically clean the welder's exterior with a dry cloth. Use compressed air to clear dust from internal components, ensuring the power is disconnected.
- Torch and Cable Inspection: Regularly inspect the TIG torch, cables, and ground clamp for wear, damage, or loose connections. Replace damaged parts immediately.
- Gas System Check: Verify gas hose and regulator connections for leaks.
- Storage: Store the welder in a clean, dry environment when not in use.
7. Troubleshooting
Refer to the following common issues and their solutions. For more detailed diagnostics, use the ARCCAPTAIN mobile app's error code analysis feature.
| Problem | Possible Cause | Solution |
|---|---|---|
| No Arc / Weak Arc | Improper ground connection, incorrect settings, worn electrode, insufficient gas flow. | Check ground clamp, adjust amperage, replace electrode, verify gas supply. |
| Poor Weld Quality | Incorrect parameters, contaminated workpiece, improper technique, gas shield issues. | Adjust settings, clean workpiece, refine technique, check gas flow and purity. |
| Welder Overheating | Exceeding duty cycle, blocked ventilation. | Allow welder to cool, ensure clear airflow around the machine. |
| Error Code Displayed | Internal fault or specific operational issue. | Refer to the ARCCAPTAIN app for specific error code analysis and recommended actions. |
8. Specifications
Key technical specifications for the ARCCAPTAIN iControl TIG 205 Pro welder:
- Model: ARCCAPTAIN iControl TIG 205 Pro
- ASIN: B0G1YCHSFK
- Date First Available: February 20, 2025
- Welding Processes: COLD TIG, 4T DC TIG, COLD SPOT TIG, 2T DC TIG, STICK
- Input Voltage: 120V/240V (Dual Voltage)
- Max Amperage: 205 Amps
- Control: App-controlled, MCU Precision Control
9. Warranty and Support
For warranty information, technical support, or service inquiries, please refer to the official ARCCAPTAIN website or contact their customer service directly. Keep your purchase receipt for warranty claims.
You can visit the ARCCAPTAIN store for more information: ARCCAPTAIN Store


