
RAOO MIN HF1114P-PRO
RAOO MIN HF1114P-PRO Folding Treadmill User Manual
Model: HF1114P-PRO | Brand: RAOO MIN
1. Important Safety Information
Please read all instructions carefully before using the RAOO MIN HF1114P-PRO treadmill. Keep this manual for future reference.
- Consult a Doctor: Before starting any exercise program, consult your physician, especially if you have pre-existing health conditions.
- Children and Pets: Keep children and pets away from the treadmill during operation.
- Stable Surface: Place the treadmill on a flat, stable surface with at least 2 meters of clear space behind it and 0.6 meters on each side.
- Power Cord: Ensure the power cord is not pinched or damaged. Do not use extension cords.
- Emergency Stop: Always attach the safety key clip to your clothing before starting the treadmill. In case of emergency, pull the safety key to stop the machine immediately.
- Weight Limit: Do not exceed the maximum user weight capacity of 150 kg (330 lbs).
- Proper Footwear: Always wear appropriate athletic footwear.
- Maintenance: Perform regular maintenance as described in this manual to ensure safe operation.
2. Product Overview
The RAOO MIN HF1114P-PRO is a versatile and compact folding treadmill designed for various fitness levels. It features a powerful motor, multiple training modes, and smart connectivity options.
Key Features:
- Powerful 3HP Motor: Provides smooth and quiet operation with speeds from 1 to 14 km/h.
- 4-in-1 Training Modes: Supports walking, jogging, sprinting, and manual incline training.
- Intelligent Control Panel: Features an LED display for tracking workout data (speed, time, distance, calories).
- Bluetooth Connectivity: Integrated Bluetooth speaker for music playback and a holder for tablets/phones.
- Manual Incline: Adjustable incline up to 12% for varied workout intensity.
- Foldable Design: Compact and equipped with wheels for easy storage and portability.
- 5-Layer Running Belt: Designed for shock absorption to protect joints and knees.

Figure 2.1: The RAOO MIN HF1114P-PRO Folding Treadmill.
3. What's in the Box
Carefully unpack all components and ensure everything listed below is present. If any parts are missing or damaged, contact customer support.
- RAOO MIN HF1114P-PRO Treadmill Unit
- Safety Key
- Tool Kit (Allen key with screwdriver)
- Lubricant (Silicone oil)
- User Manual (This document)

Figure 3.1: Package contents of the RAOO MIN HF1114P-PRO Treadmill.
4. Setup Instructions
The RAOO MIN HF1114P-PRO treadmill comes largely pre-assembled. Follow these steps to prepare it for use:
- Unpack: Remove the treadmill and all accessories from the packaging.
- Positioning: Place the treadmill on a firm, level surface. Ensure adequate clearance around the machine (at least 2 meters behind and 0.6 meters on each side).
- Unfold: Carefully lift the console and handlebars into the upright position until they lock securely.
- Secure: Tighten any pre-installed screws or attach the provided screws (typically 4) to stabilize the uprights and console. Refer to the included tool kit for necessary tools.
- Power Connection: Plug the power cord into a grounded electrical outlet.
- Safety Key: Locate the red safety key and attach the clip to your clothing. Insert the magnetic end of the safety key into its designated slot on the console. The treadmill will not operate without the safety key in place.

Figure 4.1: Unfolding and setting up the treadmill.
5. Operating Instructions
5.1 Control Panel Overview

Figure 5.1: Intelligent control console and display screen.
- LED Display: Shows Speed, Time, Distance, and Calories Burned.
- Start Button (Green): Begins the treadmill operation.
- Stop Button (Red): Halts the treadmill operation.
- Speed Buttons (+/-): Adjust the running belt speed.
- Quick Speed Buttons (3, 6): Instantly set speed to 3 km/h or 6 km/h.
- Mode Button: Cycles through different workout modes (Manual, Preset Programs, Countdown).
- Safety Key Slot: Magnetic slot for the safety key.
- Tablet/Phone Holder: Integrated holder for your device.
- Bluetooth Speaker: For audio playback.
5.2 Starting a Workout
- Power On: Ensure the treadmill is plugged in and the main power switch (usually located at the front base) is ON.
- Attach Safety Key: Clip the safety key to your clothing and insert it into the console slot.
- Stand on Side Rails: Step onto the side rails of the treadmill, not directly onto the running belt.
- Press Start: Press the START button. The treadmill will typically begin with a 3-second countdown before the belt starts moving at a low speed (e.g., 1 km/h).
- Adjust Speed: Once the belt is moving, carefully step onto it. Use the +/- SPEED buttons to increase or decrease the speed to your desired level. You can also use the quick speed buttons.
- Adjust Incline: The HF1114P-PRO features manual incline adjustment. To change the incline, you must stop the treadmill, adjust the incline mechanism at the rear of the treadmill manually, and then restart your workout. Refer to the physical manual for detailed instructions on manual incline adjustment.
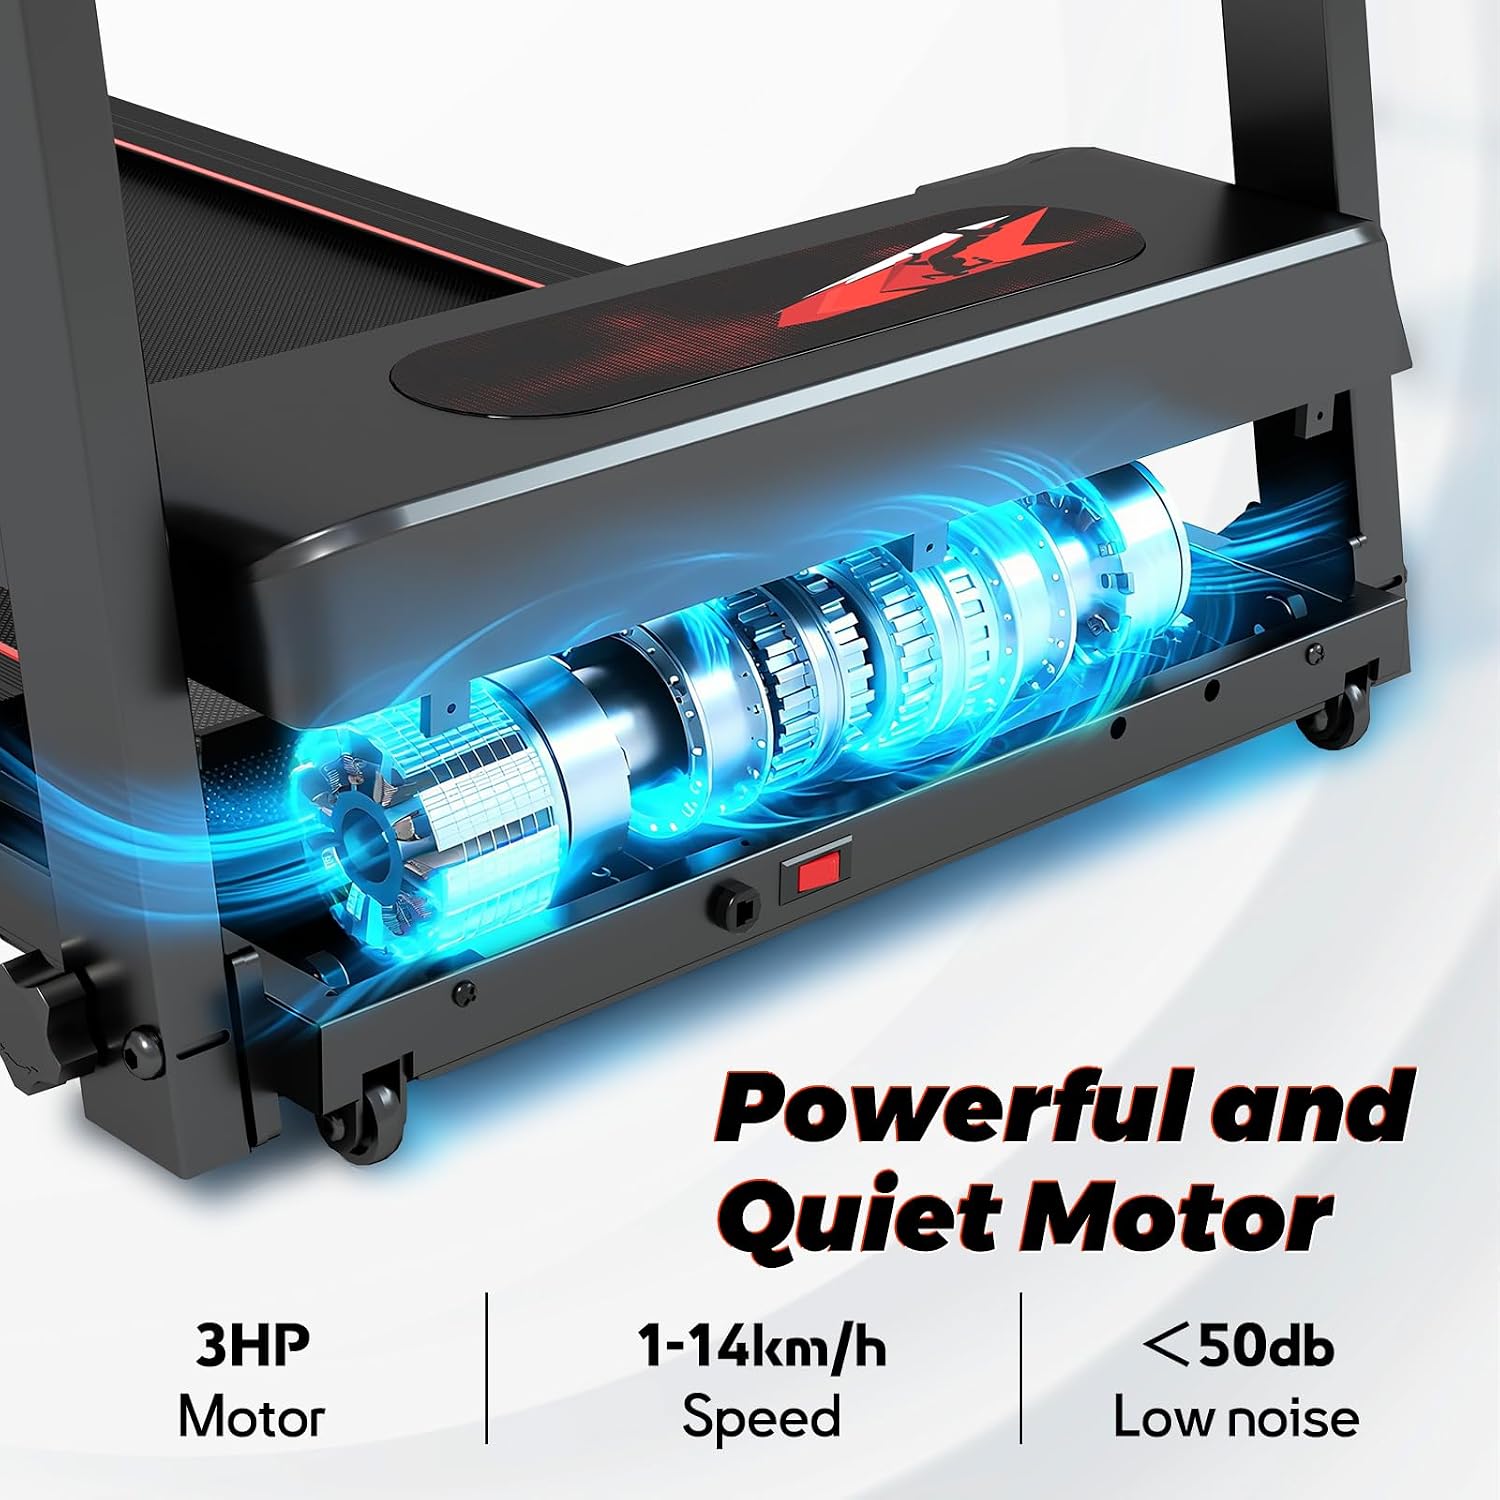
Figure 5.2: Manual incline adjustment for varied workout intensity.
5.3 Workout Modes
The treadmill offers several training modes to suit different fitness goals:
- Manual Mode: Allows you to control the speed and duration manually.
- Preset Programs (P1-P12): The treadmill includes 12 pre-programmed workouts with varying speed and intensity profiles. Use the MODE button to select a program before starting.
- Countdown Modes: Set a target for Time, Distance, or Calories. The treadmill will count down from your target.

Figure 5.3: The 4-in-1 functionality supports various exercise types.
5.4 Stopping a Workout
To stop the treadmill:
- Press the STOP button. The belt will gradually slow down and stop.
- Alternatively, pull the safety key from the console. The treadmill will stop immediately.
5.5 Bluetooth Speaker Connection
To connect your mobile device to the treadmill's Bluetooth speaker:
- Ensure the treadmill is powered on.
- Enable Bluetooth on your mobile device.
- Search for available Bluetooth devices. The treadmill's Bluetooth name typically includes "Treadmill" or "RAOO MIN".
- Select the treadmill from the list to pair. Once paired, you can play music through the integrated speakers.
6. Maintenance
Regular maintenance ensures the longevity and safe operation of your treadmill.
6.1 Cleaning
- Daily: Wipe down the console and handrails with a soft, damp cloth after each use.
- Weekly: Vacuum under the treadmill to prevent dust and debris from accumulating.
- Avoid: Do not use abrasive cleaners or solvents, as they may damage the treadmill's finish or electronic components.
6.2 Running Belt Lubrication
The running belt requires periodic lubrication to reduce friction and extend its lifespan. Use the provided silicone oil.
- Power Off: Turn off and unplug the treadmill.
- Lift Belt: Gently lift one side of the running belt.
- Apply Lubricant: Apply a thin line of silicone lubricant along the center of the deck, underneath the belt. Repeat on the other side.
- Run Treadmill: Plug in and turn on the treadmill. Run it at a low speed (e.g., 3 km/h) for 5 minutes without a user to distribute the lubricant evenly.
- Frequency: Lubricate every 3-6 months, or after approximately 100 hours of use, depending on usage.
6.3 Running Belt Adjustment
If the running belt becomes off-center or slips, it may need adjustment. Refer to the detailed instructions in your physical user manual for precise steps, as this often involves using the included Allen key to adjust tension bolts at the rear of the treadmill.
7. Troubleshooting
This section addresses common issues you might encounter. For problems not listed here, contact customer support.
| Problem | Possible Cause | Solution |
|---|---|---|
| Treadmill does not start. |
|
|
| Running belt slips or hesitates. |
|
|
| Unusual noise during operation. |
|
|
| Bluetooth speaker not connecting. |
|
|
8. Specifications
| Feature | Detail |
|---|---|
| Brand | RAOO MIN |
| Model Number | HF1114P-PRO |
| Motor Power | 3 HP (Horsepower) |
| Speed Range | 1 - 14 km/h |
| Incline | Manual, up to 12% |
| Display | LED (Speed, Distance, Calories Burned) |
| Programs | 3 modes (Manual, Preset Programs, Countdown) |
| Connectivity | Bluetooth Speaker |
| Special Features | Shockproof, Compact Design, Integrated Speaker, Foldable |
| Frame Material | Alloy Steel |
| Product Dimensions (L x W x H) | 125.5 x 60.5 x 110 cm |
| Item Weight | 27.32 kg |
| Max User Weight | 150 kg |
| Power Source | Electric Corded |
9. Warranty and Customer Support
RAOO MIN is committed to providing quality products and excellent customer service.
- Quality Guarantee: We offer professional technical support for our products.
- Contact Us: If you have any questions, concerns, or require assistance, please contact our customer support team. We aim to respond with satisfactory solutions within 24 hours.
- Warranty Information: Please refer to your purchase documentation or contact customer support for specific warranty terms and conditions.
Ask a question about this manual
Ask about setup, troubleshooting, compatibility, parts, safety, or missing instructions. Manuals+ will review the question and use this page’s manual context to help answer it.