
Introduction
This manual provides instructions for the proper setup, operation, and maintenance of your Snrigw Replacement Remote Control, specifically designed for the GiveBest 906ES Indoor Space Electric Heater. Please read this manual thoroughly before use to ensure optimal performance and longevity of your remote control.
Setup
1. Battery Installation
The remote control requires two AAA batteries (not included). Follow these steps to install them:
- Locate the battery compartment on the back of the remote control.
- Slide open the battery compartment cover.
- Insert two AAA batteries, ensuring the positive (+) and negative (-) terminals match the diagrams inside the compartment.
- Close the battery compartment cover securely.

Figure 1: Battery installation for the remote control. Two AAA batteries are required and are not included.
2. Initial Pairing
This remote control is designed for immediate plug-and-play functionality. No technical setup or complicated programming is required. Once batteries are installed, the remote control automatically synchronizes with your GiveBest 906ES Space Heater, allowing for immediate control.

Figure 2: The remote control features automatic quick pairing with the GiveBest 906ES heater upon power-on, requiring no manual settings.
Operating Instructions
The remote control allows you to manage your GiveBest 906ES heater's functions from a distance. Familiarize yourself with the button layout and their respective functions:

Figure 3: Overview of the remote control buttons and their primary functions.
- ON/OFF: Press to turn the heater on or off.
- MOD (Mode): Cycles through available heating modes (e.g., Low Heat, High Heat, ECO mode).
- LOC (Lock): This button may activate a child lock feature on the heater, if supported. Refer to your heater's manual for specific functionality.
- + (Temperature Up): Increases the target temperature setting.
- - (Temperature Down): Decreases the target temperature setting.
- TIM (Timer): Activates or adjusts the automatic shut-off timer function.
Temperature Adjustment
Use the + and - buttons to set your desired room temperature. The heater will work to maintain this temperature. The remote allows for precise, one-click temperature adjustments.

Figure 4: Adjusting the temperature using the remote control's plus and minus buttons.
Features and Performance
The Snrigw Replacement Remote Control is designed for reliable and comfortable use.
- Ergonomic Design: Features a comfortable grip for ease of handling.
- Responsive Buttons: Soft and sensitive buttons provide fast response to commands.
- Durable Construction: Made from ABS plastic for durability.
- Signal Stability: Ensures stable infrared signal transmission over a long distance.
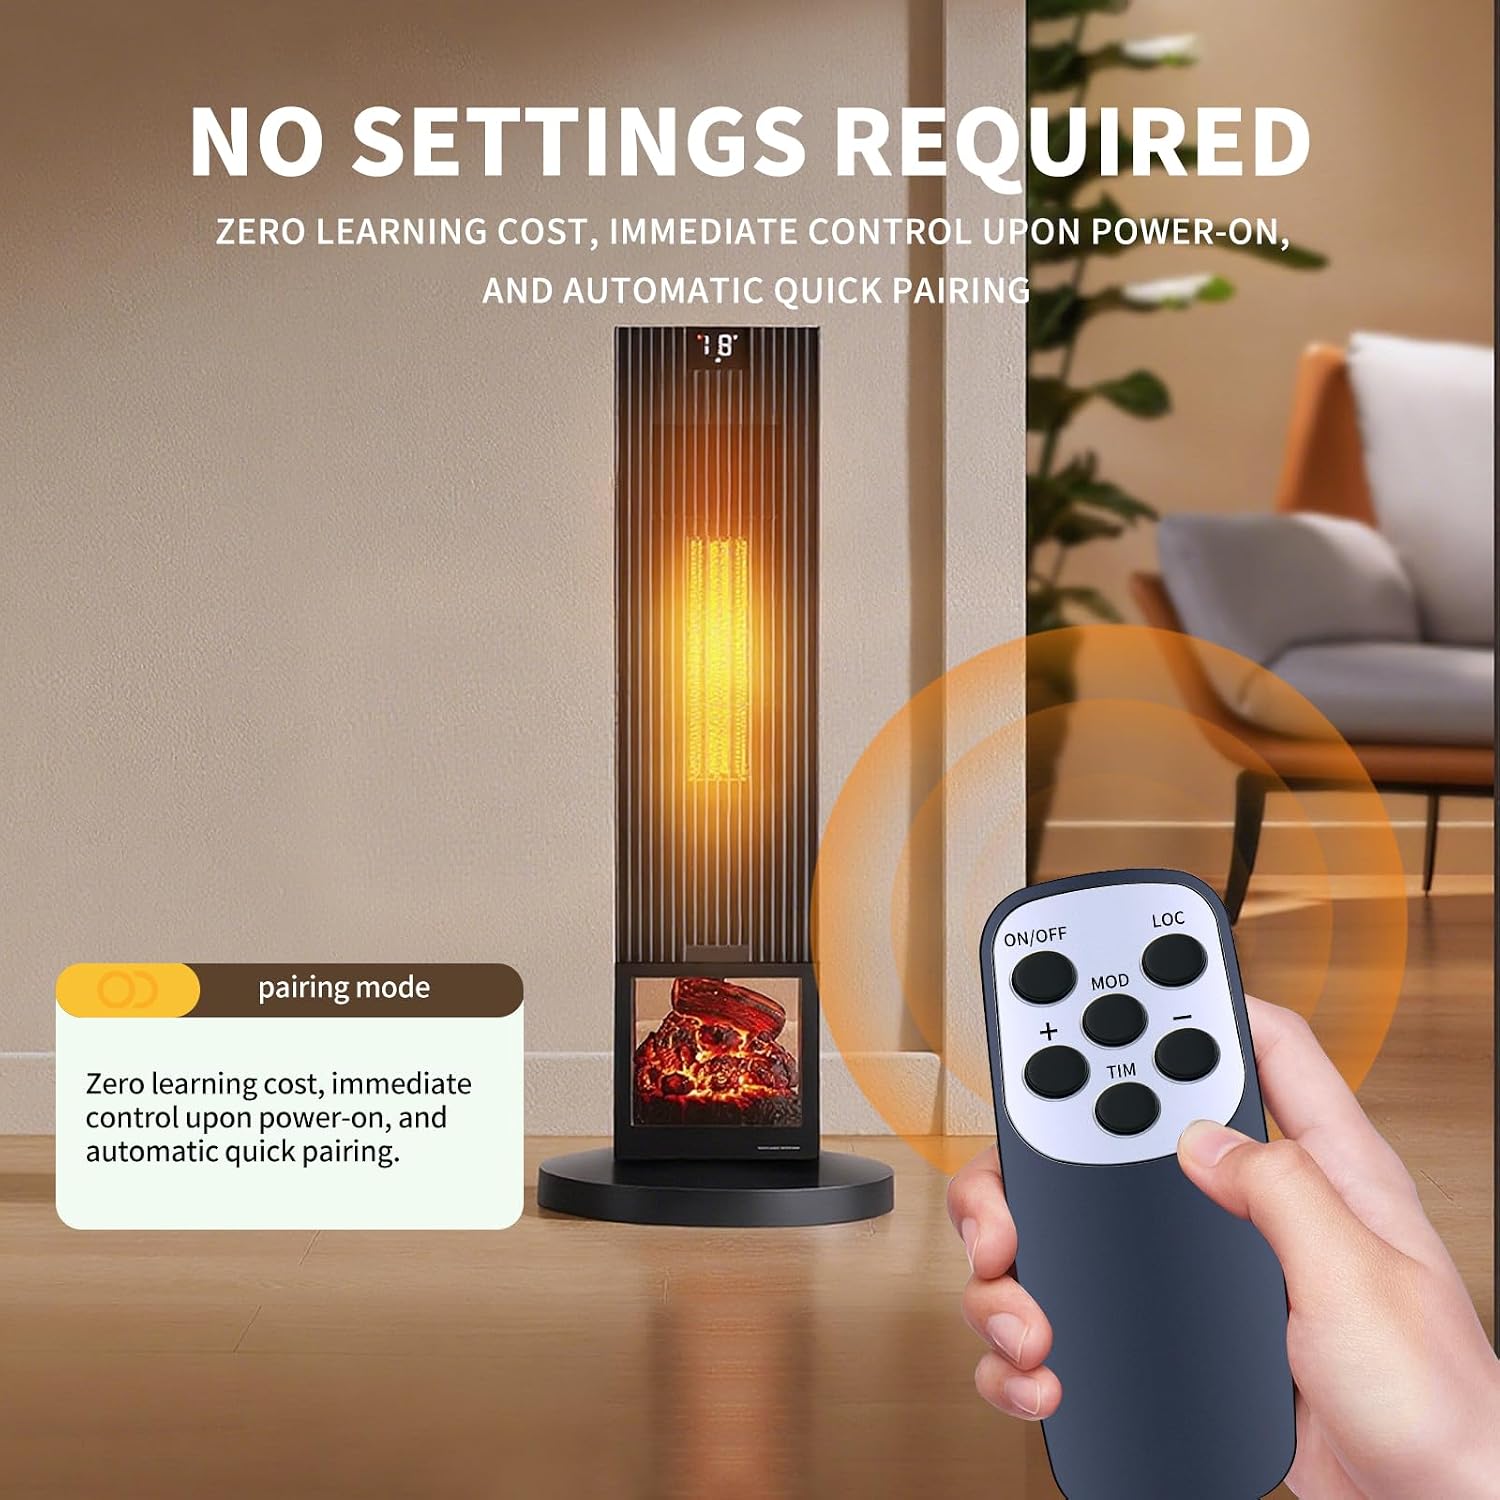
Figure 5: Design and material features of the remote control.
Operating Range
The remote control offers a maximum effective operating distance of up to 26 feet (approximately 8 meters), allowing you to control your heater from various positions within a room.

Figure 6: The remote control maintains signal stability over a maximum effective distance of 26 feet.
Maintenance
Battery Replacement
If the remote control becomes unresponsive or its range decreases, it may be time to replace the batteries. Follow the battery installation steps outlined in the "Setup" section.
Cleaning
To clean the remote control, gently wipe it with a soft, dry cloth. Do not use liquid cleaners or abrasive materials, as these can damage the remote's surface or internal components.
Troubleshooting
- Remote not responding:
- Ensure batteries are correctly installed with the correct polarity.
- Replace old batteries with new AAA batteries.
- Ensure there are no obstructions between the remote control and the heater's infrared receiver.
- Verify the remote is within the effective operating range (up to 26 feet).
- Heater not responding to specific buttons:
- Check if the heater itself is powered on and functioning correctly.
- Some functions (e.g., LOC) may depend on specific features of your heater model. Refer to your GiveBest 906ES heater's manual.
If you continue to experience issues, please refer to the "Support" section for assistance.
Specifications
| Brand | Snrigw |
| Compatible Devices | GiveBest 906ES Indoor Space Electric Heater |
| Connectivity Technology | Infrared |
| Controller Type | Button Control |
| Maximum Range | 26 Feet (approx. 8 meters) |
| Power Source | 2 x AAA Batteries (not included) |
| Material | ABS Plastic |
| Special Feature | Ergonomic Design |
| Color | Black |
| Item Dimensions (L x W x H) | 3.9"L x 1.65"W x 4.72"H |
Support
For any queries, technical assistance, or issues not covered in this manual, please contact the seller or manufacturer directly. The product is backed by reliable after-sales service to ensure your satisfaction.