
1. Introduction
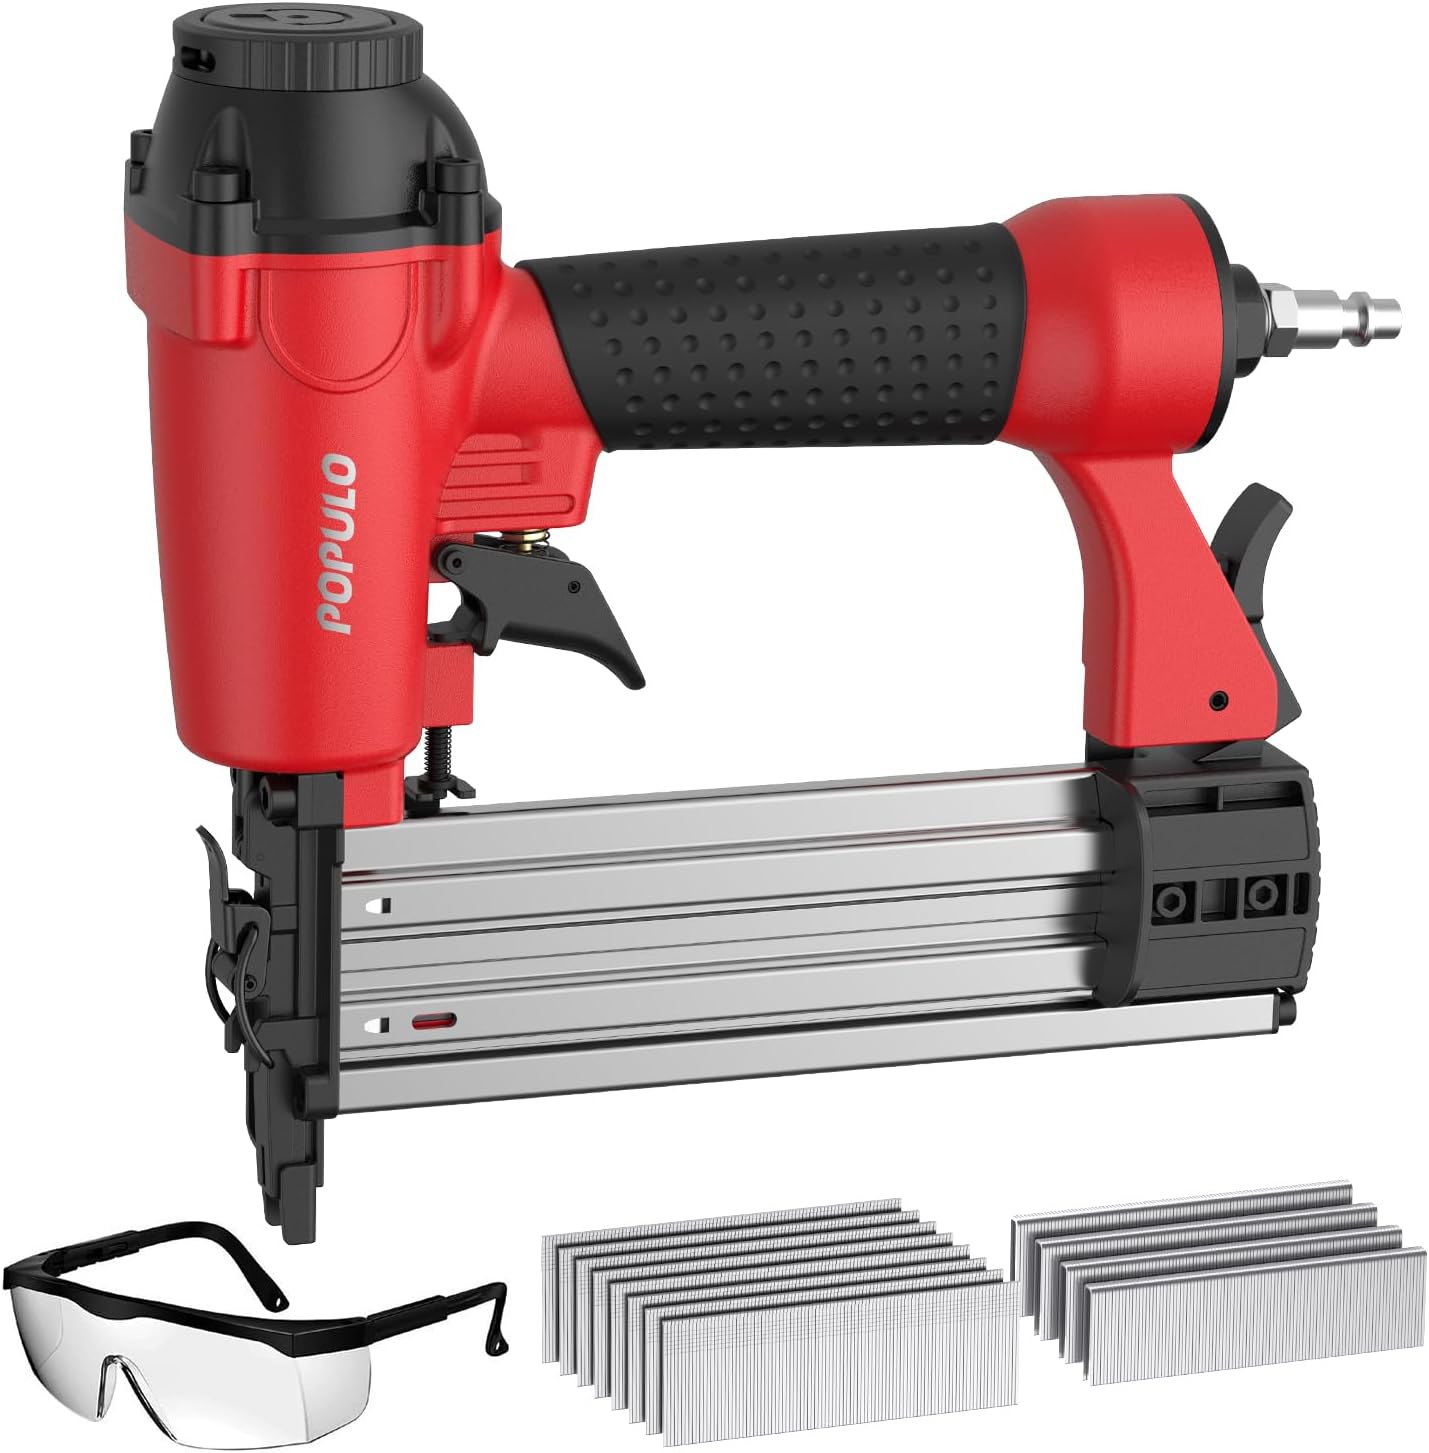
Thank you for choosing the POPULO 2-in-1 Pneumatic Brad Nailer and Staple Gun. This versatile 18-gauge tool is designed for a wide range of applications, including cabinetry, trim work, upholstery, and general woodworking. This manual provides essential information for safe operation, proper setup, effective use, and maintenance of your tool. Please read it thoroughly before use and keep it for future reference.
2. Important Safety Information
WARNING: Failure to follow these safety instructions may result in serious injury or property damage.
- Always wear ANSI Z87.1 approved safety glasses with side shields when operating or performing maintenance on the tool.
- Wear hearing protection to prevent hearing damage.
- Never point the tool at yourself or others.
- Disconnect the tool from the air supply before making adjustments, clearing jams, servicing, or when not in use.
- Ensure the workpiece is securely fastened before firing.
- Do not operate the tool if it is damaged or malfunctioning.
- Use only clean, dry, regulated compressed air at the recommended pressure.
- Keep hands and body parts away from the discharge area of the tool.
- Do not overreach. Maintain proper footing and balance at all times.
- Keep children and bystanders away while operating a power tool.
3. Product Overview
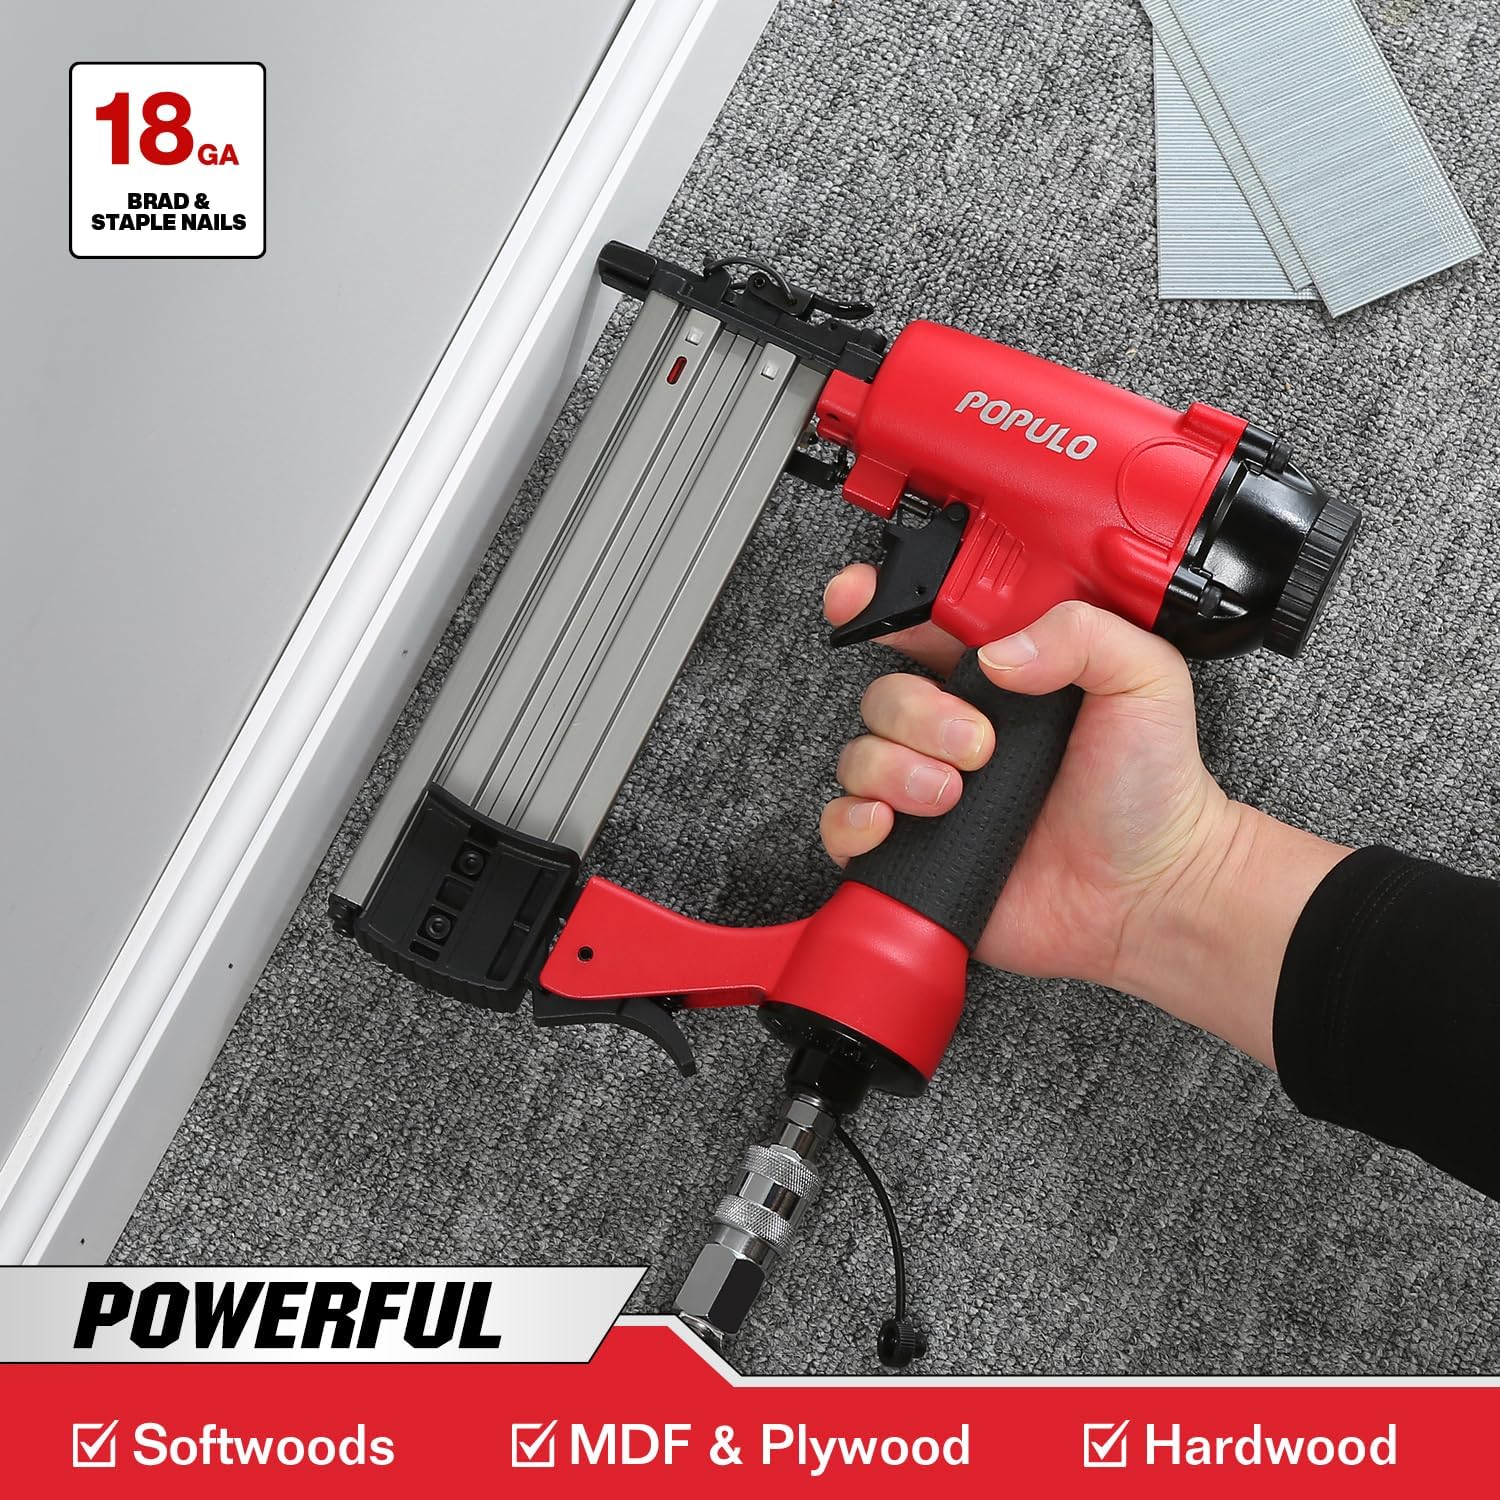
The POPULO ABE-5040 is an 18-gauge pneumatic tool capable of driving both brad nails and narrow crown staples. Its lightweight design and ergonomic grip enhance user comfort and control.
Key Features:
- 2-in-1 Versatility: Drives 18GA brad nails (5/8" to 2") and 1/4" crown staples (5/8" to 1-5/8").
- Precision Depth Adjustment: Easily adjust nail/staple depth for flush or countersunk finishes.
- Tool-Free Jam Clear: Quick-release nose latch for easy jam removal.
- 360° Adjustable Exhaust: Directs air and dust away from the user and workpiece.
- Ergonomic Design: Lightweight body (2.6 lbs) and rubber grip reduce fatigue.
- Low-Nail Indicator: Visible window to prevent dry firing.
Component Identification:

- Air Deflector: Directs exhaust air.
- Bump Fire Trigger: For rapid firing (ensure safety contact is depressed).
- 1/4" NPT Air Inlet Plug: Connection point for air hose.
- Magazine Release Latch: Releases the magazine for loading fasteners.
- Workpiece Contact: Must be depressed against the workpiece to fire.
- Low Nail Indicator Window: Shows when fasteners are running low.
- Nail Depth Adjuster: Dial for controlling fastener depth.
4. Specifications
| Feature | Specification |
|---|---|
| Model Number | ABE-5040 |
| Fastener Type | 18 Gauge Brad Nails, 1/4" Crown Staples |
| Brad Nail Length | 5/8" to 2" (15-50mm) |
| Crown Staple Length | 5/8" to 1-5/8" (15-40mm) |
| Operating Pressure | 60-110 PSI (Max 120 PSI) |
| Air Inlet | 1/4" NPT |
| Magazine Capacity | 100 fasteners (approx.) |
| Item Weight | 4.6 pounds (tool only: 2.6 lbs) |
| Dimensions (Package) | 10.71 x 9.92 x 2.44 inches |

5. Setup
5.1 Connecting to Air Compressor
- Ensure the air compressor is off and the air tank is drained.
- Apply a few drops of pneumatic tool oil into the air inlet of the nailer.
- Attach a 1/4" NPT air quick coupler to the tool's air inlet.
- Connect the air hose from your compressor to the tool.
- Set the air compressor's regulator to the recommended operating pressure (60-110 PSI). Do not exceed 120 PSI.
5.2 Loading Fasteners
This tool accepts 18-gauge brad nails and 1/4" crown staples.
- Disconnect the tool from the air supply.
- Press the magazine release latch and pull the magazine open.
- Insert a strip of brad nails or staples into the magazine with the points facing down.
- Push the magazine closed until it latches securely.
5.3 Adjusting Depth of Drive
The depth of drive can be adjusted to set fasteners flush with the surface or countersunk.
- Locate the depth adjustment dial near the nose of the tool.
- Rotate the dial to increase or decrease the driving depth. Test on a scrap piece of material to achieve the desired depth.

6. Operating Instructions
6.1 General Operation
- Ensure all safety precautions are followed and the tool is properly set up.
- Connect the tool to the air supply.
- Place the nose of the tool firmly against the workpiece where the fastener is to be driven. The workpiece contact safety mechanism must be depressed.
- Pull the trigger to drive a fastener.
- Release the trigger and lift the tool from the workpiece.

6.2 PSI Guide for Various Materials
The optimal air pressure (PSI) can vary depending on the material and fastener length. Refer to the table below for general recommendations:
| Application | Material Type | Recommended PSI |
|---|---|---|
| Cabinetry, Stair Cases, Baseboard | Hardwoods (Oak, Hickory, Walnut) | 95-110 PSI |
| Chicken Wire, Door and Window Trim, Wainscoting, Lattice | Medium Hardwoods (Birch, Poplar, Maple) | 80-95 PSI |
| Crown Molding, Exterior Trim, Upholstery, Small Decorative Trim | Softwoods (Pine, Cedar, Fir) | 60-80 PSI |

6.3 Clearing Jams
In the event of a fastener jam:
- Immediately disconnect the tool from the air supply.
- Open the quick-release nose latch.
- Carefully remove the jammed fastener using pliers or a similar tool.
- Close the nose latch securely before reconnecting the air supply.
6.4 Adjustable Exhaust
The 360-degree adjustable exhaust port allows you to direct expelled air and debris away from your face and the workpiece. Simply rotate the exhaust cap to the desired position.
6.5 Official Product Video
Video 6.4: Official product demonstration of the POPULO 2-in-1 Pneumatic Brad Nailer (Model ABE-5040). This video showcases the tool's features and operation.
7. Maintenance
Regular maintenance ensures optimal performance and extends the life of your tool.
- Lubrication: Apply 5-10 drops of pneumatic tool oil into the air inlet daily or before each use.
- Cleaning: Keep the tool clean and free of debris. Wipe down the exterior with a clean cloth. Periodically clean the magazine and nose area.
- Air Filter: Ensure your air compressor's air filter is clean to prevent contaminants from entering the tool.
- Storage: Store the tool in a dry, clean environment when not in use. Disconnect from air supply.
- Inspections: Regularly inspect the tool for worn or damaged parts. Replace any damaged components immediately.
8. Troubleshooting
Before troubleshooting, always disconnect the tool from the air supply.
| Problem | Possible Cause | Solution |
|---|---|---|
| Tool does not fire | No air supply; Low air pressure; Workpiece contact not fully depressed; No fasteners in magazine; Safety engaged. | Check air connection; Increase air pressure; Ensure tool nose is firmly against workpiece; Load fasteners; Check safety switch. |
| Fasteners do not drive fully | Low air pressure; Depth adjustment too shallow; Hard material; Incorrect fastener length. | Increase air pressure; Adjust depth setting; Use appropriate PSI for material; Ensure fastener length is suitable. |
| Tool jams frequently | Damaged fasteners; Incorrect fastener size; Worn driver blade; Debris in magazine. | Use new, correct fasteners; Inspect and clean magazine; Replace driver blade if worn. |
| Air leaks from tool | Loose fittings; Worn O-rings/seals. | Tighten air fittings; Replace worn O-rings/seals (consult service center). |
9. Warranty and Support
POPULO products are manufactured to high-quality standards. For warranty information, technical support, or to purchase replacement parts, please refer to the warranty card included with your product or visit the official POPULO website. Keep your purchase receipt as proof of purchase for warranty claims.
Manufacturer: POPULO
Part Number: ABE-5040