1. Introduction
The LKAHYUIBC YM519 OBD2 Scanner is a professional automotive diagnostic tool designed to help users quickly identify and resolve engine-related issues in OBD2-compliant vehicles. This device supports all OBD2 protocols, allowing for comprehensive diagnostics, including reading and clearing Diagnostic Trouble Codes (DTCs), viewing live data, and performing I/M readiness tests. Its user-friendly interface and portable design make it suitable for both professional technicians and DIY enthusiasts.
2. Safety Information
- Always perform automotive tests in a safe environment.
- Wear eye protection and safety clothing when testing.
- Keep clothing, hair, hands, tools, test equipment, etc., away from all moving or hot engine parts.
- Operate the vehicle in a well-ventilated work area; exhaust gases are poisonous.
- Put blocks in front of the drive wheels and never leave the vehicle unattended while running tests.
- Be extremely cautious when working around the ignition coil, distributor cap, ignition wires, and spark plugs. These components create hazardous voltages when the engine is running.
- Ensure the transmission is in PARK (for automatic) or NEUTRAL (for manual) and the parking brake is engaged.
- Keep a fire extinguisher suitable for gasoline/chemical/electrical fires nearby.
3. Product Overview
The YM519 OBD2 Scanner features a robust design with an intuitive button layout and a clear color display for easy operation and data interpretation.
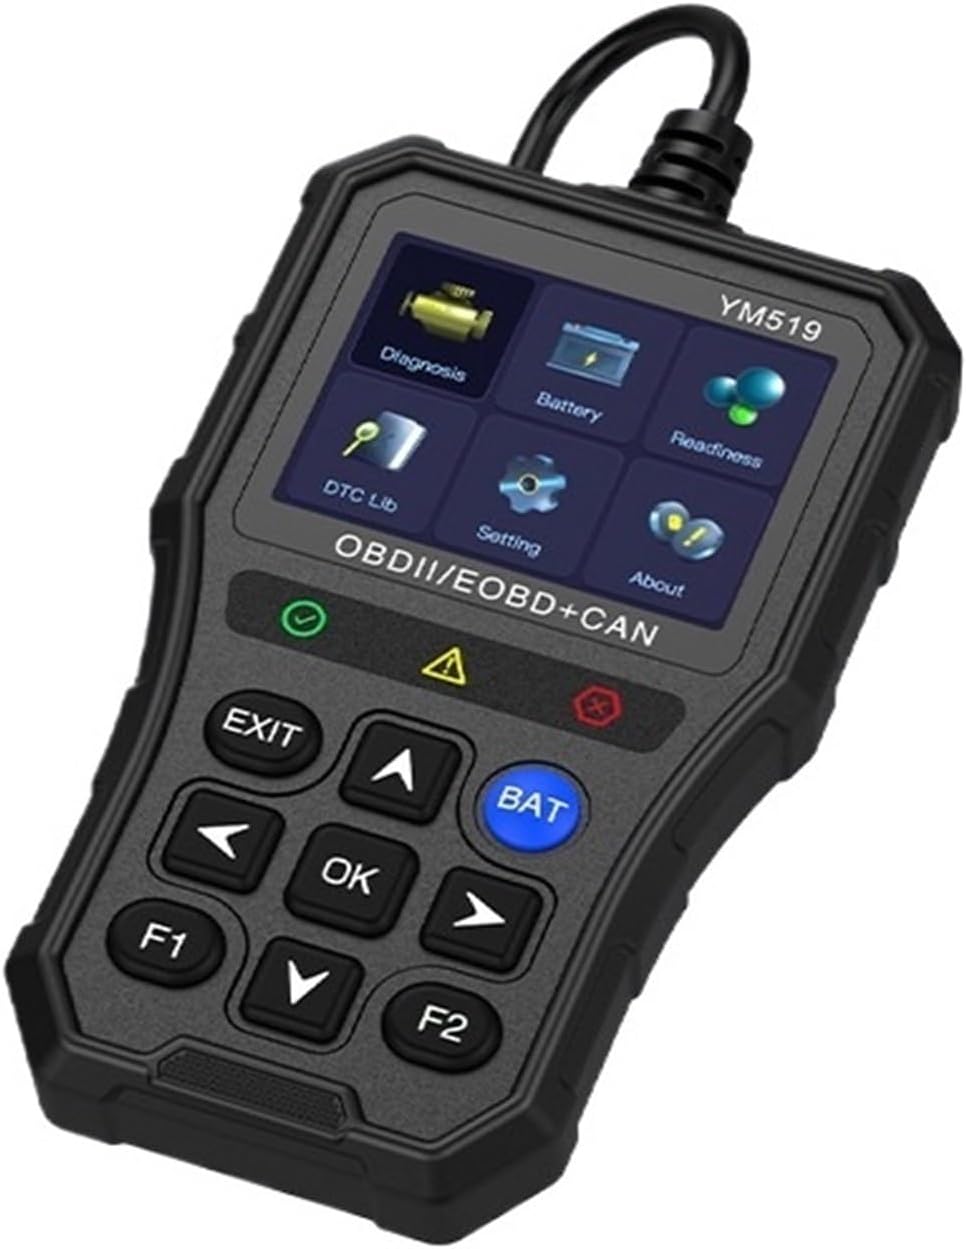
Figure 3.1: LKAHYUIBC YM519 OBD2 Scanner. This image displays the front view of the YM519 diagnostic tool, highlighting its color screen with various menu options and the control buttons below, including navigation arrows, OK, EXIT, BAT, F1, and F2.
3.1. Key Features
- Comprehensive Diagnostics: Quickly identifies and clears engine faults with support for multiple OBD2 protocols.
- Wide Vehicle Compatibility: Works with most OBD2-compliant vehicles manufactured from 1996 onward.
- Clear LCD Display: Features an easy-to-read 2.8-inch HD color screen for detailed fault codes, sensor data, and real-time diagnostics.
- User-Friendly Interface: Simple design for both professionals and DIY enthusiasts.
- Portable and Efficient: Compact and handheld design for easy transportation and use.
3.2. Display
The YM519 is equipped with a 2.8-inch HD color screen, providing clear and vibrant display of diagnostic information.

Figure 3.2: 2.8-Inch HD Color Screen. This image visually represents the high-definition color display technology used in the YM519 scanner, emphasizing its clarity and visual quality.
4. Setup
To begin using your YM519 OBD2 Scanner, follow these simple steps:
- Locate the OBD2 Port: The OBD2 port is typically located under the dashboard on the driver's side of the vehicle. Refer to your vehicle's service manual if you cannot locate it.
- Turn Off Ignition: Ensure the vehicle's ignition is in the OFF position before connecting the scanner.
- Connect the Scanner: Plug the YM519 scanner's cable into the vehicle's OBD2 port. Ensure a secure connection.
- Turn On Ignition: Turn the vehicle's ignition to the ON position (do not start the engine unless instructed by a specific diagnostic procedure). The scanner will power on automatically.
- System Initialization: The scanner will perform a system initialization. Wait for the main menu to appear on the screen.
5. Operating Instructions
This section outlines the basic operations of the YM519 OBD2 Scanner.
5.1. Menu Navigation
Use the UP and DOWN arrow buttons to scroll through menu options. Press the OK button to confirm a selection. The EXIT button returns to the previous menu or exits a function.
5.2. Reading Diagnostic Trouble Codes (DTCs)
- From the main menu, select "Diagnosis" and press OK.
- The scanner will establish communication with the vehicle's ECU.
- Select "Read Codes" to view current, pending, or permanent DTCs.
- The screen will display the DTCs and their descriptions.
5.3. Clearing Diagnostic Trouble Codes (DTCs)
Clearing DTCs will turn off the Check Engine Light (MIL) and erase all diagnostic data. Ensure you have addressed the underlying issue before clearing codes.
- After reading codes, navigate back to the "Diagnosis" menu.
- Select "Erase Codes" and press OK.
- Confirm the action when prompted. The MIL should turn off.
5.4. I/M Readiness Status
The I/M Readiness function checks the status of the emission-related monitoring systems on the vehicle. This is useful for emissions testing.
- From the main menu, select "Readiness" and press OK.
- The scanner will display the status of various monitors (e.g., O2 Sensor, EVAP System).
- A "PASS" or "OK" status indicates the monitor has completed its self-test. "INC" or "N/A" indicates incomplete or not applicable.
5.5. Battery Status Monitoring
The YM519 can monitor your vehicle's battery status, providing voltage measurements and estimated battery life.

Figure 5.1: Battery Status Monitoring. This image illustrates the three main battery monitoring functions of the YM519: measuring current voltage, monitoring voltage over time, and estimating battery life. A reminder to turn off the engine before testing is also shown.
- From the main menu, select "Battery" and press OK.
- You can choose from options like "Battery Measurement" to see the current voltage, "Battery Monitoring" for a real-time graph, or "Battery Life" for an estimated assessment.
- Follow on-screen prompts. For accurate battery life assessment, ensure the engine is off.
5.6. Supported Protocols
The YM519 scanner supports a wide range of OBD2 protocols, ensuring compatibility with various vehicle makes and models.

Figure 5.2: Supported OBD2 Protocols. This image lists the nine major OBD2 protocols supported by the YM519, including SAE J1850 PWM, SAE J1850 VPW, ISO9141-2, ISO14230-4 KWP, and ISO15765-4 CAN, along with their baud rates and typical vehicle compatibility (e.g., American cars after 1996, European cars after 2003, Asian cars after 2000).
The device supports the following major protocols:
- SAE J1850 PWM (41.6 Kbaud)
- SAE J1850 VPW (10.4 Kbaud)
- ISO9141-2 (5 baud init, 10.4 Kbaud)
- ISO14230-4 KWP (5 baud init, 10.4 Kbaud)
- ISO14230-4 KWP (fast init, 10.4 Kbaud)
- ISO15765-4 CAN (11bit ID, 500 Kbaud)
- ISO15765-4 CAN (29bit ID, 500 Kbaud)
- ISO15765-4 CAN (11bit ID, 250 Kbaud)
- ISO15765-4 CAN (29bit ID, 251 Kbaud)
6. Maintenance
- Cleaning: Use a soft, damp cloth to clean the exterior of the scanner. Do not use abrasive cleaners or solvents.
- Storage: Store the device in a dry, cool place, away from direct sunlight and extreme temperatures.
- Cable Care: Avoid bending or twisting the diagnostic cable excessively. Always grasp the connector when plugging or unplugging to prevent damage to the pins.
- Software Updates: Check the manufacturer's website periodically for any available software updates to ensure optimal performance and compatibility.
7. Troubleshooting
| Problem | Possible Cause | Solution |
|---|---|---|
| Scanner does not power on. |
|
|
| Communication error with vehicle. |
|
|
| Cannot clear DTCs. |
|
|
8. Specifications
- Model: YM519
- Working Temperature: -20°C to 65°C (-4°F to 149°F)
- Applicable Models: 12V gasoline vehicles (OBD2 compliant)
- Detection System: Engine
- Power Supply Voltage: 5-18V (via OBD2 port)
- Screen Size: 2.8-inch HD Color Screen
- Item Weight: Approximately 1.1 pounds (0.5 kg)
- Dimensions (L*W*H): Approximately 9.92 x 5.20 x 1.42 inches (252 x 132 x 36 mm)
- Automotive Fit Type: Universal Fit
9. Warranty and Support
For warranty information and technical support, please refer to the documentation included with your purchase or contact LKAHYUIBC customer service through their official website. Keep your purchase receipt for warranty claims.