1. Product Overview
The NDYIN D80 is a portable Bluetooth thermal tattoo stencil printer designed for creating crisp, high-definition tattoo stencils. This device supports both tattoo transfer paper and standard thermal paper, offering versatility for professional and everyday printing needs. It features wireless connectivity via Bluetooth for iOS and Android devices, and USB connectivity for Windows, macOS, and Linux computers. The printer is lightweight, portable, and includes a 2600mAh battery for extended use.

Image: NDYIN D80 Tattoo Stencil Printer highlighting its key features.
2. What's in the Box
Upon unboxing your NDYIN D80 printer, you should find the following items:
- 1x NDYIN D80 Tattoo Printer
- 10 pcs Tattoo Transfer Paper
- 1x USB Cable
3. Specifications
| Feature | Detail |
|---|---|
| Brand | NDYIN |
| Model Name | D80 |
| Connectivity Technology | Bluetooth, USB |
| Printing Technology | Thermal |
| Special Features | Bluetooth, Inkless, Lightweight, Portable, Wireless |
| Color | Black |
| Printer Output | Monochrome |
| Item Weight | 0.78 Kilograms |
| Product Dimensions | 11.02"D x 2.32"W x 1.72"H |
| Maximum Media Size | Letter (8.5 x 11 inches) |
| Resolution | 203 DPI (Max Copy Resolution Black and White) |
| Maximum Sheet Capacity | 10 |
| Power Source | 2600mAh Battery |
4. Setup Instructions
Follow these steps to set up your NDYIN D80 printer for use:
- Charge the Printer: Connect the printer to a power source using the provided USB cable. Ensure the printer is fully charged before initial use for optimal performance.
- Download the Nada Print App: For wireless operation, download the "Nada Print" app from your device's app store (iOS or Android). For PC connection, ensure necessary drivers are installed (refer to the Quick Start Guide).
- Power On: Press and hold the power button on the printer until the indicator light illuminates.
- Connect via Bluetooth (for mobile devices):
- Ensure Bluetooth is enabled on your mobile device.
- Do NOT connect the printer through your phone's Bluetooth settings directly.
- Open the Nada Print app. The app will detect nearby D80 printers.
- Select your D80 printer from the list within the app to establish a connection. The app will indicate a successful connection.
- Load Tattoo Transfer Paper:
- Remove the white protective paper from the tattoo transfer sheet.
- Carefully peel off the yellow backing paper, ensuring the adhesive part remains intact.
- Open the printer cover. Insert the transfer paper into the paper tray with the blue transfer side facing up, allowing it to overhang approximately 1 cm. The printer will automatically feed the paper.
- Close the printer cover.
Video: Demonstrates the process of connecting the printer via the Nada Print app and loading tattoo transfer paper.

Image: Visual guide for paper preparation and printer connection.
5. Operating Instructions
Once your NDYIN D80 printer is set up and connected, you can begin printing:
- Select a Design: Open the Nada Print app. You can choose from various pre-loaded tattoo templates, use line-art filters to convert photos into stencils, or import your own designs (PDF/Word/Excel/image formats).
- Edit and Adjust (Optional): The app allows you to combine multiple patterns, crop, scale, and rotate your designs to fit your requirements.
- Print Settings: Before printing, ensure you select "Tattoo Transfer Paper" in the app's settings to optimize print quality for stencil paper.
- Initiate Printing: Tap the "Print" or "Start Printing" button within the app. The printer will feed the paper and print your selected design onto the transfer sheet.
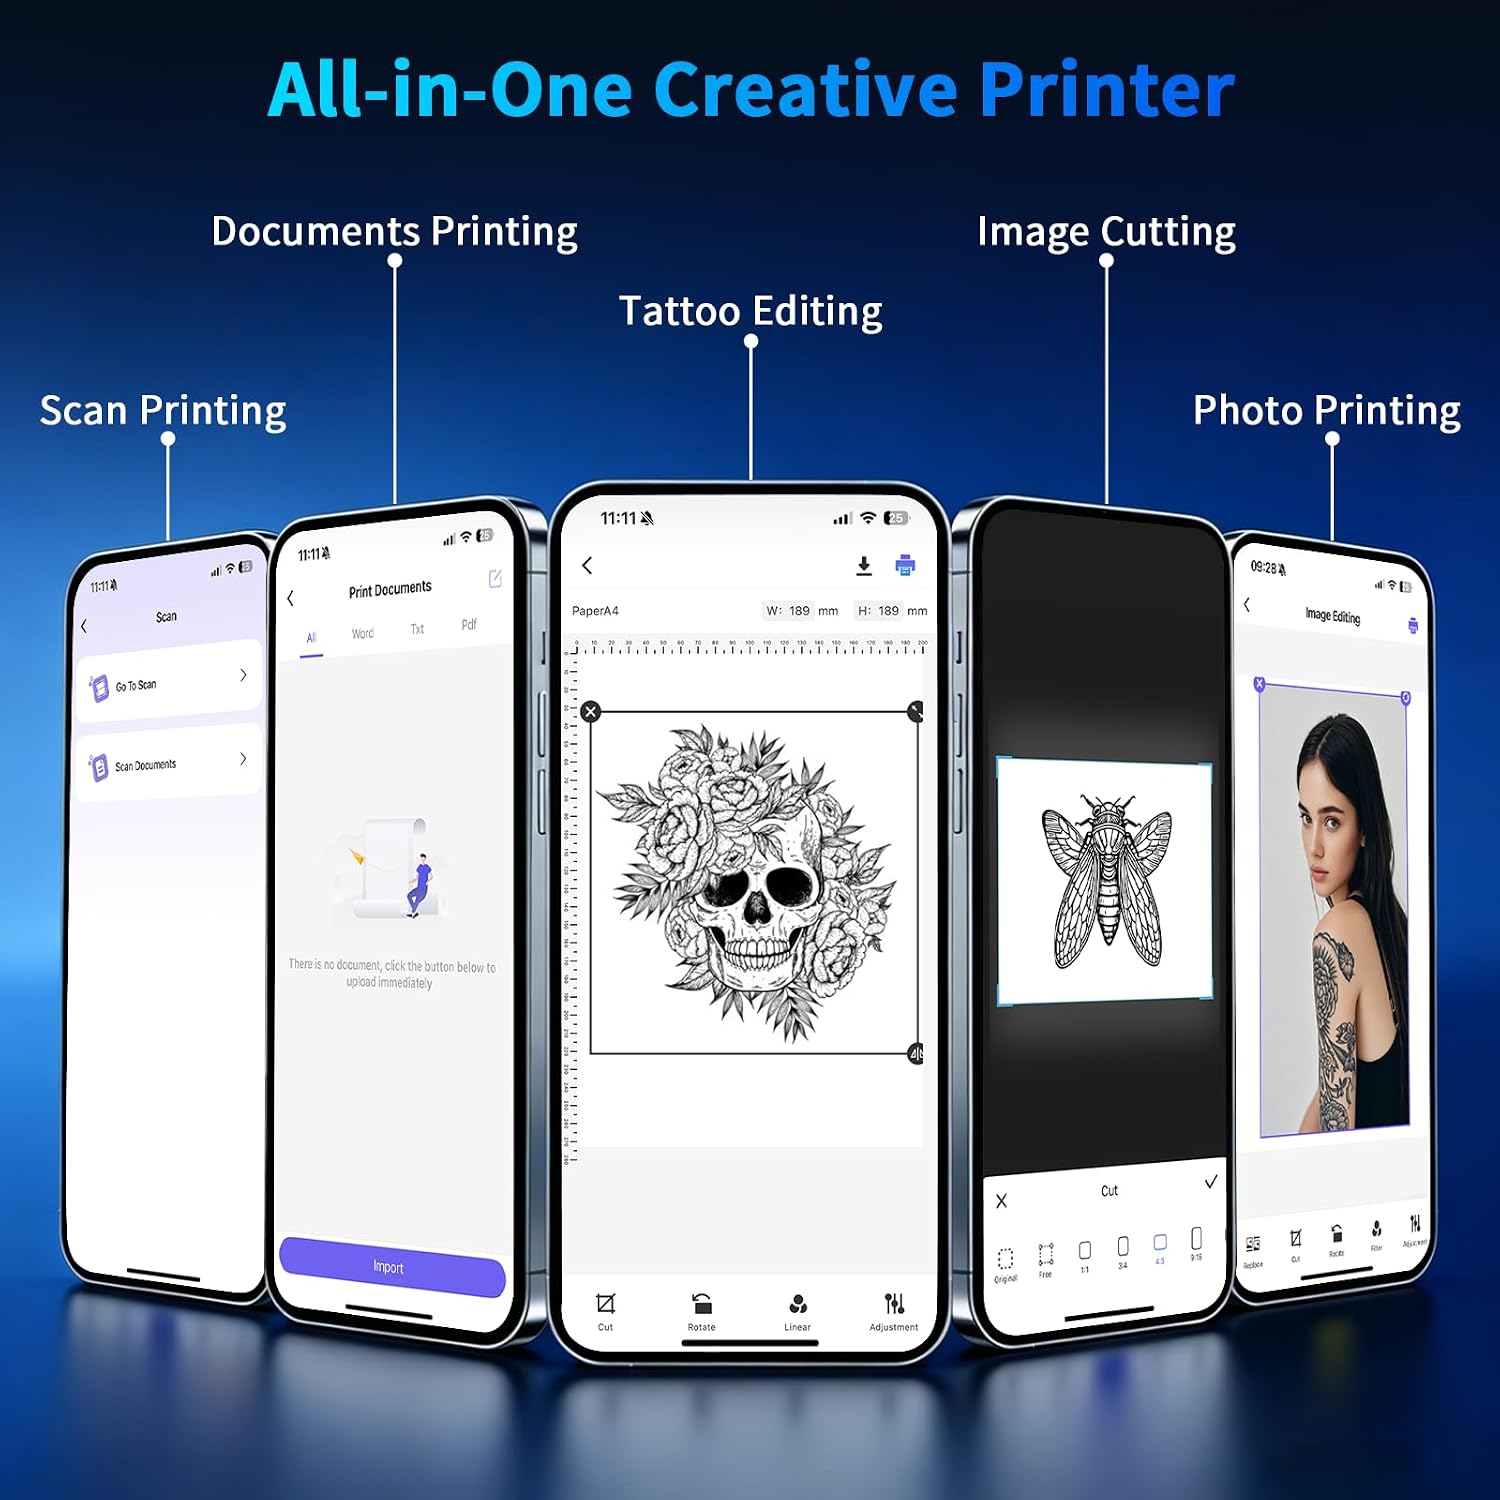
Image: Nada Print app interface demonstrating various design and printing functions.

Image: Printer connected to devices, illustrating Bluetooth and USB connectivity.
6. Maintenance
The NDYIN D80 is a thermal printer, which means it operates without ink cartridges, reducing maintenance needs. To ensure longevity and consistent performance:
- Cleaning: Periodically wipe the exterior of the printer with a soft, dry cloth. Avoid using harsh chemicals or abrasive materials.
- Paper Path: Ensure the paper path is free from dust or debris. If paper jams occur, gently remove any obstructions.
- Storage: Store the printer in a cool, dry place away from direct sunlight and extreme temperatures.
- Paper Type: Only use thermal paper or tattoo transfer paper specifically designed for thermal printers. Using incorrect paper types can damage the print head.
7. Troubleshooting
If you encounter issues with your NDYIN D80 printer, consider the following common solutions:
- Printer Not Connecting:
- Ensure the printer is powered on and fully charged.
- Verify Bluetooth is enabled on your device.
- Confirm you are connecting through the Nada Print app, not directly via your device's Bluetooth settings.
- Restart both the printer and your device, then try connecting again.
- Poor Print Quality:
- Check that the tattoo transfer paper is loaded correctly (blue side up).
- Ensure "Tattoo Transfer Paper" is selected in the Nada Print app settings.
- The print head might be dirty. Refer to the maintenance section for cleaning instructions.
- Ensure the design resolution is adequate.
- Paper Not Feeding:
- Check for any paper jams in the paper path.
- Ensure the paper is inserted straight and not at an angle.
- Verify the paper is not creased or damaged.
- Printer Not Responding:
- Perform a hard reset by turning the printer off and then on again.
- If using USB, try a different USB port or cable.
8. Warranty and Support
For information regarding product warranty, returns, or technical support, please refer to the manufacturer's official website or contact their customer service directly. Details can typically be found in the packaging or on the product's dedicated support page online.