
Introduction
This manual provides instructions for the installation and use of your Cabilock Set of 3 Universal Replacement Knobs. These durable plastic knobs are designed for various kitchen appliances, including pressure cookers, ovens, and air fryers, offering a simple and reliable replacement solution.
Safety Information
- Always ensure the appliance is unplugged or turned off before attempting any installation or replacement.
- Handle with care to avoid damage to the knobs or the appliance.
- Keep out of reach of children.
- If you are unsure about the installation process, consult a qualified technician.
Package Contents
Verify that all items are present in your package:
- 3 x Cabilock Universal Replacement Knobs

Image: A set of three black Cabilock universal replacement knobs, each with a silver-colored top surface, indicating the product included in the package.
Specifications
| Feature | Detail |
|---|---|
| Brand | Cabilock |
| Model | 147753CKCQH |
| Color | Black |
| Product Dimensions | 3 x 3 x 2.2 cm |
| Item Weight | 13.6 Kilograms (for the set) |
| Material | Plastic |

Image: A detailed view of a Cabilock replacement knob, showing its dimensions: approximately 3 cm (1.18 inches) in width and 2 cm (0.78 inches) in height.
Setup and Installation
These universal replacement knobs are designed for easy installation without special tools. Follow these steps to replace an existing knob or install a new one:
- Prepare the Appliance: Ensure the appliance (e.g., oven, pressure cooker, air fryer) is completely turned off and unplugged from the power source to prevent electrical hazards.
- Remove Old Knob (if applicable): Gently pull the old knob directly off its shaft. If it's stuck, try wiggling it slightly while pulling. Avoid excessive force that could damage the appliance shaft.
- Align New Knob: Take one of the Cabilock replacement knobs. Observe the shape of the shaft on your appliance and the corresponding opening on the back of the new knob. Ensure they match.
- Install New Knob: Carefully push the new knob onto the appliance shaft. Apply firm, even pressure until it is securely seated. Do not force it if it doesn't fit; verify compatibility first.
- Test Functionality: Once installed, gently turn the knob to ensure it rotates smoothly and engages with the appliance's control mechanism.

Image: A hand holding one of the Cabilock replacement knobs, illustrating its ergonomic design and ease of handling during installation.

Image: A collage demonstrating the "Easy to Install" feature, showing the knob being placed on a pressure cooker and another knob next to a deep fryer, highlighting the simple replacement process.
Operating Instructions
These replacement knobs function identically to the original knobs they replace. Their primary purpose is to provide a tactile interface for controlling appliance settings such as temperature or timer functions.
- Temperature Control: For ovens or air fryers, rotate the knob clockwise or counter-clockwise to select the desired temperature setting as indicated on your appliance's control panel.
- Timer Function: For appliances with a timer, rotate the knob to set the cooking duration. Ensure the knob aligns with the correct time marking.
- Pressure Cooker Settings: For pressure cookers, the knob may control pressure release or specific cooking modes. Refer to your pressure cooker's original manual for specific operational details related to its knob functions.

Image: A Cabilock replacement knob securely installed on the lid of a pressure cooker, demonstrating its compatibility and functional integration.
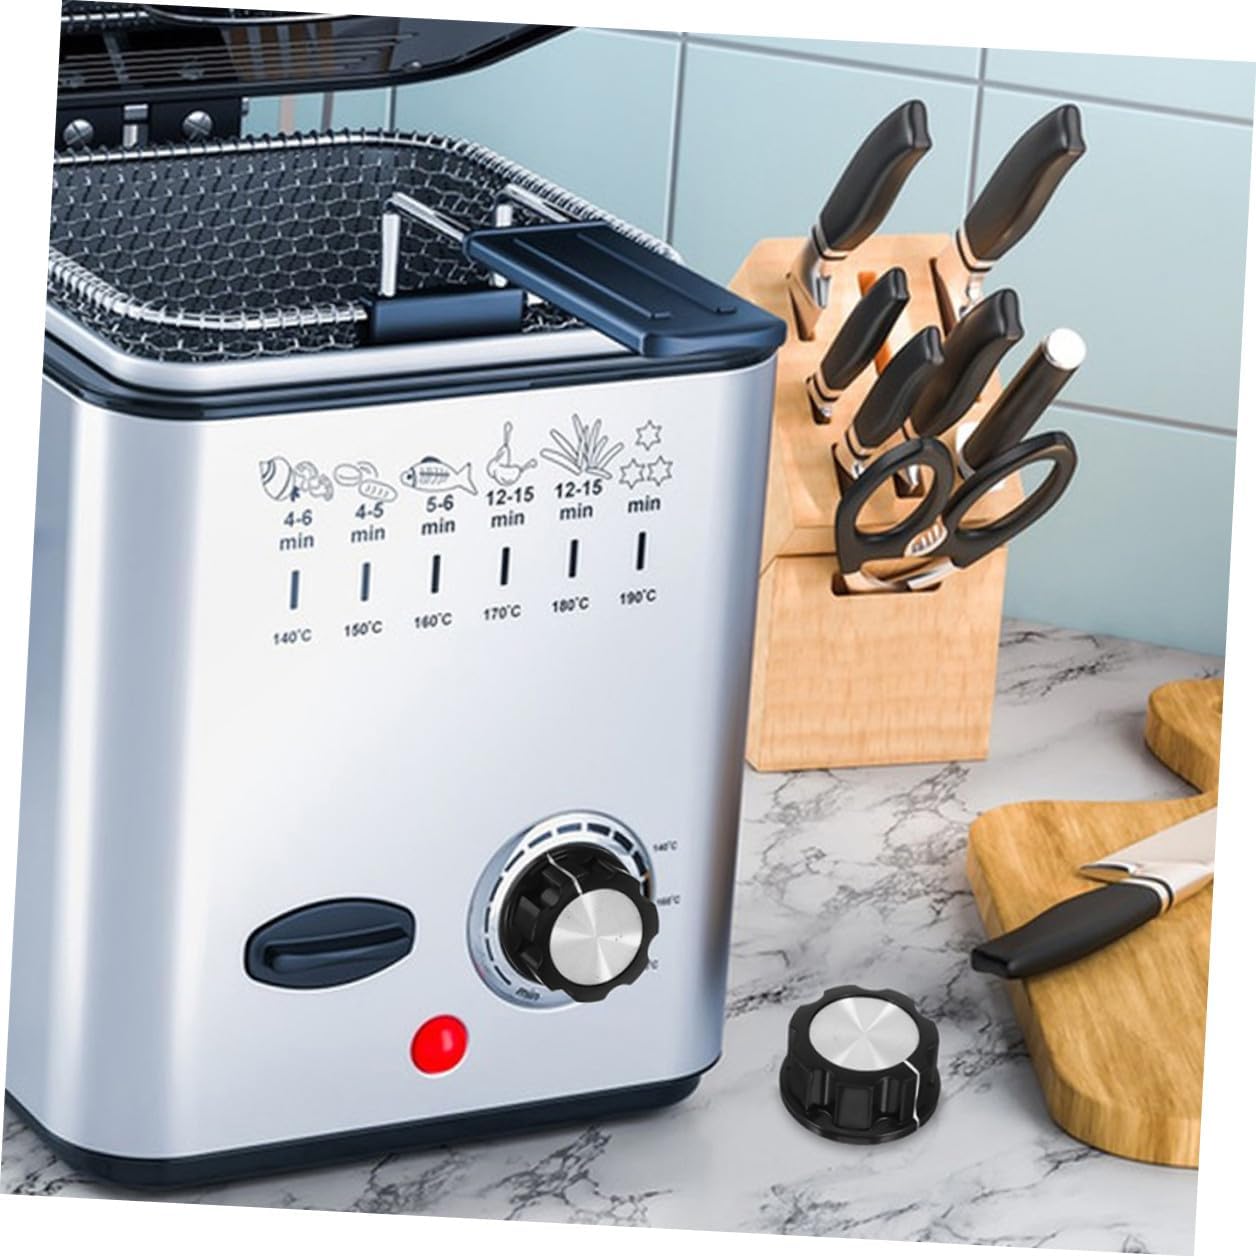
Image: A Cabilock replacement knob positioned next to a deep fryer, illustrating its use as a control interface for such appliances.

Image: A Cabilock replacement knob integrated into the control panel of an air fryer, showing its function for setting temperature or time.
Maintenance and Care
To ensure the longevity and proper functioning of your Cabilock replacement knobs:
- Cleaning: Wipe the knobs with a soft, damp cloth. Avoid abrasive cleaners or harsh chemicals, as these can damage the plastic material.
- Inspection: Periodically check the knobs for any signs of wear or damage. If a knob becomes loose or cracked, replace it to maintain safe operation.
- Storage: If storing spare knobs, keep them in a cool, dry place away from direct sunlight.
Troubleshooting
If you encounter issues with your replacement knobs, consider the following:
- Knob is Loose: Ensure the knob is fully pushed onto the appliance shaft. If it continues to be loose, the shaft or the knob's internal fitting might be worn or incompatible.
- Knob Does Not Turn: Verify that the knob is correctly aligned with the shaft. Do not force it. If it still doesn't turn, there might be an obstruction or incompatibility with the appliance's control mechanism.
- Knob Does Not Control Appliance: Confirm that the knob is fully engaged with the shaft. If the appliance still doesn't respond, the issue may lie with the appliance's internal components rather than the knob itself.
For further assistance, refer to your appliance's original instruction manual or contact the appliance manufacturer.
Warranty and Support
For information regarding warranty coverage or customer support for your Cabilock replacement knobs, please refer to the seller's policy or contact Cabilock customer service directly. Keep your purchase receipt as proof of purchase.