1. Introduction
This manual provides detailed instructions for the YGSKK Mini Projector, Model B0FZVJ4WX4. This smart video projector features built-in applications, electric focusing, 210° rotation, native 1080P resolution with 4K compatibility, Wi-Fi 6, and Bluetooth 5.3 connectivity. It is designed for versatile use, supporting various devices and environments.
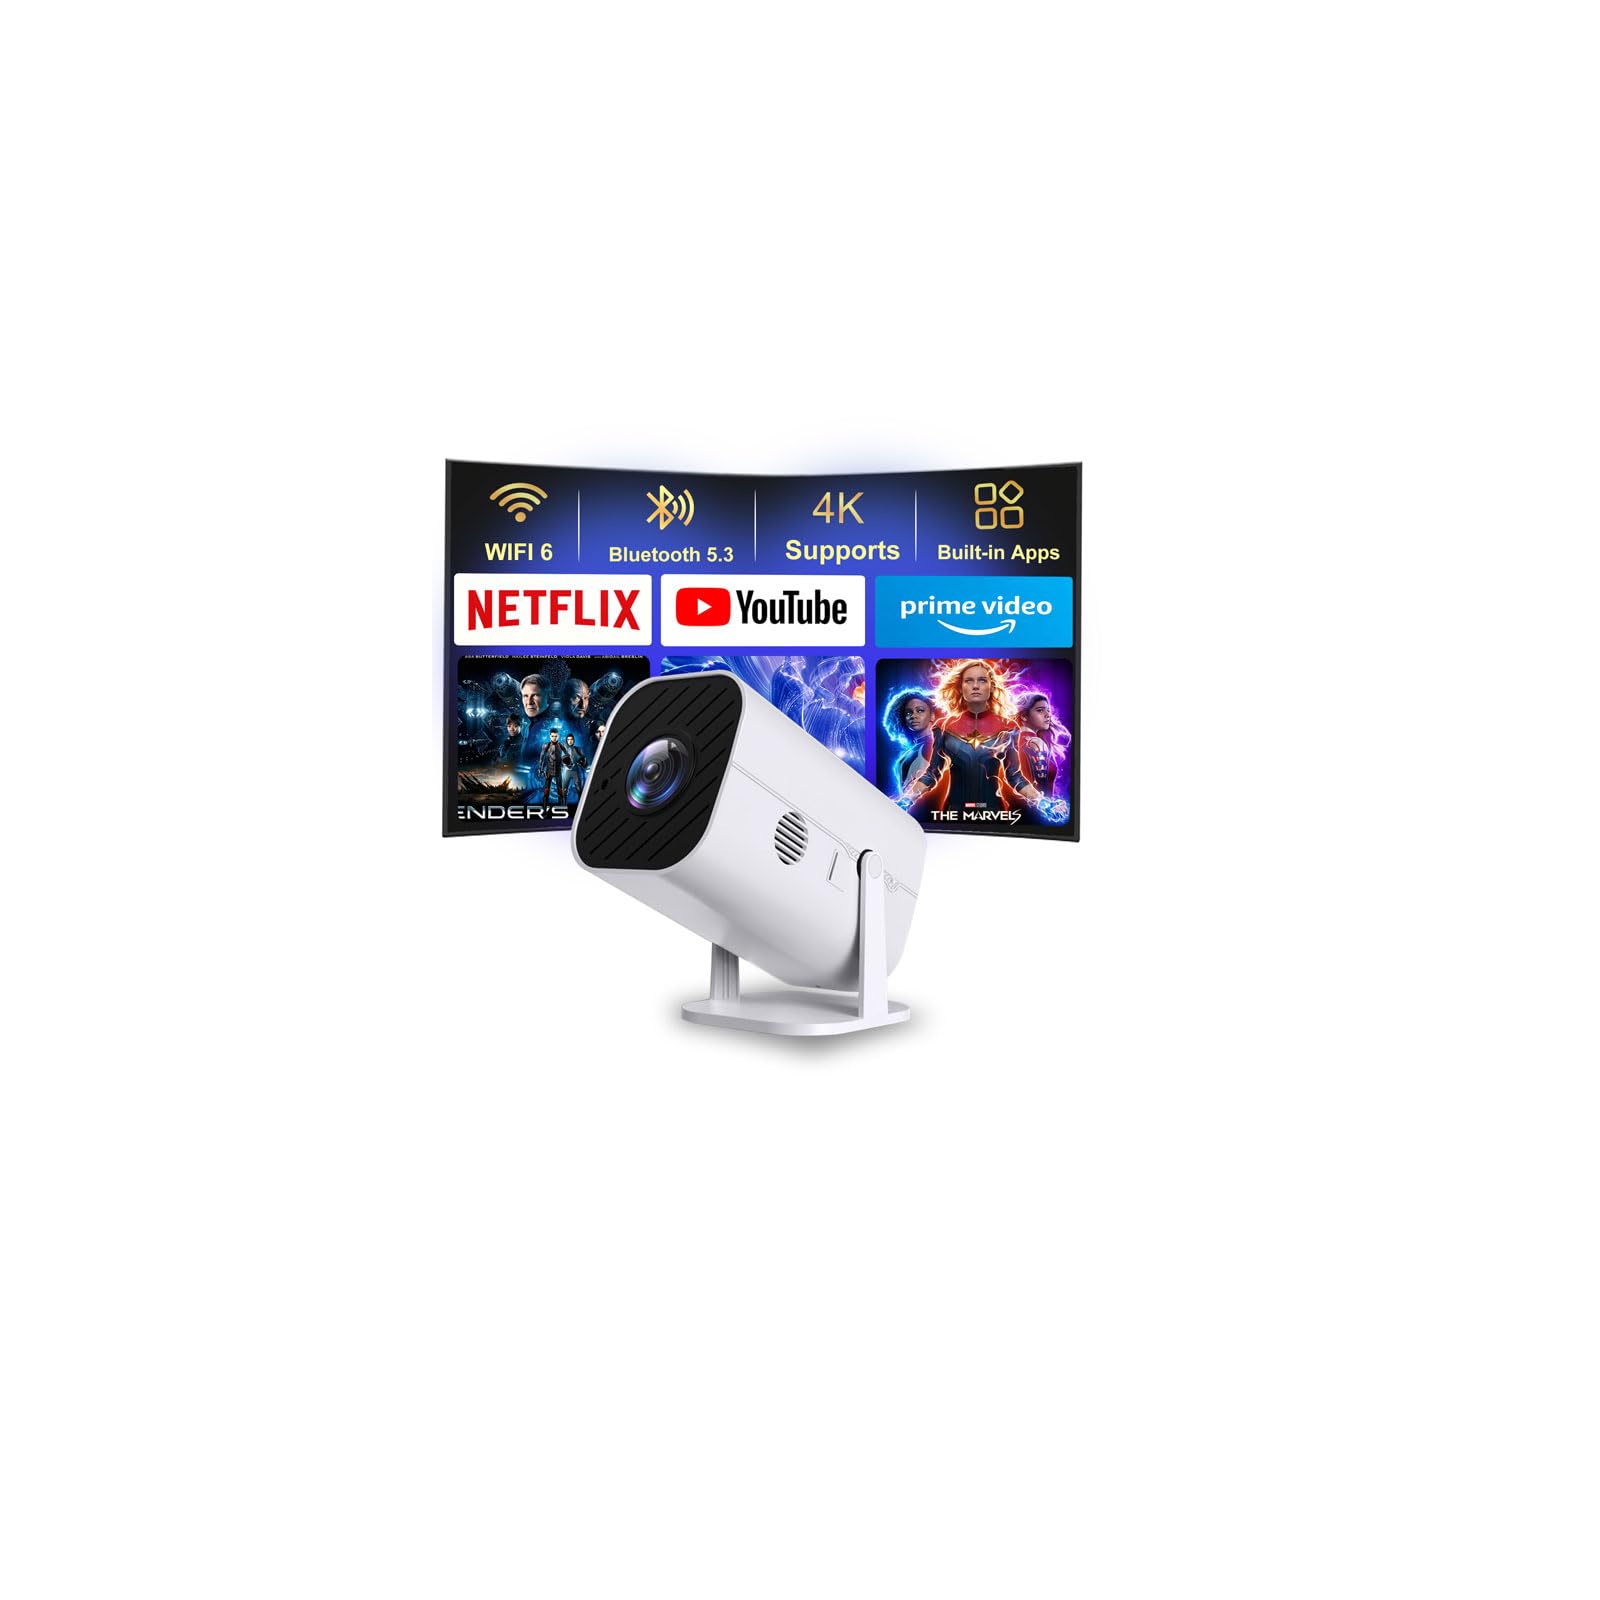
Image 1.1: The YGSKK Mini Projector, a compact and versatile device.
2. What's in the Box
Please check the package contents to ensure all items are present:
- YGSKK Mini Projector (Model B0FZVJ4WX4)
- Remote Control
- Power Cord
- HDMI Cable
- User Manual (This document)
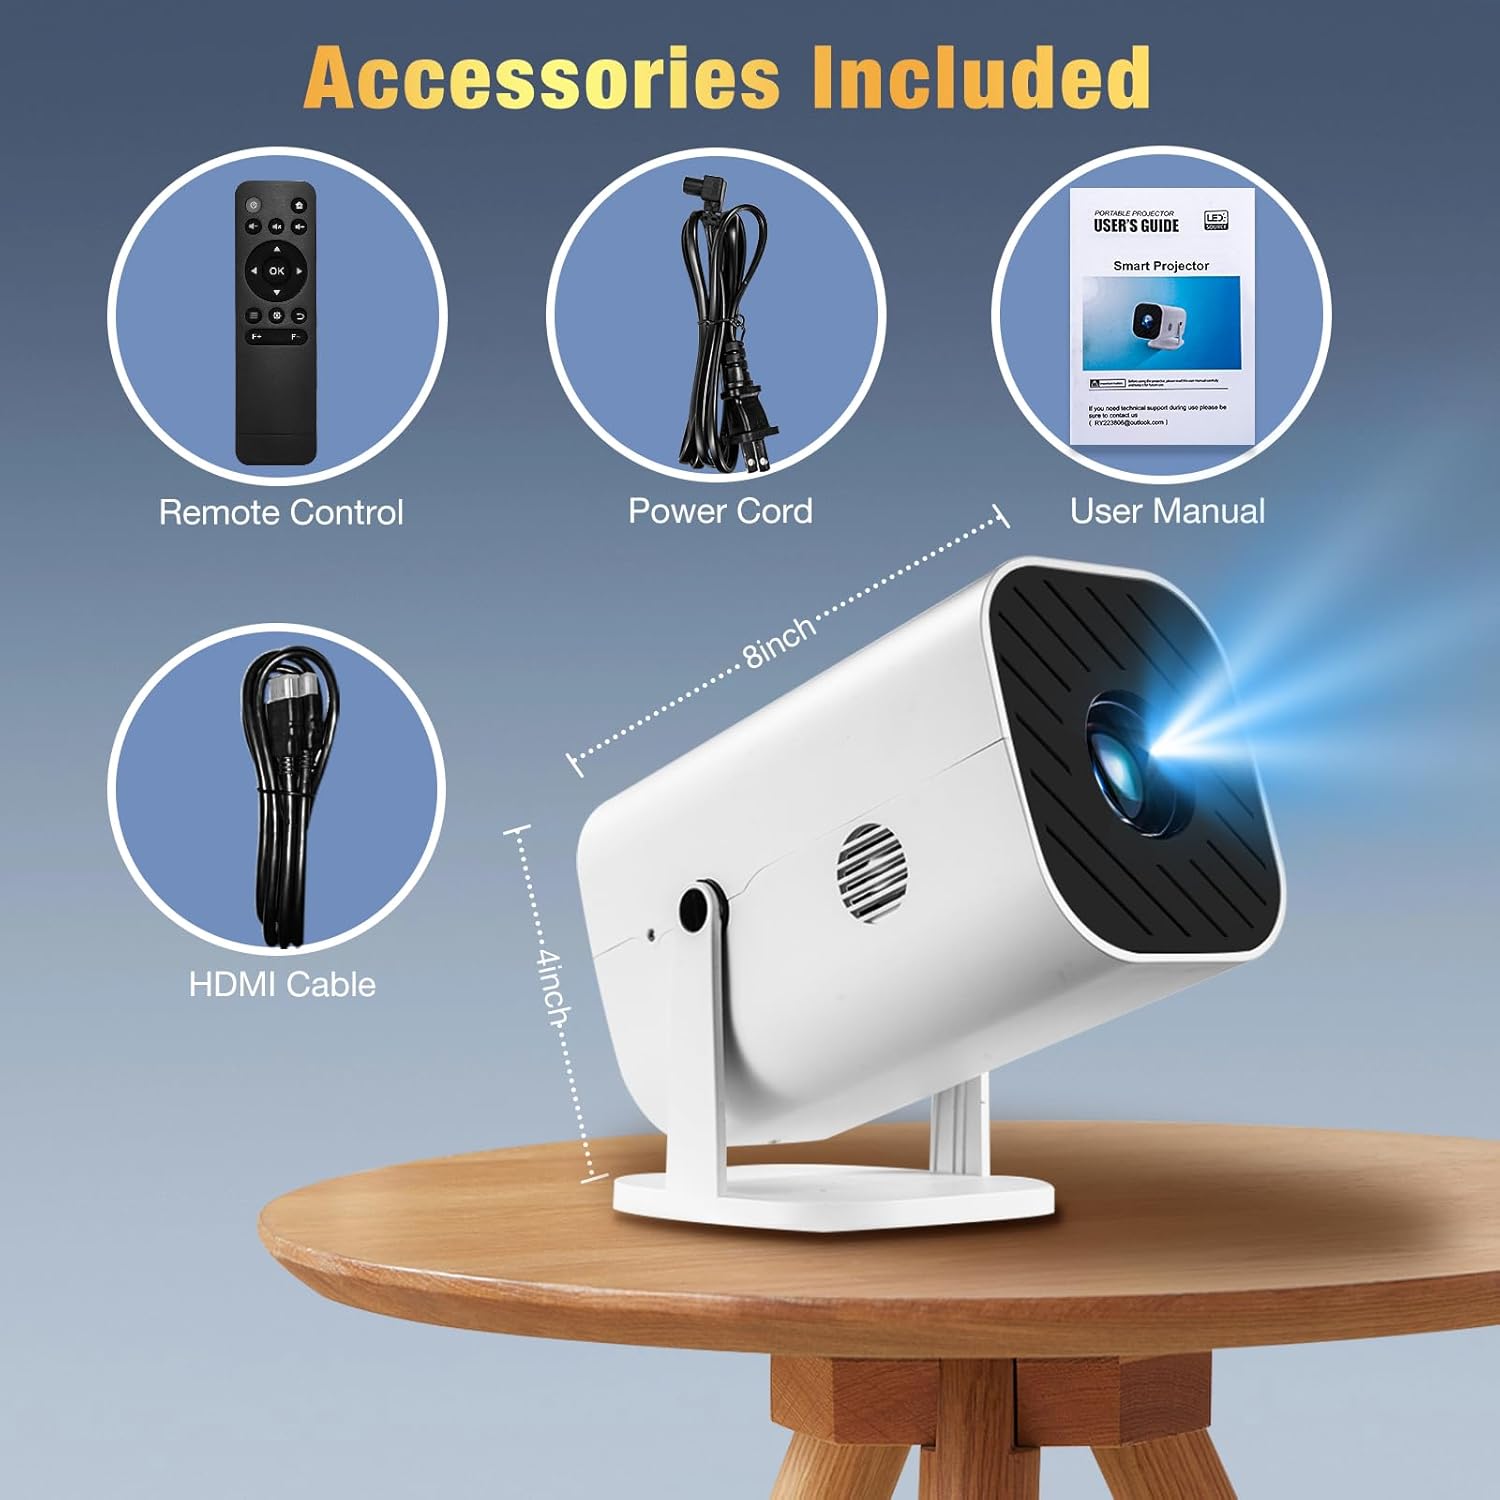
Image 2.1: Included accessories: Remote Control, Power Cord, User Manual, and HDMI Cable.
3. Setup
3.1 Power Connection
- Connect the provided Power Cord to the projector's power input port.
- Plug the other end of the Power Cord into a standard electrical outlet.
3.2 Remote Control Batteries
The remote control requires two AAA batteries (not included). Open the battery compartment on the back of the remote and insert the batteries, ensuring correct polarity.
3.3 Physical Placement and Adjustment
The projector features a 210° adjustable bracket, allowing you to project images onto walls, ceilings, or any desired surface. You can also attach the projector to a tripod using the threaded hole on its base for more stable positioning.

Image 3.1: The projector's 210° adjustable bracket for flexible projection angles.
3.4 Initial Focus Adjustment
Upon powering on, the projector will display a focus test pattern. Use the F+ and F- buttons on the remote control to achieve a clear, sharp image. You can press and hold for faster adjustment or tap for fine-tuning.
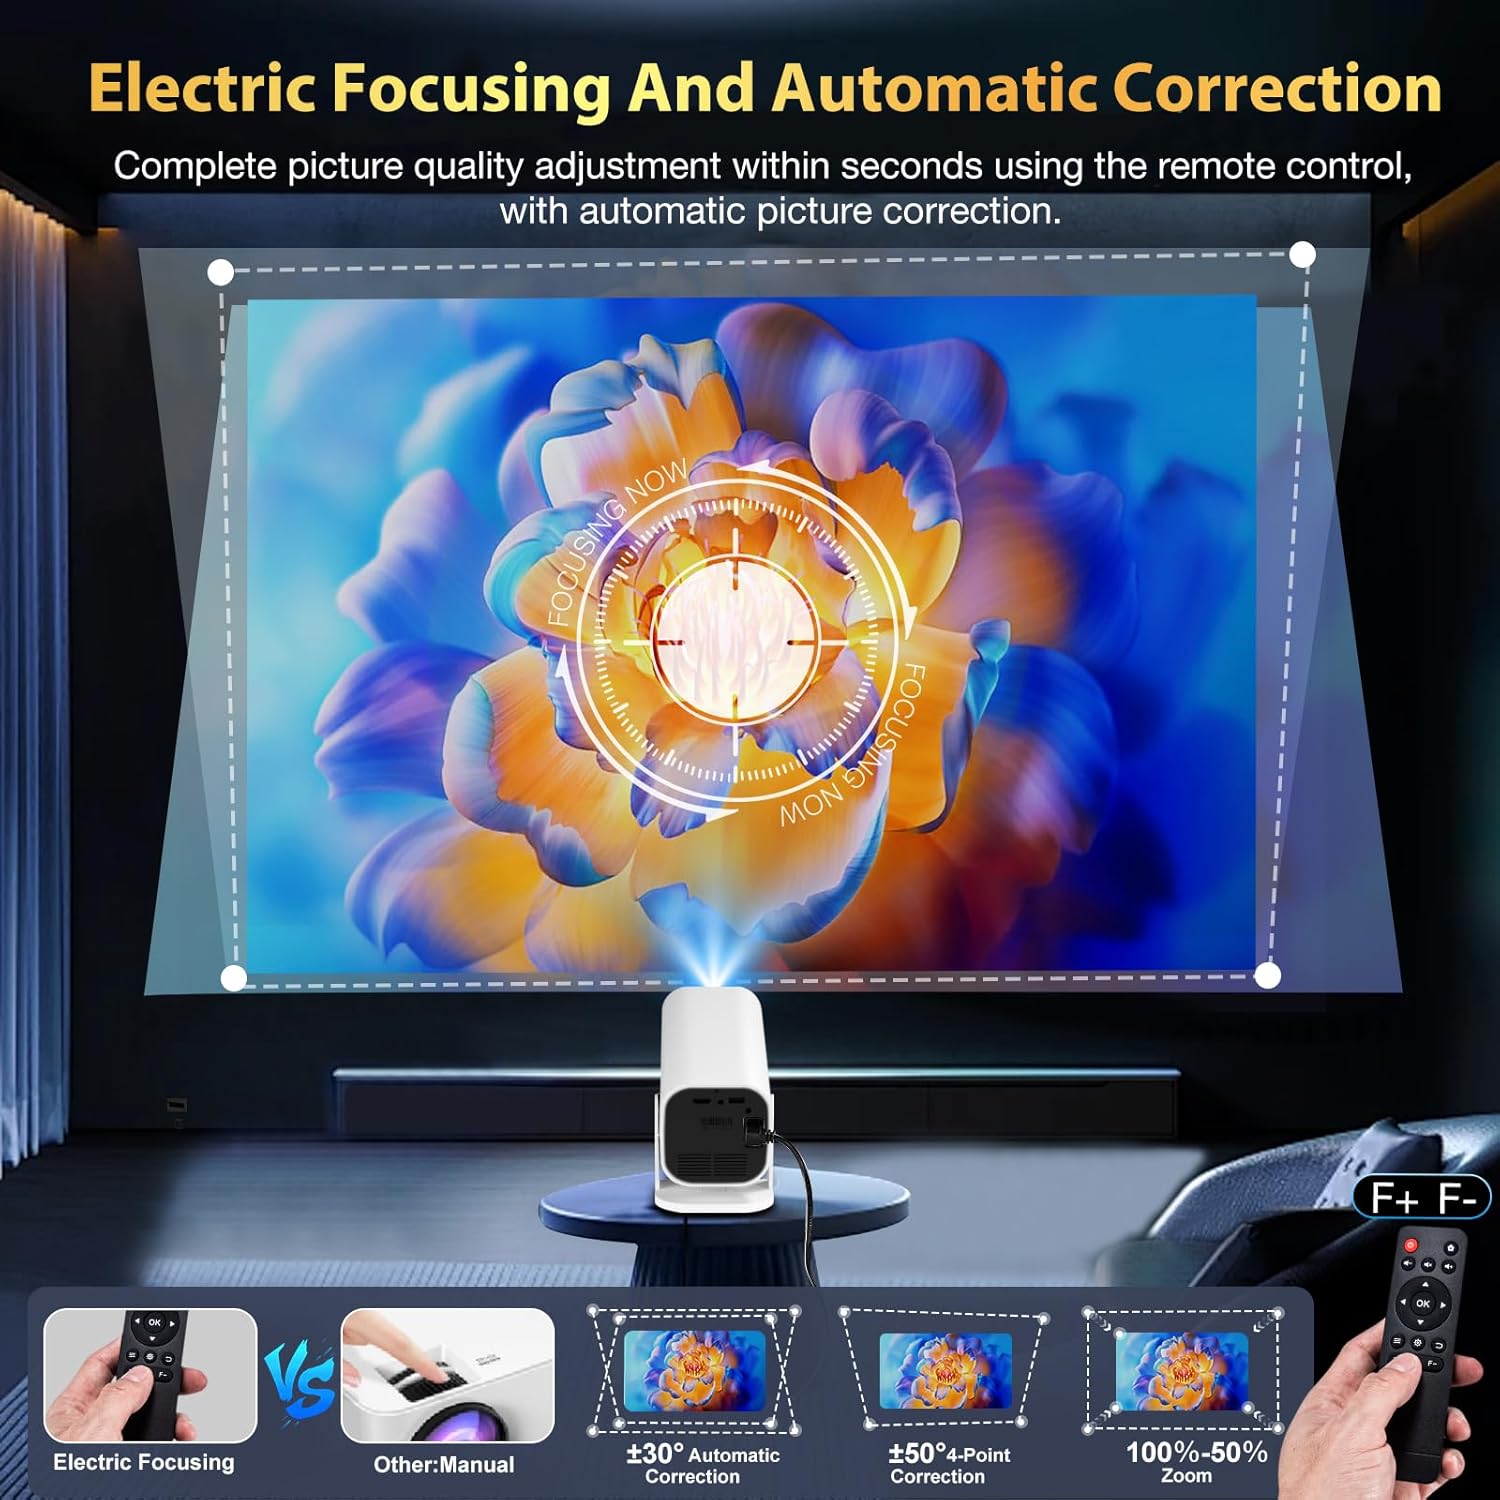
Image 3.2: Electric focusing allows for quick and easy image clarity adjustment using the remote control.
3.5 Network Connection (Wi-Fi)
The projector supports Wi-Fi 6, 5G, and 2.4G networks for fast and stable online content playback.
- Navigate to the 'Settings' menu using the remote.
- Select 'Network' or 'Wi-Fi settings'.
- Choose your desired Wi-Fi network from the list.
- Enter the password if prompted and connect.

Image 3.3: The projector supports Ultra-Fast WiFi 6 for seamless streaming.
3.6 Bluetooth Audio Device Connection
Connect Bluetooth speakers or headphones for enhanced audio experience.
- Ensure your Bluetooth audio device is in pairing mode.
- On the projector, navigate to 'Settings' and then 'Bluetooth'.
- Search for available devices and select your audio device to pair.
Note: Bluetooth does not support connection with smartphones; it only supports Bluetooth audio devices.

Image 3.4: Connect Bluetooth 5.3 audio devices for immersive sound.
4. Operating
4.1 Turning On/Off
Press the power button on the back of the projector or on the remote control to turn the device on or off.
4.2 Navigating the Interface
The projector features a user-friendly interface with pre-installed streaming applications such as Netflix, Prime Video, YouTube, and Hulu. An app store is also available to download more applications.

Image 4.1: Access popular streaming apps directly from the projector's interface.
4.3 Connecting External Devices
The projector is equipped with HDMI and USB interfaces for connecting various external devices.
- HDMI: Connect TV sticks, TV boxes, DVD players, laptops, gaming consoles (Switch/PS5), and PCs using the included HDMI cable.
- USB: Connect USB flash drives or portable hard drives to play media files.
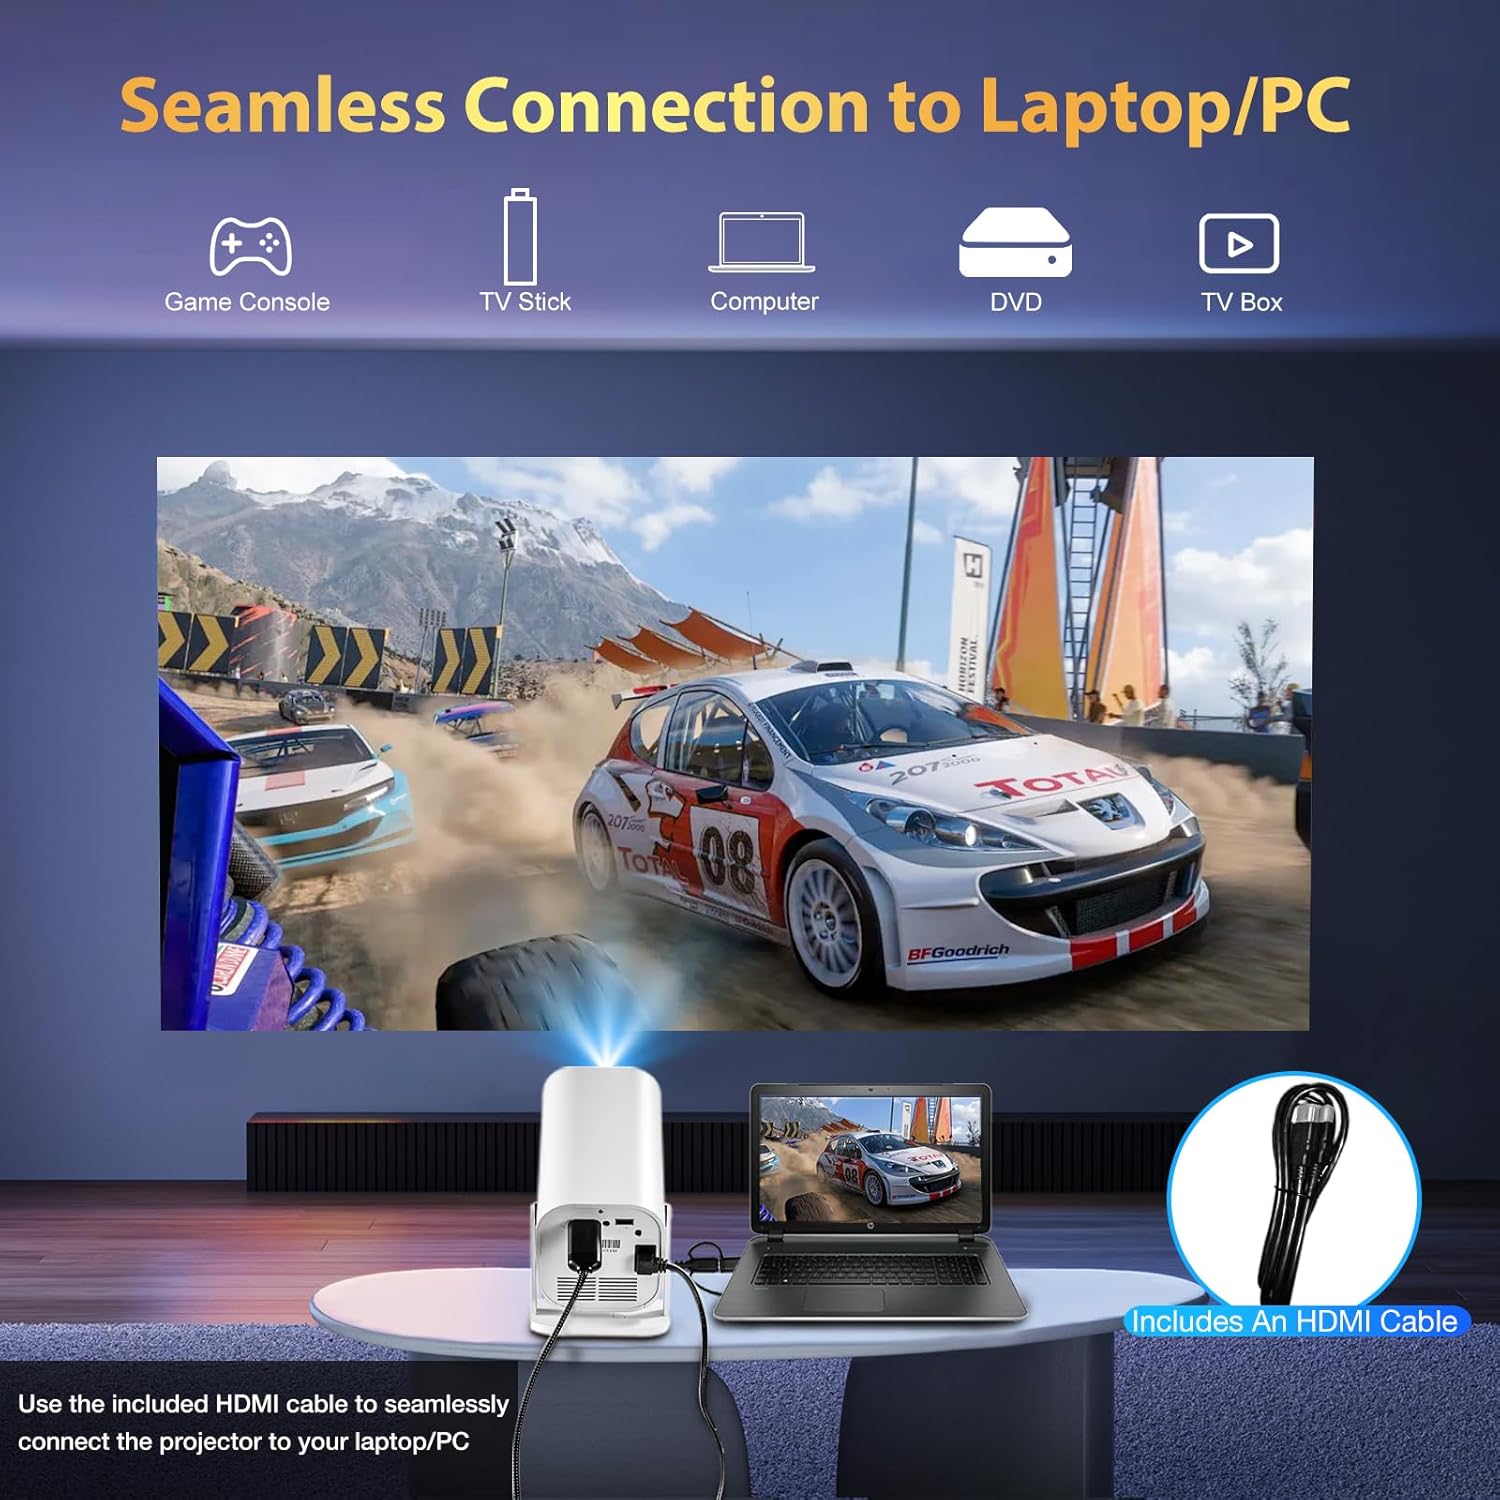
Image 4.2: Seamlessly connect your laptop or PC using the included HDMI cable.

Image 4.3: The projector offers wide compatibility with HDMI, USB, and audio devices.
4.4 Smartphone/iPad Screen Mirroring (J-Share)
The projector supports wireless screen mirroring for smartphones and iPads via the "J-Share" setting. Both the phone and the projector must be connected to the same network.
- iPhone: Use the iPhone's built-in screen mirroring function.
- Android: Download a specific program (details in the projector's on-screen instructions) to connect.

Image 4.4: Wirelessly mirror your smartphone or iPad screen to the projector.
4.5 Adjusting Screen Size
This portable projector can project a large screen from 50 to 200 inches. Adjust the distance from the projection surface to change the screen size according to your preference.

Image 4.5: The projector offers a flexible screen size from 50 to 200 inches.
4.6 Image and Sound Settings
Access the settings menu to customize image and sound preferences.
- Image Mode: Select from various presets (e.g., Standard, Dynamic, Mild, User) or customize settings like Contrast, Brightness, Color, and Sharpness.
- Color Temperature: Adjust the color balance (e.g., Standard, Warm, Cool).
- Sound Mode: Choose from presets or customize Treble, Bass, and EQ settings for the built-in speakers or connected Bluetooth audio devices.
- Keystone Correction: The projector features automatic keystone correction. You can also manually adjust it if needed.
- Zoom: Adjust the display zoom to fit your projection surface.
Video 4.6.1: This video demonstrates the projector's features and initial setup, including power, HDMI connection, and basic operation. It highlights the compact size and adjustable base.
Video 4.6.2: This video showcases the projector's image quality and its ability to perform projection mapping, demonstrating its versatility in displaying content on various surfaces.
Video 4.6.3: This video provides a deep dive into the projector's settings, explaining how to adjust various parameters for optimal viewing and audio experience.
5. Maintenance
Proper maintenance ensures the longevity and optimal performance of your projector.
- Cleaning the Lens: Use a soft, lint-free cloth specifically designed for optical lenses. Avoid abrasive materials or harsh chemicals.
- Cleaning the Exterior: Wipe the projector's exterior with a soft, dry cloth. Do not use liquid cleaners directly on the device.
- Ventilation: Ensure the projector's ventilation ports are clear of obstructions to prevent overheating. Do not block the air vents during operation.
- Storage: When not in use for extended periods, store the projector in a cool, dry place, away from direct sunlight and extreme temperatures.
6. Troubleshooting
If you encounter issues with your projector, refer to the following common solutions:
| Problem | Possible Solution |
|---|---|
| No Power | Ensure the power cord is securely connected to both the projector and the power outlet. Check if the power outlet is functional. |
| Blurry Image | Adjust the focus using the F+ and F- buttons on the remote control. Ensure the projection distance is within the recommended range (4.92 - 16.4 feet). |
| No Sound | Check the volume settings on the projector and any connected external audio devices. Ensure Bluetooth audio devices are correctly paired. If using HDMI, verify audio output settings on the source device. |
| No Signal from External Device | Ensure the HDMI or USB cable is securely connected. Select the correct input source on the projector (e.g., HDMI, USB). Verify the external device is powered on and outputting a signal. |
| Image is Distorted (Trapezoid Shape) | The projector has automatic keystone correction. If manual adjustment is preferred, navigate to 'Settings' > 'Keystone' and adjust accordingly. |
| Wi-Fi/Bluetooth Connectivity Issues | Ensure the projector is within range of your Wi-Fi router or Bluetooth device. Restart the projector and the network/Bluetooth device. Verify correct passwords for Wi-Fi. |
7. Specifications
- Brand: YGSKK
- Model: B0FZVJ4WX4
- Display Resolution: Native 1920 x 1080 (Compatible with 4K)
- Brightness: 300 ANSI Lumens
- Contrast Ratio: 10000:1
- Connectivity Technology: Wi-Fi 6 (5G & 2.4G), Bluetooth 5.3, HDMI, USB, 3.5mm Audio Jack
- Light Source Operating Life: 100,000 Hours
- Maximum Image Size: 200 Inches
- Minimum Image Size: 50 Inches
- Maximum Throw Distance: 16.4 Feet
- Minimum Throw Distance: 4.92 Feet
- Special Features: Built-In Media Player, Built-In Speaker, Digital Keystone Correction, Portable, Wi-Fi Ready, Electric Focusing, 210° Rotation
- Item Dimensions L x W x H: 8"L x 4"W x 4"H
- Item Weight: 1.76 Pounds
8. Warranty & Support
YGSKK provides a three-year warranty service for this product. For any technical issues or questions encountered during use, please contact our professional technical support team. We are available 7 days a week, 24 hours a day, to assist you.
Contact Information:
- Technical Support: Refer to your product packaging or included documentation for specific contact details.
- Warranty Period: 3 Years Manufacturer Warranty
- Return Policy: 30-Day Return Policy (refer to purchase platform for details)

Image 8.1: YGSKK Brand Logo.