
Important Safety Information
Please read all instructions carefully before using your SOOPYK water cooler dispenser. Retain this manual for future reference.
- This appliance is intended for household use only.
- Do not operate any appliance with a damaged cord or plug, or after the appliance malfunctions or has been damaged in any manner.
- Ensure the appliance is placed on a flat, stable surface.
- Keep the appliance away from direct sunlight and heat sources.
- Always unplug the dispenser before cleaning or performing maintenance.
- The hot water dispenser features a child safety lock to prevent accidental burns. Always engage this lock when not in use, especially in households with children.
- Do not immerse the appliance, cord, or plug in water or other liquids.
- Ensure proper ventilation around the unit.
Product Overview
The SOOPYK SOBY1185BK water cooler dispenser provides instant access to hot, cold, and room-temperature water. It features a convenient bottom-load design, self-cleaning function, and safety features for ease of use.

Image: Front view of the SOOPYK SOBY1185BK water cooler dispenser in black.
Setup Instructions
1. Unpacking and Placement
- Carefully remove the dispenser from its packaging.
- Place the dispenser upright on a level, stable surface. Ensure there is at least 4 inches of clearance from the wall to allow for proper ventilation.
- Do not plug in the unit immediately. Allow it to stand upright for at least 2 hours before plugging it in to allow the compressor fluids to settle.
2. Water Bottle Installation
- Open the lower cabinet door of the dispenser.
- Remove the cap from a new 3 or 5-gallon water bottle.
- Insert the probe assembly into the water bottle. Ensure the probe is fully submerged and the cap is securely placed on the bottle opening.
- Slide the water bottle into the lower cabinet.
- Close the cabinet door.

Image: The bottom-load cabinet open, showing a 5-gallon water bottle being inserted.
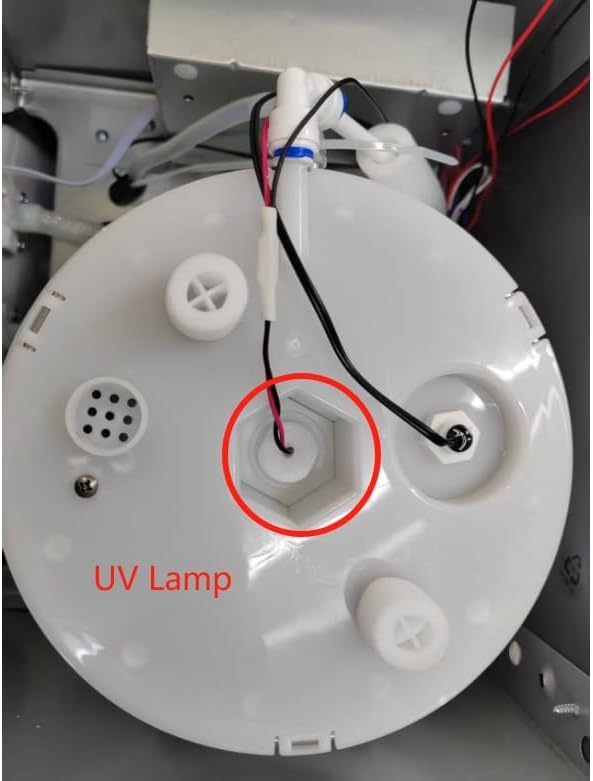
Image: A 5-gallon water bottle correctly placed inside the bottom load compartment.
Video: Demonstrates the process of inserting the water bottle into the bottom-load dispenser.
3. Initial Flush and Power Connection
- After the water bottle is installed, plug the dispenser into a grounded electrical outlet.
- On the rear panel, locate the red (Hot) and green (Cold) switches. Turn both switches to the 'ON' position.
- Dispense at least 1 liter of water from each spigot (hot, cold, and room temperature) to flush the system and ensure water flows properly. Discard this initial water.
- Allow approximately 15-30 minutes for the water to reach optimal hot and cold temperatures.

Image: Close-up of the rear panel showing the red 'ON/OFF' switch for hot water and the green 'ON/OFF' switch for cold water.
Operating Instructions
1. Dispensing Water
- Place a cup or container under the desired water spigot.
- For cold or room temperature water, press the corresponding button.
- For hot water, first slide the child safety lock, then press the hot water button. Release the button once the desired amount of water is dispensed.

Image: Top panel showing LED indicators for Hot, Empty, and Cold water, along with the child safety lock mechanism for hot water dispensing.
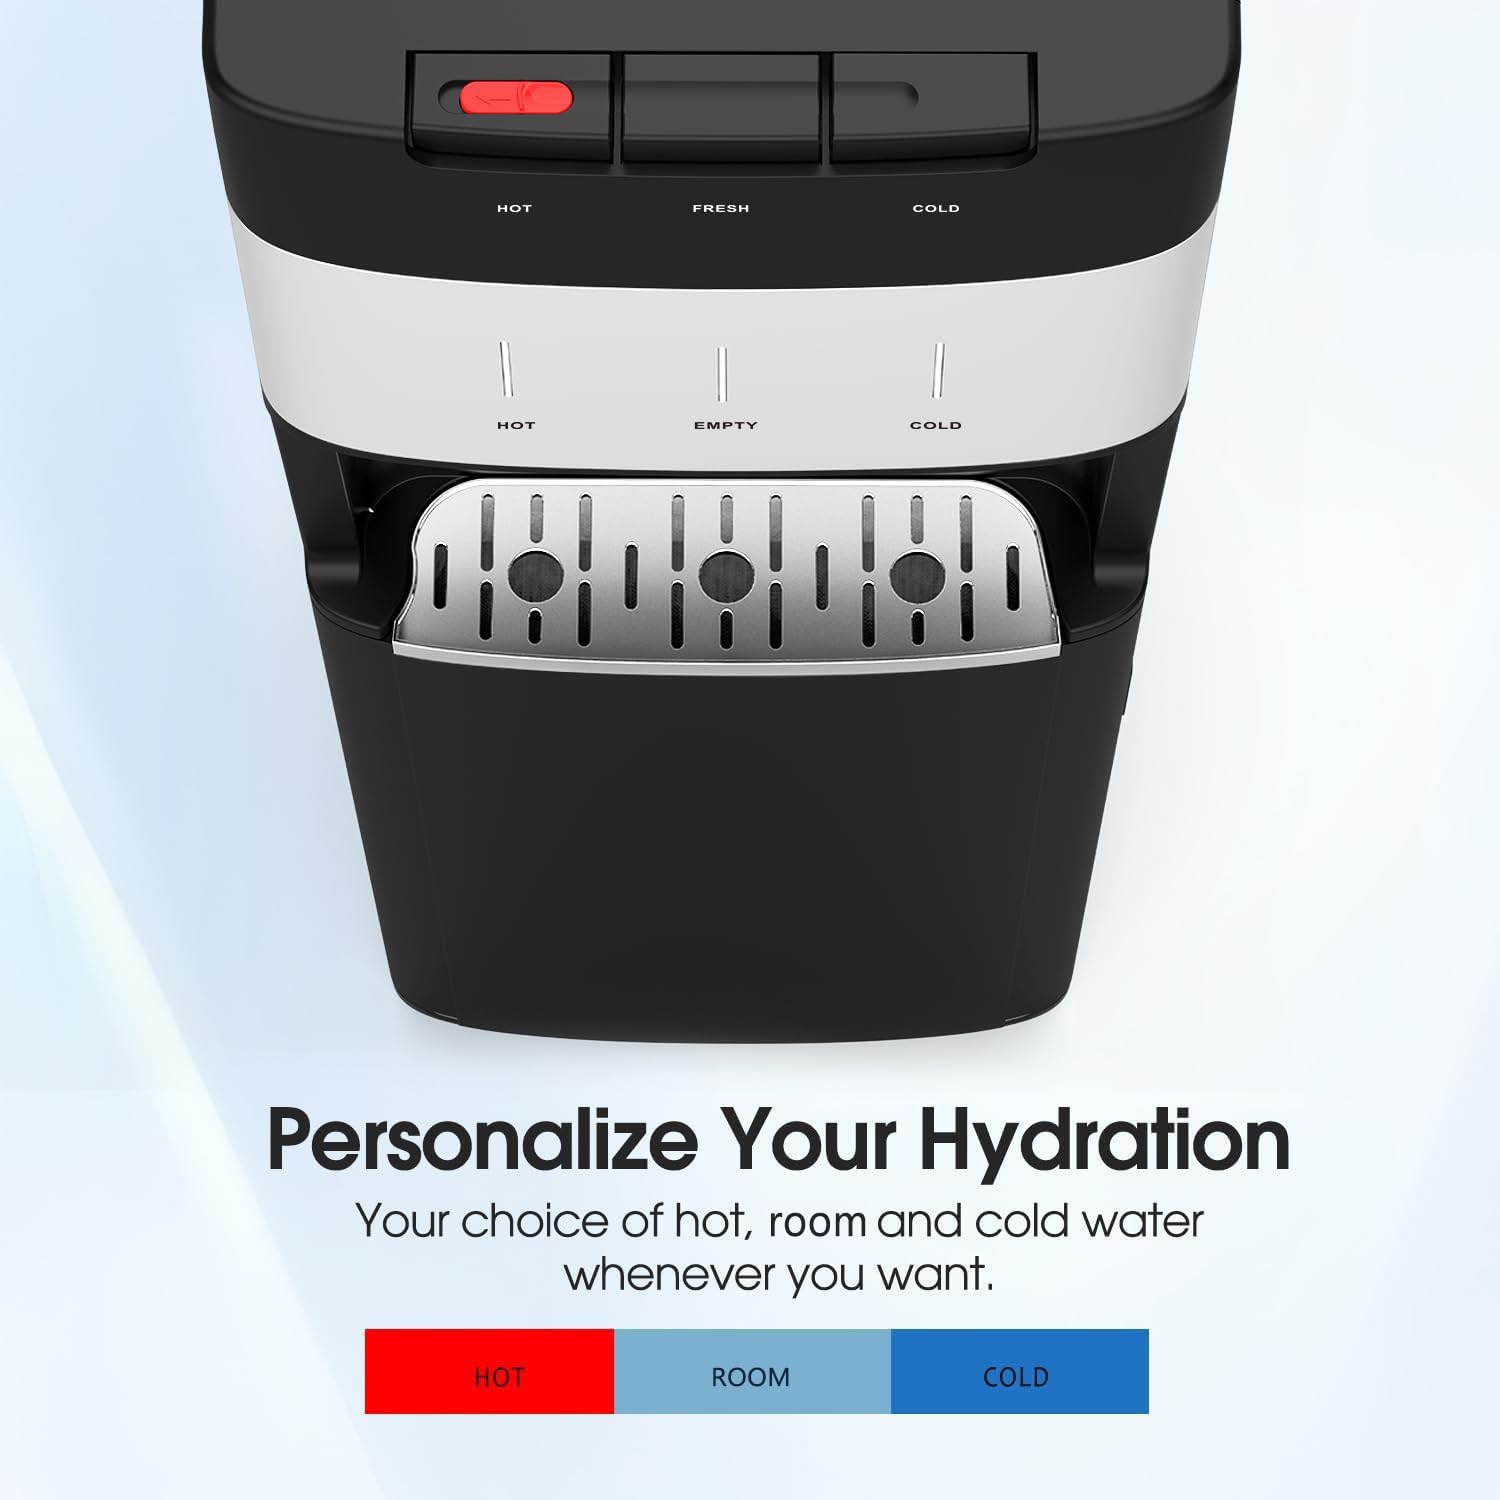
Image: Close-up of the dispensing area, highlighting the three spouts for hot, room, and cold water.
2. LED Display and Alerts
- The LED display indicates the status of the hot and cold water functions.
- An 'Empty' indicator light will illuminate when the water bottle needs to be replaced.
Maintenance
1. Self-Cleaning Function (UV-Infused Cleaning)
The dispenser features an automatic UV-infused self-cleaning system. This system operates continuously when the machine is plugged in, helping to reduce contaminants and maintain water freshness. There is no specific button or indicator for this function; it works automatically.

Image: Diagram explaining the UV-infused cleaning technology, showing how it reduces contaminants and improves water taste.

Image: Internal view highlighting the location of the UV lamp for self-cleaning.
2. Drip Tray Cleaning
- The drip tray is removable for easy cleaning.
- Periodically remove the drip tray, empty any collected water, and wash it with mild soap and water.
- Rinse thoroughly and replace it in its position.

Image: Illustrates the removable drip tray for easy cleaning and the stainless steel tubing.
Troubleshooting
| Problem | Possible Cause | Solution |
|---|---|---|
| No water dispensing | Water bottle empty; probe not correctly inserted; airlock; pump issue. | Replace water bottle; re-insert probe securely; dispense water from all spigots to clear air; contact support if issue persists. |
| Water not hot/cold enough | Hot/cold switch off; insufficient time to heat/cool; unit placed near heat source. | Ensure hot/cold switches on rear are 'ON'; allow 15-30 minutes for temperature stabilization; relocate unit away from heat. |
| Empty Bottle Alert is on, but bottle is full | Sensor malfunction; probe not fully submerged. | Check probe insertion; unplug and replug the unit to reset; contact support. |
| Unusual noise from unit | Normal compressor operation; unit not level. | Some noise during heating/cooling cycles is normal. Ensure the unit is on a level surface. |
| Water leakage | Loose connections; damaged water bottle; drip tray overflow. | Check all connections; inspect water bottle for cracks; empty drip tray regularly. Unplug unit immediately and contact support. |
Specifications
| Feature | Detail |
|---|---|
| Model Number | SOBY1185BK |
| Brand | SOOPYK |
| Color | Black |
| Material | Stainless Steel |
| Capacity | 3-5 Gallon Bottles |
| Product Dimensions (D x W x H) | 12" x 14" x 40" |
| Installation Type | Freestanding |
| Power Source | Corded Electric |
| Water Temperatures | Hot, Cold, Room Temperature |
| Safety Features | Child Safety Lock for Hot Water, Overheat Shut-off Valve |
| Additional Features | Self-Cleaning (UV-Infused), Empty Bottle Alert, Stainless Steel Tubing |
Warranty & Support
Warranty Information
This SOOPYK water cooler dispenser is backed by a one-year warranty from the date of purchase. This warranty covers manufacturing defects and malfunctions under normal use. Additionally, a 30-day return policy is offered.
Customer Support
For any questions, troubleshooting assistance, or warranty claims, please contact SOOPYK customer service. Refer to your purchase documentation or the SOOPYK official website for the most current contact information.

