1. Introduction
Thank you for choosing the Midea MAW06R1WWT-T 6,000 BTU Window Air Conditioner. This manual provides essential information for the safe and efficient operation, installation, and maintenance of your new air conditioner. Please read it thoroughly before use and keep it for future reference.
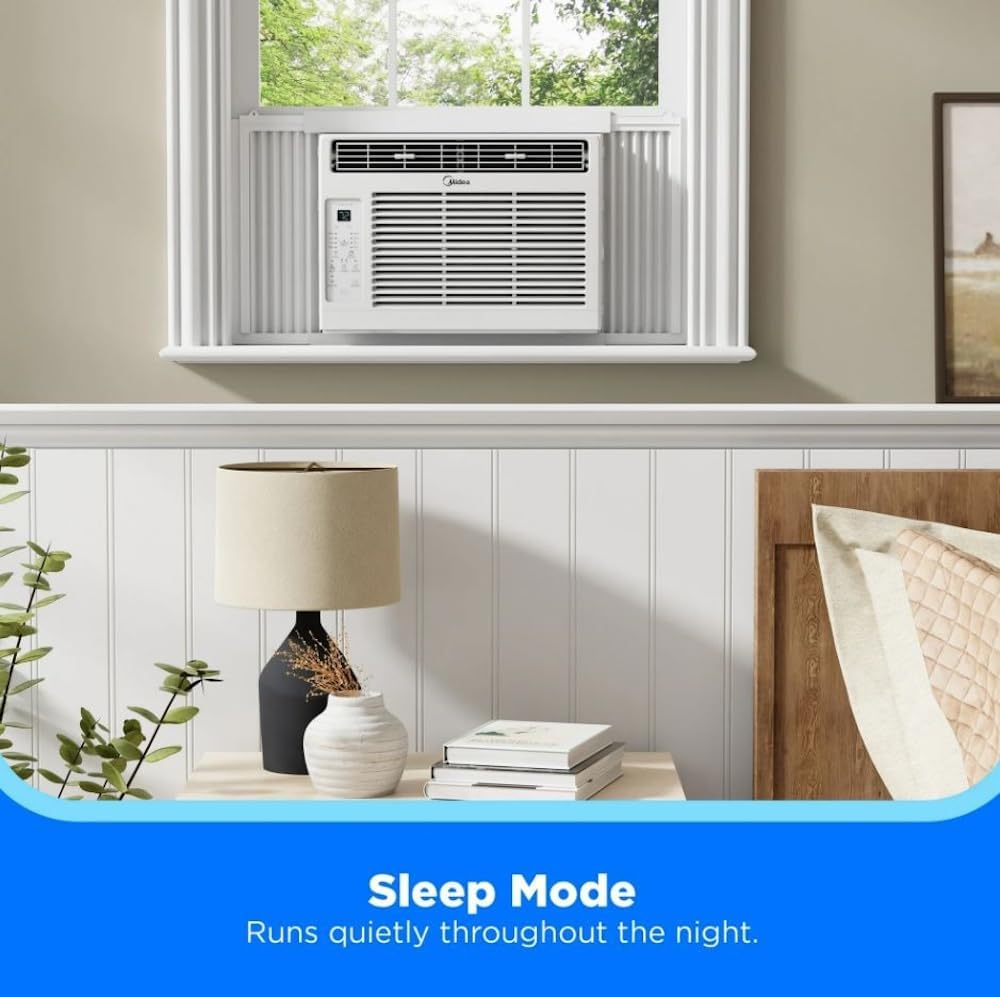
Image 1: Front view of the Midea 6,000 BTU Window Air Conditioner. The unit is white with a horizontal grille and a control panel on the left side.
2. Important Safety Information
Always follow basic safety precautions when using electrical appliances to reduce the risk of fire, electric shock, or injury.
- Read all instructions before using the appliance.
- Ensure the power supply matches the voltage requirements of the unit.
- Do not operate the unit with a damaged cord or plug.
- Do not block air openings. Maintain proper ventilation.
- Always disconnect power before cleaning or servicing.
- Keep children away from the appliance.
3. What's in the Box
Verify that all components are present upon unpacking:
- Midea 6,000 BTU 115V Window Air Conditioner
- Remote Control
- Installation Kit & Hardware
- User Manual
4. Setup and Installation
This Midea window air conditioner is designed for easy installation in double-hung windows. Ensure your window meets the following dimensions:
- Window Width: 23-36 inches
- Minimum Window Height: 13 inches
Before installation, allow the unit to sit upright for at least 24 hours if it was not transported in an upright position. This allows the refrigerant to settle, preventing potential damage.
4.1 Preparing the Window
- Open the window sash.
- Remove any existing window screens if necessary.
- Clean the window sill and frame.
4.2 Installing the Unit
- Attach the top mounting rail to the top of the air conditioner using the provided screws.
- Slide the accordion side panels into the side channels of the unit.
- Carefully place the air conditioner into the window opening, ensuring the bottom rail rests on the window sill.
- Lower the window sash behind the top mounting rail to secure the unit.
- Extend the accordion side panels to fill the window opening and secure them with screws to the window frame.
- Install the window sash lock bracket for added security.

Image 2: Visual guide for window dimensions, indicating a minimum height of 13 inches and a width range of 23-36 inches for proper fit.
5. Operating Instructions
Your Midea air conditioner offers various settings for personalized comfort. All functions can be controlled via the unit's control panel or the included Comfort Sense remote control.
5.1 Control Panel Overview

Image 3: Detailed view of the control panel, showing buttons for Fan, Mode, Delay, Temperature/Time adjustment, Filter Reset, and Power.
5.2 Modes and Settings
- Cool Mode: Provides powerful cooling. Adjust the temperature using the Temp/Time buttons.
- Fan Mode: Circulates air without cooling. Choose from Low, Medium, or High fan speeds.
- Dehumidify Mode (Dry): Reduces humidity in the room.
- Eco Mode: Optimizes energy consumption. The unit will cycle the compressor and fan to maintain the set temperature efficiently.
- Sleep Mode: Gradually increases the set temperature over time to save energy and provide comfortable sleep. The unit runs quietly throughout the night.
- 24-Hour Timer: Program the unit to turn on or off automatically after a set number of hours.
- Comfort Sense Remote: The remote control features a built-in thermostat that adjusts cooling strength based on its location, ensuring consistent room temperature where you are.
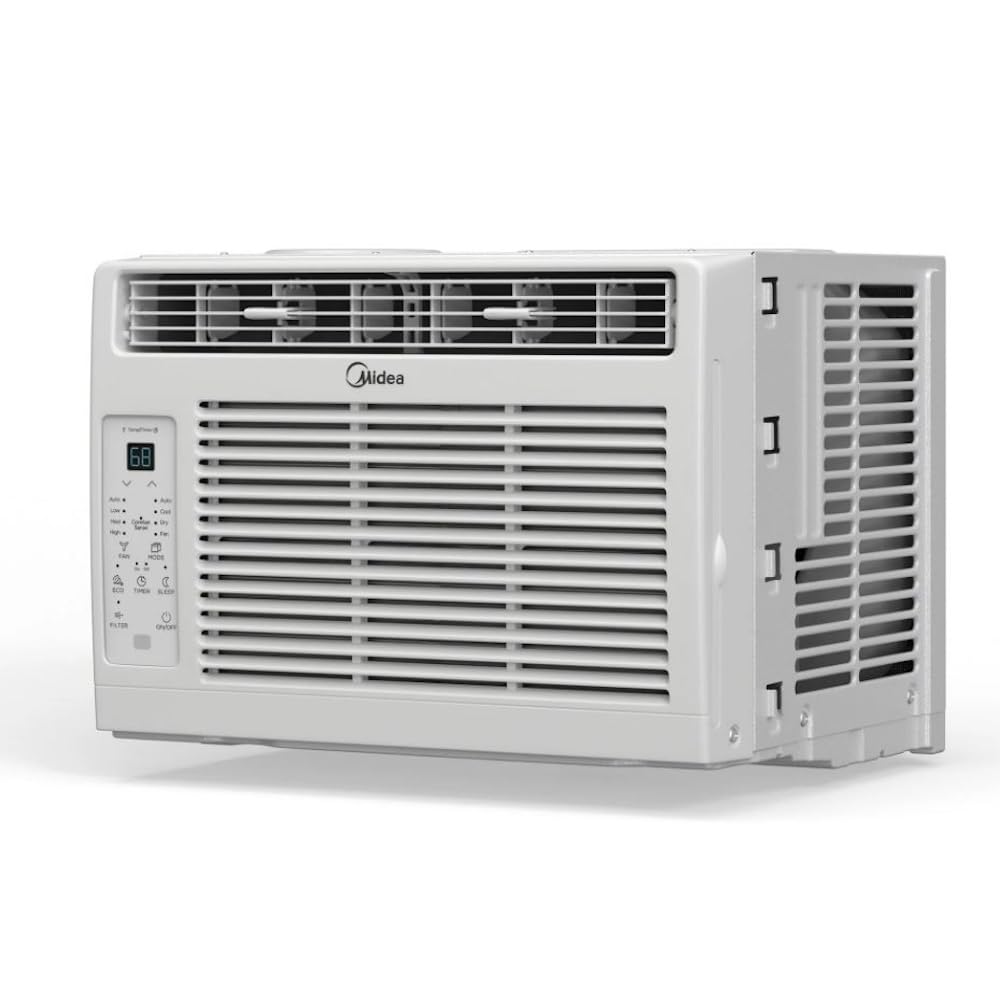
Image 4: The air conditioner unit with a digital display showing 'Sleep Mode' and text indicating quiet operation throughout the night.
6. Maintenance
Regular maintenance ensures optimal performance and longevity of your air conditioner.
6.1 Cleaning the Air Filter
The unit is equipped with a clean filter indicator light that illuminates when it's time to clean the filter (approximately every 250 hours of operation).
- Turn off the air conditioner and unplug it from the power outlet.
- Open the front panel and slide out the air filter.
- Wash the filter with warm, soapy water. Rinse thoroughly.
- Allow the filter to air dry completely before reinserting it.
- Press the 'Filter Reset' button on the control panel to turn off the indicator light.

Image 5: The air filter is shown being easily slid out from the side of the unit for cleaning.
6.2 General Cleaning
- Wipe the cabinet with a soft, damp cloth.
- Do not use harsh chemicals or abrasive cleaners.
- Ensure the unit is dry before plugging it back in.
7. Troubleshooting
Before contacting customer service, refer to the following common issues and solutions:
| Problem | Possible Cause | Solution |
|---|---|---|
| Unit does not turn on | No power, tripped circuit breaker, unit unplugged. | Check power cord, reset circuit breaker, ensure proper connection. |
| Not cooling effectively | Dirty air filter, blocked air intake/outlet, room too large, open doors/windows. | Clean filter, clear obstructions, ensure room size is within capacity, close doors/windows. |
| Excessive noise | Loose installation, foreign object in fan, unit vibrating against window. | Check installation, remove obstructions, ensure proper cushioning. |
| Water dripping outside | Normal operation (condensation). | This is normal. Ensure proper drainage. |
8. Specifications
Detailed technical specifications for the Midea MAW06R1WWT-T:
- Brand: Midea
- Model Name: MAW06R1WWT-T
- Cooling Power: 6000 British Thermal Units (BTU)
- Voltage: 115 Volts
- Wattage: 545 watts
- Noise Level: 56 Decibels
- Coverage Area: Up to 250 Square Feet
- Product Dimensions (D x W x H): 13.19"D x 15.98"W x 12.05"H
- Item Weight: 39 Pounds
- Installation Type: Window
- Control Method: Remote, Touch
- Color: White

Image 6: The air conditioner unit with its depth, width, and height measurements clearly indicated.
9. Warranty & Support
This Midea air conditioner comes with a 90-day Replacement Warranty. For warranty claims, technical support, or any questions not covered in this manual, please contact Midea customer service through their official website or the contact information provided in your product packaging.
Please retain your proof of purchase for warranty validation.


