1. Product Overview
The JODSONE UV LED Nail Lamp is designed for efficient curing of various nail products, including gel polishes, nail tips, and extensions. Its 2-in-1 design and smart sensor technology provide a convenient and effective solution for both individual nail tips and full-hand applications.
This manual provides detailed instructions for the setup, operation, and maintenance of your JODSONE nail lamp to ensure optimal performance and longevity.
2. Setup Instructions
- Unpack the Device: Carefully remove the JODSONE UV LED Nail Lamp and its accessories from the packaging. Ensure all components, including the lamp unit and power adapter, are present.
- Connect Power: Insert the power adapter cable into the designated port on the back of the nail lamp. Plug the other end of the adapter into a standard electrical outlet.
- Placement: Place the nail lamp on a stable, flat surface. Ensure there is adequate space around the device for proper ventilation and ease of use.
- Detachable Base (Optional): The lamp features a detachable base, which can be removed for pedicure use or easier cleaning. To detach, gently pull the base downwards. To reattach, align the base with the main unit and push upwards until it clicks into place.
3. Operating Instructions
3.1. Timer Settings
The JODSONE nail lamp offers multiple timer options for precise curing:
- 30S: Short curing time for thin gel layers or quick touch-ups.
- 60S: Standard curing time for most gel polishes.
- 90S: Extended curing time for thicker gel layers or specific products.
- 60S (Front Light): A dedicated button for the front headlight, allowing instant on/off operation for curing individual nail tips or specific areas. This setting does not utilize the automatic sensor.
- 120S (Low Heat Mode): This mode is designed for sensitive nails or builder gels that may cause a heat spike. It gradually increases the light intensity to minimize discomfort. This mode is activated by the smart infrared sensor.
3.2. Smart Infrared Sensor
The lamp is equipped with a smart infrared sensor for automatic operation. When your hand or foot is inserted into the lamp, the sensor detects its presence and automatically activates the curing process. When your hand or foot is removed, the light will turn off. In automatic mode, the default curing time is 120 seconds (Low Heat Mode).
3.3. Curing Process
- Prepare Nails: Apply your desired base coat, gel polish, or top coat according to the product's instructions.
- Select Timer: Choose the appropriate curing time (30S, 60S, 90S) by pressing the corresponding button on the top of the lamp. For individual tips, use the 60S (Front Light) button.
- Insert Hand/Foot: Place your hand or foot into the lamp. If a timer button was pressed, the curing cycle will begin. If no timer button was pressed, the smart sensor will activate the 120S Low Heat Mode.
- Cure: Keep your hand or foot inside the lamp until the selected timer counts down to zero, or until the automatic cycle completes.
- Repeat: Repeat the process for each layer of gel polish or for the other hand/foot as needed.
4. Product Features
- Advanced Curing Technology: Equipped with upgraded UV LED beads for fast and efficient curing of all types of gel polishes, including base coats, top coats, color gels, acrylic gels, builder gels, nail tips, and press-ons.
- 2-in-1 Design: Versatile design allows for curing individual nail tip extensions or full-hand drying, making it suitable for various nail art scenarios and daily touch-ups.
- Multiple Timer Settings: Features 30S, 60S, 90S, and a dedicated 60S (front light) button for precise control over curing times.
- Smart Infrared Sensor: Automatic on/off functionality when hands or feet are inserted or removed, enhancing convenience and energy efficiency.
- Low Heat Mode (120S): A gentle curing option that gradually increases light intensity to prevent heat spikes, ideal for sensitive nails or specific gel types.

Image: The JODSONE UV LED Nail Lamp is shown next to a generic nail lamp. The JODSONE lamp is labeled "Two-in-one Design for nail tip and gel nail polish and so on," with an arrow pointing to its internal structure showing multiple LED lights. The generic lamp is labeled "Only for gel nail polish." This illustrates the versatility of the JODSONE lamp.

Image: A top-down view of the JODSONE UV LED Nail Lamp with a hand placed inside. To the right, three circular icons indicate "30S Timer For Quick Dry Nail Polish," "60S Timer For Thin Gel Nail Polish," and "90S Timer For All Gel Types," demonstrating the preset timer options.

Image: A close-up of the JODSONE UV LED Nail Lamp's control panel, specifically highlighting the "60S (Front Light)" button. A finger is shown pressing this button, and the front light of the lamp is illuminated, indicating its function for targeted curing.

Image: This image illustrates the "120S Infrared Sensor Control" feature of the JODSONE UV LED Nail Lamp. It shows two states: "HANDS IN Lamp On" with a hand inside the illuminated lamp, and "HANDS OUT Lamp Off" with the hand removed and the lamp off, demonstrating the automatic sensor functionality.
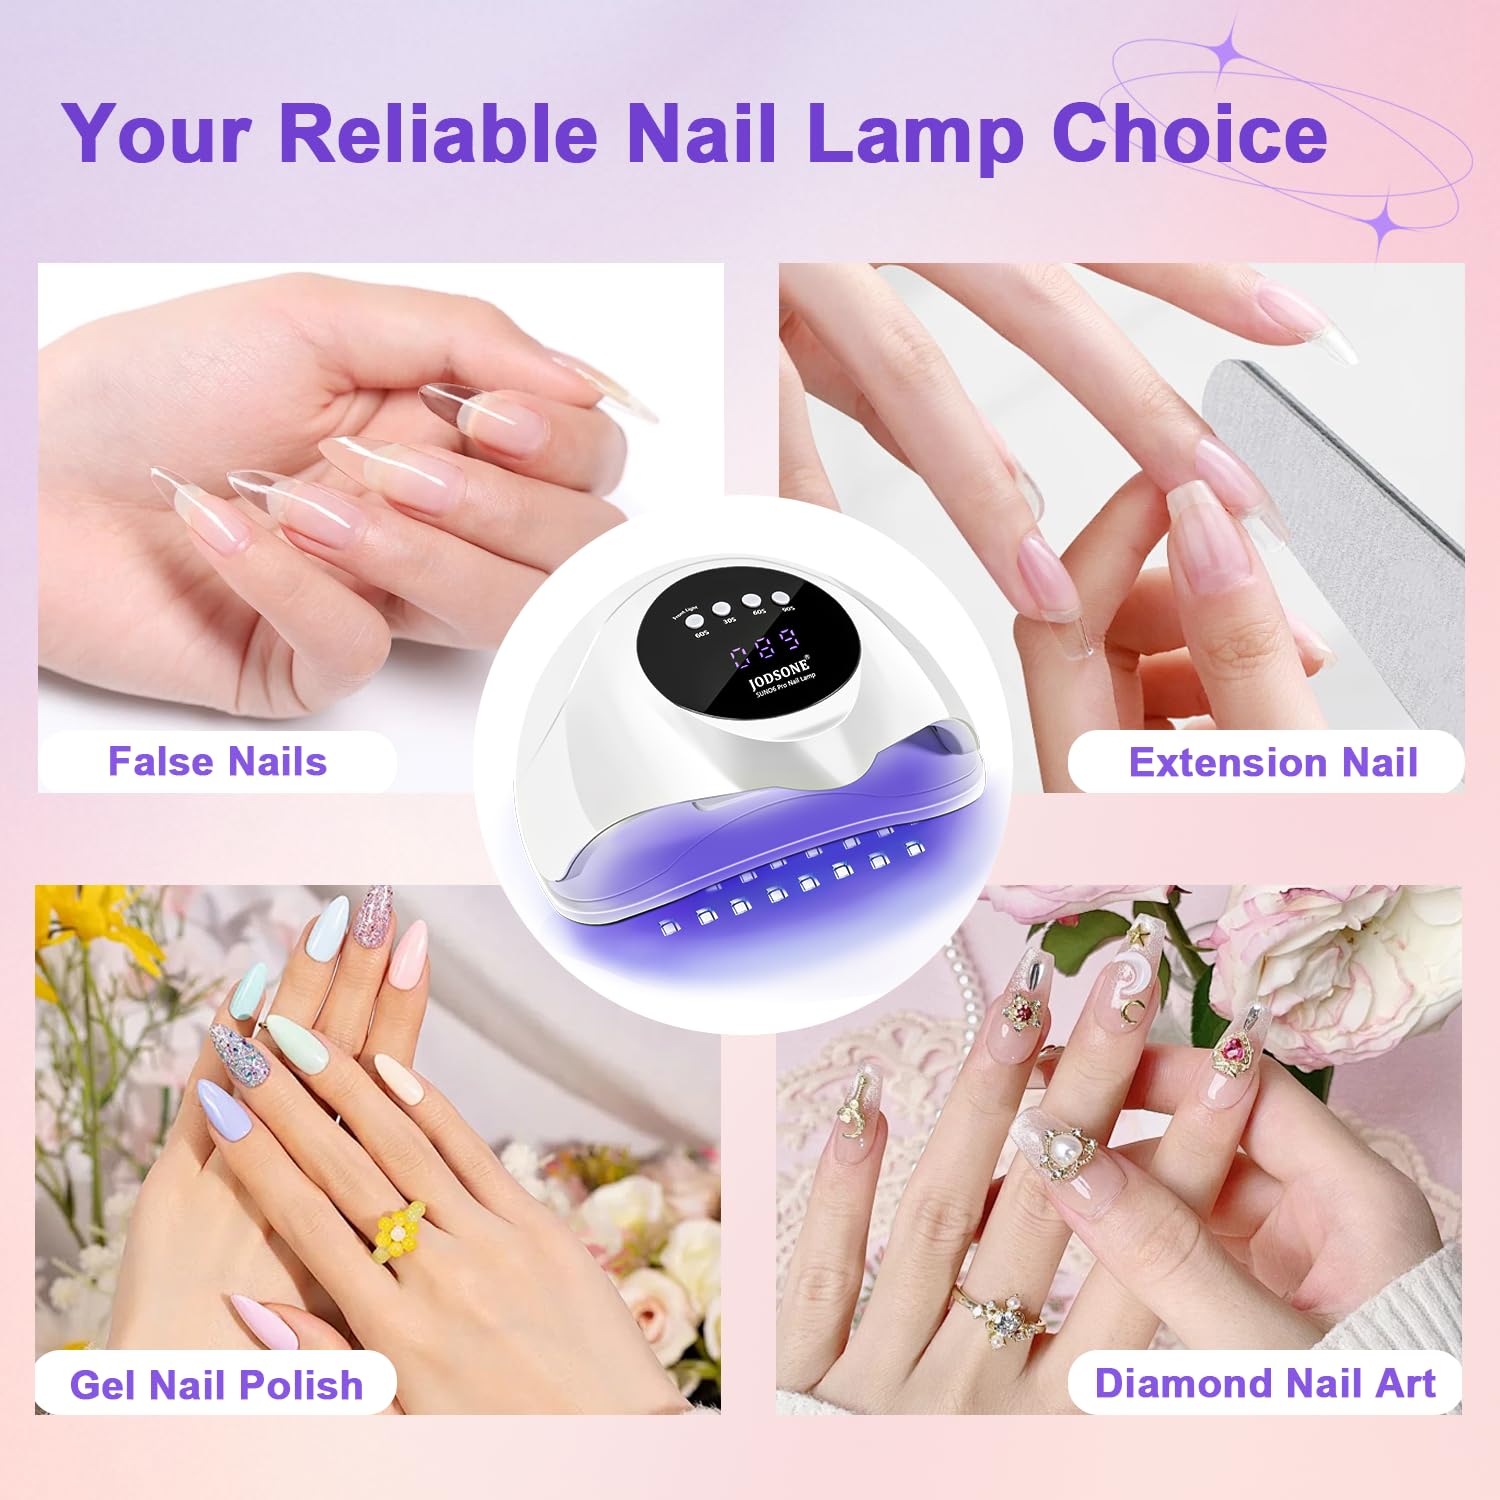
Image: A collage showcasing the versatility of the JODSONE UV LED Nail Lamp. Four quadrants display different nail applications: "False Nails," "Extension Nail," "Gel Nail Polish," and "Diamond Nail Art," all implying the lamp's ability to cure these various styles.
5. Maintenance
- Cleaning: Regularly wipe the exterior of the lamp with a soft, dry cloth. For stubborn stains, a slightly damp cloth with mild soap can be used, ensuring no liquid enters the device.
- Interior Cleaning: The detachable base allows for easy cleaning of the interior. Remove the base and wipe down the reflective surfaces and LED beads with a soft, dry cloth to maintain optimal light output.
- Storage: When not in use, store the nail lamp in a cool, dry place away from direct sunlight and moisture.
- Avoid Harsh Chemicals: Do not use abrasive cleaners, solvents, or harsh chemicals on any part of the lamp, as this may damage the finish or internal components.
6. Troubleshooting
| Problem | Possible Cause | Solution |
|---|---|---|
| Lamp does not turn on. | Power adapter not connected properly or no power from outlet. | Ensure the power adapter is securely plugged into both the lamp and a working electrical outlet. Test the outlet with another device. |
| Gel polish is not curing completely. | Incorrect curing time, too thick gel layer, or expired gel polish. | Increase curing time, apply thinner layers of gel, or check the expiration date of your gel polish. Ensure your hand is positioned correctly to receive full light exposure. |
| Smart sensor not activating. | Obstruction of the sensor or incorrect hand placement. | Ensure nothing is blocking the infrared sensor. Place your hand or foot fully into the lamp's opening. Note that the 60S (Front Light) button bypasses the sensor. |
| Heat spike during curing. | Sensitive nails or thick application of builder gel. | Use the 120S Low Heat Mode. Apply thinner layers of gel. If discomfort persists, remove hand briefly and reinsert. |
7. Product Specifications
- Brand: JODSONE
- Model: SUNX5 Max Nail Lamp
- Type: UV LED Nail Lamp
- Color: Snow White
- Timer Settings: 30S, 60S, 90S, 60S (Front Light), 120S (Low Heat Mode with Smart Sensor)
- Sensor: Smart Infrared Sensor
- Design: 2-in-1 for nail tips and full-hand curing, detachable base
- Dimensions: Approximately 7.8 x 7.17 x 3.9 inches
- Weight: Approximately 13.76 ounces
- Power Source: Corded Electric (Power adapter included)
8. Warranty and Support
For any quality concerns or technical support regarding your JODSONE UV LED Nail Lamp, please contact JODSONE customer service. Refer to the contact information provided in your product packaging or visit the official JODSONE website for assistance.
Please retain your purchase receipt for warranty purposes.