1. Introduction
This manual provides detailed instructions for the installation, operation, and maintenance of your VEVOR CB-400D-C 400W Monoblock Class D Car Audio Amplifier. Please read this manual thoroughly before using the product to ensure proper function and safety. This amplifier is designed to deliver powerful and clear bass for your car audio system.
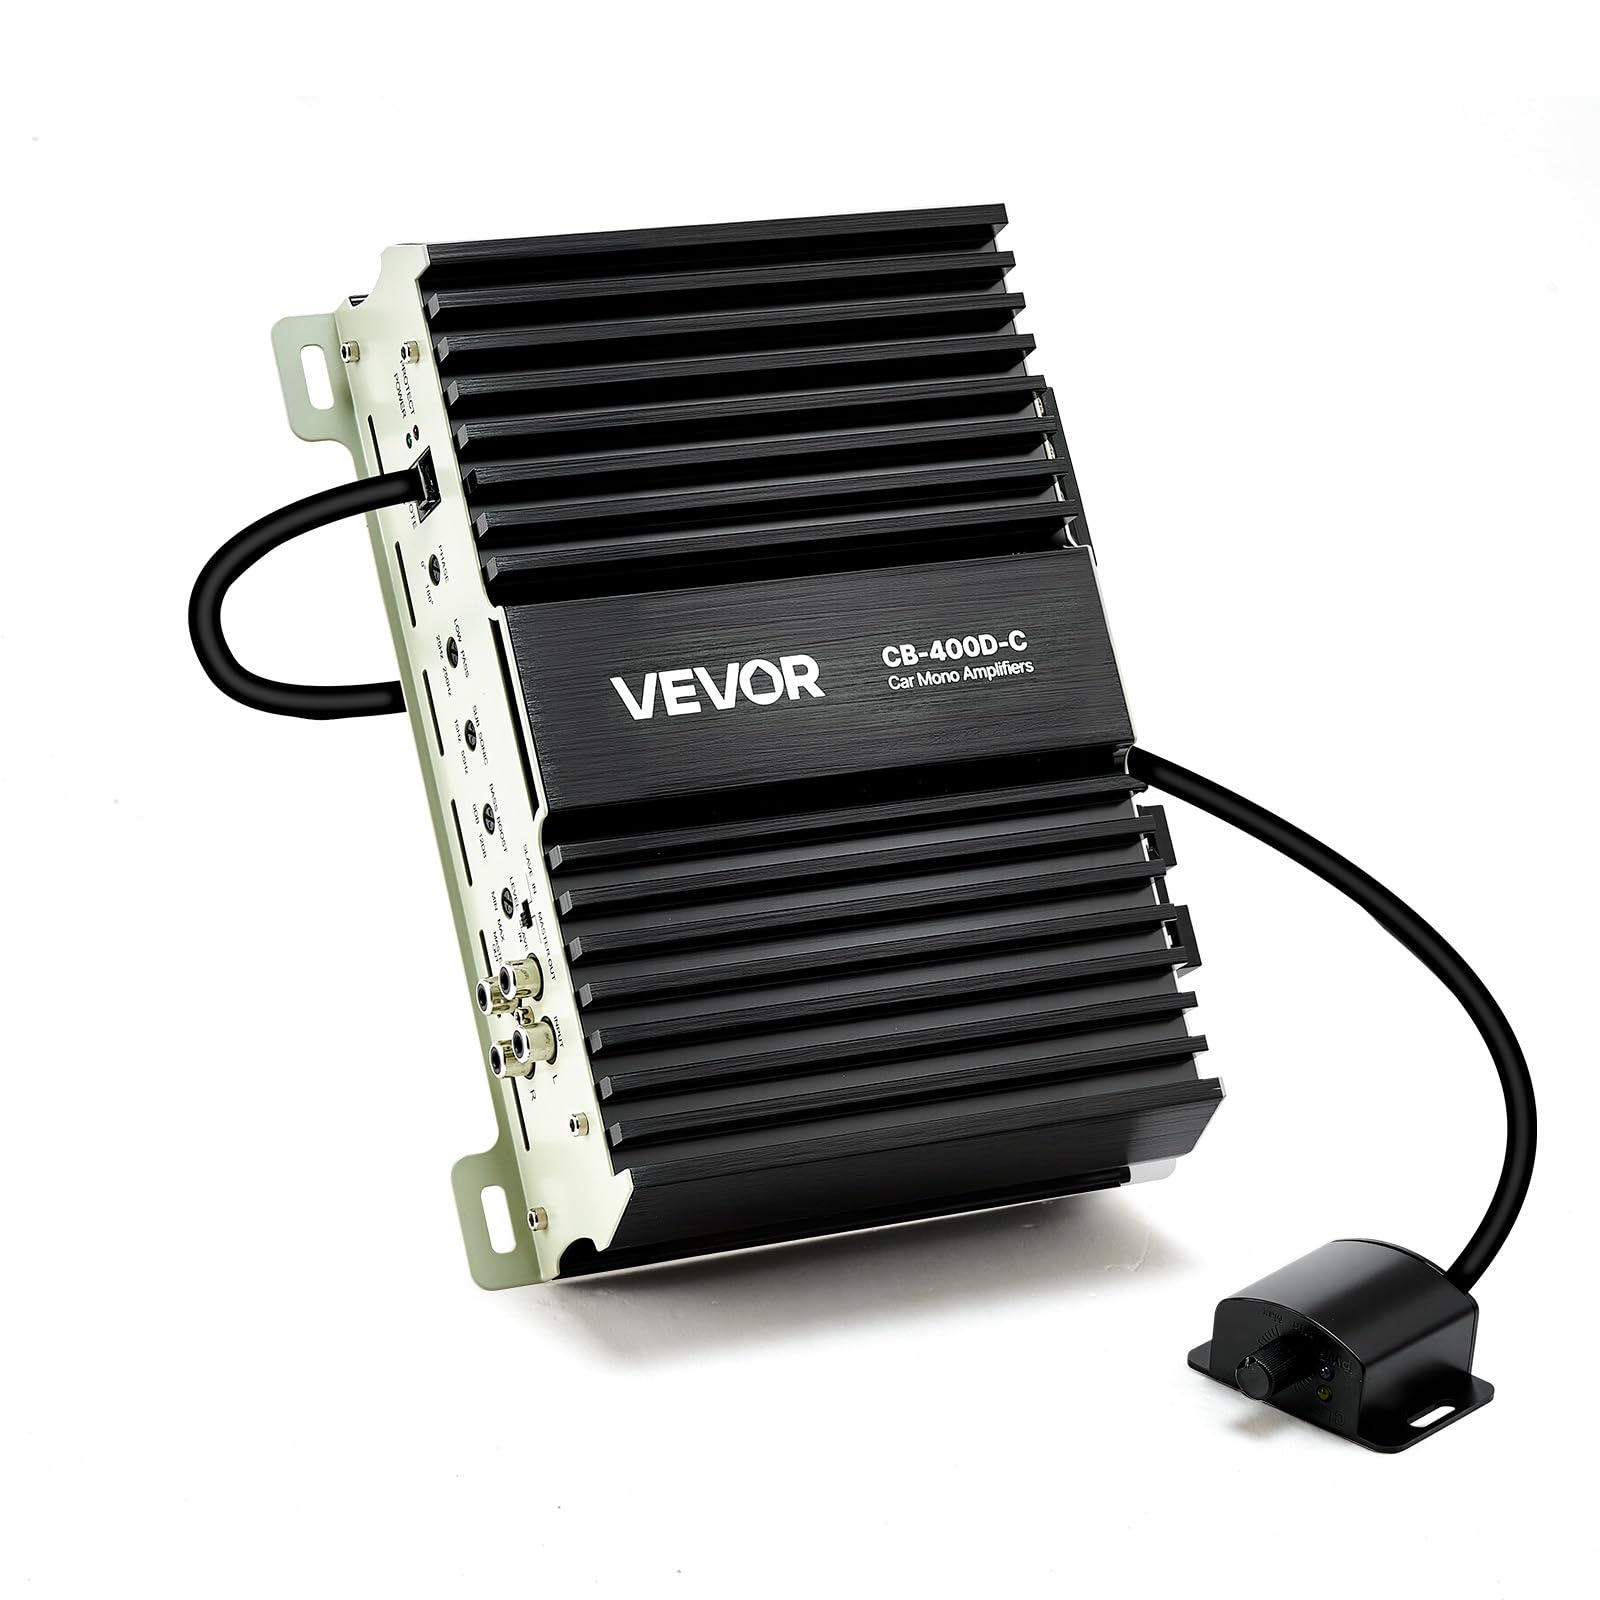
The VEVOR CB-400D-C 400W Monoblock Car Amplifier.
2. Safety Instructions
- Always disconnect the vehicle's negative battery terminal before performing any wiring or installation.
- Ensure all wiring is correctly routed and secured to prevent damage or short circuits.
- Install an external fuse within 12 inches (30 cm) of the battery's positive terminal.
- Avoid installing the amplifier in locations exposed to direct sunlight, excessive heat, moisture, or dust.
- Ensure adequate ventilation around the amplifier to prevent overheating.
- Do not open the amplifier casing. Refer all servicing to qualified personnel.
- Use appropriate gauge wiring for power and speaker connections as recommended.
3. Package Contents
Verify that all items are present in the package:
- 1 x Car Amplifier (VEVOR CB-400D-C)
- 1 x Volume Controller (with 16.4 ft / 5 m cable)
- 1 x Desiccant Pack
- 4 x Screws
- 2 x Fuses
- 1 x User Manual
4. Product Features
- 400W RMS Power: Delivers 400W RMS at 1Ω, optimized for subwoofers to provide deep bass and strong impact. Features ultra-low total harmonic distortion and noise for clear sound.
- Wide Compatibility: Compatible with most factory car audio systems in sedans and pickups. Supports 1Ω, 2Ω, and 4Ω loads and flexible wiring. Works with 10-inch and 12-inch single/dual voice coil subwoofers.
- Real-Time Volume Control: Includes a remote controller with a 16.4 ft (5 m) cable for adjusting bass volume from the driver's seat.
- Adjustable Audio Settings: Features a control panel with Low Pass Filter, Bass Boost, and Phase Shift for precise audio customization.
- Compact Design: Its small size allows for flexible installation in various vehicle locations, such as behind the rear seat or in the trunk.
- Cooling and Protection: Constructed with an aluminum alloy chassis and ventilation holes for improved passive heat dissipation. Built-in temperature, overcurrent, and overvoltage protection ensure safe operation.
5. Setup and Installation
5.1 Pre-Installation Tips
- Disconnect your vehicle's negative battery terminal before wiring.
- An external fuse must be installed within 12 inches (30 cm) of the battery's positive terminal.

This detailed diagram provides clear instructions for connecting the amplifier to the car's head unit, subwoofers, and battery, including important tips for pre-installation and external fuse placement.
5.2 Wiring Connections
The amplifier supports various subwoofer configurations. Refer to the diagram below for common wiring examples for 1Ω, 2Ω, and 4Ω total impedance with single and dual voice coil subwoofers.

This image provides various wiring configurations for connecting single and dual voice coil subwoofers to the amplifier, demonstrating compatibility with 1 Ohm, 2 Ohm, and 4 Ohm total impedance setups.
5.3 Physical Installation
Due to its compact size, the amplifier offers flexible installation options. Common locations include behind the rear seat or within the trunk's side panel. Ensure the chosen location allows for proper ventilation.

This diagram illustrates the compact design of the amplifier, allowing for flexible installation in tight spaces such as behind the rear seat or within the trunk's side panel.

The VEVOR CB-400D-C amplifier neatly installed in the trunk of a car, demonstrating a typical mounting location.
6. Operating Instructions
6.1 Remote Volume Control
The included remote volume controller allows you to adjust the bass level conveniently from the driver's seat. Connect the remote to the amplifier's 'REMOTE' port.

An overhead view of a car illustrating the amplifier's installation and the 16.4 ft (5 m) remote volume control cable, enabling convenient bass adjustments from the driver's seat.
6.2 Panel Adjustments
The amplifier's control panel provides several settings to fine-tune your audio output:
- Phase Shift (0-180°): Adjusts the phase of the subwoofer output to match the main speakers, improving bass integration.
- Low Pass Filter (LPF): Sets the upper frequency limit for the subwoofer, typically between 50Hz and 250Hz.
- Subsonic Filter: Filters out extremely low frequencies below the audible range, protecting the subwoofer from damage and improving sound quality. Recommended setting is 15-55Hz.
- Bass Boost (0-12 dB): Increases the bass output at a specific frequency, typically around 45Hz. Use sparingly to avoid distortion.
- Input Level (MIN/MAX): Matches the amplifier's input sensitivity to the output level of your head unit. Start at MIN and slowly increase until desired volume is reached without distortion.

This image displays the amplifier's control panel with adjustable settings for Phase Shift, Low Pass Filter, Subsonic Filter, and Bass Boost, alongside the remote volume control for convenient adjustment from the driver's seat.

A detailed view of the amplifier's control panel, showing the input terminals, fuse, speaker output, and adjustment knobs for phase, low pass filter, subsonic filter, bass boost, and input level.
7. Maintenance
- Keep the amplifier clean and free from dust. Use a soft, dry cloth for cleaning.
- Ensure all connections remain secure. Periodically check wiring for any signs of wear or damage.
- Do not block the ventilation holes on the amplifier to ensure proper heat dissipation.
8. Troubleshooting
| Problem | Possible Cause | Solution |
|---|---|---|
| No Power / Amplifier Not Turning On | Blown fuse, loose power/ground connection, remote turn-on wire disconnected. | Check and replace fuses. Verify all power, ground, and remote turn-on connections are secure. |
| No Sound Output | Input signal issue, speaker wires disconnected, amplifier in protection mode. | Check RCA input cables from head unit. Verify speaker connections. Check amplifier status indicator (PROTECT/POWER LED). |
| Distorted Sound | Input level too high, speaker impedance mismatch, damaged speaker. | Adjust input level (gain) on the amplifier. Ensure speaker impedance matches amplifier's capabilities. Inspect speakers for damage. |
| Amplifier Overheating | Insufficient ventilation, impedance too low, prolonged high-volume use. | Ensure amplifier has adequate airflow. Check speaker impedance. Reduce volume or allow amplifier to cool down. |
9. Specifications

This image provides a detailed technical drawing of the amplifier, including its dimensions (6.9 x 8.9 x 2.4 inches) and a summary of key specifications.
| Specification | Value |
|---|---|
| Item Model Number | CB-400D-C |
| Voltage Range | DC 9-16V |
| Rated Voltage | DC 12V |
| RMS Power | 400W (1Ω) |
| Peak Power | 800W (1Ω) |
| Frequency Response | 15-250Hz |
| Amplifier Class | Class D |
| Impedance | 1Ω, 2Ω, 4Ω |
| Main Material | Aluminum Alloy |
| Product Weight | 4.2 lbs / 1.92 kg |
| Signal-to-Noise Ratio (SNR) | 75 dB (1W), 102 dB (Max) |
| Remote Control Cable Length | 16.4 ft / 5 m |
| Product Dimensions (L x W x H) | 6.9 x 8.9 x 2.4 in / 176 x 226 x 60 mm |
10. Warranty Information
For warranty details, please refer to the specific warranty policy provided with your purchase or visit the official VEVOR website. Keep your proof of purchase for any warranty claims.
11. Support
If you encounter any issues or have questions regarding your VEVOR CB-400D-C amplifier, please contact VEVOR customer service for assistance. Support contact information can typically be found on the VEVOR website or on your product packaging.