1. Product Overview
The GIGABYTE C103 Glass Mid-Tower Gaming PC Case is designed to house your computer components, offering a blend of aesthetics and functionality. It features a tempered glass side panel for showcasing internal components, optimized airflow for efficient cooling, and supports various motherboard form factors including ATX, Micro-ATX, and Mini-ITX. This manual provides instructions for proper setup, operation, and maintenance.

Figure 1: Front view of the GIGABYTE C103 Glass Mid-Tower PC Case, showing the front panel and tempered glass side panel.
2. Setup and Installation
Follow these steps to install your PC components into the GIGABYTE C103 case.
2.1 Preparing the Case
- Unpack the Case: Carefully remove the PC case from its packaging. Inspect for any shipping damage.
- Remove Side Panels: Locate and remove the screws securing the tempered glass side panel and the solid right-side panel. Carefully set the panels aside on a soft, flat surface to prevent scratches.

Figure 2: Side view of the GIGABYTE C103 PC Case, highlighting the tempered glass panel.
2.2 Motherboard Installation
- Install I/O Shield: If your motherboard requires a separate I/O shield, install it into the rear opening of the case.
- Position Motherboard: Align your ATX, Micro-ATX, or Mini-ITX motherboard with the standoffs inside the case. Ensure all screw holes align.
- Secure Motherboard: Use the provided screws to firmly attach the motherboard to the standoffs. Do not overtighten.

Figure 3: Rear view of the GIGABYTE C103 PC Case, showing expansion slots and I/O shield area.
2.3 Power Supply Unit (PSU) Installation
- Mount PSU: Slide your standard ATX power supply into the designated bottom mount area of the case.
- Secure PSU: Fasten the PSU with screws from the rear of the case.
2.4 Storage Drive Installation
The case supports 2 x 3.5"/2.5" drive bays and 2 x 2.5" drive bays.
- Install 3.5"/2.5" Drives: Locate the drive cage, typically near the PSU shroud. Install your 3.5-inch or 2.5-inch drives into the bays and secure them with screws or tool-less mechanisms if available.
- Install 2.5" Drives: Dedicated 2.5-inch drive mounts are usually found on the back of the motherboard tray. Secure your SSDs using the provided screws.
2.5 Graphics Card (GPU) and Expansion Card Installation
- Remove Slot Covers: Remove the necessary expansion slot covers (up to 7 available) from the rear of the case corresponding to your GPU or other expansion cards.
- Insert Card: Carefully insert the graphics card or other expansion card into the appropriate PCIe slot on your motherboard.
- Secure Card: Fasten the card with the retaining screw.
2.6 Fan and Radiator Installation
The case offers extensive cooling options:
- Front: Supports 3 x 120mm or 3 x 140mm fans, or a radiator up to 360mm.
- Top: Supports 2 x 120mm or 2 x 140mm fans, or a radiator up to 240mm.
- PSU Shroud: Supports 2 x 120mm fans.
- Rear: Supports 1 x 120mm fan, or a radiator up to 120mm.
Install fans and radiators in desired locations, ensuring proper airflow direction (intake/exhaust).
2.7 Cable Management
Utilize the cable routing cutouts and tie-down points behind the motherboard tray to manage cables. This improves airflow and aesthetics.
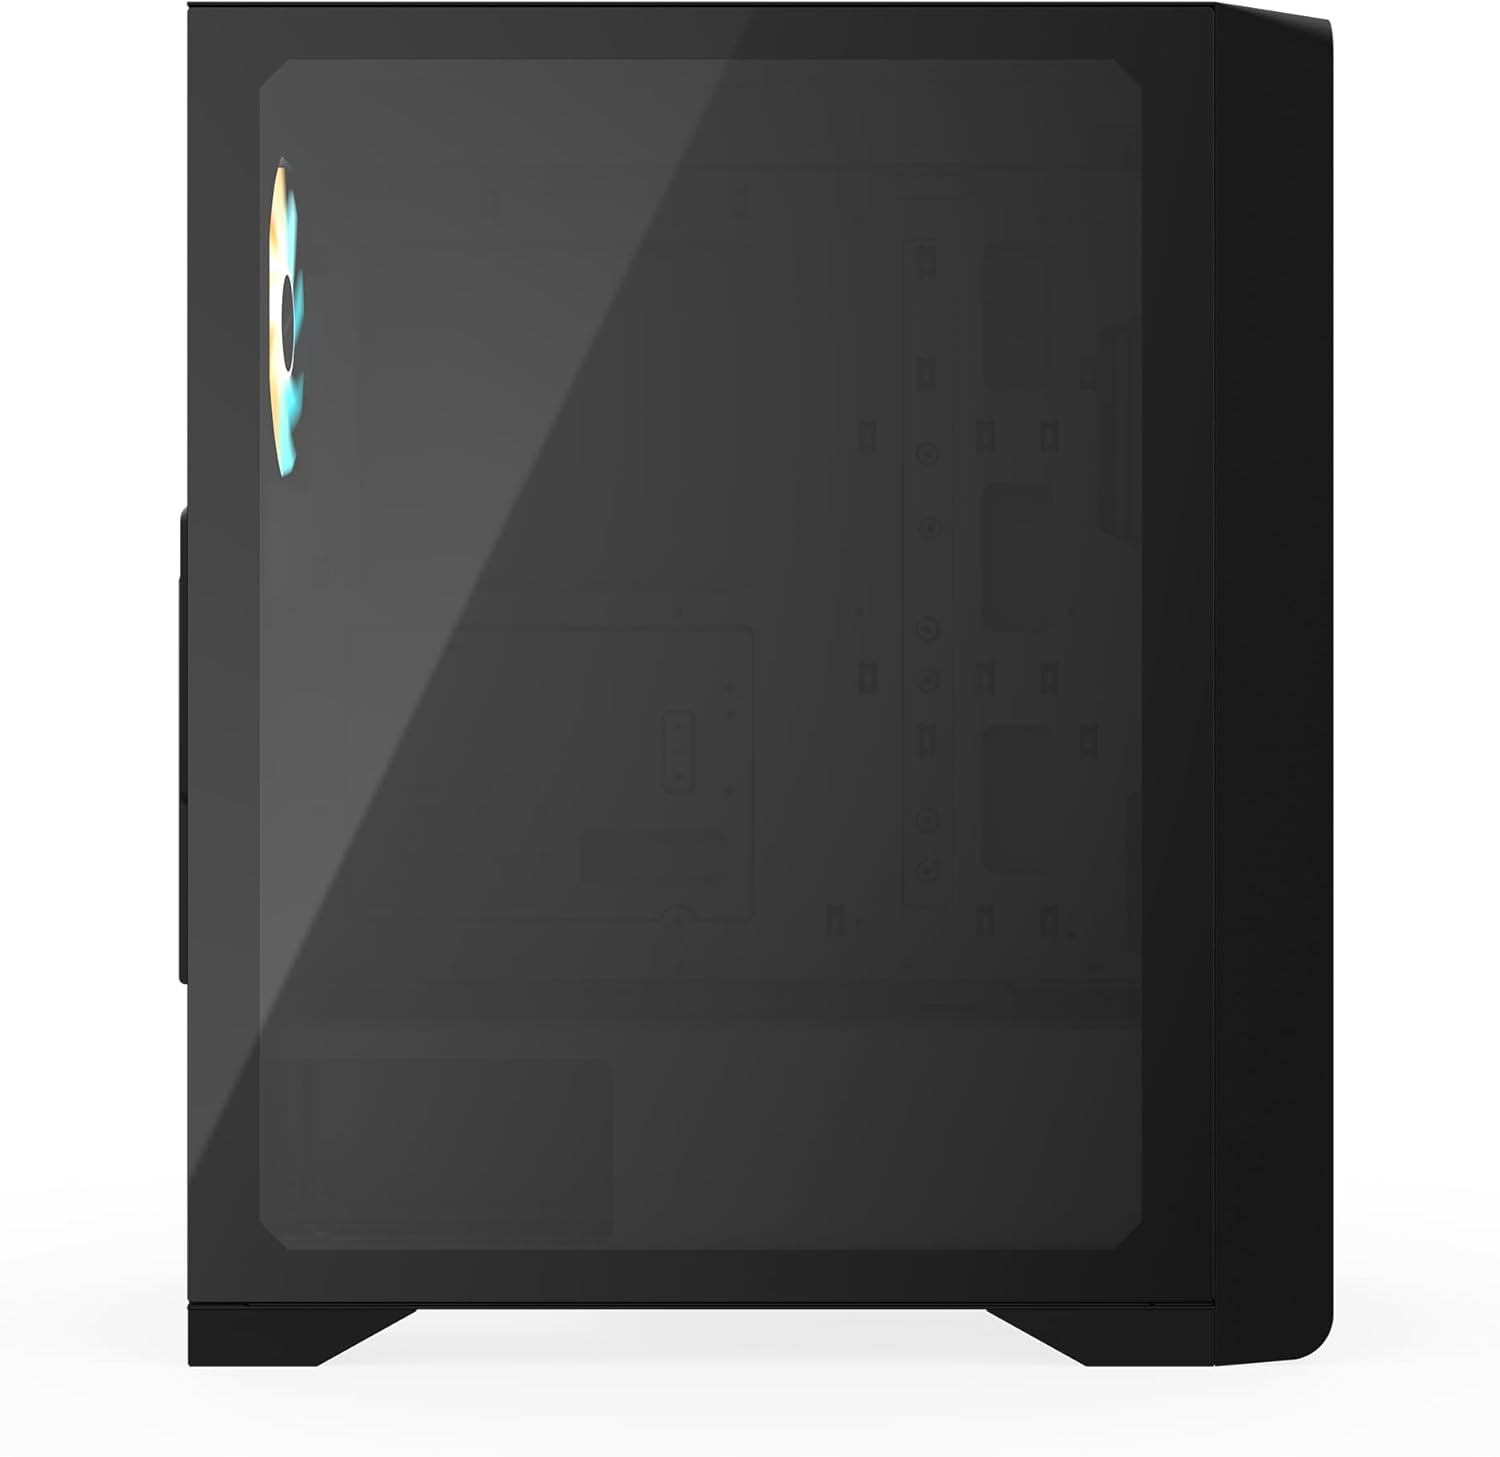
Figure 4: Internal view of the GIGABYTE C103 PC Case, showing the spacious interior for component installation.
3. Operating the PC Case
Once all components are installed and cables connected, replace the side panels. Connect your monitor, keyboard, mouse, and power cable to the PC. Use the power button on the front I/O panel to turn on your system. The front I/O panel includes:
- 1 x USB 3.0 Port
- 2 x USB 2.0 Ports
- Reset Button
- Power Button
- Audio In & Out (supports HD Audio)

Figure 5: Top view of the GIGABYTE C103 PC Case, showing the front I/O panel for easy access.
4. Maintenance
Regular maintenance helps ensure optimal performance and longevity of your PC components.
- Dust Filter Cleaning: The GIGABYTE C103 case includes dust filters on the top and bottom (fast disassembly) and a fixed filter on the front. Regularly clean these filters to prevent dust buildup and maintain good airflow. For removable filters, gently slide them out, clean with compressed air or water (ensure completely dry before reinstallation), and reinsert.
- Exterior Cleaning: Use a soft, damp cloth to wipe down the exterior surfaces of the case. Avoid abrasive cleaners or solvents that could damage the finish or tempered glass.
- Interior Dusting: Periodically open the side panels and use compressed air to remove dust from internal components and fan blades. Ensure the system is powered off and unplugged before performing interior cleaning.

Figure 6: Right side view of the GIGABYTE C103 PC Case, showing the solid panel covering the cable management area.
5. Troubleshooting
If you encounter issues with your PC build, consider the following general troubleshooting steps:
- No Power: Ensure the power supply is switched on and all power cables (24-pin ATX, 8-pin CPU, PCIe power) are securely connected to the motherboard and components. Check the front panel power button connection to the motherboard.
- No Display: Verify that the graphics card is properly seated in its PCIe slot and that the monitor cable is connected to the graphics card (not the motherboard's integrated graphics ports, unless you are using integrated graphics).
- Component Not Detected: Check that all components (RAM, storage drives, expansion cards) are firmly seated in their respective slots and connected correctly.
- Overheating: Ensure all case fans and CPU cooler fans are spinning. Verify that dust filters are clean and not obstructing airflow. Check thermal paste application on the CPU.
6. Specifications
| Feature | Specification |
|---|---|
| Brand | GIGABYTE |
| Model Name | C103G |
| Case Form Factor | Mid Tower |
| Motherboard Compatibility | ATX, Micro-ATX, Mini-ITX |
| Color | Black |
| Materials | Steel, Plastic, Tempered Glass |
| Dimensions (H*W*D) | 478mm * 210mm * 402mm (within ± 1% error) |
| Expansion Slots | 7 |
| 3.5"/2.5" Drive Bays | 2 |
| 2.5" Drive Bays | 2 |
| I/O Panel | 1 x USB 3.0, 2 x USB 2.0, Reset Button, Power Button, Audio In & Out (HD Audio) |
| Fan Support (Front) | 3 x 120mm / 3 x 140mm |
| Fan Support (Top) | 2 x 120mm / 2 x 140mm |
| Fan Support (PSU Shroud) | 2 x 120mm |
| Fan Support (Rear) | 1 x 120mm |
| Radiator Support (Front) | Max 360mm |
| Radiator Support (Top) | 120mm / 240mm |
| Radiator Support (Rear) | Max 120mm |
| Power Supply Type | Standard ATX (Not included) |
| Max CPU Cooler Height | 165mm |
| Max GPU Length | 355mm |
| Max PSU Length | 210mm |
| Dust Filters | Top, Bottom (Fast disassembly), Front (Fixed) |
| Net Weight | 5.65 kg |
| GTIN / UPC | 810162143657 |
7. Warranty Information
GIGABYTE products are covered by a limited warranty. For detailed warranty terms, conditions, and registration procedures, please refer to the official GIGABYTE website or the warranty card included with your product. Warranty periods may vary by region and product type.
8. Support
For technical assistance, customer service, or further inquiries regarding your GIGABYTE C103 PC Case, please contact GIGABYTE support:
- Manufacturer: GIGABYTE
- Contact Number (India): +91-22-40633259
- Official Website: Visit the GIGABYTE Store on Amazon (for product information) or refer to the official GIGABYTE global website for support.