Introduction
This manual provides essential instructions for the proper installation, operation, maintenance, and troubleshooting of the Generic Reducing Union, model FVYDSUSU519. This component is designed as a replacement part for connecting two pipes or hoses of different diameters, specifically 3/8 inch and 5/16 inch.
Important Note: Before installation, please verify the compatibility of this reducing union with your existing part and the model number of your appliance or system. Incorrect compatibility may lead to improper function or damage.
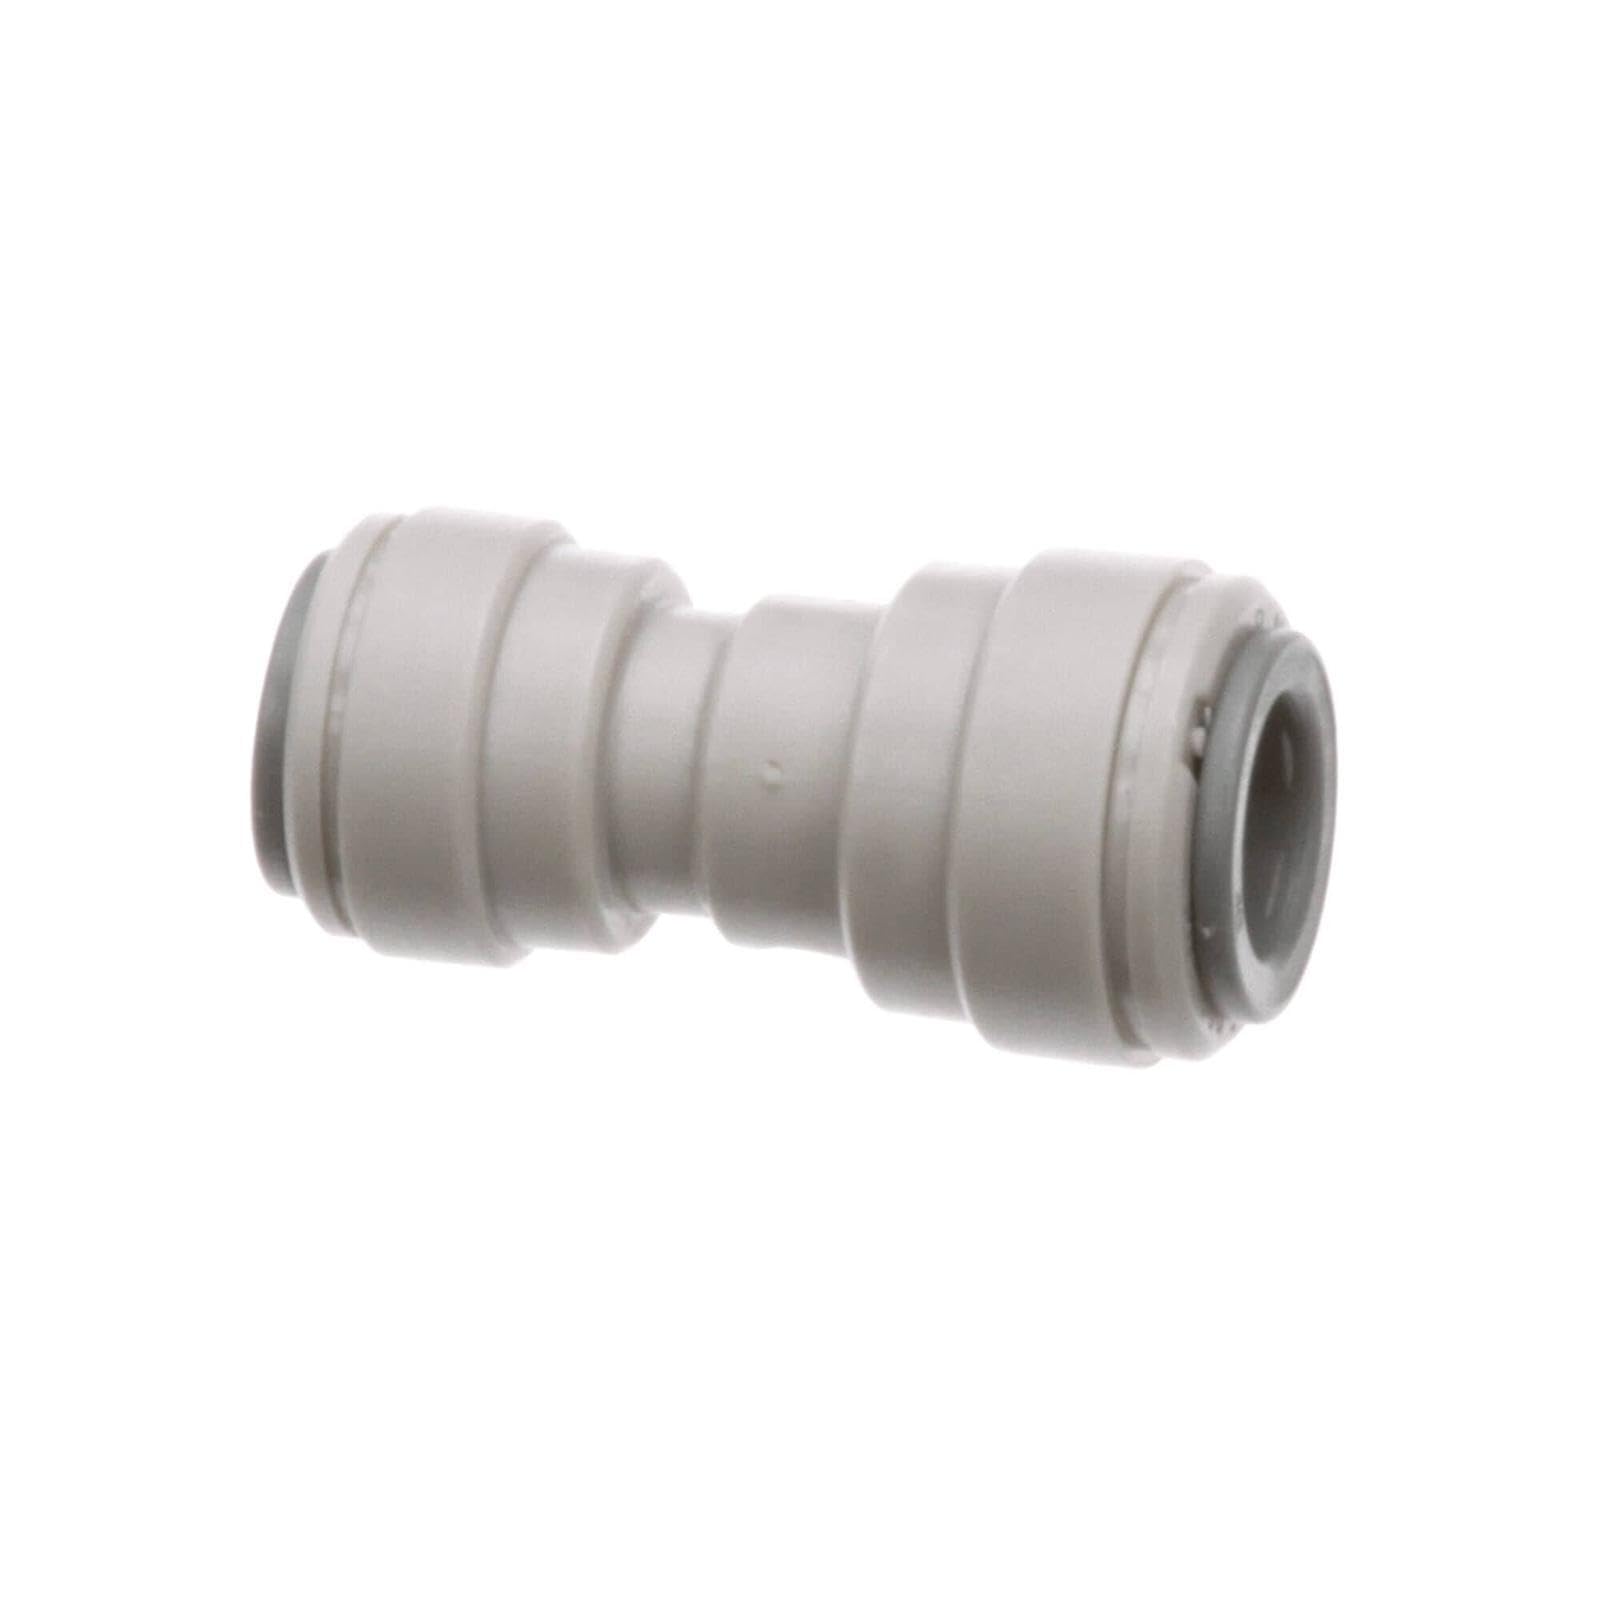
An image showing the Generic Reducing Union, designed to connect pipes or hoses of 3/8 inch and 5/16 inch diameters.
Setup and Installation
Follow these steps for proper installation of the reducing union:
- Preparation: Ensure that the system is depressurized and drained if it contains fluids. Clean the ends of the pipes or hoses where the union will be installed, removing any debris, rust, or old sealant.
- Inspection: Carefully inspect the reducing union for any manufacturing defects, cracks, or damage that may have occurred during shipping. Do not install a damaged part.
- Application of Sealant (if required): Depending on the application and material, apply an appropriate thread sealant or PTFE tape to the male threads of the pipes/hoses. Consult your system's specifications for sealant recommendations.
- Connection: Thread the larger end of the reducing union onto the 3/8 inch pipe/hose and the smaller end onto the 5/16 inch pipe/hose. Hand-tighten first to ensure proper alignment and prevent cross-threading.
- Tightening: Using an appropriate wrench, carefully tighten the union. Avoid over-tightening, which can strip threads or crack the fitting. Tighten until snug, then apply an additional quarter to half turn, or as recommended by the sealant manufacturer or system specifications.
- Leak Check: After installation, repressurize the system and carefully check for any leaks around the union connections. If leaks are detected, depressurize the system and re-tighten the union or reapply sealant as necessary.
Operating Principles
The Generic Reducing Union is a passive component designed to facilitate the connection of two fluid or gas lines with differing diameters. Once properly installed, it creates a sealed pathway, allowing for the continuous flow of media between the 3/8 inch and 5/16 inch sections of a system. It does not have moving parts or require active operation beyond its initial installation.
Maintenance
Regular maintenance ensures the longevity and reliable performance of the reducing union:
- Periodic Inspection: Periodically inspect the union and its connections for any signs of wear, corrosion, or leaks. The frequency of inspection should be determined by the operating conditions and the nature of the media being transported.
- Cleaning: If the union is exposed to external contaminants, clean its exterior with a mild detergent and water. Avoid using harsh chemicals that could degrade the material.
- Leak Detection: If a leak is detected, immediately address it by depressurizing the system, inspecting the threads and sealing surfaces, and re-tightening or replacing the union if necessary.
- Replacement: If the union shows significant signs of wear, damage, or persistent leaking that cannot be resolved by re-tightening, it should be replaced with a new, compatible part.
Troubleshooting
Common issues and their solutions:
- Leakage at Connection:
- Cause: Insufficient tightening, damaged threads, improper sealant application, or incompatible fitting.
- Solution: Depressurize the system. Check for cross-threading or damaged threads. Reapply thread sealant or PTFE tape. Re-tighten the union carefully. If threads are damaged, replace the union.
- Difficulty in Tightening:
- Cause: Cross-threading, debris in threads, or incompatible thread type.
- Solution: Loosen the union, clean threads on both the union and the pipe/hose. Ensure correct alignment before re-threading. Verify thread compatibility.
- Reduced Flow:
- Cause: Obstruction within the union or connected pipes, or incorrect union size for the application.
- Solution: Inspect the interior of the union and connected pipes for blockages. Ensure the union's internal diameter is appropriate for the required flow rate.
Specifications
| Specification | Detail |
|---|---|
| Manufacturer | Generic |
| Item Model Number | FVYDSUSU519 |
| Product Dimensions | 1 x 1 x 1 inches |
| Item Weight | 1 pounds |
| Power Source | ac_dc (Note: This is a passive fitting and does not require external power. This specification may be a general category for the product listing.) |
| Included Components | item (Reducing Union) |
| Batteries Required? | No |
| ASIN | B0FYD6D57M |
| Date First Available | October 30, 2025 |
Warranty Information
This Generic Reducing Union comes with a 6 Month Warranty from the date of purchase. This warranty covers manufacturing defects and ensures the product is 100% functional upon delivery. Please retain your proof of purchase for any warranty claims.
Support
For further assistance, technical inquiries, or warranty claims, please contact the retailer or manufacturer from whom you purchased this product. Ensure you have the product model number (FVYDSUSU519) and your purchase details readily available.