
1. Important Safety Information
Please read all instructions carefully before installation and use. Retain this manual for future reference.
- Electrical Safety: This product operates on a 12V AC/DC low voltage power supply. Ensure the transformer (not included) is rated appropriately for the total wattage of your lights. Do not exceed the transformer's maximum wattage.
- Installation: Always disconnect power at the main circuit breaker or transformer before installing, servicing, or changing any part of the lighting system.
- Wiring: Use only approved low voltage landscape wiring (not included) suitable for outdoor use. Ensure all connections are secure and waterproof.
- Placement: Install lights in locations where they will not be a tripping hazard. Avoid placing lights where they may be submerged in water.
- Bulb Replacement: Only use G4 LED bulbs with a maximum of 3W. Ensure the power is off before replacing bulbs.
- Temperature Range: The lights are designed to operate in temperatures from -4°F to 104°F (-20°C to 40°C).

Figure 1.1: Durability features. This image highlights the IP65 waterproof rating and the wide operating temperature range of the lights, ensuring reliable performance in various outdoor conditions.
2. Package Contents
Verify that all components are present before beginning installation.
- 12 x PARTPHONER Low Voltage Pathway Lights (Oil Rubbed Bronze)
- 14 x G4 LED Bulbs (3W, 3000K Warm White) - 12 for installation, 2 spares
- 12 x Ground Stakes
- 12 x Wire Connectors
Note: Transformer and main low voltage cable are not included and must be purchased separately.

Figure 2.1: Included components. This image displays a representation of the individual parts of the lighting kit: the light fixtures, G4 bulbs, ground stakes, and wire connectors.
3. Setup and Installation
Follow these steps for proper installation of your landscape lights.
- Plan Layout: Determine the desired placement for each light fixture along your pathway, driveway, or garden. Ensure adequate spacing for even illumination.
- Prepare Wiring: Lay out your main low voltage cable (not included) according to your planned layout. Ensure the cable is long enough to reach all fixtures and the transformer. Refer to the "Cable Selection" table below for appropriate wire gauge based on total wattage and cable length.
- Assemble Light Fixture:
- Carefully insert a G4 LED bulb into the socket of each light fixture.
- Attach the ground stake to the bottom of each light fixture by screwing it in securely.
- Install Lights: Push the assembled light fixtures into the ground at your desired locations. The thickened aluminum stakes provide stability.
- Connect Wiring:
- Using the provided wire connectors, connect each light fixture to the main low voltage cable. Ensure a tight and secure connection to prevent moisture ingress.
- Connect the main low voltage cable to your 12V AC/DC landscape lighting transformer (not included).
- Test System: Once all connections are made, plug in your transformer to a power outlet to test the lighting system. If lights do not illuminate, check all connections and bulb seating.

Figure 3.1: Lighting System Schematic. This diagram illustrates how multiple path lights are connected to a 12V AC/DC transformer via a main cable. Note that the transformer and main cable are sold separately.
Cable Selection Guide
Selecting the correct wire gauge is crucial for optimal performance and to prevent voltage drop. Use the table below to determine the appropriate cable length and gauge for your installation.
| Total Fixture Wattage | 0 - 50 feet (Cable Length) | 51 - 100 feet (Cable Length) | 101 - 150 feet (Cable Length) |
|---|---|---|---|
| 0 - 60 Watts | 16 AWG | 16 AWG | 14 AWG |
| 61 - 120 Watts | 16 AWG | 14 AWG | 12 AWG |
| 121 - 180 Watts | 14 AWG | 12 AWG | Not Recommended |
| 181 - 240 Watts | 14 AWG | 12 AWG | Not Recommended |
| 241 - 300 Watts | 12 AWG | Not Recommended | Not Recommended |
| 600W Transformer (2x300 Watts) | 12 AWG | Not Recommended | Not Recommended |
Example: For a 12-pack of lights (12 x 3W = 36W), a 45W transformer is sufficient. Refer to the table for appropriate wire gauge based on your total wattage and cable length.
4. Operation
Once installed and connected to a compatible 12V AC/DC transformer, your PARTPHONER landscape lights will operate according to the transformer's settings.
- Power On/Off: Control the lights using the transformer's power switch or timer function.
- Light Output: The G4 LED bulbs provide a warm white light (3000K) suitable for ambient outdoor illumination.
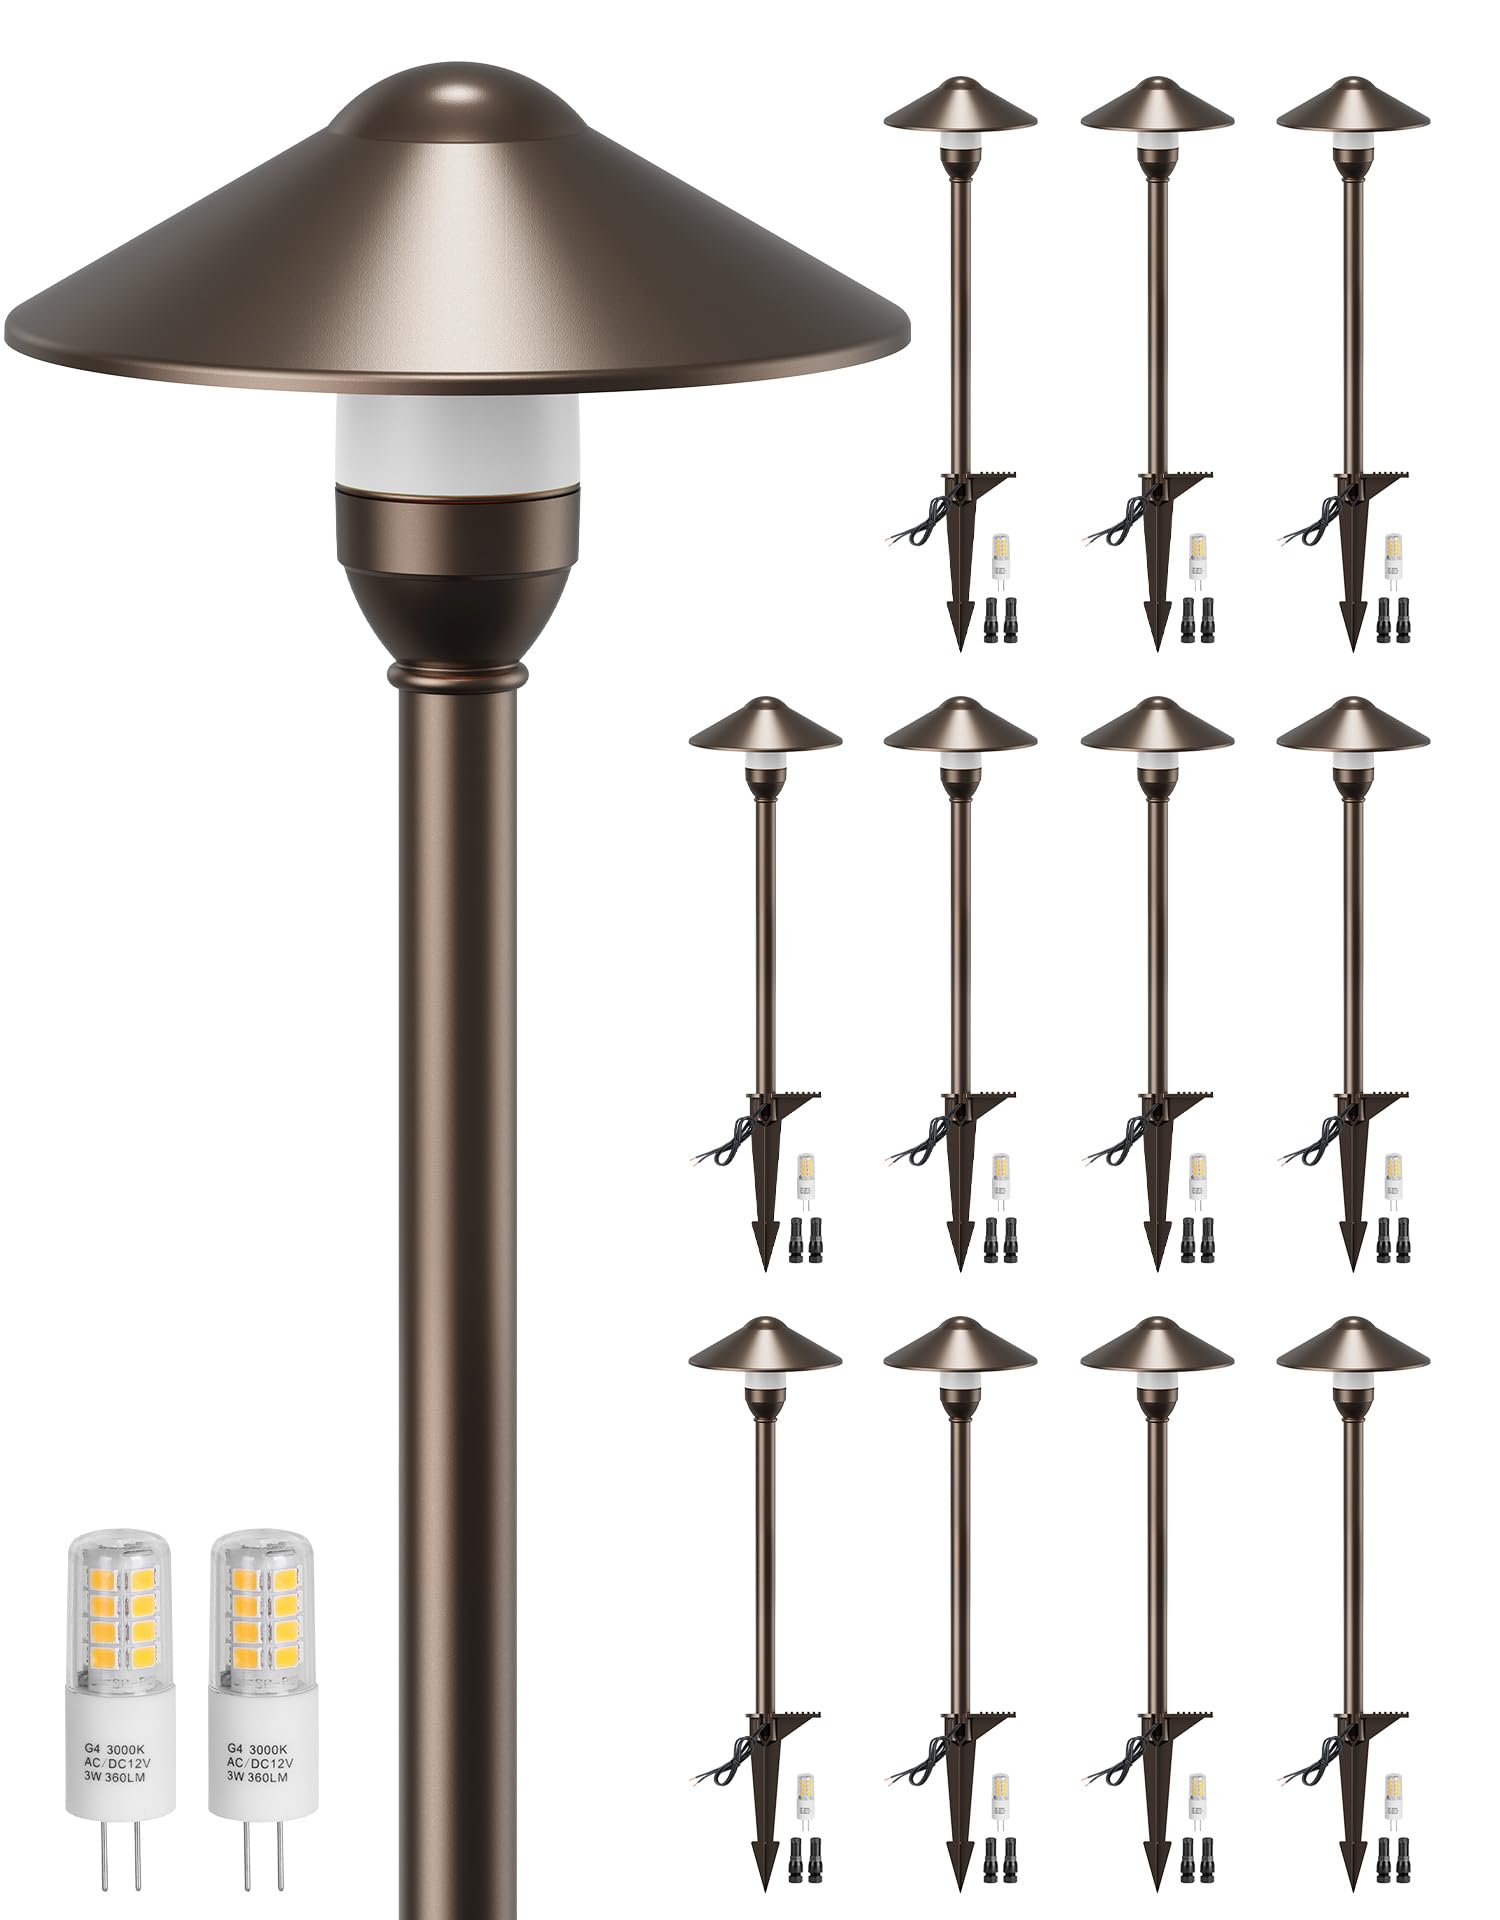
Figure 4.1: Operational view of the lights. The image shows the lights illuminating a pathway at night, demonstrating their warm white light output.
5. Maintenance
Regular maintenance ensures the longevity and optimal performance of your landscape lights.
- Cleaning: Periodically wipe down the light fixtures with a soft, damp cloth to remove dirt and debris. Do not use abrasive cleaners.
- Bulb Replacement: These lights feature replaceable G4 LED bulbs. If a bulb fails, ensure the power is disconnected from the transformer before carefully unscrewing the old bulb and inserting a new one. Use only G4 LED bulbs (3W, 3000K).
- Wiring Inspection: Annually inspect all wiring and connections for any signs of wear, damage, or corrosion. Repair or replace as necessary.
- Fixture Stability: Check that all light fixtures remain firmly anchored in the ground. Re-secure any loose stakes.
6. Troubleshooting
If you encounter issues with your landscape lighting, refer to the following common solutions:
| Problem | Possible Cause | Solution |
|---|---|---|
| Lights do not turn on. | No power to transformer, faulty bulb, loose wiring connection, faulty transformer. | Check if the transformer is plugged in and receiving power. Ensure the transformer's timer/sensor is set correctly. Inspect all wire connections for tightness. Replace suspected faulty bulbs. Test the transformer with another low voltage device if possible. |
| Some lights are dim or flickering. | Voltage drop due to incorrect wire gauge or excessive cable length, loose connection, faulty bulb. | Refer to the "Cable Selection Guide" to ensure correct wire gauge for your total wattage and cable length. Tighten all wire connections. Replace flickering bulbs. |
| Water inside light fixture. | Improperly sealed fixture, damaged seal. | Disconnect power. Open the fixture and allow it to dry. Ensure all seals are properly seated when reassembling. If damage is present, contact customer support. |
7. Specifications
| Feature | Detail |
|---|---|
| Brand | PARTPHONER |
| Model Number | SO080-1 |
| Color | Oil Rubbed Bronze (ORB) |
| Material | Aluminum (Fixture and Shade), Metal (Shade) |
| Input Voltage | 12V AC/DC |
| Light Source | LED (G4 Bulb) |
| Bulb Wattage | 3W per bulb |
| Light Color | Warm White (3000K) |
| Light Output | 42 lumens per bulb |
| Water Resistance Level | IP65 Waterproof |
| Operating Temperature | -4°F to 104°F (-20°C to 40°C) |
| Dimensions (L x W x H) | 6"L x 6"W x 22.83"H (per light) |
| Number of Items | 12 lights per pack |
| Installation Type | Stake Mount |
8. Warranty and Support
PARTPHONER provides a 36-month replacement warranty for this product. For any questions, technical assistance, or warranty claims, please contact PARTPHONER customer support through the retailer where the product was purchased.
Manufacturer Warranty Description: 3 year manufacturer.