1. Introduction
Thank you for choosing the Benass 20x20 Heavy Duty Carport Canopy. This portable garage is designed to provide robust protection for your vehicles and equipment. Featuring a durable galvanized steel frame and a heavy-duty PE canopy, it offers ample space and resistance against various weather conditions. This manual will guide you through the assembly, operation, and maintenance to ensure optimal performance and longevity of your carport.

Image 1: Fully assembled Benass 20x20 Heavy Duty Carport Canopy.
2. Safety Information
- Read Instructions: Fully read and understand all instructions before assembly and use.
- Two-Person Assembly: Assembly requires at least two adults for safety and ease of installation.
- Site Selection: Choose a level, clear area free from overhead obstructions, power lines, and sharp objects. Ensure adequate drainage.
- Anchoring: Always anchor the carport securely to the ground using all provided anchoring hardware. In areas prone to high winds or heavy snow, additional anchoring may be necessary.
- Weather Conditions: Do not attempt to assemble or disassemble in strong winds, heavy rain, or lightning. In severe weather, consider temporarily removing the canopy cover to prevent damage.
- Fire Safety: Keep all flame and heat sources away from the canopy fabric. The fabric is not fireproof.
- Snow Accumulation: Regularly remove snow accumulation from the canopy to prevent structural collapse.
- Inspection: Periodically inspect all components for wear, damage, or loose connections. Replace damaged parts immediately.
3. Package Contents
Verify that all components listed below are present before beginning assembly. If any parts are missing or damaged, contact Benass customer support.
- Galvanized Steel Frame Pipes (various lengths and connectors)
- 170gms PE Canopy Top Cover
- 2 Roll-Up Zipper Doors
- 4 Side Mesh Roll-Up Windows
- 2 Wind Ropes (6mm nylon rope)
- 2 Binding Straps (3.75" PE binding)
- 4 Sandbags
- Ground Nails (φ9 alloy ground nail with hock)
- Screwed Base Nails (φ6 alloy screwed base nail)
- Highly Extensible Buckles (max 23LBS)
- 1 Solar Light
- 1 Light Strip
- Assembly Hardware (bolts, nuts, washers, etc.)

Image 2: Key components and accessories included with the carport.
4. Setup and Assembly
Follow these steps carefully for proper assembly. It is recommended to have at least two people for this process.
- Site Preparation: Clear the chosen area of any debris, rocks, or sharp objects. Ensure the ground is as level as possible. The carport dimensions are approximately 20 feet (610 cm) long, 20 feet (615 cm) wide, and 12.14 feet (370 cm) high at the peak.
- Frame Assembly:
- Unpack all galvanized steel pipes and connectors. Organize them by type and length.
- Begin by assembling the base frame according to the diagrams in your separate detailed assembly guide (not included in this general manual). Connect the horizontal and vertical pipes using the appropriate connectors and secure them with bolts.
- Gradually build the side walls and roof trusses, ensuring all connections are tight. The frame uses 1.5-inch galvanized steel for enhanced durability.
- Canopy Installation:
- Carefully unfold the 170gms PE canopy top cover.
- With assistance, drape the canopy over the assembled frame, ensuring it is centered and evenly distributed.
- Secure the canopy to the frame using the provided binding straps and buckles. Ensure the canopy is taut to prevent water pooling.
- Door and Window Attachment:
- Attach the two roll-up zipper doors to the designated openings at the front and rear of the carport.
- Install the four side mesh roll-up windows onto the side panels.
- Anchoring:
- Use the φ9 alloy ground nails with hocks and φ6 alloy screwed base nails to firmly anchor the carport frame to the ground.
- Attach the 6mm nylon wind ropes to the designated points on the frame and secure them to additional ground anchors or sturdy objects.
- Fill the four sandbags with sand and place them at the base of the carport legs for added stability.
- Accessory Installation:
- Install the solar light at a suitable location on the carport for illumination.
- Apply the light strip as desired for additional lighting or aesthetic purposes.

Image 3: Carport dimensions overview.
5. Operating Instructions
- Roll-Up Doors: To open the front or rear door, unzip the zippers completely and roll the door panel upwards. Secure it in the rolled-up position using the attached straps or ties. To close, unfasten the straps and unroll the panel, then zip it closed.
- Side Mesh Windows: The side mesh windows can be rolled up to allow for air circulation. Unfasten any securing straps, roll the window panel upwards, and secure it. This feature helps ensure air circulation, preventing stuffiness inside the carport.
- Ventilation: Utilize the roll-up doors and mesh windows to manage airflow and temperature inside the carport, especially during warmer periods.
6. Maintenance
- Cleaning the Canopy: Clean the PE canopy regularly with mild soap and water. Avoid harsh chemicals or abrasive brushes that could damage the fabric or its waterproof coating. Rinse thoroughly and allow to air dry completely before storage or prolonged closure.
- Frame Inspection: Periodically check all frame connections to ensure bolts are tight and pipes are securely fitted. Inspect for any signs of rust or damage to the galvanized steel.
- Anchoring System: Regularly check the ground nails, wind ropes, and sandbags to ensure they remain firmly in place, especially after strong winds or heavy precipitation. Re-tighten or re-secure as needed.
- Snow Removal: In winter conditions, promptly remove any accumulated snow from the canopy roof to prevent excessive weight and potential structural damage.
- Storage: If disassembling for storage, clean all components thoroughly and ensure they are completely dry before packing. Store in a cool, dry place away from direct sunlight and pests.
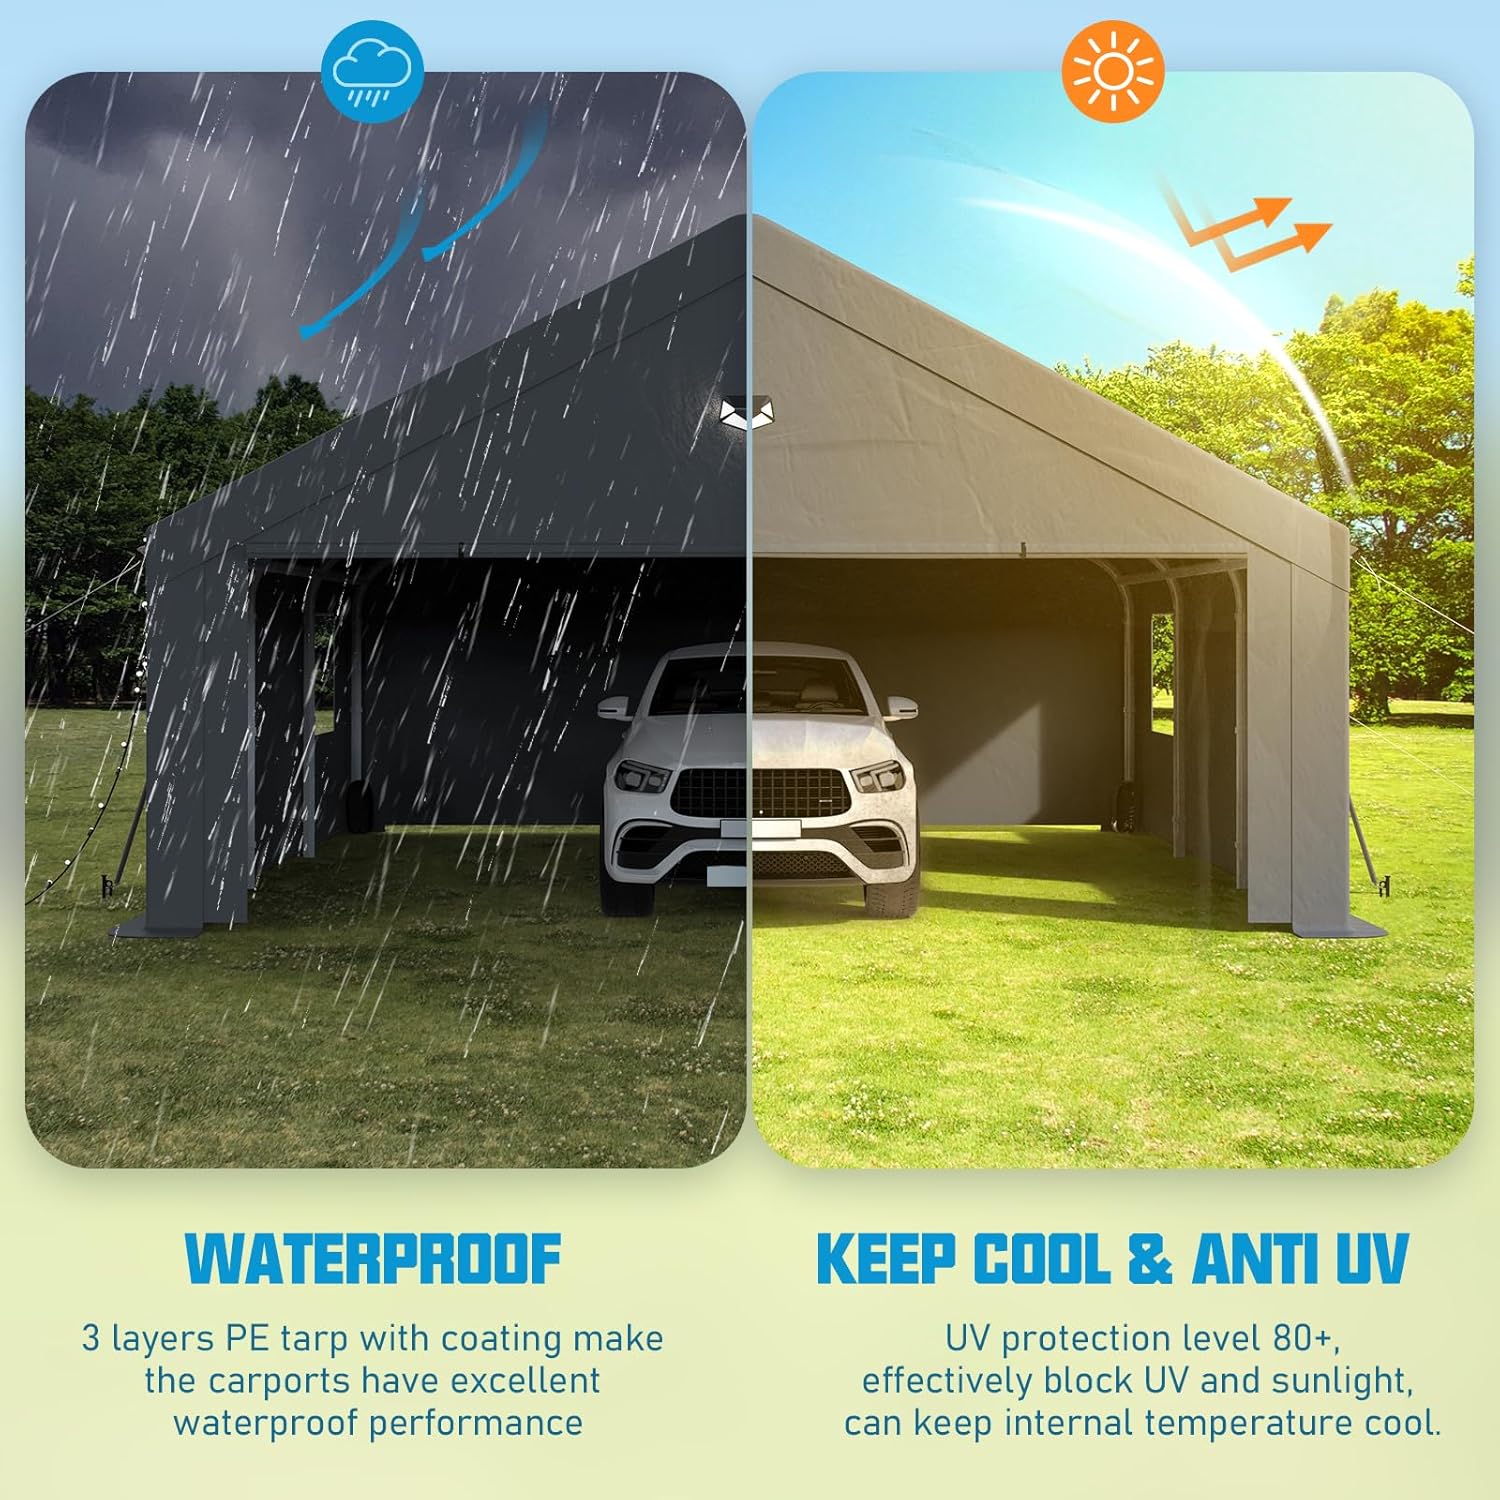
Image 4: Waterproof and UV protection features of the canopy.

Image 5: Carport demonstrating durability in winter conditions.
7. Troubleshooting
- Carport Instability: Ensure all ground anchors are fully engaged and wind ropes are taut. Verify sandbags are filled and properly positioned. Check all frame connections for tightness.
- Water Pooling on Canopy: Ensure the canopy is stretched tightly and evenly over the frame. Adjust binding straps if necessary. Remove any debris that might be causing depressions.
- Difficulty with Zippers: Apply a silicone-based lubricant to the zipper teeth if they become stiff or difficult to operate. Keep zippers clean of dirt and debris.
- Minor Tears in Canopy: Small tears can often be repaired with a heavy-duty tarp repair kit or waterproof tape designed for outdoor fabrics.
8. Specifications
| Product Dimensions (L x W x H) | 240" x 240" x 145" (20 ft x 20 ft x 12.1 ft) |
| Frame Material | 1.5" Galvanized Alloy Steel |
| Canopy Material | 170gms PE (Polyethylene) |
| Color | Gray |
| Doors | 2 Roll-Up Zipper Doors |
| Windows | 4 Side Mesh Roll-Up Windows |
| Assembly Required | Yes |
9. Warranty and Support
Benass offers a one-year 100% satisfactory after-sales service for this product. If you encounter any problems during the receipt or use of your carport, please contact Benass customer support for assistance. We are committed to serving you promptly.
For support, please visit the Benass store on Amazon or contact us through the platform where you purchased the product.
Benass Store Link: Visit the Benass Store


