1. Setup
1.1 Unboxing and Package Contents
Carefully remove all items from the packaging. Ensure all components are present before proceeding with installation.
- Roku Select Series 55" 4K TV
- Stands and screws
- Remote Control
- User Manual

Figure 1: Contents of the Roku Select Series 55-inch TV package.
1.2 Physical Installation
The Roku Select Series TV can be installed using the included stands for table mounting or by using a compatible VESA wall mount (200 x 100 mm, sold separately).
Table Mount Installation:
- Place the TV screen-down on a soft, clean surface to prevent scratches.
- Attach the two TV stands to the designated slots on the bottom of the TV using the provided screws. Ensure they are securely fastened.
- Carefully lift the TV and place it on a stable, level surface.
Wall Mount Installation:
For wall mounting, refer to the instructions provided with your VESA 200 x 100 mm compatible wall mount kit. Ensure the wall can support the weight of the television (approximately 20.1 pounds without stand).

Figure 2: TV dimensions and package contents overview.
1.3 Connecting Peripherals
The TV features multiple ports for connecting external devices. Refer to the back panel diagram for port locations.

Figure 3: Rear panel connections including HDMI, USB, and network ports.
- HDMI Ports (3 total): Connect gaming consoles, Blu-ray players, soundbars, or other HDMI-enabled devices.
- USB Port (1 total): Connect USB storage devices for media playback.
- Ethernet (LAN) Port: For a wired internet connection.
- Antenna/Cable Input: Connect an antenna for over-the-air broadcasts or a cable TV connection.
- Optical (S/PDIF) Output: For digital audio output to a sound system.
1.4 Initial Power-On and Network Connection
- Connect the power cord to the TV and a power outlet.
- Press the power button on the remote control to turn on the TV.
- Follow the on-screen instructions to complete the initial setup, including language selection (English, Spanish, French, Portuguese are supported).
- Select your preferred network connection:
- Wi-Fi: Choose your Wi-Fi network from the list and enter the password.
- Ethernet: If an Ethernet cable is connected, the TV will automatically attempt to establish a wired connection.
- The TV will guide you through linking to a Roku account, which is necessary to access streaming channels and features.
2. Operating Instructions
2.1 Remote Control Functions
The included voice remote provides intuitive control over your TV. It operates via Bluetooth, eliminating the need for direct line-of-sight.

Figure 4: Roku Voice Remote layout and key functions.
- Power Button: Turns the TV on or off.
- Directional Pad (OK button in center): Navigates menus and selects items.
- Volume Up/Down: Adjusts TV volume.
- Mute Button: Mutes or unmutes TV audio.
- Voice Button: Activates voice search and control.
- Instant Replay: Jumps back a few seconds in video playback.
- Live TV Button: Accesses the live TV channel guide.
- Quick Launch Buttons: Dedicated buttons for popular streaming apps (e.g., Netflix, Disney+, Apple TV, Prime Video). These can be customized for your favorite apps.
- Lost Remote Finder: If the remote is misplaced, use the Roku mobile app to activate an audible alert from the remote.
2.2 Home Screen Navigation and Streaming
The Roku home screen provides quick access to all your streaming channels, inputs, and settings.
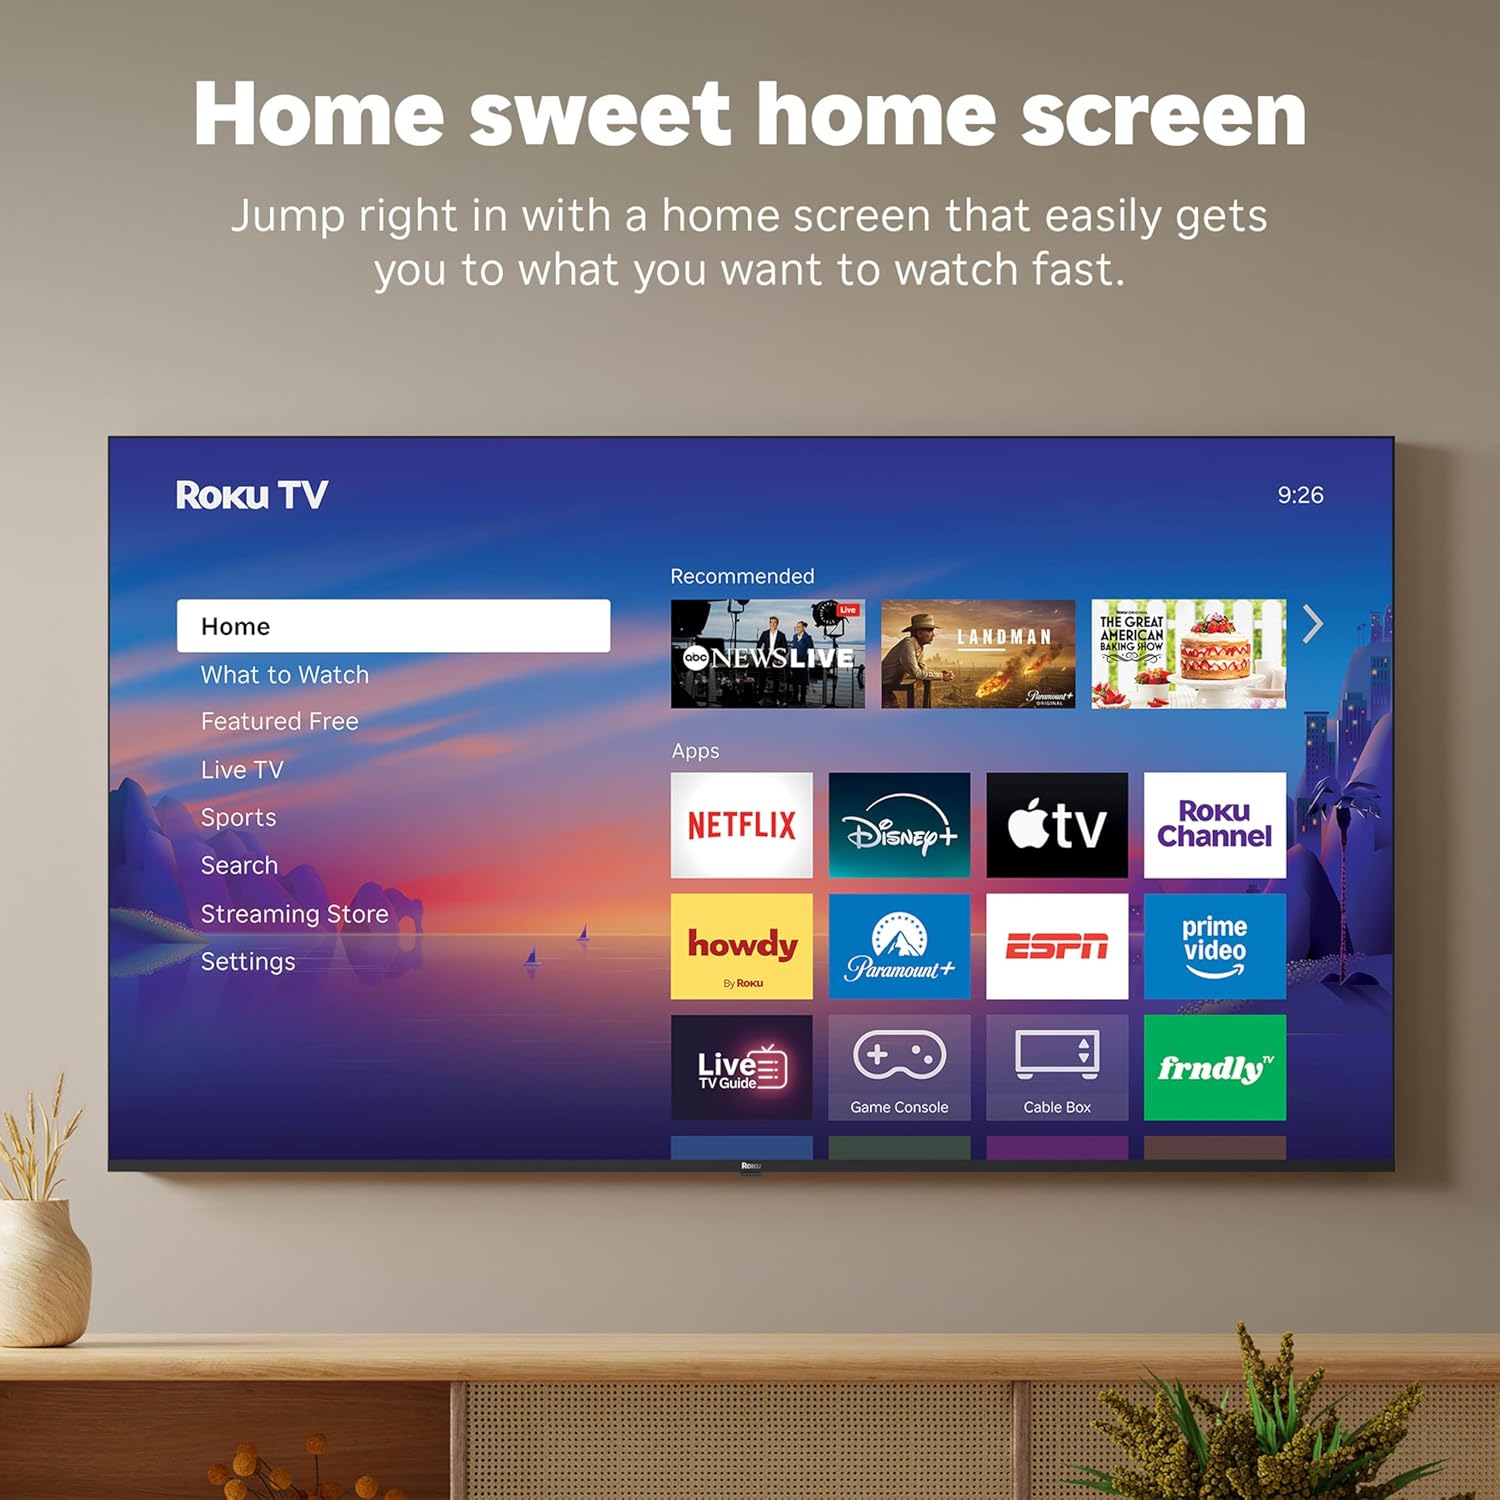
Figure 5: The Roku TV home screen interface.
- Use the directional pad on your remote to navigate through the menu options on the left side of the screen (Home, What to Watch, Live TV, Sports, Search, Streaming Store, Settings).
- Select an app icon from the main grid to launch your desired streaming service.
- The TV's fast Wi-Fi and optimized app launch ensure quick access to entertainment.
2.3 Picture and Sound Settings
The Roku Select Series TV offers advanced picture and sound technologies for an enhanced viewing experience.
- 4K QLED Display: Provides sharp 4K resolution and accurate colors.
- HDR10 Support: Enhances contrast and color depth for compatible content.
- Roku Smart Picture: Automatically optimizes incoming TV signals and selects the appropriate picture mode for content.
- Dolby Audio: Delivers clear speech and enhanced sound quality through the integrated 2.1 channel speakers (20 Watts maximum output power).
- Bluetooth Headphone Mode: Connect Bluetooth headphones for private listening without disturbing others.
2.4 Voice Control and Smart Home Integration
Control your TV and integrate it into your smart home ecosystem.

Figure 6: Roku TV's smart home compatibility.
- Roku Voice: Use the voice button on your remote to search for content, launch apps, or control playback.
- Smart Assistant Compatibility: The TV is compatible with Siri, Alexa, and Google Assistant for voice control through external smart devices.
- Apple AirPlay: Share videos, photos, music, and more from your Apple devices directly to your TV.
2.5 Live TV Access
Access live television channels directly from the home screen.

Figure 7: Live TV channel guide interface.
- Connect an antenna to the TV's Antenna/Cable input.
- Use the 'Live TV' option on the home screen or the dedicated button on the remote to access the channel guide.
- The TV supports ATSC tuner type for digital broadcasts.
3. Maintenance
3.1 Cleaning the TV
- Always unplug the TV before cleaning.
- Use a soft, dry, lint-free cloth to gently wipe the screen and cabinet.
- For stubborn marks, lightly dampen the cloth with water or a mild, non-abrasive screen cleaner. Do not spray cleaner directly onto the screen.
- Avoid using harsh chemicals, abrasive pads, or solvents as they can damage the TV's finish.
3.2 Software Updates
The Roku TV receives automatic software updates to provide new features and improvements. Ensure your TV is connected to the internet to receive these updates.
4. Troubleshooting
If you encounter issues with your Roku TV, consider the following basic troubleshooting steps:
- No Power: Ensure the power cord is securely plugged into both the TV and a working electrical outlet. Try a different outlet.
- No Picture/Sound: Verify that the correct input source is selected. Check all cable connections (HDMI, antenna, etc.) for looseness.
- Remote Not Responding: Replace the AAA batteries in the remote control. Ensure there are no obstructions between the remote and the TV (though Bluetooth reduces this issue). Re-pair the remote if necessary (refer to Roku support documentation).
- Network Connection Issues: Go to Settings > Network > Check connection to diagnose network problems. Restart your router and modem.
- App Not Loading/Crashing: Try restarting the app. If the issue persists, remove the app and reinstall it from the Streaming Store.
- Poor Picture Quality: Check your internet speed for streaming content. For broadcast TV, adjust your antenna. Ensure the TV's picture settings are appropriate for the content being viewed.
For more detailed troubleshooting or persistent issues, visit the Roku support website or consult the full User Manual PDF available online.
5. Specifications
| Feature | Detail |
|---|---|
| Model Name | Roku 55" Select Series 4K |
| Model Number | 55R5D5 |
| Screen Size | 55 Inches |
| Display Technology | 4K UHD, LED, QLED |
| Resolution | 4K (3840 x 2160) |
| Refresh Rate | 60 Hz |
| HDR Format Supported | HDR10, HDR10+, HLG |
| Picture Quality Enhancement | 4K, Roku Smart Picture |
| Audio Output Power | 20 Watts |
| Integrated Surround Sound | Dolby Audio |
| Connectivity Technology | Bluetooth, Ethernet, USB C, Wi-Fi |
| HDMI Ports | 3 |
| USB Ports | 1 |
| Operating System | Roku OS |
| Voice Control | Roku Voice, Siri, Alexa, Google Assistant |
| Screen Mirroring | AirPlay 2, Miracast |
| Product Dimensions (D x W x H) | 12.7"D x 48.3"W x 30.5"H |
| Item Weight | 20.5 Pounds |
| VESA Mount Standard | 200 x 100 mm |
| Power Consumption | 160 watts |
| UPC | 829610009322 |
6. Warranty and Support
6.1 Limited Warranty
Roku warrants the hardware of this device against defects in materials and workmanship under normal use for a period of one (1) year from the date of purchase (“Warranty Period”), provided it is used in accordance with the provided documentation.
If Roku determines that the device’s hardware is defective during the Warranty Period, Roku’s sole obligation, and your exclusive remedy, will be to either repair or replace the unit with either a new or rebuilt device, at its option.
Important information about warranty returns and replacements is available on the Roku support site.
6.2 Product Returns
You may return a device for any reason, subject to the terms of the applicable return policy:
- Within thirty (30) days from the date of purchase from Roku.
- Within the applicable return period if purchased from an authorized reseller or distributor.
Additional details regarding product returns can be found on the Roku support site.
6.3 Additional Support
For further assistance, including detailed guides and FAQs, please refer to the official Roku support website. A downloadable PDF version of the User Manual is also available for reference: User Manual (PDF).