
1. Introduction
Thank you for choosing the Oskkude Car Stereo. This manual provides detailed instructions for the installation, operation, and maintenance of your new 4G+64G Car Stereo, designed specifically for Toyota Highlander models from 2008 to 2013. This unit features a 7-inch HD touch screen, Android 14 operating system, Wireless CarPlay, Android Auto, GPS navigation, Bluetooth, WiFi, FM/RDS radio, and supports steering wheel controls and a backup camera. Please read this manual thoroughly before installation and use to ensure proper functionality and safety.
2. Compatibility
This car stereo is designed for direct fitment in Toyota Highlander vehicles manufactured between 2008 and 2013. Please verify your vehicle's dashboard configuration matches the compatible design shown below.

3. Package Contents
Upon opening the package, please ensure all the following items are present:
- Oskkude Car Stereo Head Unit (7-inch touch screen)
- Power Cable
- RCA Input/Output Cables
- 2 USB Cables
- Camera Input Cable
- GPS Antenna
- Instruction Manual
- Fixed Brackets (for installation)
- Backup Camera (with wiring)

4. Setup and Installation
Important Note: This unit is NOT a plug-and-play device. Professional installation is highly recommended as it requires wiring modifications. Incorrect installation can damage the unit or your vehicle's electrical system.

4.1 Wiring Connections
Refer to the wiring diagram below for proper connections. Ensure all connections are secure and insulated to prevent short circuits.

4.2 Steering Wheel Control Setup
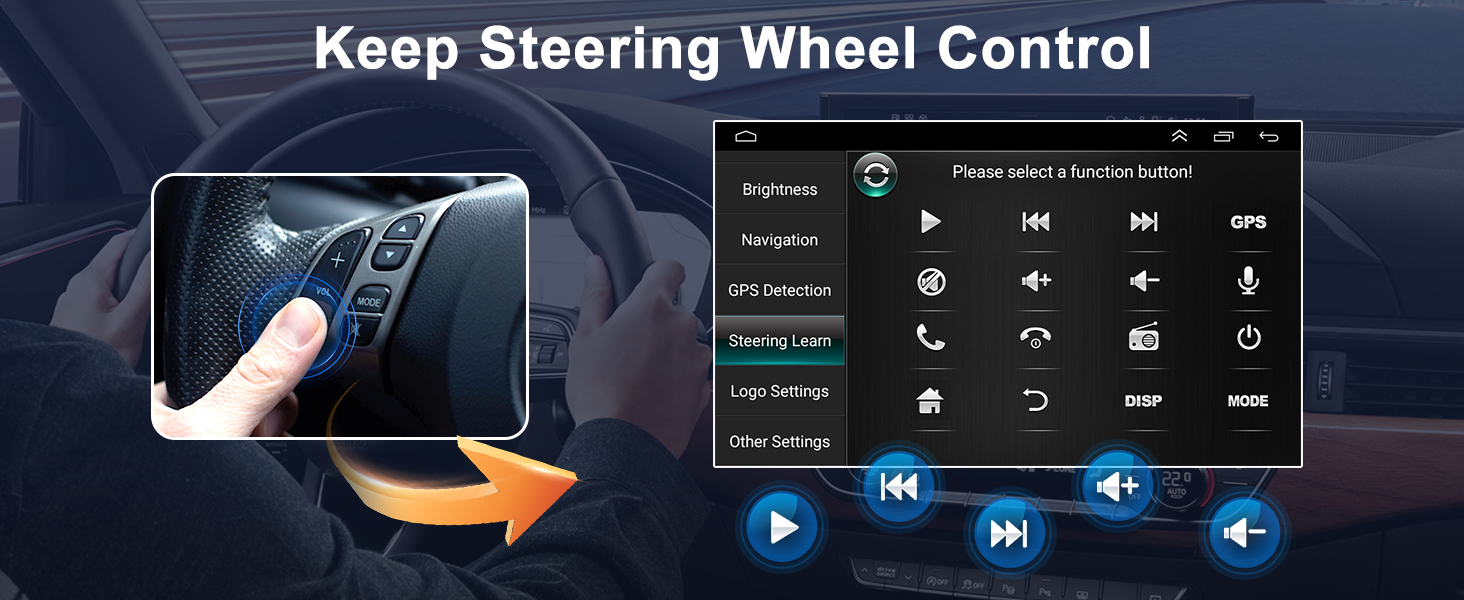
After physical installation, you can configure your vehicle's steering wheel controls to operate the stereo. Navigate to the 'Steering Learn' function in the system settings to map your steering wheel buttons to the stereo's functions (e.g., volume, track change, mode).
5. Operating Instructions
5.1 Wireless CarPlay and Android Auto
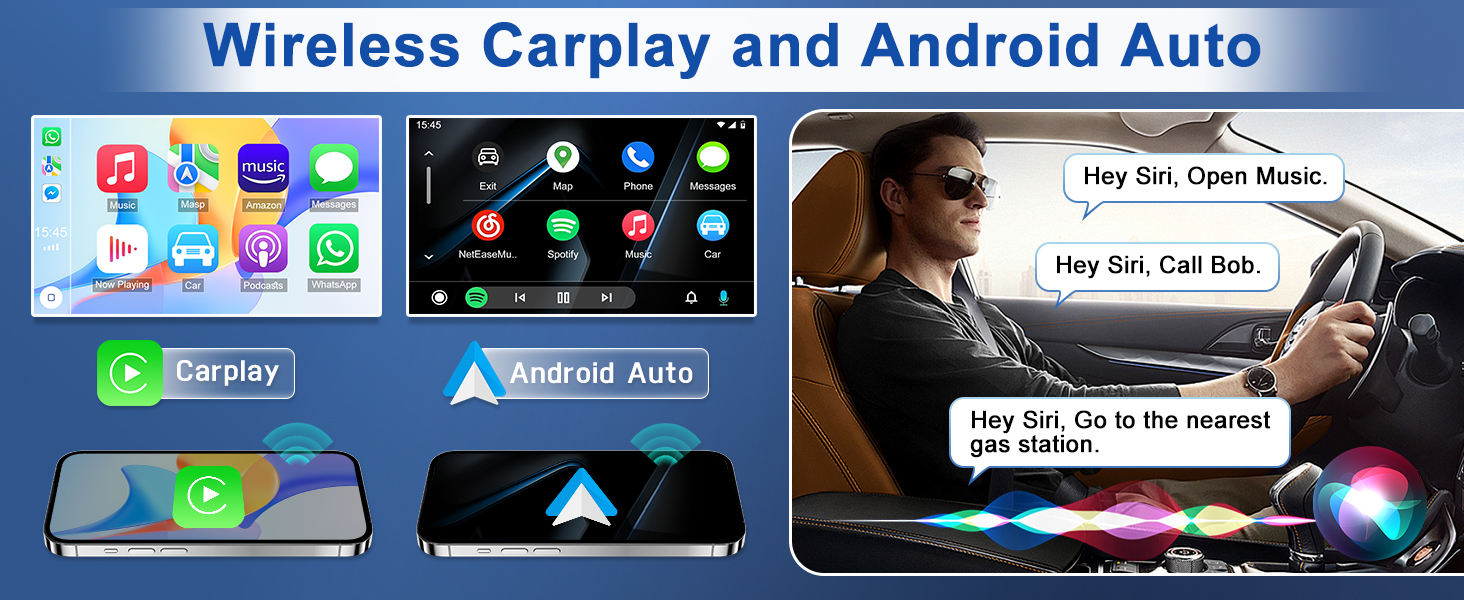
The car stereo supports both wireless CarPlay for iOS devices and Android Auto for Android devices. This allows for seamless integration of your smartphone's functions, including navigation, calls, messaging, and music, directly onto the car stereo display. Connect your phone via Bluetooth and follow the on-screen prompts to activate CarPlay or Android Auto.
5.2 GPS Navigation & WiFi
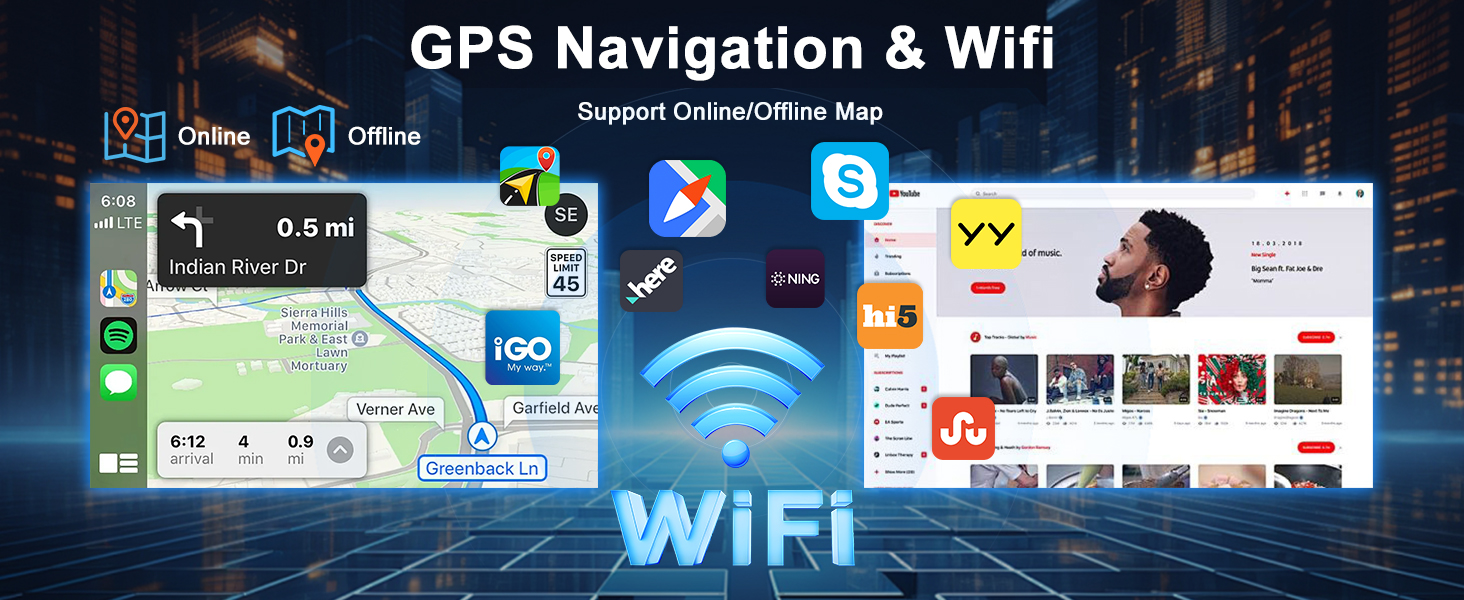
The unit features a built-in WiFi module and GPS for navigation. You can use online navigation apps like Google Maps, Waze, and Here Maps by connecting to a WiFi hotspot (e.g., from your phone). Offline maps can also be downloaded from the app store for navigation without an internet connection.
5.3 Built-in Bluetooth
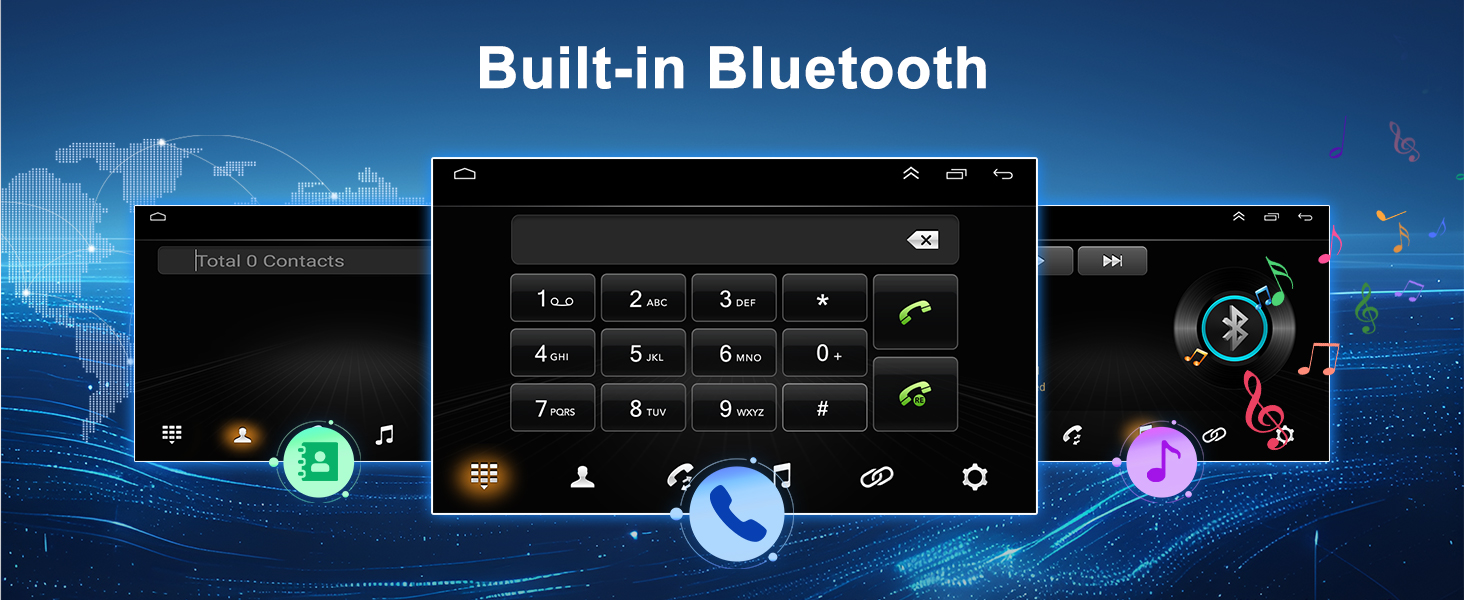
Connect your smartphone via Bluetooth for hands-free calling and audio streaming. Access your phone's contacts, make calls directly from the stereo, and play music wirelessly.
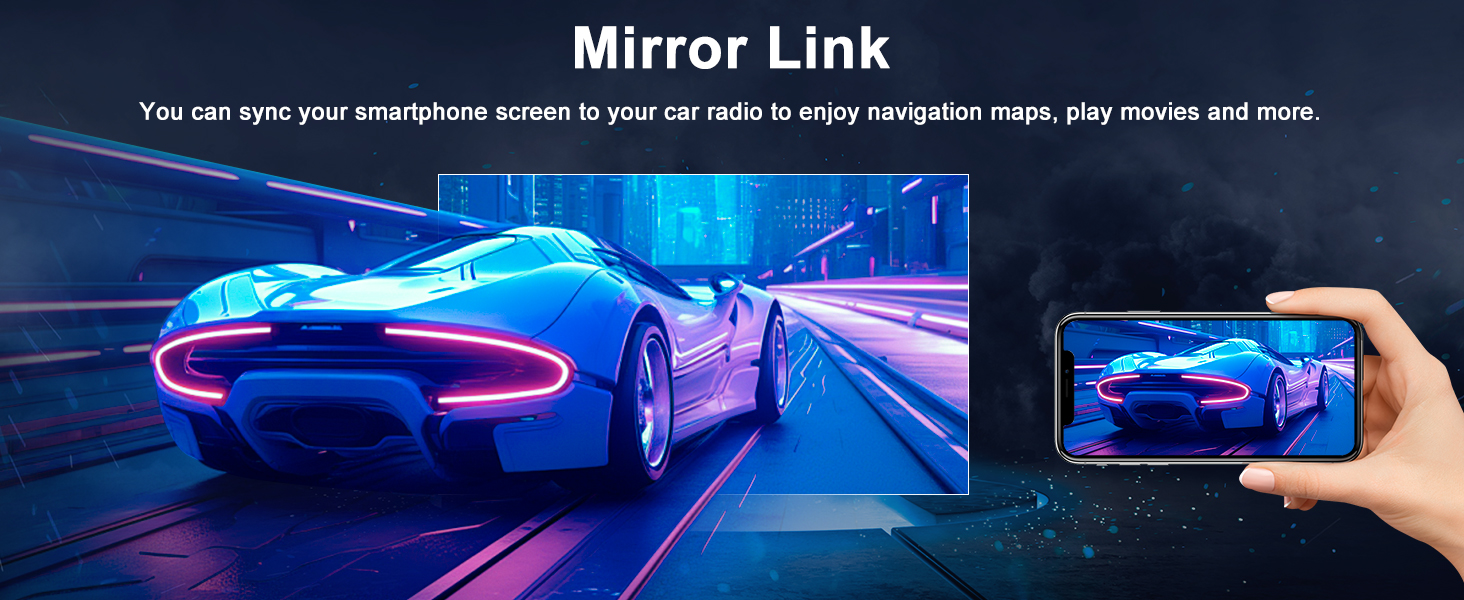
5.4 Mirror Link
The Mirror Link function allows you to mirror your smartphone's screen onto the car stereo display. This enables you to view navigation maps, play videos, and access other phone content directly on the larger screen.
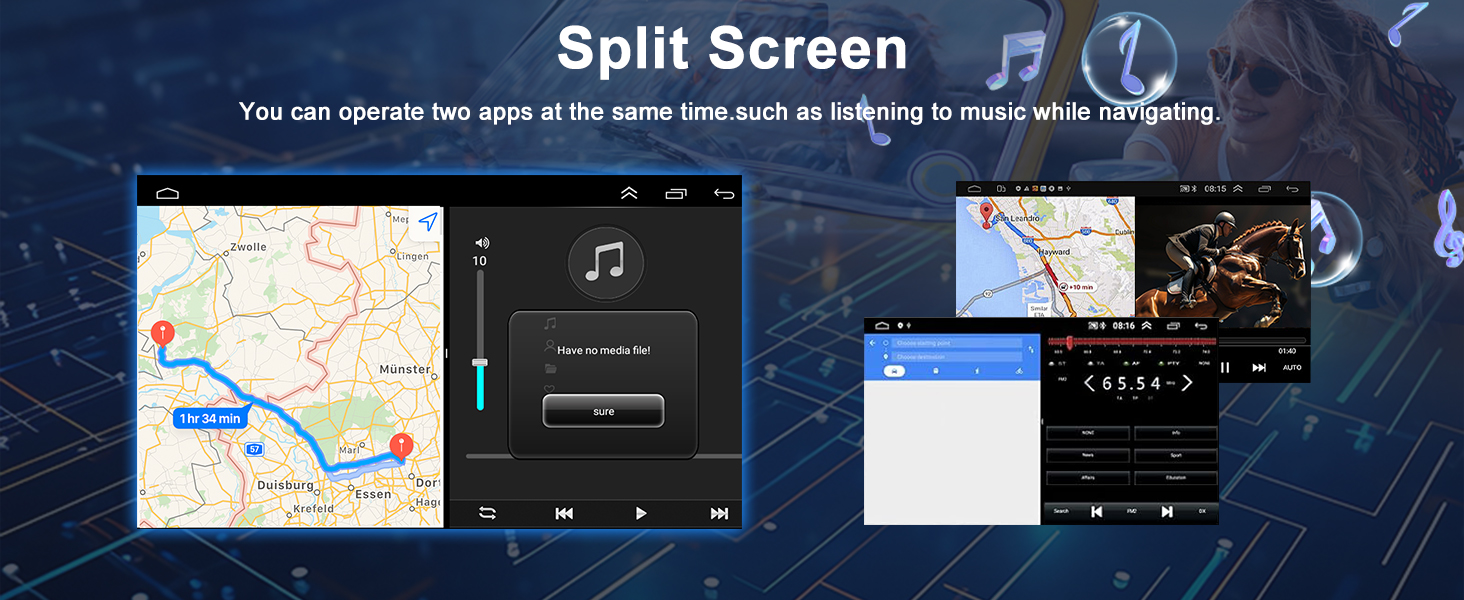
5.5 Split Screen Function
Utilize the split-screen feature to run two applications simultaneously. For example, you can have navigation displayed on one side of the screen while controlling music playback on the other.
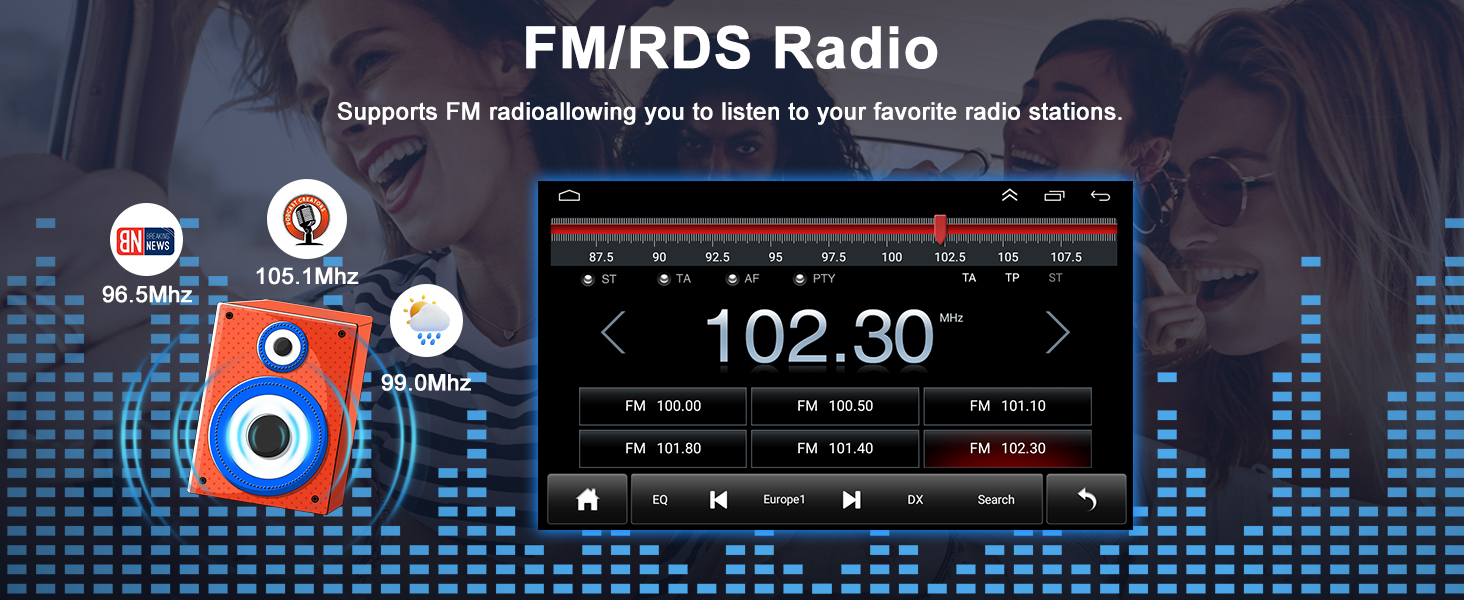
5.6 FM/RDS Radio
The built-in FM/RDS radio supports automatic and manual station searching. You can save your favorite radio stations for quick access.
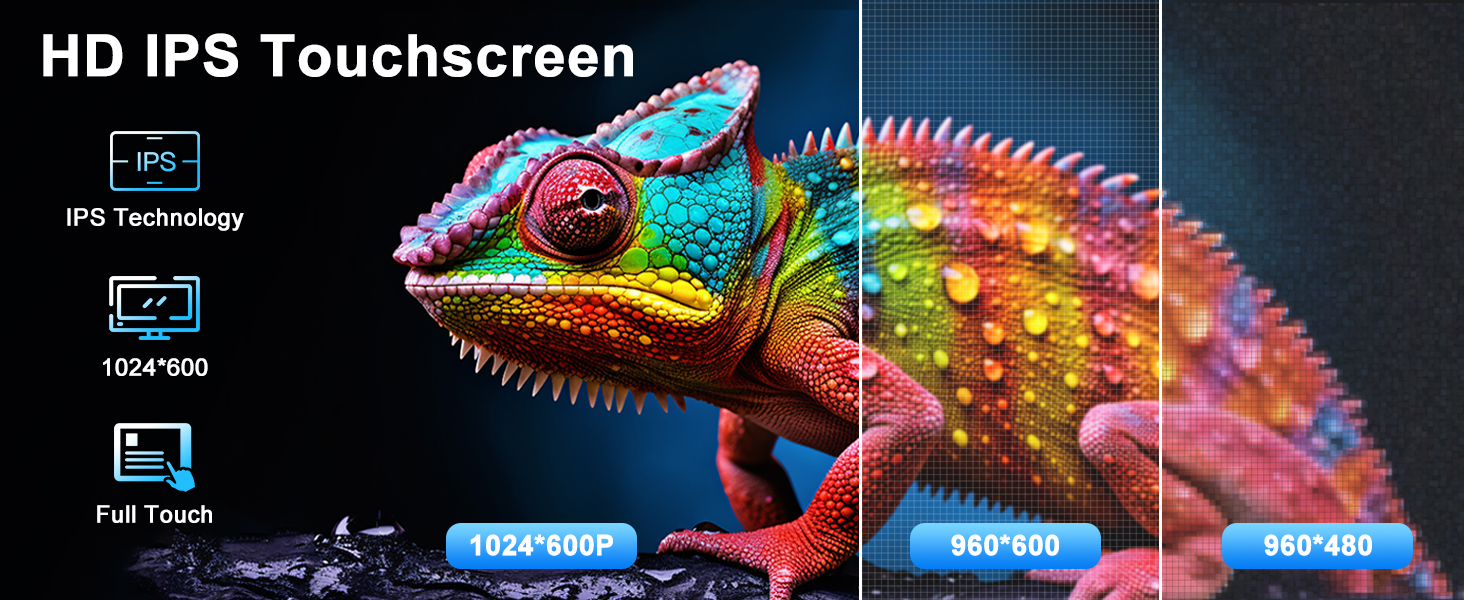
5.7 HD IPS Touchscreen
The 7-inch IPS touchscreen provides a clear and responsive user experience with a resolution of 1024x600 pixels. The IPS technology ensures wide viewing angles and accurate color reproduction.
6. Backup Camera
6.1 Camera Features and Installation
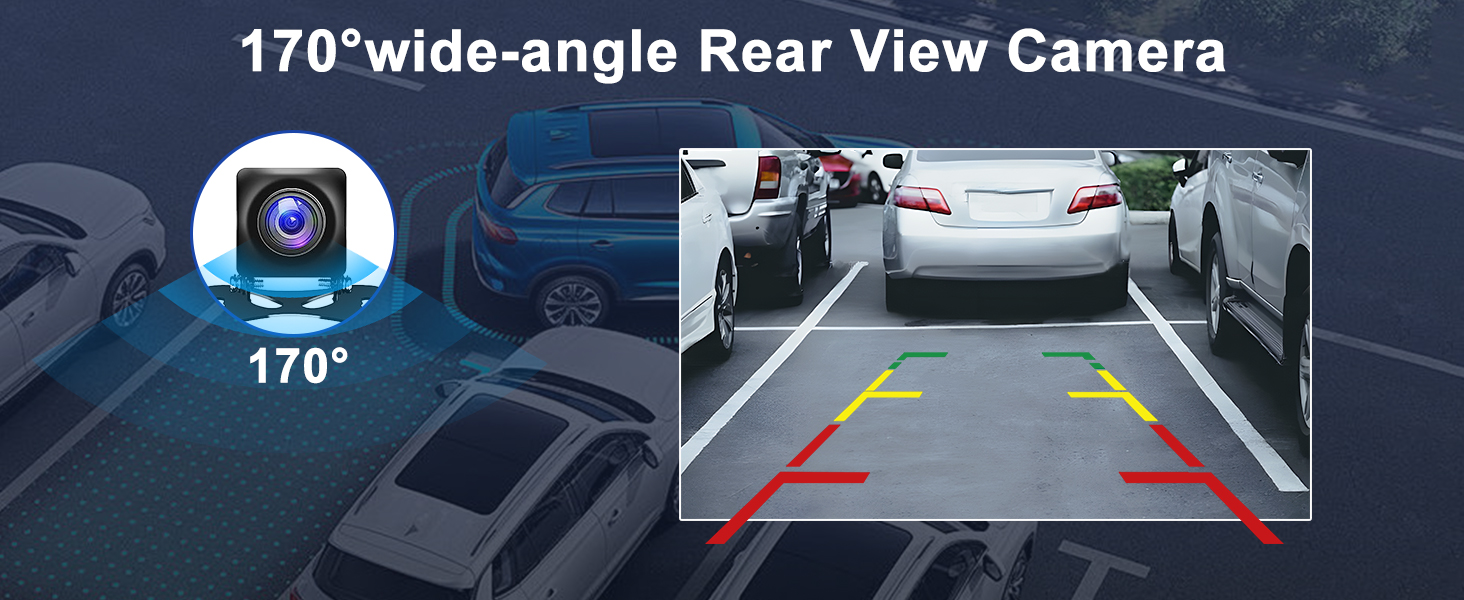
The included IP68 waterproof backup camera provides a 170-degree wide-angle view with night vision capabilities, enhancing safety during reversing. Connect the camera to the dedicated camera input on the stereo and wire it to your vehicle's reverse light circuit for automatic activation.
6.2 Backup Camera Format and Resolution Setup
To ensure optimal display from your backup camera, follow these steps to configure its format and resolution:
- Tap the settings icon on the main screen to open the settings menu.
- Select 'Factory Settings', then enter the password '8888'.
- Navigate to 'Protocol Parameter Settings'.
- Select 'Reverse Video Resolution Settings'.
- Choose the correct setting based on your camera type. For OEM cameras, select NTSC/PAL. For the included camera, keep the default AHD/25.


7. Specifications
| Feature | Description |
|---|---|
| Brand | Oskkude |
| Model Number | TISU-10-DYY-250174X464G-009 |
| Operating System | Android 14.0 |
| RAM + ROM | 4GB RAM + 64GB ROM |
| Screen Size | 7 inches |
| Display Type | IPS Touchscreen |
| Connectivity Technology | Bluetooth, USB, Wi-Fi |
| Wireless Features | Wireless CarPlay, Wireless Android Auto |
| Navigation | GPS Navigation System (supports Google Maps, Waze, Here Maps) |
| Radio | FM/RDS Radio |
| Audio Output Mode | Stereo |
| Surround Sound Config | 5.1 |
| Video Encoding | H.264, H.265/HEVC, MPEG-4 |
| Backup Camera | AHD Backup Camera (IP68 Waterproof, Night Vision) |
| Other Features | Steering Wheel Control, Split Screen, Mirror Link, AUX, AV IN, RCA, RLV |
8. Maintenance
To ensure the longevity and optimal performance of your Oskkude Car Stereo, follow these maintenance guidelines:
- Screen Cleaning: Use a soft, lint-free cloth to gently wipe the touchscreen. Avoid abrasive cleaners or solvents that could damage the screen.
- Software Updates: Periodically check for available software updates through the system settings. Updates can improve performance, add new features, and fix bugs.
- Environmental Conditions: Avoid exposing the unit to extreme temperatures, direct sunlight for prolonged periods, or excessive moisture.
- Cable Connections: Periodically check all cable connections to ensure they are secure and free from damage.
9. Troubleshooting
If you encounter issues with your car stereo, refer to the following common troubleshooting steps:
- No Power: Check all power connections and fuses. Ensure the vehicle's ignition is on.
- No Sound: Verify speaker connections, volume settings, and audio source selection. Check if the mute function is active.
- Touchscreen Unresponsive: Try restarting the unit. If the issue persists, a factory reset might be necessary (note: this will erase all user data).
- GPS Signal Lost: Ensure the GPS antenna is properly installed and has a clear view of the sky. Check network connectivity for online maps.
- Bluetooth Pairing Issues: Ensure Bluetooth is enabled on both the stereo and your phone. Delete previous pairings and try reconnecting.
- Backup Camera Not Displaying: Check camera connections and ensure the camera format/resolution settings are correct (refer to Section 6.2).
For persistent issues, please contact Oskkude customer support.
10. Warranty and Support
Oskkude products come with a standard manufacturer's warranty. Please refer to the warranty card included in your package or visit the official Oskkude website for detailed warranty terms and conditions. For technical support, troubleshooting assistance, or warranty claims, please contact Oskkude customer service through the contact information provided on the product packaging or the official brand store.
Online Support: Visit the Oskkude Store on Amazon for additional resources and contact options.