1. Safety Instructions
Please read and understand all instructions before assembling and using this product. Failure to follow these instructions may result in injury or damage to the product.
- Keep children and pets away: Small parts and packaging materials can be choking hazards.
- Assemble on a soft, clean surface: This prevents scratches and damage to the table and your floor.
- Do not overtighten screws: Overtightening can strip threads or crack wood components.
- Ensure all connections are secure: Before placing items on the table, verify that all screws and fasteners are properly tightened.
- Distribute weight evenly: Avoid placing heavy items on one side to prevent tipping.
- Use on a level surface: An uneven surface can cause instability.
2. Package Contents
Carefully unpack all components and check against the parts list. If any parts are missing or damaged, please contact customer support.
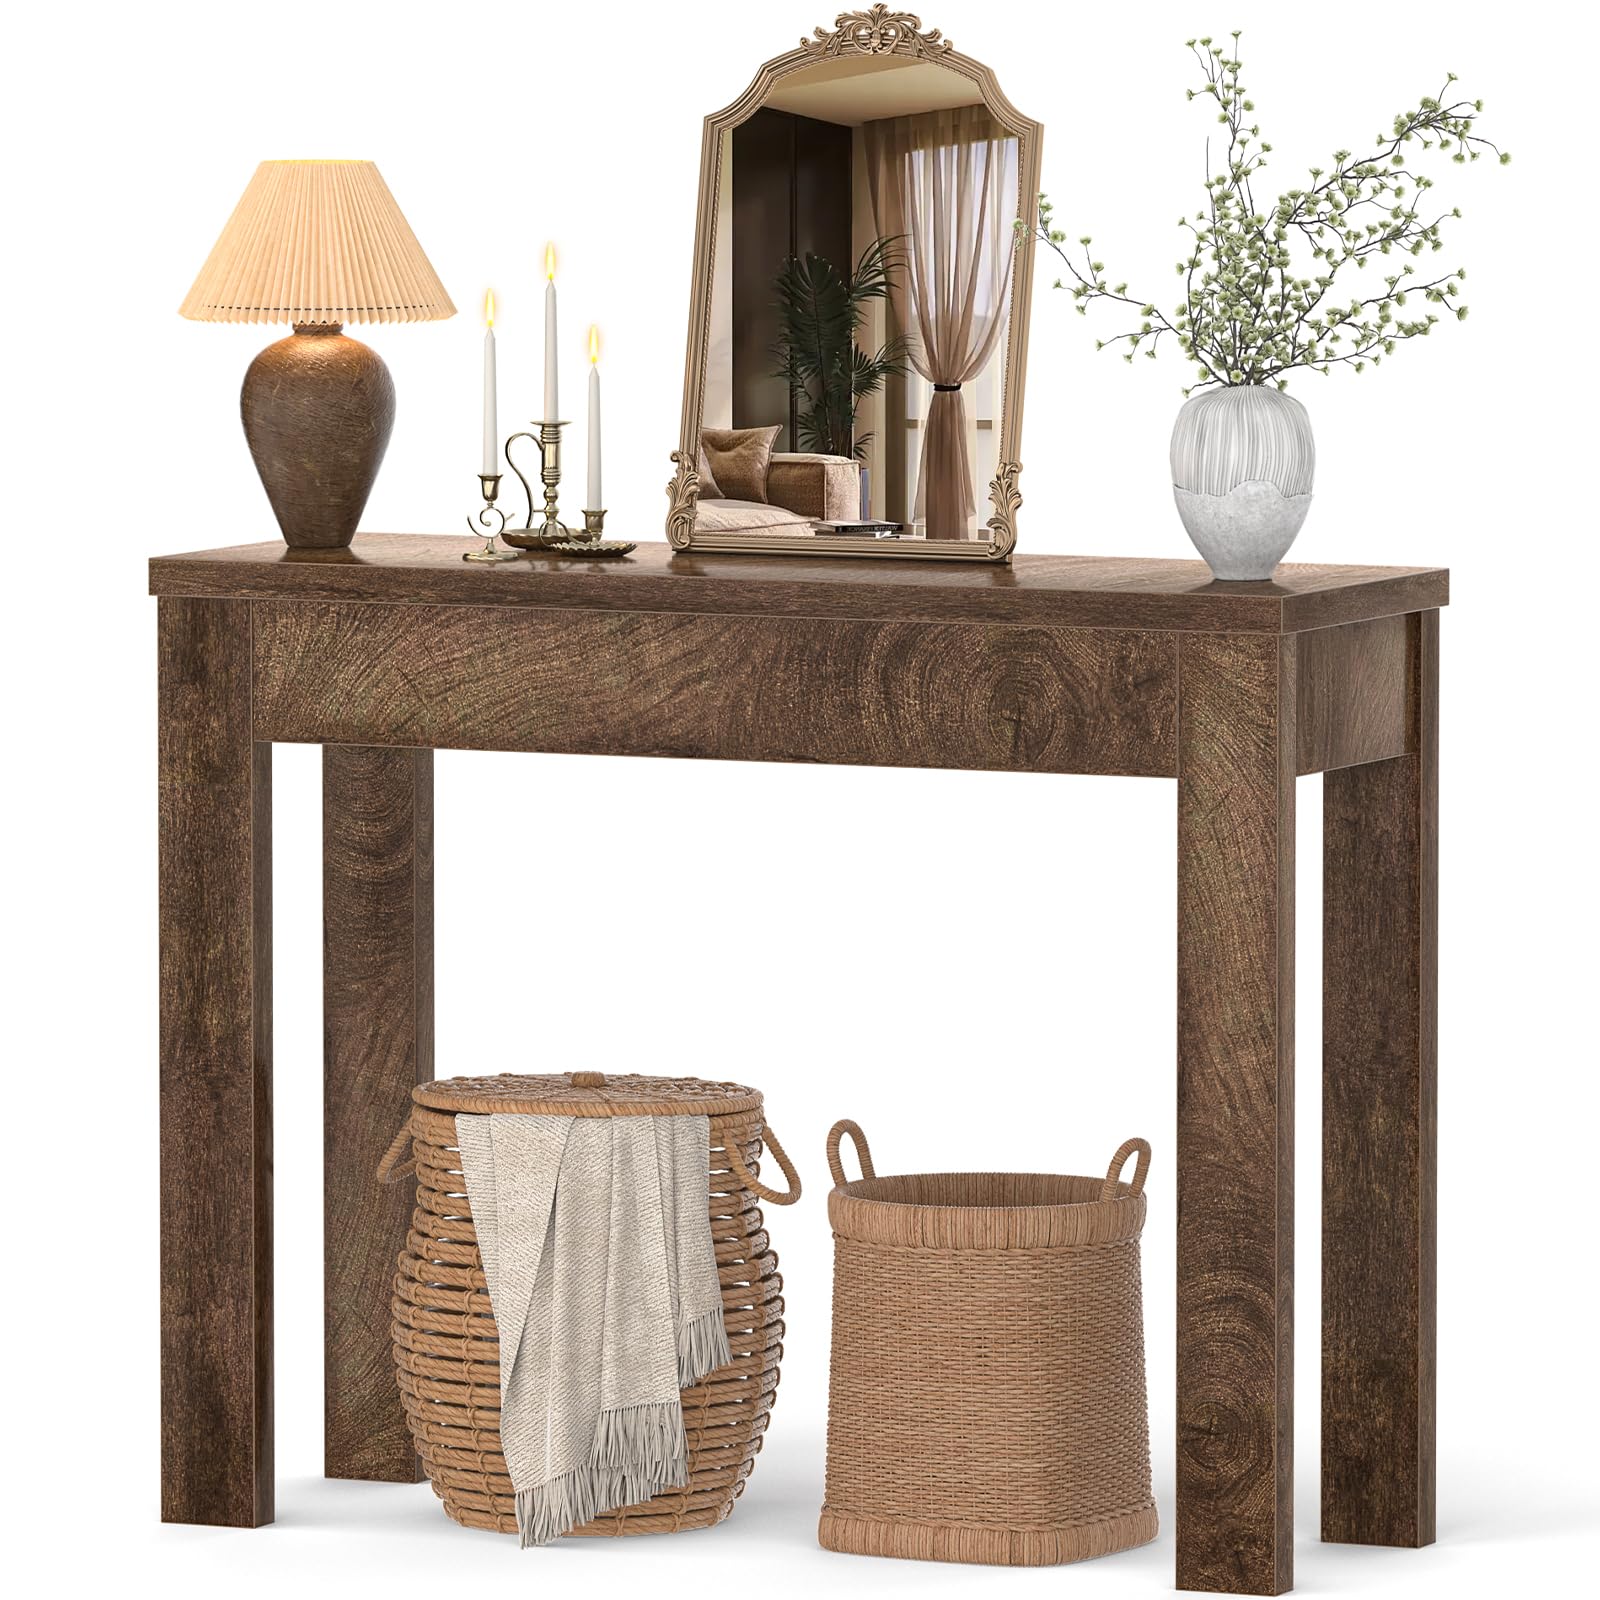
Image: The Armocity 32-inch Cracked Oak Console Table, showcasing its rustic design and compact form factor.
The package includes all necessary hardware and an assembly guide for convenient setup.
- Tabletop
- Legs (2)
- Connecting hardware (screws, dowels, Allen key, screwdriver)
- Assembly Guide
3. Assembly Instructions
Follow these step-by-step instructions for a smooth assembly process. An Allen key and screwdriver are included.
- Prepare the Area: Clear a spacious, soft, and clean area for assembly to prevent damage to the table components or your flooring.
- Identify Components: Refer to the included assembly guide to identify all parts and hardware.
- Attach Legs to Tabletop: Carefully align the table legs with the pre-drilled holes on the underside of the tabletop. Insert the connecting hardware (e.g., cam bolts and cam locks) as per the assembly guide. Ensure a snug fit without overtightening.
- Secure Connections: Use the provided Allen key and screwdriver to tighten all screws and fasteners. Periodically check for stability during this process.
- Final Check: Once assembled, gently lift and move the table to its desired location. Verify that all connections are firm and the table is stable on a level surface.

Image: Diagram showing the dimensions of the console table, including length, width, and height.

Image: Detailed view highlighting the thickened tabletop, sturdy wood construction, and vintage wood texture of the console table.
4. Operating Instructions / Usage
The Armocity Console Table is designed for versatile use in various indoor settings. Its narrow profile makes it ideal for spaces where traditional furniture might be too bulky.
- Entryway Table: Place in your foyer or hallway to hold keys, mail, or decorative items.
- Sofa Table: Position behind a couch to provide a surface for lamps, drinks, or books.
- Display Surface: Utilize the tabletop to showcase plants, photos, or other decorative accents.
- Sideboard: Can serve as a compact sideboard in dining areas for serving dishes or holding dinnerware.

Image: The console table positioned in an entryway, adorned with seasonal decorations, demonstrating its use as a welcoming focal point.

Image: The console table placed behind a sofa, providing a convenient surface for a lamp and framed photos, illustrating its function as a sofa table.
5. Maintenance
Proper care will ensure the longevity and appearance of your Armocity Console Table.
- Cleaning: Wipe the surface with a soft, damp cloth. Avoid harsh chemicals or abrasive cleaners, which can damage the finish.
- Spills: Clean spills immediately to prevent staining, especially with liquids.
- Heat Protection: Use coasters or placemats under hot items to protect the tabletop from heat damage.
- Sunlight Exposure: Avoid prolonged direct sunlight exposure to prevent fading or discoloration of the wood finish.
- Periodic Tightening: Periodically check and retighten all screws and fasteners to maintain stability.
6. Troubleshooting
If you encounter any issues with your console table, refer to the following common solutions:
| Problem | Possible Cause | Solution |
|---|---|---|
| Table is wobbly | Loose screws or uneven floor | Ensure all screws are tightened. Place the table on a level surface or use furniture pads to stabilize. |
| Parts do not align during assembly | Incorrect orientation of parts | Review the assembly guide to ensure all parts are oriented correctly before tightening. |
| Scratches on surface | Sharp objects or abrasive cleaning | Use furniture polish or repair kits for minor scratches. Avoid dragging objects across the surface. |
If the problem persists, please contact Armocity customer support for further assistance.
7. Specifications
Detailed product specifications for the Armocity 32-inch Cracked Oak Console Table.
- Brand: Armocity
- Model: 32-inch Console Table
- Color: Cracked Oak
- Product Dimensions: 4"D x 33"W x 16"H (Note: Item Depth is 13.8 inches, Width 31.5 inches, Height 31.5 inches based on image)
- Item Weight: 25 Pounds
- Frame Material: Wood
- Top Material Type: Engineered Wood
- Tabletop Thickness: 0.95 Inches
- Style Name: Country Rustic
- Required Assembly: Yes
- Indoor/Outdoor Usage: Indoor
8. Warranty and Support
Armocity stands behind the quality of its products. For warranty information, product support, or to report missing/damaged parts, please contact our customer service team.
Customer Service: Refer to the contact information provided on your purchase receipt or visit the official Armocity website for support options.
Please retain your proof of purchase for any warranty claims.