1. Introduction
Thank you for choosing the Laptomo A2-14" Laptop Screen Extender. This device is designed to enhance your productivity by providing additional display space for your laptop. It features a 14-inch Full HD 1080P display, 360° rotation, and versatile connectivity options. This manual provides detailed instructions for setup, operation, and maintenance to ensure optimal performance and longevity of your screen extender.
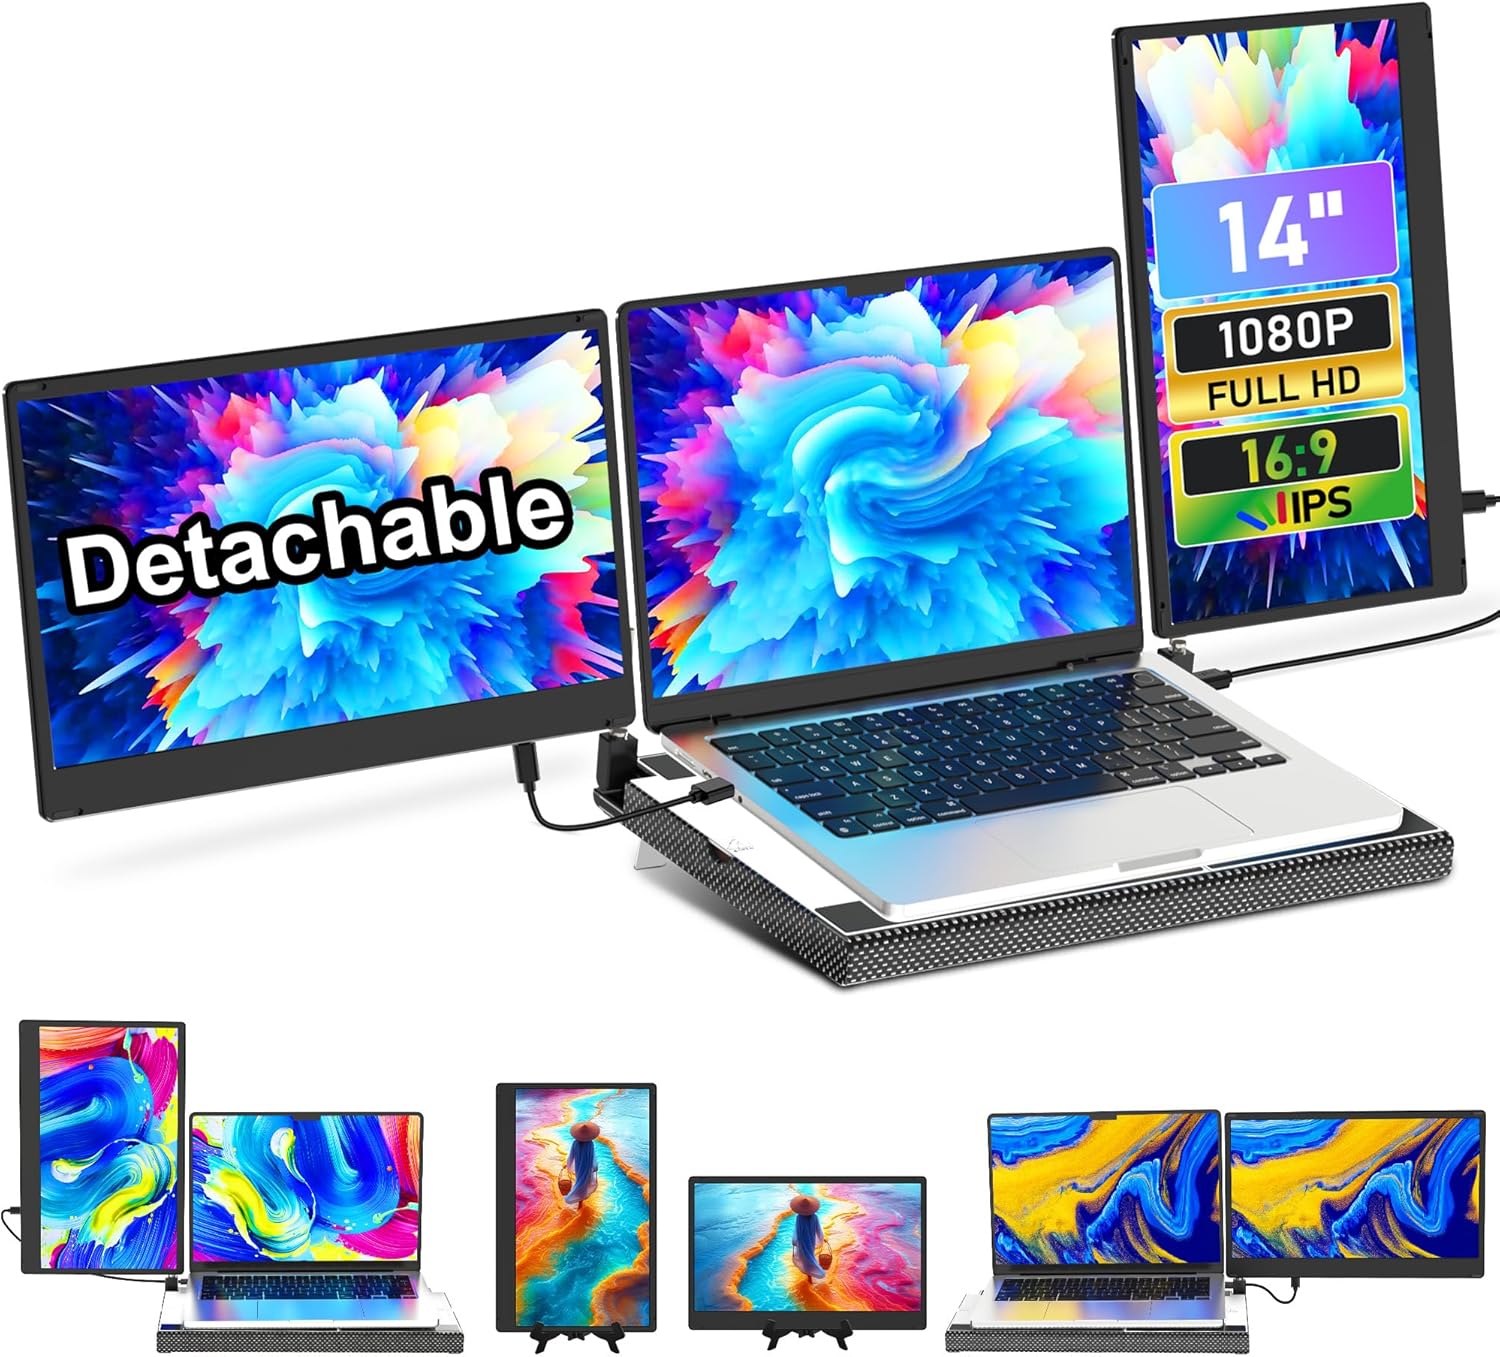
Image: The Laptomo A2-14" Laptop Screen Extender in its primary configuration, showcasing its sleek design and dual screens.
2. Package Contents
Please verify that all items listed below are included in your package. If any items are missing or damaged, please contact customer support.
- 14" Portable Monitor (x2)
- Travel Bag (x1)
- Base (x1)
- User Manual (x1)
- Quick Guide (x1)
- Bracket (x1)
- USB-C to USB-C Cable (x2)
- USB-A to USB-C Cable (x2)
- HDMI to Mini HDMI Cable (x1)

Image: Visual representation of all items included in the Laptomo A2-14" Laptop Screen Extender package, including monitors, cables, base, and travel bag.
3. Setup Instructions
Follow these steps to set up your Laptomo A2-14" Laptop Screen Extender:
- Prepare the Base: Remove the magnetic covers from the bracket on both sides of the base.
- Attach Screens: Remove the left and right screens from their packaging.
- Adjust Support Bars: Open the left and right support bars on the base and adjust them to the optimal angle for your laptop.
- Secure Covers: Cover the left and right magnetic covers back onto the base.
- Install Screens: Install the two screens onto the support bars, either horizontally or vertically, depending on your preference.
- Place Laptop: Carefully place your laptop onto the center of the base.

Image: A six-step visual guide demonstrating the installation process of the screen extender, from preparing the base to placing the laptop.
4. Connectivity
The Laptomo A2-14" Screen Extender offers flexible connectivity options for various laptop configurations. It is designed for plug-and-play functionality.
4.1. USB-C Connection (Recommended)
For most modern laptops with two full-featured USB-C ports (supporting both power and video output), use two USB-C to USB-C cables to connect each monitor directly to your laptop. This method provides both power and video signal through a single cable per monitor.
4.2. USB-A/USB-C + HDMI Connection
If your laptop has one full-featured USB-C port, a USB-A port, and an HDMI port, you can connect the monitors as follows:
- Connect one monitor using a USB-C to USB-C cable to the full-featured USB-C port on your laptop.
- Connect the second monitor using a USB-A to USB-C cable for power and an HDMI to Mini HDMI cable for video.
Note: Ports below USB-A and USB-C 3.1 provide power transmission only. HDMI ports provide video transmission only. Ensure your laptop's USB-C ports support video output (DisplayPort Alternate Mode) for single-cable functionality.

Image: Diagram illustrating two primary connection methods: using two full-featured USB-C ports or a combination of USB-C, USB-A, and HDMI ports.

Image: A visual guide showing the 'Easy to Plug & Play' aspect, detailing USB-C and USB-A/HDMI connection types with corresponding cable illustrations.
5. Operating Instructions
5.1. Power On/Off
The monitors will automatically power on once connected to a compatible laptop and receiving power. To power off, simply disconnect the cables or shut down your laptop. Each monitor may also have a power button for individual control.
5.2. Adjusting Display Settings
Each monitor features controls for adjusting brightness, contrast, and other display parameters. These controls are typically located on the side or back of the monitor. Additionally, you can adjust display settings (resolution, orientation, arrangement) through your laptop's operating system display settings.
6. Display Modes and Flexibility
The Laptomo A2-14" Screen Extender offers extensive flexibility to adapt to various work environments and preferences.
6.1. 360° Rotation and Swivel
The innovative all-metal stand allows for 360° rotation of the screens, enabling you to share your display with others or find the perfect viewing angle. The screens can also be rotated 180° for various configurations.
6.2. Portrait and Landscape Modes
Each monitor can be used in either portrait (vertical) or landscape (horizontal) orientation. Portrait mode is ideal for coding, reading documents, or browsing web pages, while landscape mode is suitable for movies, spreadsheets, and general tasks. Adjust the orientation through your laptop's display settings.

Image: Demonstrates various flexible display configurations, including 360° rotation and different screen arrangements (e.g., triple landscape, dual portrait, single screen with stand).

Image: Illustrates the 360° rotation capability and the telescopic base, highlighting compatibility with various laptop sizes.
7. Compatibility
The Laptomo A2-14" Screen Extender is compatible with a wide range of devices and operating systems:
- Operating Systems: Windows, macOS, Chrome OS, Linux.
- Devices: Laptops, Android phones (with compatible USB-C output), PS5 (requires external power adapter).
Important Note: This device is not compatible with MacBooks equipped with M1, M2, or M3 chips due to specific hardware limitations. Please verify your laptop's processor before purchase.

Image: Icons representing Windows, Mac, Chrome OS, and Linux, indicating wide operating system compatibility. A laptop with dual extended screens is shown, with a note about M1/M2/M3 chip incompatibility.
8. Multiple Usage Scenarios
The Laptomo A2-14" Screen Extender is designed for versatility across various applications:
- Cooperative Work: Easily share screens during meetings or collaborative projects.
- Traveling: Maintain a multi-monitor setup on the go, ideal for business trips or remote work.
- Study at Home: Enhance learning and research with expanded screen real estate.
- Gaming: Connect to gaming consoles like PS5 for an immersive multi-screen gaming experience (external power adapter required for consoles).

Image: Collage showing the screen extender used in various professional settings: office collaboration, remote work, stock trading, and team data analysis.

Image: Collage depicting the screen extender in use for mobile work, connected to a phone, and for design editing, showcasing its adaptability.
9. Maintenance
Proper care and maintenance will ensure the longevity of your Laptomo A2-14" Screen Extender.
9.1. Cleaning
- Use a soft, lint-free cloth to gently wipe the screen surfaces.
- For stubborn smudges, lightly dampen the cloth with water or a screen-safe cleaning solution. Do not spray liquid directly onto the screen.
- Avoid using harsh chemicals, abrasive cleaners, or alcohol-based solutions, as these can damage the screen coating.
- Clean the exterior chassis with a dry or slightly damp cloth.
9.2. Storage
When not in use, store the screen extender in its protective carry bag to prevent scratches and dust accumulation. Store in a cool, dry place away from direct sunlight and extreme temperatures.
10. Troubleshooting
If you encounter issues with your Laptomo A2-14" Screen Extender, refer to the following common problems and solutions:
- No Signal / Blank Screen:
- Ensure all cables are securely connected to both the extender and your laptop.
- Verify that your laptop's USB-C port supports video output (DisplayPort Alternate Mode).
- Check your laptop's display settings to ensure the external monitors are detected and configured (e.g., extended display, duplicate display).
- Try restarting your laptop.
- Monitors Not Powering On:
- Ensure the USB-C cables are providing sufficient power. If using USB-A + HDMI, ensure the USB-A to USB-C cable is connected for power.
- Some laptops may require an external power source for the extender if their USB-C ports do not provide enough power.
- Incorrect Display Orientation:
- Adjust the display orientation (portrait/landscape) in your laptop's operating system display settings.
- Laptop Screen Turns Off When Placed on Base (MacBooks with M1/M2/M3 chips):
- The magnets in the extender's base may interact with the Hall Sensor in some MacBooks, causing the laptop to detect a closed lid.
- Solution: In your laptop's BIOS settings (or equivalent system settings for Mac), you may be able to manually override the lid switch behavior. Consult your laptop's manufacturer support for specific instructions.
- Image Quality Issues (Flickering, Distorted):
- Ensure cables are not damaged and are fully inserted.
- Try a different cable.
- Adjust the refresh rate or resolution in your laptop's display settings.
11. Specifications
| Feature | Specification |
|---|---|
| Brand | Laptomo |
| Model Number | P5 |
| Screen Size | 14 Inches |
| Resolution | FHD 1080p (1920 x 1080 Pixels) |
| Aspect Ratio | 16:9 |
| Refresh Rate | 60 Hz |
| Response Time | 1 Milliseconds |
| Display Type | LCD (IPS Technology) |
| Contrast Ratio | 1000:1 |
| Screen Finish | Glossy |
| Connectivity Technology | HDMI, USB Type C |
| Hardware Connectivity | HDMI, USB 3.1 Type A, USB 3.1 Type C |
| Additional Features | Anti Glare Screen, Blue Light Filter, Built-In Speakers, Portable, Ultra-Slim |
| Item Dimensions (D x W x H) | 12.7"D x 8.1"W x 0.25"H |
| Item Weight | 3.67 Kilograms |
| Color | Black |
12. Warranty and Support
12.1. Warranty Information
The Laptomo A2-14" Laptop Screen Extender comes with a 1-Year Manufacturer Warranty. This warranty covers defects in materials and workmanship under normal use. It does not cover damage caused by misuse, accidents, unauthorized modifications, or external factors.
12.2. Customer Support
For technical assistance, warranty claims, or any questions regarding your product, please contact Laptomo customer support. Refer to the contact information provided in the Quick Guide or on the official Laptomo website.