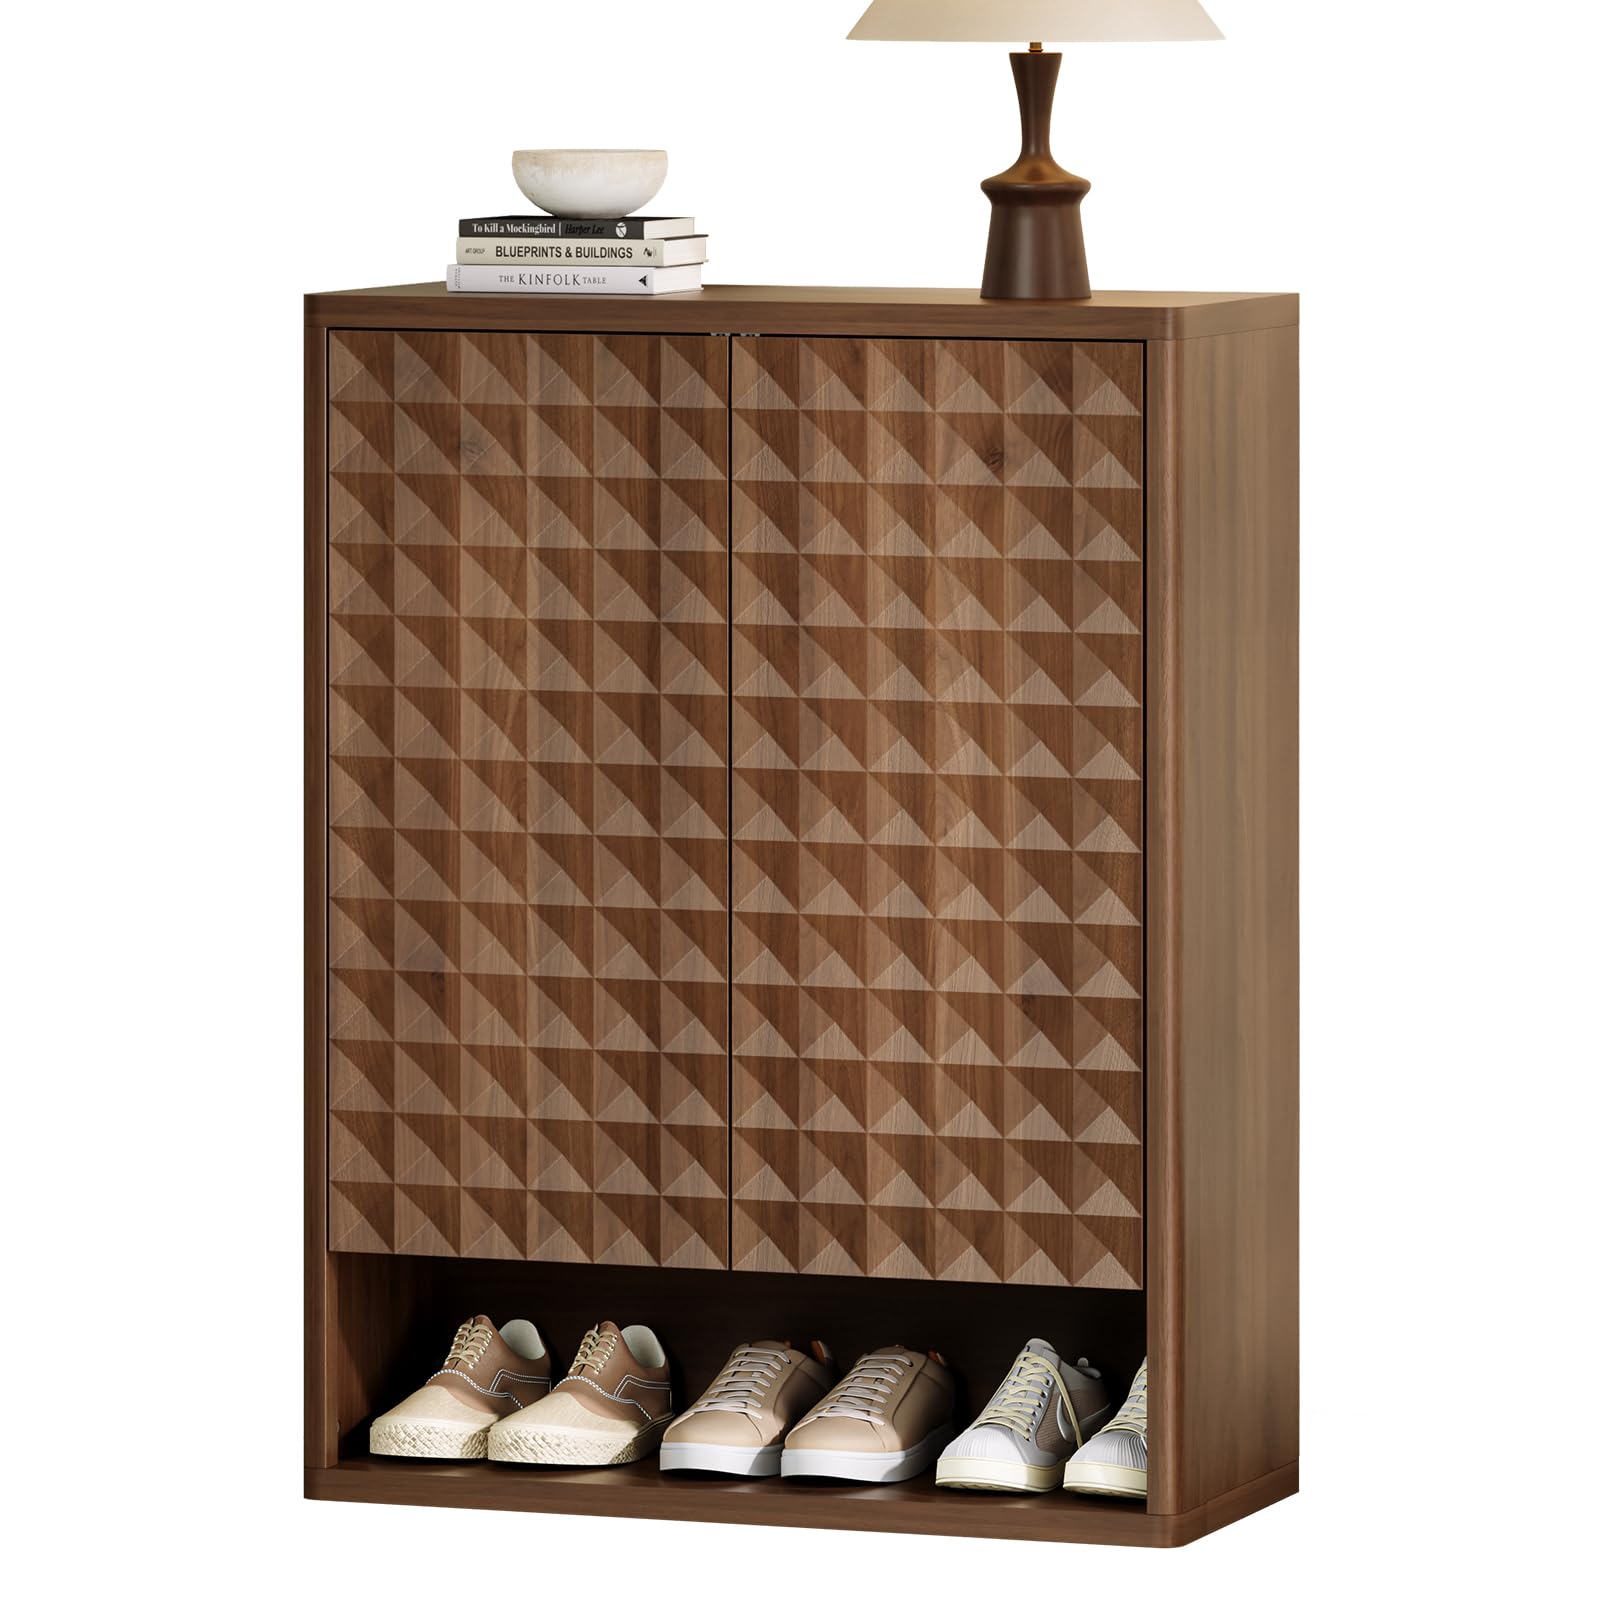
Thank you for purchasing the HOTAMO 2-Door Walnut Shoe Storage Cabinet. This manual provides essential information for the safe assembly, operation, and maintenance of your new furniture. Please read all instructions carefully before beginning assembly and retain this manual for future reference.
2. Safety Information
Important Safety Precautions:
This product has sharp edges. Always use caution when handling components during assembly.
To prevent tipping, secure the cabinet to the wall using the provided anti-tipping hardware. This is especially important in homes with children or pets.
The push-to-open doors require sufficient force to open. Ensure hands are clear of closing doors to prevent pinching.
Do not overload shelves. Distribute weight evenly to maintain stability.
Keep small parts and packaging materials away from children to prevent choking hazards.
3. Package Contents
Please verify that all components are present and undamaged before beginning assembly. Refer to the included parts list diagram in your physical manual for detailed identification of each piece and hardware.
All necessary panels (top, bottom, side, back, shelves, doors)
Follow these step-by-step instructions for assembling your HOTAMO Shoe Storage Cabinet. It is recommended to assemble on a soft, clean surface to prevent scratches.
4.1. Preparation
Unpack all components and lay them out on a clean, flat surface.
Identify each part using the labels and the parts list in your manual.
Gather necessary tools (screwdriver, hammer, drill if needed for wall mounting).
4.2. Assembly Steps
Attach the cam locks and dowels to the designated panels as per the diagram.
Connect the side panels to the base and top panels, ensuring all connections are secure.
Install the back panel using the provided small nails or screws.
Insert the adjustable shelf pins into the desired height positions on the side panels.
Place the four adjustable shelves onto the pins. The shelves can be customized to accommodate various shoe heights, including boots.
Attach the hinges to the two doors.
Mount the doors to the cabinet frame, aligning the hinges.
Install the push-to-open mechanisms on the inside of the cabinet, ensuring they align with the doors for smooth operation.
Attach the anti-tipping device to the top rear of the cabinet and secure it to a wall stud using appropriate hardware.
For visual guidance, please refer to the assembly videos provided below.
Assembly Video: Curlaky Rattan Shoe Storage Cabinet Assembly Video
This video demonstrates the assembly process for a similar shoe cabinet, providing visual steps for hardware installation and panel connection. Note that the design may vary slightly from your specific model.
5. Operating Instructions
5.1. Using the Push-to-Open Doors
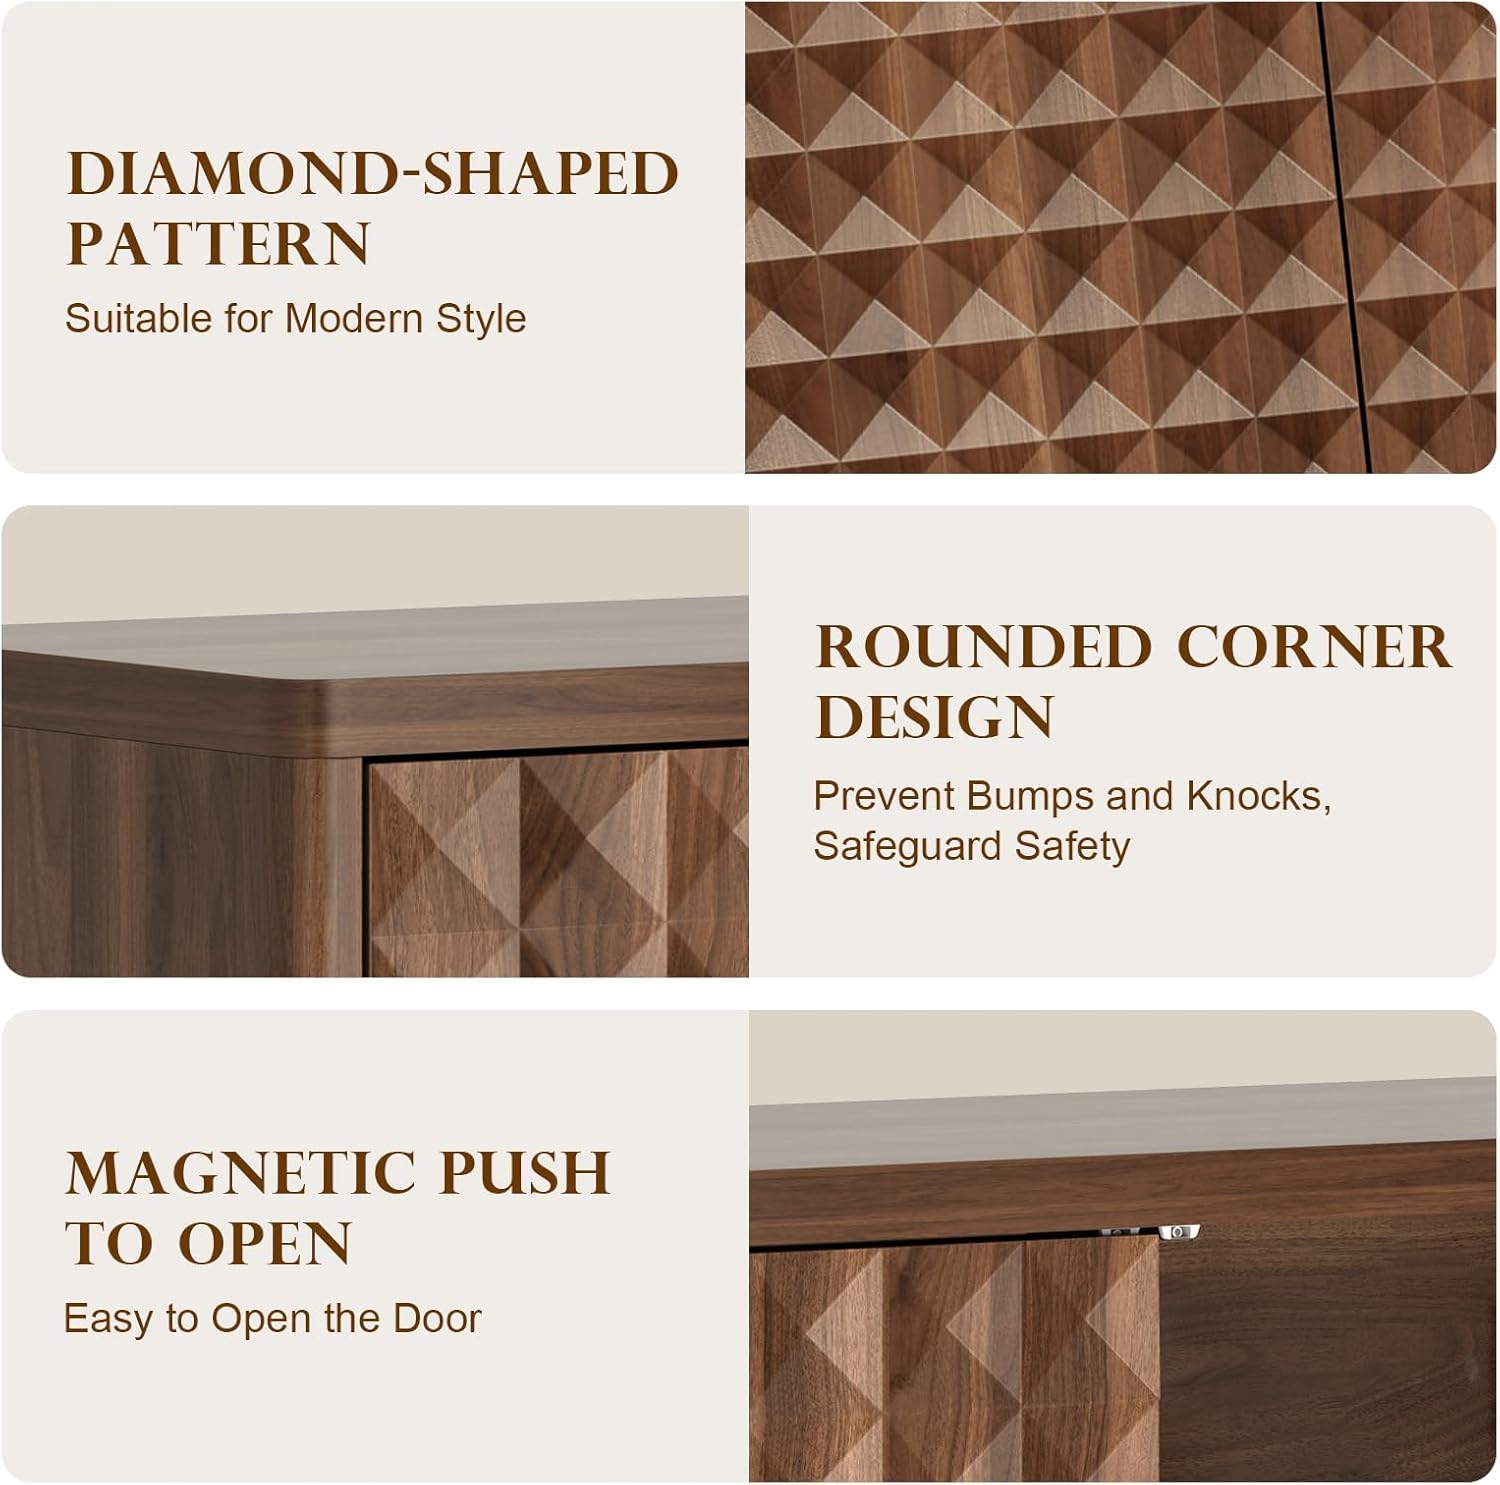
The HOTAMO Shoe Storage Cabinet features convenient push-to-open mechanisms. To open a door, simply press gently on the center of the door panel. To close, push the door until the mechanism engages and holds it shut.
5.2. Adjusting Shelves
The cabinet includes four adjustable shelves. To change the shelf height, remove the items from the shelf, lift the shelf, and reposition the metal pins in the desired holes on the side panels. Ensure all four pins are securely in place before placing items back on the shelf.
Image illustrating various adjustable shelf configurations to accommodate different shoe types and heights.
5.3. Storage Capacity
This cabinet is designed to store approximately 20 pairs of shoes, depending on their size and style. The bottom-open design provides easy access to frequently used footwear.
Image displaying the interior of the shoe cabinet with various shoes, demonstrating its storage capacity and adjustable shelves.
6. Maintenance
Cleaning: Wipe the cabinet surfaces with a soft, damp cloth. Avoid harsh chemicals or abrasive cleaners that may damage the finish.
Dusting: Regularly dust the cabinet to prevent buildup.
Hardware Check: Periodically check all screws and connections to ensure they remain tight. Retighten if necessary.
Door Alignment: If doors become misaligned, refer to the hinge adjustment instructions (often found in the assembly manual or online resources) to correct.
Door Hinge Adjustment Example
This video demonstrates how to adjust door hinges to correct misalignment or gaps, a common maintenance task for cabinet doors.
7. Troubleshooting
Problem
Possible Cause
Solution
Cabinet is wobbly/unstable
Loose connections; uneven floor; anti-tipping device not installed.
Ensure all screws are tightened. Adjust the leveling feet on the bottom. Install the anti-tipping device securely to the wall.
Doors do not close properly or are misaligned
Hinges are loose or require adjustment; push-to-open mechanism is misaligned.
Adjust the door hinges (refer to maintenance section or assembly video). Realign the push-to-open mechanism.
Push-to-open mechanism not working
Mechanism is jammed or incorrectly installed.
Check for obstructions. Reinstall the push-to-open mechanism according to assembly instructions.
8. Specifications
Brand: HOTAMO
Model Name: HOTAMO 003
Product Dimensions: 14.65"D x 34.53"W x 44.88"H
Material: Engineered Wood
Color: Walnut
Number of Doors: 2
Number of Shelves: 4 (adjustable)
Item Weight: 95.9 Pounds
Special Feature: Anti-Tipping, Push-to-Open Doors
Assembly Required: Yes
9. Warranty and Support
For warranty information or any questions regarding your HOTAMO Shoe Storage Cabinet, please contact HOTAMO customer support through the retailer where the product was purchased. Our team is committed to ensuring your complete satisfaction.
10. Product Images
Product Dimensions
Detailed diagram illustrating the overall dimensions of the shoe cabinet and highlighting the anti-tipping device for safety.
Open Storage Space
A user demonstrating the convenient open storage space at the bottom of the cabinet, ideal for quick access to shoes.
Spacious Top Storage
Close-up view of the cabinet's top surface, showcasing its potential for decorative items or additional storage.
Diamond-Shaped Panel Detail
A detailed view of the unique diamond-shaped pattern on the cabinet doors, adding a modern aesthetic.
11. Official Product Videos
2 Doors Shoe Cabinet Show Video 4
This video provides a comprehensive overview of the 2-door shoe cabinet, showcasing its features and functionality in a home setting.
Diamond-shaped Panel 2 Doors Shoe Cabinet Introduction Video
An introductory video highlighting the unique diamond-shaped panel design and overall aesthetic of the 2-door shoe cabinet.
2 Doors Shoe Cabinet Show Video 3
A third demonstration video showcasing the features and practical use of the 2-door shoe cabinet.
2 Doors Shoe Cabinet Show Video 1
The first demonstration video for the 2-door shoe cabinet, highlighting its design and functionality.
2 Doors Shoe Cabinet Show Video 2
A second demonstration video showcasing the features and practical use of the 2-door shoe cabinet.
Ask a question about this manual
Ask about setup, troubleshooting, compatibility, parts, safety, or missing instructions. Manuals+ will review the question and use this page’s manual context to help answer it.