1. Introduction
This manual provides essential instructions for the safe and effective installation, maintenance, and troubleshooting of the Generic 00747800 Dryer Ring. This part is designed as a direct replacement for Bosch dryer part number 00747800 (also known as 747800). Please read this guide thoroughly before attempting any installation or repair to ensure proper function and safety.
2. Safety Information
WARNING: Always disconnect power to the dryer before performing any service or maintenance to prevent electric shock. Failure to do so can result in serious injury or death.
- Wear appropriate personal protective equipment, such as gloves, to protect hands from sharp edges or components.
- Ensure the work area is well-lit and clear of obstructions.
- If you are unsure about any step, consult a qualified appliance technician.
- Keep children and pets away from the work area during installation.
- Properly dispose of old parts according to local regulations.
3. Setup & Installation
3.1 Tools Required
- Screwdriver set (Phillips and Flathead)
- Nut driver or socket set
- Pliers
- Work gloves
- Flashlight (optional, for better visibility)
3.2 Installation Steps
The following steps provide a general guide for replacing a dryer ring. Specific disassembly procedures may vary slightly depending on your Bosch dryer model. Always refer to your dryer's specific service manual if available.
- Disconnect Power: Unplug the dryer from the electrical outlet or turn off the circuit breaker supplying power to the dryer.
- Access Dryer Interior: Depending on your dryer model, you may need to remove the top panel, front panel, or rear panel to gain access to the drum and internal components. This typically involves removing screws or clips.
- Locate the Old Dryer Ring: The dryer ring is usually located around the front or rear opening of the dryer drum, often supporting the drum or sealing the gap.
- Remove Old Ring: Carefully detach the old dryer ring. This may involve removing screws, clips, or springs that hold it in place. Note the orientation and attachment points for reassembly.
- Install New Dryer Ring: Position the new Generic 00747800 Dryer Ring in the same location and orientation as the old one. Secure it using the original screws, clips, or springs. Ensure it is seated correctly and firmly attached.
- Reassemble Dryer: Reattach any panels or components that were removed during disassembly. Ensure all screws and fasteners are tightened securely.
- Restore Power: Plug the dryer back into the electrical outlet or turn on the circuit breaker.
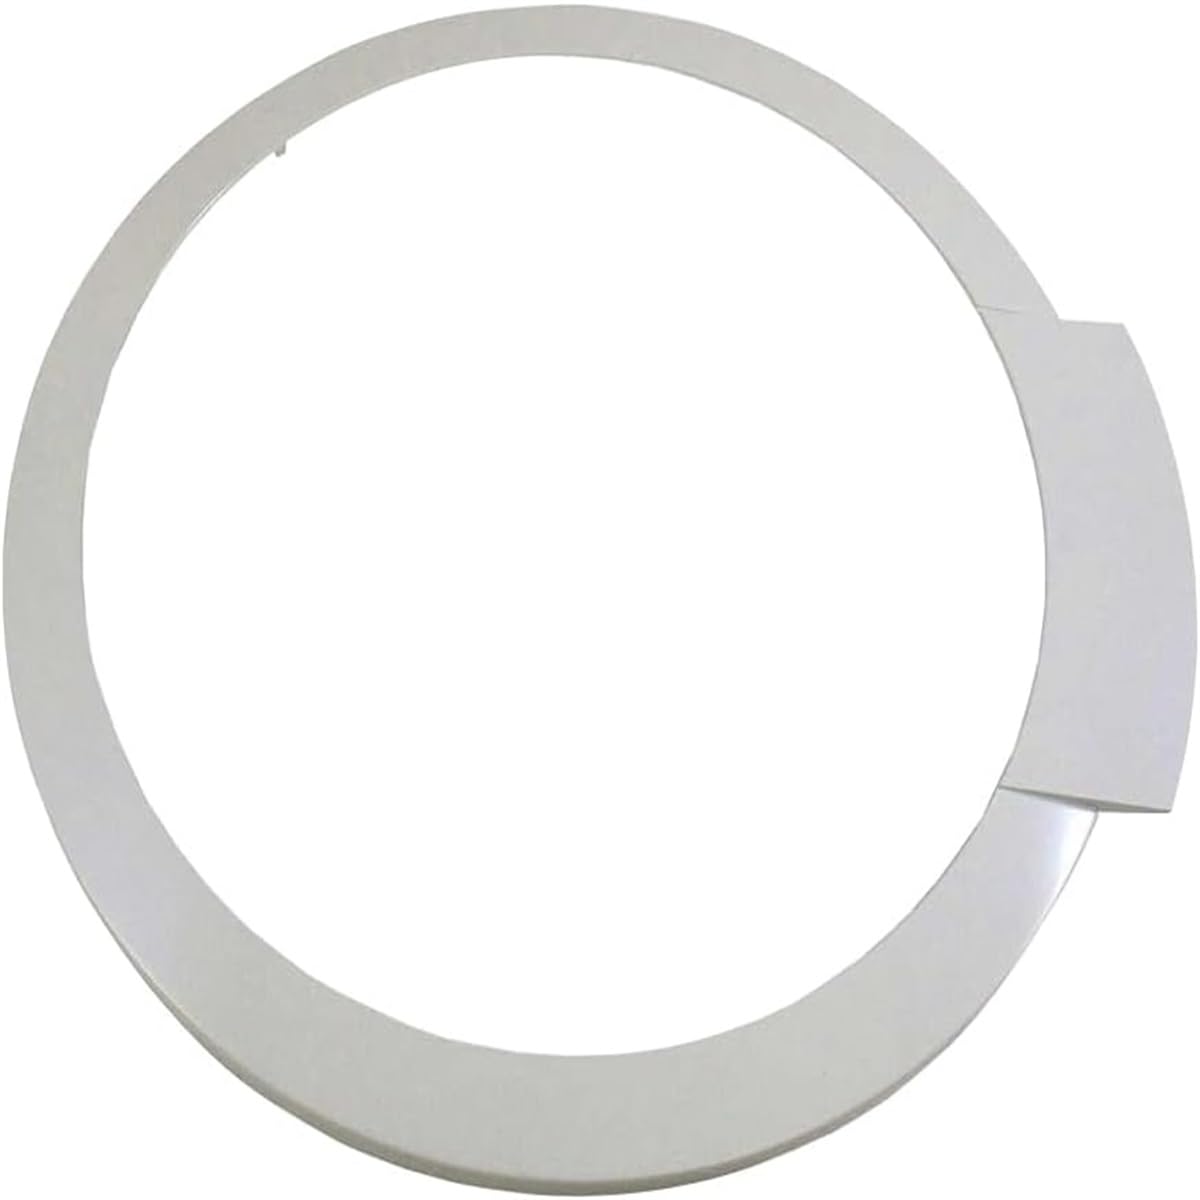
Figure 1: The Generic 00747800 Dryer Ring. This image shows the replacement part before installation, highlighting its circular shape and material.
4. Post-Installation Check
After installation, perform the following checks to ensure proper function:
- Visual Inspection: Check that all panels are securely fastened and there are no loose parts.
- Drum Rotation: Manually rotate the dryer drum to ensure it moves freely without obstruction or unusual noises.
- Test Run: Run a short, empty cycle on the dryer. Listen for any abnormal sounds (grinding, squealing, thumping) that might indicate improper installation or a misaligned component.
- Heat Check: Verify that the dryer heats up correctly during the test cycle.
5. Maintenance
The dryer ring itself typically requires minimal maintenance once installed correctly. However, regular inspection of surrounding components can prolong the life of your dryer and its parts.
- Periodic Inspection: During other dryer maintenance (e.g., cleaning lint traps, checking vents), visually inspect the dryer ring area for any signs of wear, damage, or misalignment.
- Cleanliness: Ensure the area around the dryer ring remains free of lint buildup, which can impede drum movement or create fire hazards.
6. Troubleshooting
If you encounter issues after replacing the dryer ring, consider the following common problems and solutions:
| Problem | Possible Cause | Solution |
|---|---|---|
| Dryer making grinding or squealing noise | Improperly seated dryer ring, worn drum rollers, or idler pulley. | Re-check dryer ring installation. Inspect and replace worn drum rollers or idler pulley if necessary. |
| Dryer drum not spinning | Broken drive belt, motor issue, or severe obstruction. | Ensure the dryer ring is not obstructing the drum. Check and replace the drive belt if broken. Consult a technician for motor issues. |
| Dryer not heating | Heating element failure, thermal fuse, or thermostat issue. | This issue is unlikely to be caused by the dryer ring. Inspect heating components or consult a technician. |
If troubleshooting steps do not resolve the issue, it is recommended to contact a qualified appliance repair technician.
7. Specifications
| Feature | Detail |
|---|---|
| Part Number | 00747800 (replaces 747800) |
| Model Number | TGS24017 |
| Brand | Generic |
| Manufacturer | TGS |
| Item Weight | 1 pound |
| Product Dimensions | 1 x 1 x 1 inches |
| Color | Black |
| Voltage | 1 Volts (Note: This likely refers to a component rating, not the dryer's operating voltage.) |
8. Warranty Information
This product comes with a 1-year warranty from the date of purchase. The warranty covers defects in materials and workmanship under normal use. It does not cover damage resulting from improper installation, misuse, abuse, or unauthorized modifications. Please retain your proof of purchase for warranty claims.
9. Customer Support
For further assistance, technical support, or warranty inquiries, please contact the retailer or manufacturer where the product was purchased. Have your model number (TGS24017) and proof of purchase ready when contacting support.