1. Introduction
Thank you for choosing the ETLFUCyber Android Car Radio for your Volkswagen VW Passat B6/B7 (2010-2014). This manual provides essential information for the safe installation, operation, and maintenance of your new car radio. Please read this manual thoroughly before using the product to ensure optimal performance and to prevent damage.
2. Safety Information
- Professional Installation Recommended: Due to the complexity of car electrical systems, professional installation is highly recommended to avoid damage to the vehicle or the product.
- Power Source: Connect the unit only to a 12V DC power supply with a negative ground.
- Avoid Moisture: Do not expose the unit to rain or moisture to prevent fire or electric shock.
- Ventilation: Ensure adequate ventilation around the unit to prevent overheating.
- Driving Safety: Do not operate the unit in a way that distracts you from driving. Always prioritize road safety.
- Volume Control: Keep the volume at a level where you can still hear outside traffic sounds.
3. Package Contents
Please check the contents of your package upon receipt. If any items are missing or damaged, contact your retailer immediately.
- ETLFUCyber Android Car Radio Unit
- Power Harness (Vehicle Specific)
- GPS Antenna
- USB Cables
- RCA Cables (Audio/Video Output)
- User Manual (this document)
- Mounting Hardware (Car radio.)
4. Product Overview
The ETLFUCyber Android Car Radio is designed to seamlessly integrate into your Volkswagen VW Passat B6/B7 (2010-2014), offering advanced features such as a touchscreen display, Android operating system, and wireless CarPlay functionality.
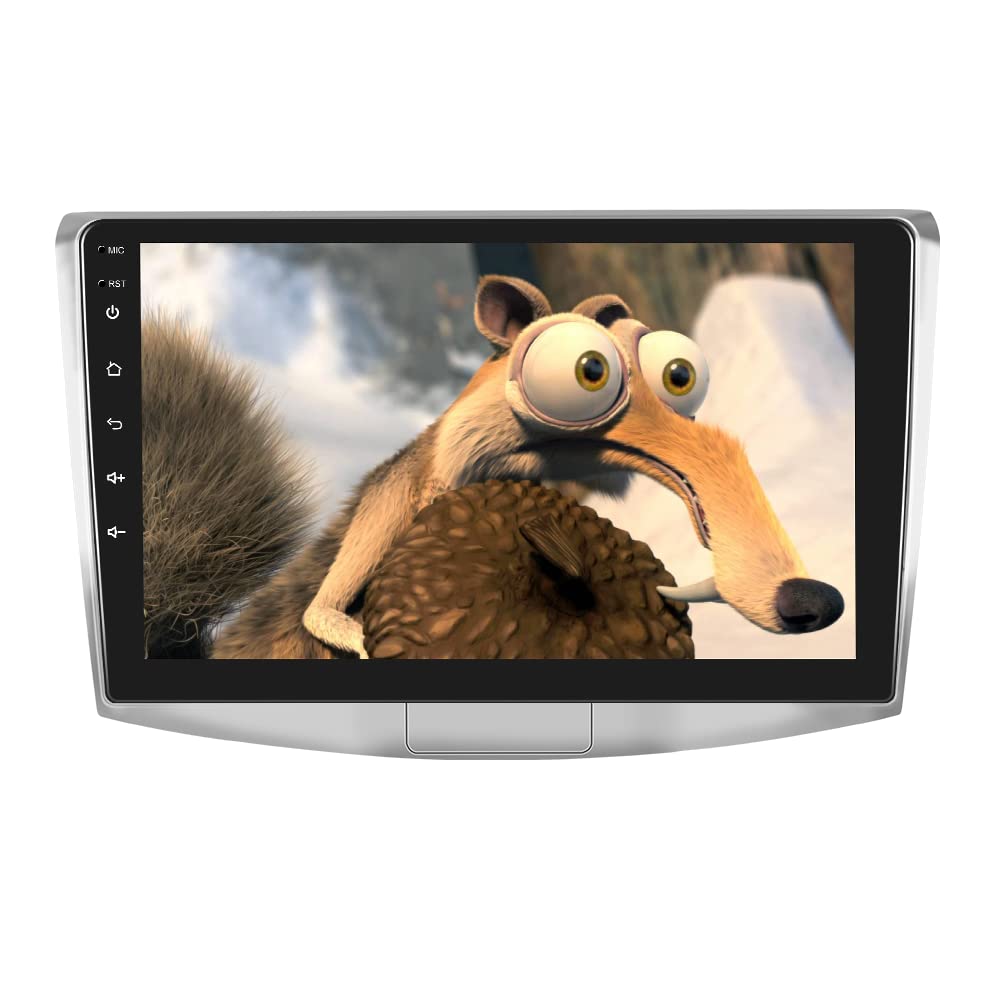
Figure 4.1: Front view of the ETLFUCyber Android Car Radio unit. This image displays the main touchscreen interface and physical buttons (if any) for general control.
Key Features:
- Android Operating System
- High-Resolution Touchscreen Display
- Wireless Apple CarPlay Support
- Bluetooth Connectivity for Hands-Free Calling and Audio Streaming
- Integrated GPS Navigation
- USB Multimedia Playback
- Steering Wheel Control Compatibility
5. Setup and Installation
Disclaimer: Incorrect installation can cause damage to the unit or your vehicle. If you are unsure about any step, consult a qualified professional installer.
5.1 Pre-Installation Checks
- Disconnect Battery: Before starting, disconnect the negative terminal of your vehicle's battery to prevent electrical shorts.
- Verify Compatibility: Ensure the car radio is compatible with your specific Volkswagen VW Passat B6/B7 model year (2010-2014).
- Gather Tools: Prepare necessary tools such as screwdrivers, trim removal tools, and wire strippers/crimpers.
5.2 Wiring Connections
Refer to the wiring diagram provided with your specific power harness. General connections include:
- Power (Yellow): Constant 12V (Battery)
- Accessory (Red): Switched 12V (Ignition)
- Ground (Black): Vehicle Chassis Ground
- Speaker Wires: Connect to corresponding vehicle speaker wires (e.g., Front Left +, Front Left -).
- GPS Antenna: Connect the GPS antenna and route it to a location with a clear view of the sky (e.g., dashboard).
- USB Cables: Route USB extension cables to a convenient location (e.g., glove box or center console).
- Reverse Camera (Optional): If installing a reverse camera, connect its video input and trigger wire as per the camera's instructions.
5.3 Mounting the Unit
- Carefully remove the factory radio and trim panels from your vehicle.
- Connect all necessary wiring harnesses to the new Android car radio.
- Slide the new unit into the dashboard opening, ensuring all wires are tucked away and not pinched.
- Secure the unit using the provided mounting hardware.
- Reinstall the trim panels and other components removed during the process.
5.4 Post-Installation
Reconnect the vehicle battery's negative terminal. Turn on the ignition and test the unit's basic functions (power, audio, touchscreen response).
6. Operating Instructions
The Android car radio operates similarly to a tablet. Navigate using the touchscreen and familiar Android gestures.
6.1 Basic Functions
- Power On/Off: Press and hold the power button (if available) or turn the vehicle ignition on/off.
- Volume Control: Adjust using the physical volume knob/buttons or the on-screen controls.
- Home Screen: Tap the Home icon to return to the main Android interface.
- Settings: Access system settings via the gear icon to configure Wi-Fi, Bluetooth, display, sound, and other preferences.
6.2 Radio Tuner
Select the "Radio" application from the home screen. You can scan for stations, save presets, and switch between AM/FM bands.
6.3 Media Playback (USB/Bluetooth)
- USB: Insert a USB drive into the provided USB port. Use the "Music" or "Video" app to browse and play media files.
- Bluetooth Audio: Pair your smartphone via Bluetooth (see section 7.2). Select "Bluetooth Music" from the home screen to stream audio.
6.4 Navigation
The unit comes with pre-installed navigation software or allows you to download your preferred navigation apps from the Google Play Store (requires internet connection).
7. Connectivity
7.1 Wireless Apple CarPlay
Wireless CarPlay allows you to integrate your iPhone's features directly onto the car radio display without a cable.
- Ensure your iPhone's Wi-Fi and Bluetooth are enabled.
- On the car radio, open the "CarPlay" or "Zlink" (or similar) application.
- On your iPhone, go to Settings > General > CarPlay.
- Select your car radio from the list of available cars.
- Follow the on-screen prompts to complete the pairing process.
Once connected, you can access navigation, music, messages, and more directly from the car radio's touchscreen.
7.2 Bluetooth Pairing (for Android devices or general Bluetooth)
Use Bluetooth for hands-free calling and audio streaming from Android devices or other Bluetooth-enabled phones.
- On the car radio, go to "Settings" and then "Bluetooth".
- Ensure Bluetooth is turned ON and the unit is discoverable.
- On your smartphone, enable Bluetooth and search for available devices.
- Select the car radio's Bluetooth name (e.g., "CarBT" or "ETLFUCyber") from your phone's list.
- Confirm the pairing code on both devices if prompted.
- Once paired, you can make/receive calls and stream music.
8. Maintenance
- Cleaning the Screen: Use a soft, lint-free cloth to gently wipe the touchscreen. For stubborn smudges, slightly dampen the cloth with water or a screen-safe cleaner. Avoid harsh chemicals.
- Software Updates: Periodically check for software updates through the unit's settings or the manufacturer's website to ensure optimal performance and access to new features.
- Avoid Extreme Temperatures: Do not expose the unit to prolonged direct sunlight or extreme cold, as this can affect its lifespan and performance.
9. Troubleshooting
| Problem | Possible Cause | Solution |
|---|---|---|
| Unit does not power on. | Incorrect wiring; Blown fuse; Vehicle battery issue. | Check power and ground connections. Inspect vehicle fuses. Ensure battery is charged. |
| No sound. | Volume too low; Mute activated; Speaker wires disconnected; Incorrect audio output settings. | Increase volume. Check mute status. Verify speaker wire connections. Adjust audio settings. |
| Bluetooth not connecting. | Bluetooth off on unit/phone; Device not discoverable; Incorrect pairing process. | Ensure Bluetooth is on and discoverable on both devices. Re-attempt pairing. Clear previous pairings. |
| CarPlay not working wirelessly. | iPhone Wi-Fi/Bluetooth off; CarPlay app not launched; Incorrect pairing. | Ensure iPhone Wi-Fi and Bluetooth are on. Launch CarPlay app on head unit. Re-pair iPhone via CarPlay settings. |
| GPS signal weak or inaccurate. | GPS antenna obstructed or improperly placed; Antenna connection loose. | Relocate GPS antenna to a clear line of sight. Check antenna connection. |
| Touchscreen unresponsive. | Software glitch; Unit frozen. | Perform a soft reset (refer to unit's specific reset method, usually a small reset button or holding power). If persistent, disconnect battery for 5 minutes. |
10. Specifications
| Feature | Detail |
|---|---|
| Brand | ETLFUCyber |
| Compatible Devices | Smartphone |
| Special Features | Touchscreen, Wireless CarPlay |
| Connectivity Technology | Bluetooth |
| Controller Type | Hand Control (via touchscreen) |
| Mounting Hardware | Car radio. |
| Number of Items | 1 |
| Package Dimensions | 27 x 18 x 7 cm |
| Weight | 1.6 kg |
| ASIN | B0FX9MVLSW |
11. Warranty and Support
For warranty information, please refer to the warranty card included with your product or contact your point of purchase. ETLFUCyber provides customer support for technical assistance and inquiries. Please visit the official ETLFUCyber website or contact their customer service department for further help.
Note: Warranty terms and conditions may vary by region and retailer. Keep your proof of purchase for warranty claims.