
Introduction
This manual provides detailed instructions for the assembly, operation, and maintenance of your YITAHOME Full Size Bed Frame. This bed frame features a storage headboard with a built-in charging station, integrated LED lighting, and two under-bed storage drawers. Please read all instructions carefully before beginning assembly and retain this manual for future reference.
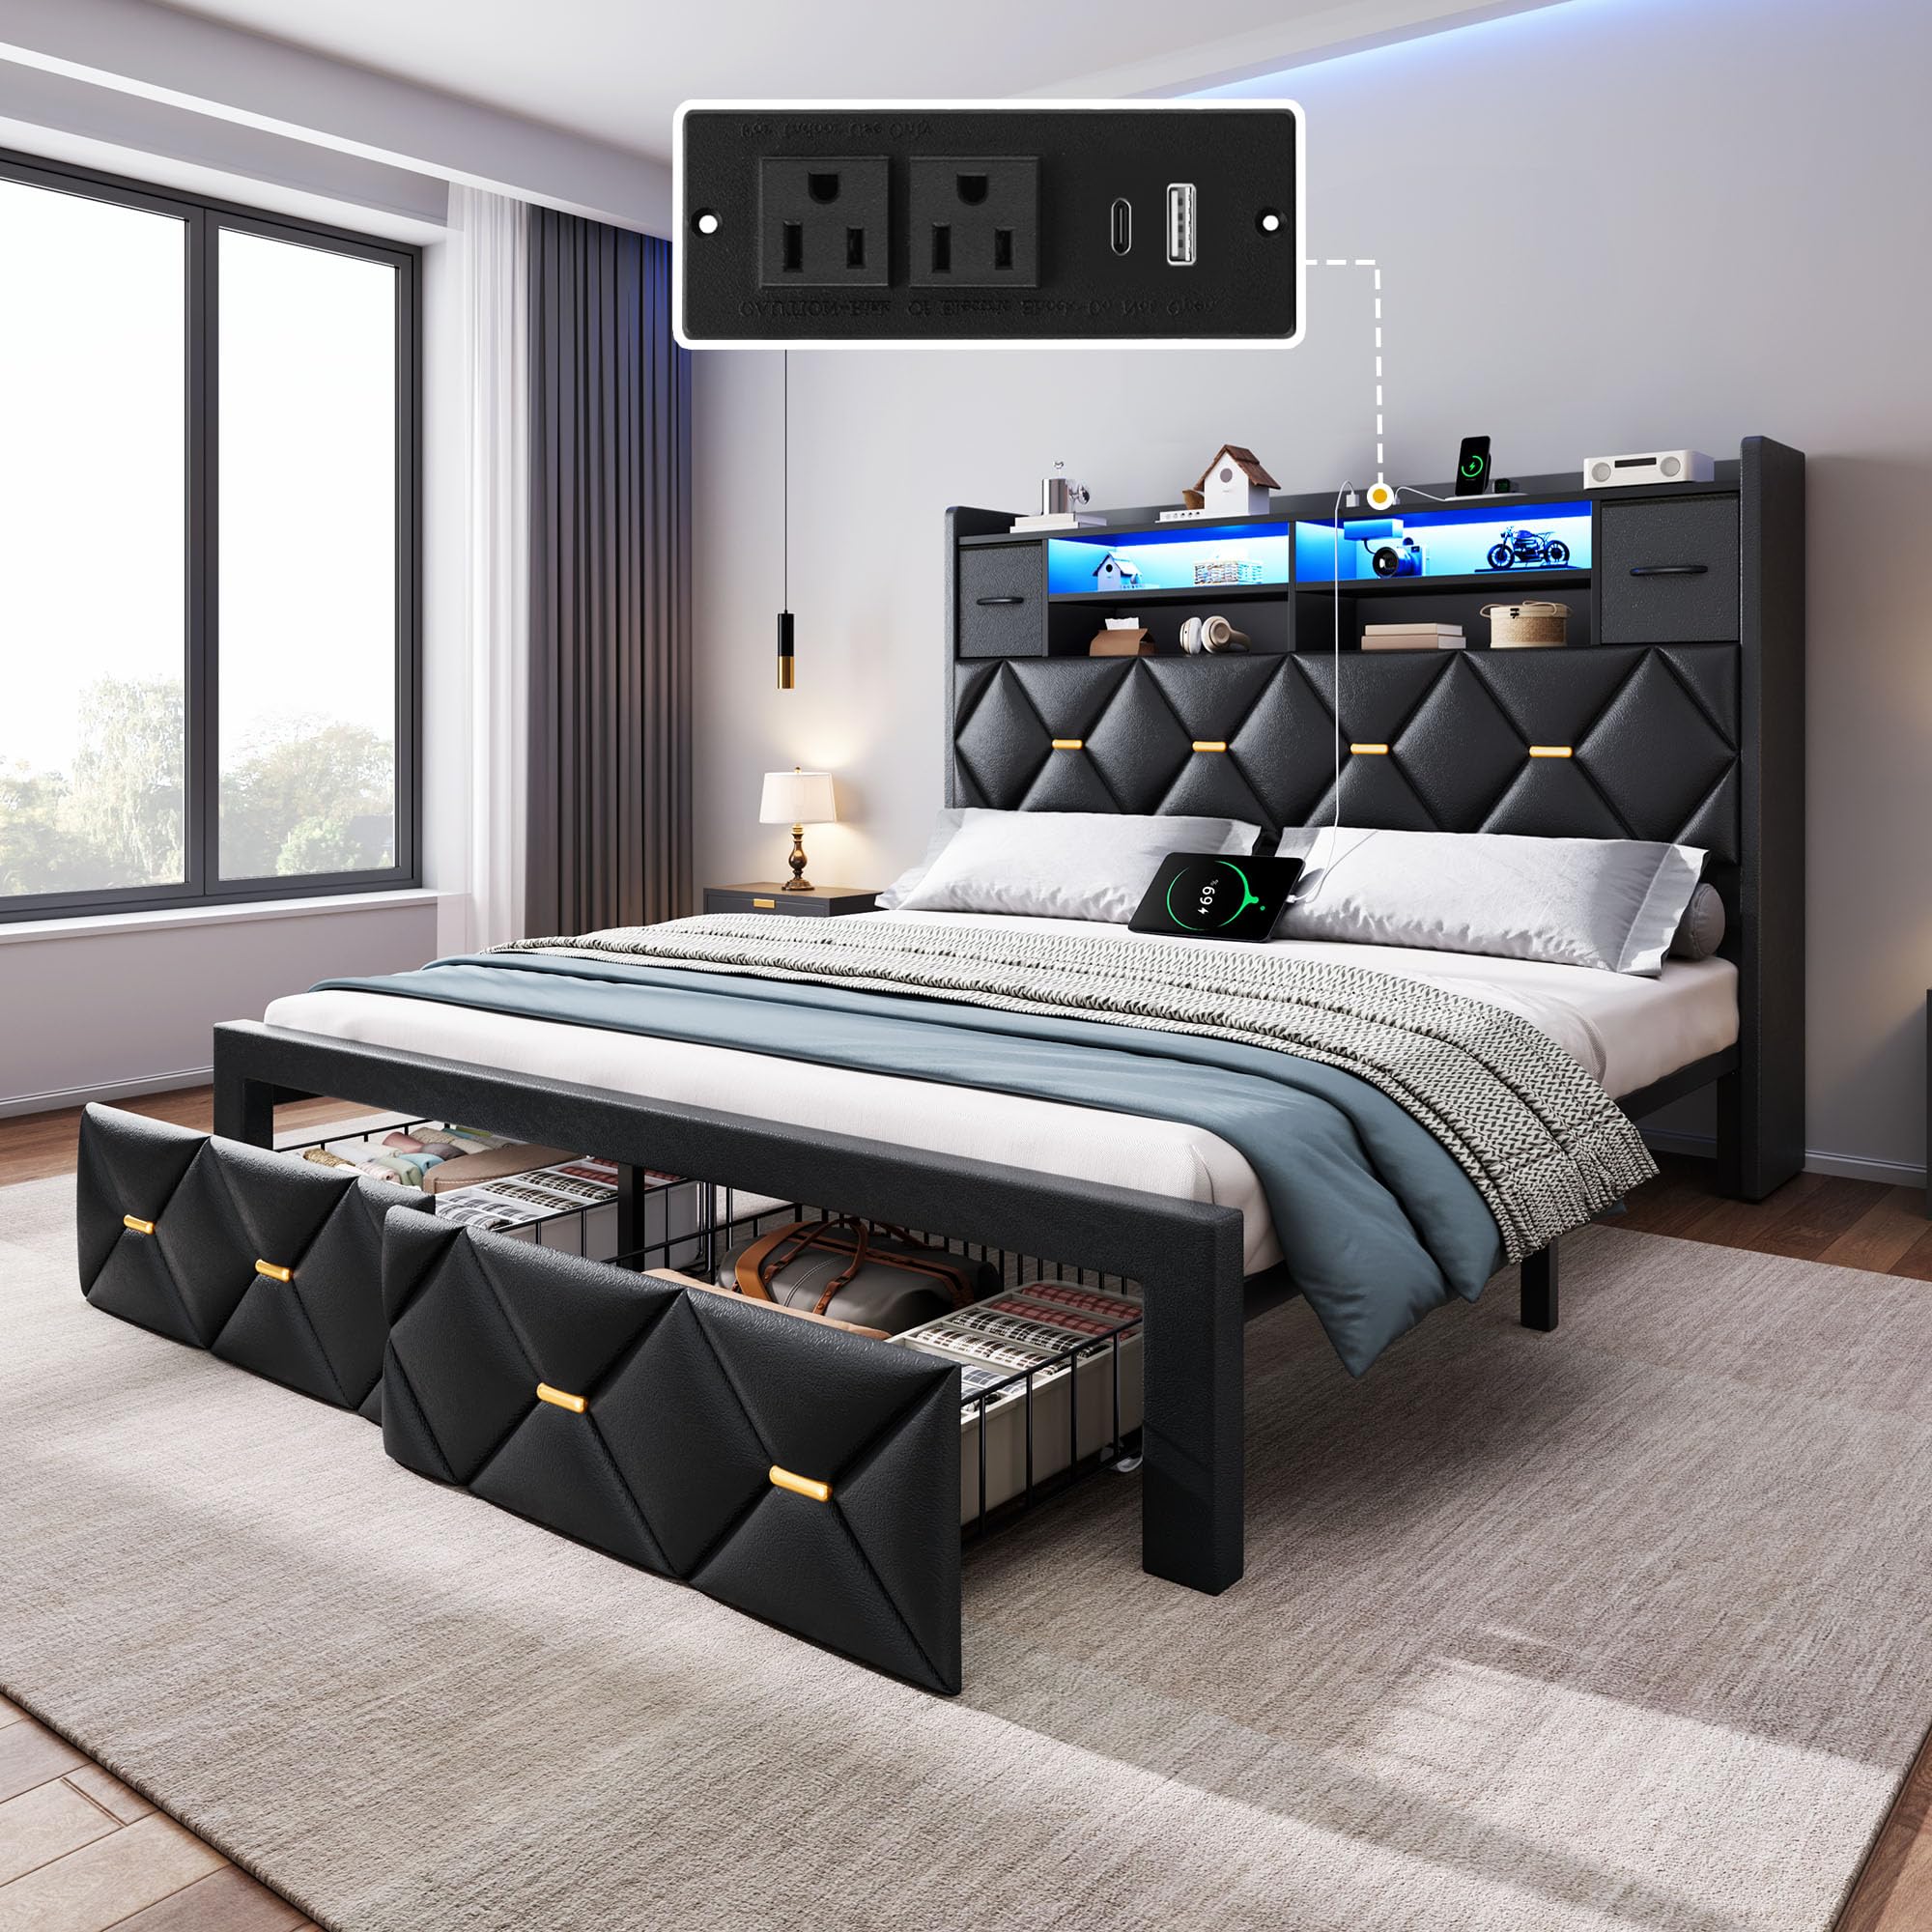
Overall view of the YITAHOME Full Size Bed Frame, highlighting its dimensions and key features like the storage headboard and under-bed drawers.
Safety Information
Important Safety Warnings:
- Do not exceed a total weight of 1000 pounds on the bed frame.
- Be cautious of sharp edges and corners during assembly and use.
- Ensure all screws and fasteners are securely tightened before use. Periodically check and re-tighten as necessary.
- Keep small parts away from children during assembly to prevent choking hazards.
- Assemble the bed frame on a soft, clean surface to prevent damage to the product or your floor.
Setup and Assembly
All parts, tools, and instructions are included in the box. All parts are numbered for easy identification. Please refer to the assembly video for a visual guide.
Assembly Video Guide
Official YITAHOME installation video for the upholstered platform bed with charging station. This video demonstrates the complete assembly process.
Step-by-Step Assembly Instructions
- Step 1: Assemble Headboard Shelf Components
Connect the headboard shelf panels using dowels as shown in the video. - Step 2: Secure Headboard Shelf
Use screws to firmly attach the connected headboard shelf components. - Step 3: Attach Vertical Dividers
Install the vertical dividers into the headboard shelf to create compartments. - Step 4: Install LED Light Strip
Carefully place and secure the LED light strip within the designated channel of the headboard shelf. - Step 5: Attach Top Panel
Position the top panel onto the assembled headboard shelf. - Step 6: Secure Top Panel
Fasten the top panel to the headboard shelf using screws. - Step 7: Attach Metal Brackets to Headboard Base
Secure the metal brackets to the lower part of the headboard structure. - Step 8: Secure Metal Brackets
Ensure the metal brackets are tightly screwed into place. - Step 9: Attach Headboard Support Legs
Connect the support legs to the headboard structure. - Step 10: Assemble Side Rails
Connect the components of the bed frame's side rails. - Step 11: Attach Side Rails to Headboard
Securely attach the assembled side rails to the headboard. - Step 12: Assemble Central Support Beams
Connect the central support beams that will run across the width of the bed frame. - Step 13: Attach Central Support Legs
Install the support legs to the central beams. - Step 14: Attach Central Support Structure
Integrate the central support beams and legs into the main bed frame structure. - Step 15: Attach Footboard Support Legs
Connect the support legs to the footboard. - Step 16: Attach Footboard to Bed Frame
Securely attach the footboard to the side rails of the bed frame. - Step 17: Install Charging Station
Place the charging station unit into its designated slot in the headboard and secure it with screws. - Step 18: Install Crossbars for Slat Support
Attach the metal crossbars that will hold the wooden slats. - Step 19: Place Wooden Slats
Lay the wooden slats across the bed frame, ensuring they are evenly spaced and secured. - Step 20: Assemble Wire Frame for Storage Drawers
Connect the wire components to form the basket structure of the under-bed drawers. - Step 21: Attach Wheels to Wire Frame
Install the wheels onto the bottom of the wire frame for easy movement. - Step 22: Attach Wire Frame to Drawer Front Panel
Connect the assembled wire frame to the upholstered front panel of the drawer. - Step 23: Secure Wire Frame to Drawer Front Panel
Ensure the wire frame is firmly attached to the drawer front panel using screws. - Step 24: Assemble Fabric Storage Boxes
Unfold the fabric storage boxes and attach their handles. - Step 25: Insert Storage Components
Place the fabric storage boxes into the headboard compartments and slide the assembled under-bed drawers into position.
Operating Instructions
Charging Station
The headboard features a built-in charging station for your convenience. To use, plug the bed frame's power cord into a standard wall outlet. The charging station includes:
- 2 AC Sockets (125V/12A): For standard electrical devices.
- 1 USB Port (5V/2A): For charging USB-compatible devices.
- 1 Type-C Port (2.5V/2.1A): For charging Type-C compatible devices.

Detail of the integrated charging station in the headboard, showing the power outlets and USB ports.
LED Lighting
The integrated RGB LED lights in the headboard can be controlled via a 24-key remote control or a smart application on your mobile device. This allows you to customize the lighting to suit your preferences.
- RGB Colors: Choose from a wide variety of colors.
- Multiple Modes: Select from various lighting effects and patterns.
- Music Synchronization: Lights can react to music.
- Timing Function: Set schedules for the lights to turn on or off.
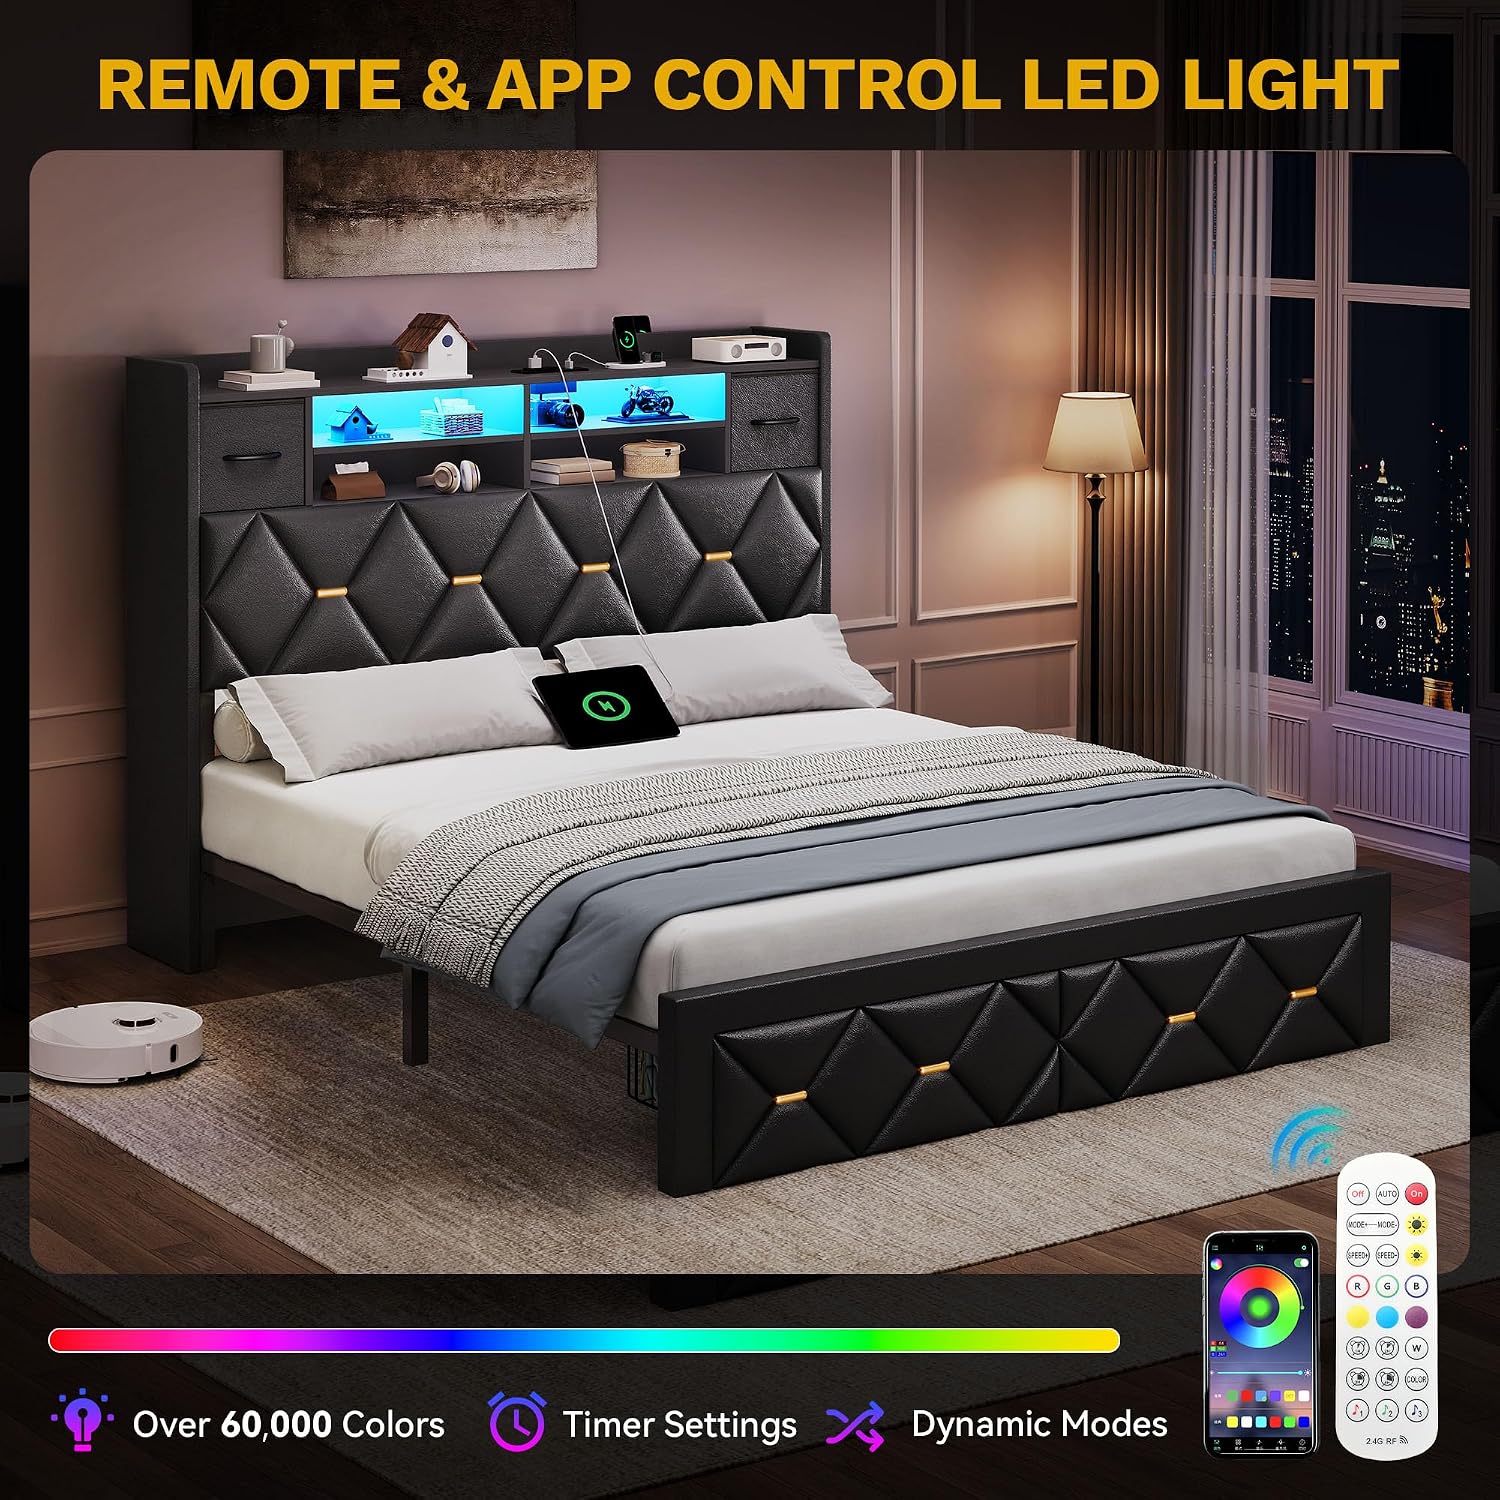
The bed frame with its LED lights illuminated, alongside the remote control for adjusting settings.
Maintenance
To ensure the longevity and appearance of your YITAHOME bed frame, follow these maintenance guidelines:
- Cleaning the PU Leather: Wipe the upholstered surfaces with a soft, damp cloth. For tougher stains, use a mild soap solution and immediately wipe dry. Avoid harsh chemicals or abrasive cleaners.
- Cleaning the Metal Frame: Dust the metal frame regularly with a soft, dry cloth. For smudges, use a slightly damp cloth and dry thoroughly.
- Checking Fasteners: Periodically inspect all screws and bolts to ensure they are tight. Re-tighten any loose fasteners to maintain stability and prevent noise.
- Drawer Care: Keep the storage drawers clean and free of excessive weight to ensure smooth operation of the wheels.
- Electrical Components: Ensure the charging station and LED lights are kept dry. Do not attempt to repair electrical components yourself; contact qualified personnel if issues arise.
Troubleshooting
If you encounter any issues with your bed frame, please refer to the following common solutions:
- Squeaking Noises: Check all connections and tighten any loose screws. Ensure the mattress is properly seated on the slats. The frame includes a mute sponge strip to minimize friction.
- LED Lights Not Working: Verify that the power cord is securely plugged into both the bed frame and the wall outlet. Check the remote control battery. Ensure the LED strip is properly connected.
- Charging Station Not Functioning: Confirm the bed frame's main power cord is plugged in. Test the outlets with another device to ensure power supply.
- Drawers Not Sliding Smoothly: Check for any obstructions under the bed or in the drawer tracks. Ensure the wheels are clean and undamaged.
If problems persist, please contact YITAHOME customer support for assistance.
Specifications
| Feature | Detail |
|---|---|
| Brand | YITAHOME |
| Model Number | MAYIH7QtqD |
| Size | Full |
| Product Dimensions | 83"L x 54.7"W x 45.2"H |
| Material | Alloy Steel, PU Leather |
| Color | Pu Leather Black |
| Weight Capacity | 1000 pounds |
| Special Features | Charging Station, LED Lighting, No Box Spring Needed, Remote Control, Space Saving |
| Included Components | Bookcase, Drawer, Headboard, Installation Manual, Slat |
| Assembly Required | Yes |
Warranty and Support
YITAHOME products are designed for quality and durability. For specific warranty details, please refer to the documentation included with your purchase or visit the official YITAHOME website. If you have any questions, require replacement parts, or need technical assistance, please contact YITAHOME customer support. Keep your purchase receipt and model number handy for faster service.
Customer Support: Refer to your product packaging or the YITAHOME website for contact information.


