1. Introduction
This manual provides detailed instructions for the safe installation, operation, and maintenance of your IDEQUY 20-inch Gold Modern Crystal LED Dimmable Flush Mount Chandelier. Please read this manual thoroughly before installation and retain it for future reference. This chandelier is designed for indoor use only and features a modern design with crystal elements and integrated dimmable LED lighting.
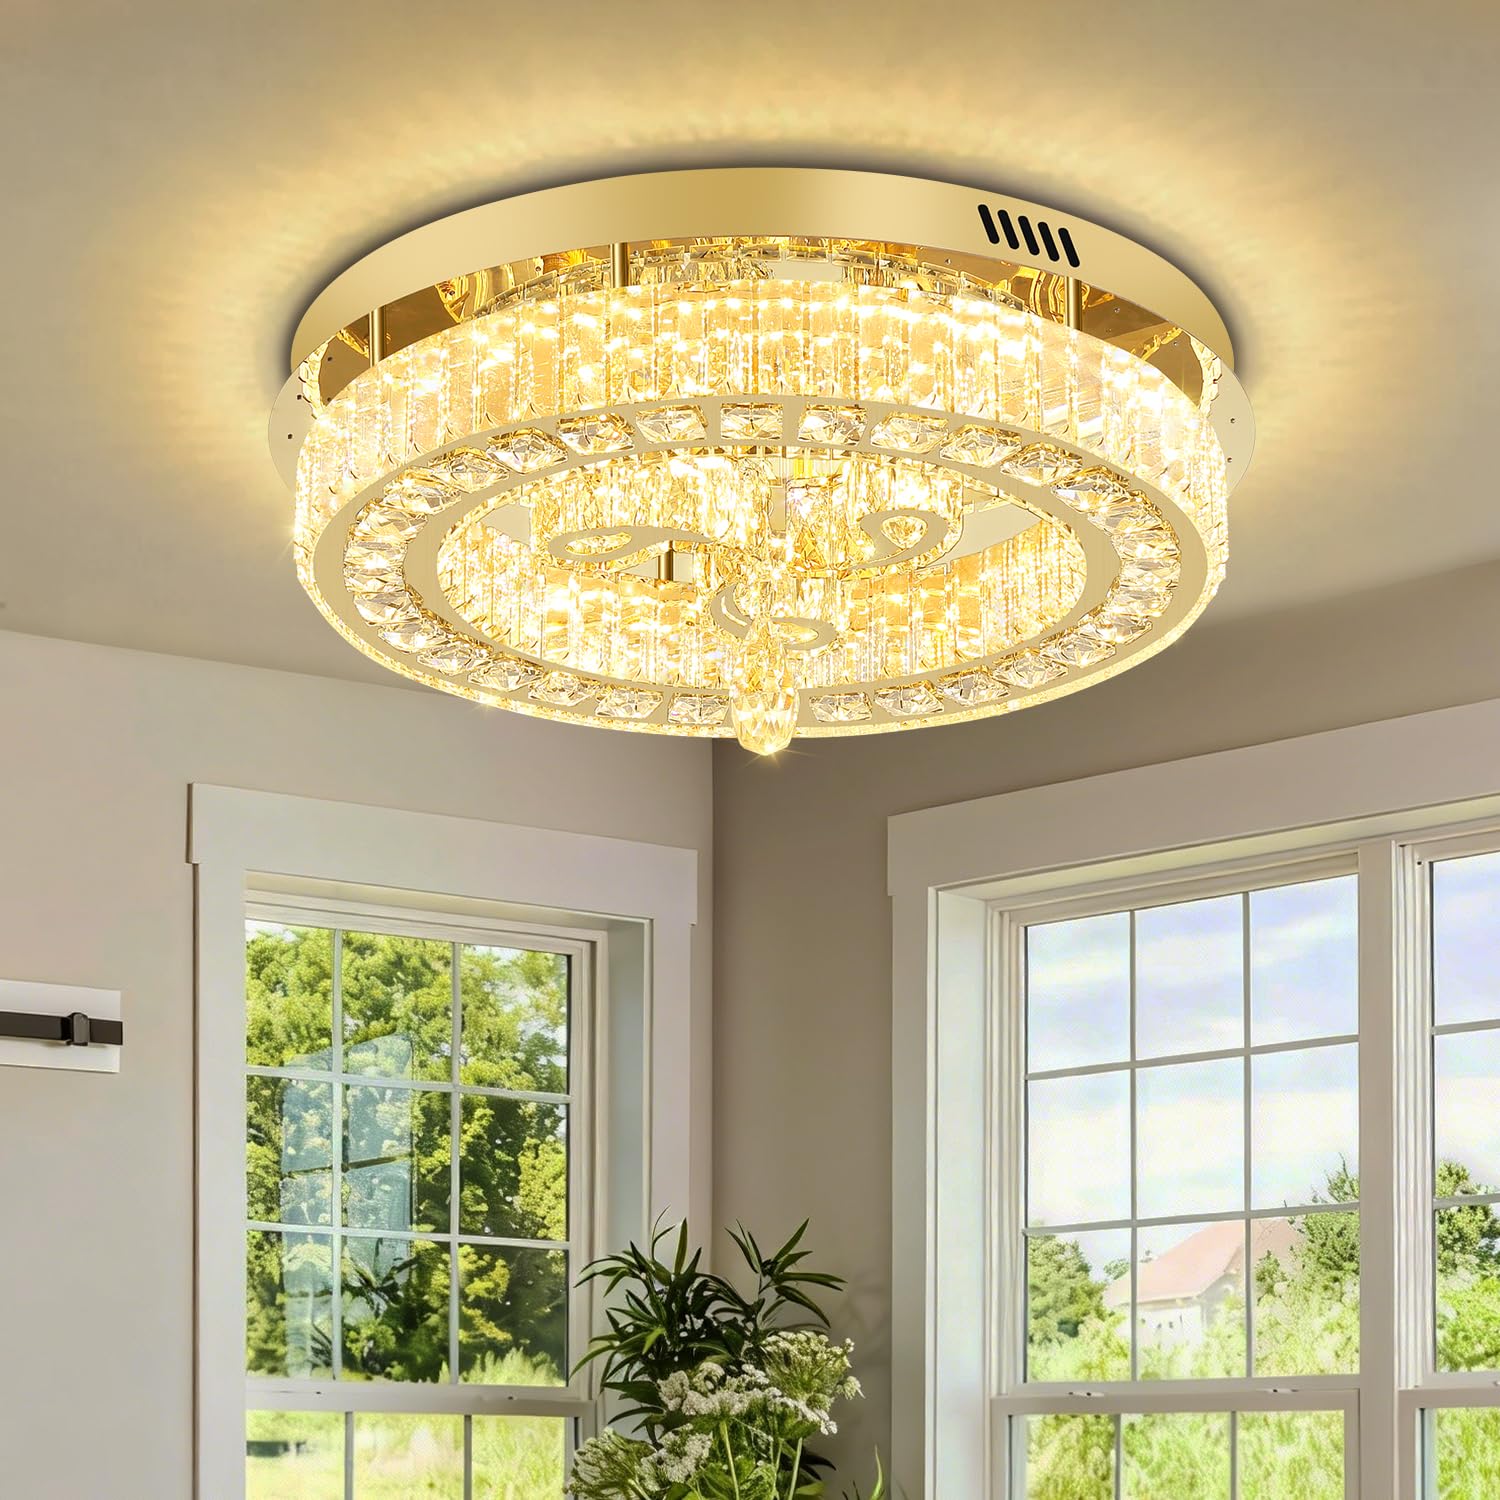
Image 1.1: The IDEQUY 20-inch Gold Modern Crystal LED Dimmable Flush Mount Chandelier installed in a living room setting.
2. Safety Information
- Electrical Safety: Always turn off the main power supply at the circuit breaker before beginning any electrical work. Consult a qualified electrician if you are unsure about the installation process.
- Voltage: This fixture is designed for 110 Volts AC/DC. Ensure your household electrical system matches this requirement.
- Mounting: Ensure the ceiling structure can support the weight of the fixture (approximately 22 lbs).
- Handling Crystals: Handle crystal components with care to prevent breakage or damage. Wear gloves to avoid leaving fingerprints.
- Indoor Use Only: This product is intended for indoor use in dry locations. Do not expose to moisture or outdoor elements.
- No User-Serviceable Parts: The LED light source is integrated and not replaceable by the user. Do not attempt to disassemble the light source.
3. Package Contents
Verify that all components are present and undamaged before proceeding with installation.
- Chandelier Main Body (with integrated LED)
- Crystal Elements (pre-assembled or requiring attachment)
- Mounting Hardware (screws, wire nuts, mounting bracket)
- Remote Control
- Instruction Manual
4. Specifications
| Feature | Specification |
|---|---|
| Brand | IDEQUY |
| Model Number | CF8078-50J |
| Dimensions (L x W x H) | 20"L x 20"W x 8.3"H |
| Color | Gold |
| Material | Stainless Steel + Crystal |
| Light Source | Integrated LED |
| Wattage | 30 Watts |
| Brightness | 3000 Lumens (Max) |
| Color Temperature | 2700K (Warm White) to 6500K (Cool White) |
| Dimmable | Yes (5%-100% brightness adjustment) |
| Voltage | 110V |
| Control Method | Remote Control, App (Lampsmart pro), Wall Switch (not compatible with external dimmers) |
| Mounting Type | Flush Mount (Ceiling Mount) |
| Weight | Approximately 22 lbs |

Image 4.1: Product specification diagram, including dimensions (D20" x H8"), overall weight (22LB), voltage (110V), light source (LED lamp beads), light effect (2700-6000K dimmable), material (stainless steel+crystal), and color (Gold). Also shows a note about removing protective film and options for sloped ceilings.
5. Setup and Installation
Important: Before starting installation, ensure the power is turned off at the circuit breaker to prevent electric shock.
- Prepare the Installation Area: Ensure the ceiling junction box is securely mounted and capable of supporting the fixture's weight. For sloped, groove, or roof's ceilings, contact customer support for information on compatible adapters if needed.
- Remove Protective Film: A gray-blue protective film covers the ceiling plate to prevent scratches during shipping. Carefully peel off this film before installation.
- Mount the Bracket: Attach the mounting bracket to the ceiling junction box using the provided screws.
- Wire Connections: Connect the chandelier's wires to your household electrical wires according to local electrical codes. Typically, connect the black wire from the fixture to the black (live) wire from the ceiling, the white wire from the fixture to the white (neutral) wire from the ceiling, and the ground wire to the ground wire. Secure connections with wire nuts.
- Secure the Fixture: Carefully lift the chandelier and attach it to the mounting bracket, securing it with the provided screws or nuts. Ensure the fixture is flush against the ceiling.
- Attach Crystal Elements (if separate): If any crystal elements are not pre-assembled, follow the specific instructions provided in the package to attach them securely to the fixture.
- Restore Power: Once installation is complete and all connections are secure, restore power at the circuit breaker.
Video 5.1: An official product video demonstrating the features and potentially the installation process of the Modern Flush Mount Crystal Chandelier. This video is provided by the seller, IDEQUY.
6. Operating Instructions
Your chandelier can be controlled via the included remote control, a standard wall switch, or a compatible smartphone application.
6.1 Remote Control Operation
The remote control allows for full adjustment of brightness and color temperature.
- Power On/Off: Press the power button to turn the light on or off.
- Brightness Adjustment: Use the brightness up/down buttons to adjust the light intensity from 5% to 100%.
- Color Temperature Adjustment: Use the color temperature buttons to cycle through or adjust the light color from 2700K (warm white) to 6500K (cool white).
6.2 Wall Switch Operation
A standard wall switch can turn the chandelier on and off. Note: This fixture is not compatible with external dimmer switches. Using an external dimmer may cause damage or malfunction. All dimming functions are controlled internally via the remote or app.
6.3 App Control
Download the "Lampsmart pro" application on your smartphone to control the chandelier. Follow the app's instructions for pairing and operation. The app provides similar control over brightness and color temperature as the remote control.

Image 6.1: Illustration of the various control methods for the chandelier, including the remote control, a standard wall switch (with a warning against using external dimmers), and the 'Lampsmart pro' mobile application. The image also depicts the color temperature range (2700K-6000K) and brightness adjustment (5%-100%).
7. Maintenance
Regular cleaning will help maintain the appearance and performance of your chandelier.
- Cleaning: Ensure the power is off before cleaning. Use a soft, dry microfiber cloth to gently wipe the metal frame and crystal elements. Avoid using abrasive cleaners, solvents, or polishes, as these can damage the finish or crystals.
- Dusting: Dust the crystals every few weeks to prevent buildup that can dull their sparkle.
- Inspection: Periodically check all connections and mounting hardware to ensure they remain secure.
8. Troubleshooting
If you encounter issues with your chandelier, refer to the following common problems and solutions:
| Problem | Possible Cause | Solution |
|---|---|---|
| Light does not turn on | No power supply; Loose wiring; Remote control battery dead or not paired. | Check circuit breaker. Verify wire connections. Replace remote battery or re-pair remote. |
| Light flickers or dims unexpectedly | Loose wiring; Incompatible external dimmer switch. | Check wiring connections. Ensure no external dimmer is used; use only the provided remote or app for dimming. |
| Remote control not working | Battery dead; Remote not paired; Obstruction between remote and fixture. | Replace remote battery. Refer to remote pairing instructions (if applicable). Ensure clear line of sight. |
| Crystals appear dull | Dust accumulation. | Clean crystals gently with a dry microfiber cloth. |
If the problem persists after attempting these solutions, please contact IDEQUY customer support.
9. Warranty and Support
IDEQUY provides an 8-year warranty for this product, covering manufacturing defects and significant malfunctions under normal use.
- Damaged or Missing Parts: If parts are damaged during transportation or found to be missing upon arrival, free replacements will be provided.
- Customer Service: For any questions regarding this chandelier, our professional engineer team offers 24-hour online service. Please contact us through the retailer's platform or visit the official IDEQUY store for support.
For further assistance, please visit the IDEQUY Store on Amazon.