Introduction
This manual provides comprehensive instructions for the installation, operation, and maintenance of your Deedlite Vigil Dash Cam Pro 2.0. Please read this manual thoroughly before using the device to ensure proper functionality and to maximize your driving security.
The Deedlite Vigil Dash Cam Pro 2.0 is a sophisticated dual-channel dash camera designed to capture high-quality video footage both on the road and inside your vehicle. It features 4K Full HD recording for the front camera, a 150° wide-angle lens, built-in WiFi, GPS, G-Sensor, and 24-hour parking surveillance mode.
Product Overview
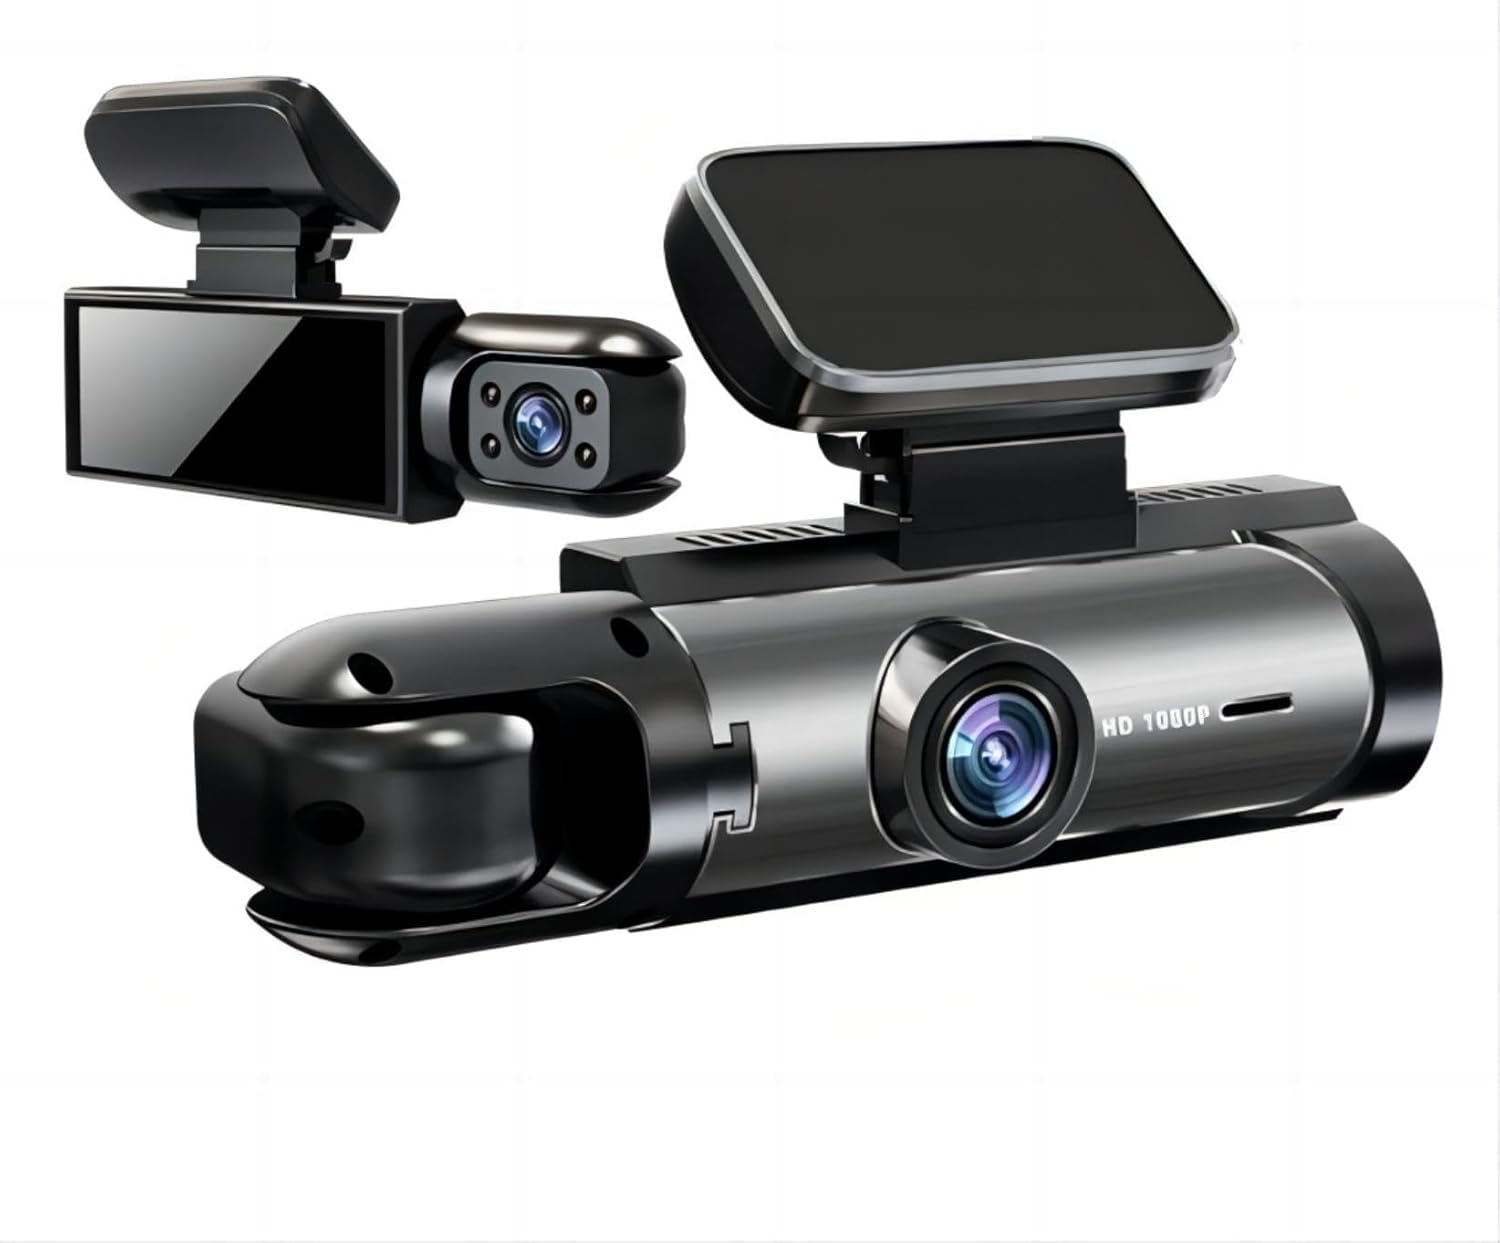
Figure 1: Deedlite Vigil Dash Cam Pro 2.0. This image displays the main unit of the dash camera, highlighting both the front-facing camera and the interior-facing camera components.
Key features of the Vigil Dash Cam Pro 2.0 include:
- Dual-Channel Recording: Simultaneously records the road ahead in 4K resolution and the vehicle's interior with a 150° ultra-wide-angle lens.
- Seamless Loop Recording: Automatically overwrites the oldest footage when the memory card is full, ensuring continuous recording without manual intervention.
- Automatic Incident & G-Sensor Lock: The built-in G-Sensor detects sudden impacts or collisions and automatically locks the current video file to prevent it from being overwritten, preserving critical evidence.
- 24/7 Parking Surveillance Mode: Activates recording automatically upon detecting motion around your parked vehicle, providing protection against incidents like hit-and-runs or vandalism.
- Built-in WiFi & GPS: Allows for easy access to footage via a smartphone app and provides location and speed data for recorded videos.
Package Contents
Please verify that all items are present in the package:
- Deedlite Vigil Dash Cam Pro 2.0 Unit
- Car Charger
- Mounting Bracket
- USB Cable
- User Manual
- AA Battery (pre-installed or included)
Setup
1. Inserting the SD Card
Before first use, a high-speed (Class 10 or higher) microSD card (up to 64GB recommended) must be inserted. Ensure the dash cam is powered off before inserting or removing the SD card.
- Locate the SD card slot on the side of the dash cam.
- Gently push the microSD card into the slot until it clicks into place.
- To remove, push the card in again until it springs out.
Note: Format the SD card within the dash cam's settings menu upon first use and periodically thereafter to ensure optimal performance and prevent data corruption.
2. Mounting the Dash Cam
The dash cam is designed for secure mounting on your vehicle's windshield or dashboard.
- Clean the chosen area on your windshield or dashboard thoroughly.
- Attach the mounting bracket to the dash cam.
- Peel off the protective film from the adhesive pad or suction cup of the mount.
- Press the mount firmly onto the desired location, ensuring a clear view for both front and interior cameras. Adjust the camera angle as needed.

Figure 2: Dual Lens DVR setup. This image illustrates the dash cam mounted inside a vehicle, displaying the simultaneous views captured by the front camera (road ahead) and the interior camera (cabin). The front camera view shows a road with a sign for Port Huron, while the interior camera view shows two occupants in the car.
3. Power Connection
- Connect the car charger to the dash cam's power input port.
- Plug the other end of the car charger into your vehicle's 12V power outlet (cigarette lighter socket).
- Route the power cable neatly along the windshield trim to avoid obstructing your view.
The dash cam will typically power on automatically when your vehicle starts and power off when the engine is turned off.
Operating Instructions
1. Basic Operation
- Power On/Off: The device powers on automatically with vehicle ignition. To manually power on/off, press and hold the power button.
- Recording: Once powered on, the dash cam will automatically begin loop recording. A flashing indicator light usually signifies active recording.
- Emergency Recording (G-Sensor): In case of a sudden impact, the G-Sensor will trigger an emergency recording, locking the current video file to prevent overwriting. You can also manually trigger an emergency recording by pressing the designated button (refer to device specific buttons).

Figure 3: Key features of the dash cam. This image highlights the primary functionalities of the device, including dual lens recording, parking monitoring, G-sensor incident detection, night vision capabilities, continuous loop recording, and a wide-angle view.
2. Display Modes
The dash cam features a display screen that can show various camera views. You can switch between these modes using the display button or through the settings menu.
- Front Camera Only
- Interior Camera Only
- Front and Interior Split View
- Picture-in-Picture (Front main, Interior inset)
- Picture-in-Picture (Interior main, Front inset)

Figure 4: Five kinds of switching screens. This image demonstrates the different display configurations available on the dash cam's screen, allowing users to view footage from the front camera, interior camera, or a combination of both in various split-screen or picture-in-picture layouts.
3. WiFi Connectivity and App Usage
The built-in WiFi allows you to connect your smartphone to the dash cam for live view, video playback, download, and settings adjustment.
- Download the official Deedlite Dash Cam app from your smartphone's app store.
- On the dash cam, enable WiFi through the settings menu.
- On your smartphone, connect to the dash cam's WiFi network (SSID and password usually displayed on the dash cam screen or in the manual).
- Open the app to access features.
4. GPS Functionality
The integrated GPS module records your vehicle's speed and location data, which can be viewed during video playback using the dedicated PC player software (available for download from the Deedlite website) or within the mobile app.
5. Parking Surveillance Mode
To activate 24/7 parking surveillance, ensure the dash cam is connected to a continuous power supply (e.g., a hardwire kit, sold separately, or a dedicated parking mode power bank). When motion is detected, the dash cam will automatically start recording.

Figure 5: Super Infrared Night Vision. This image illustrates the dash cam's enhanced night vision capabilities, featuring F/1.8 aperture, IR lights, WDR (Wide Dynamic Range), and a COMS sensor, enabling clear recording in low-light conditions, particularly useful for interior cabin monitoring at night.
Maintenance
1. Cleaning the Device
- Use a soft, dry cloth to clean the dash cam body.
- For lenses, use a specialized lens cleaning cloth and solution to avoid scratches.
- Do not use abrasive cleaners or solvents.
2. SD Card Management
- Regularly format the microSD card (at least once a month) to maintain its performance and prevent data corruption.
- Replace the microSD card every 6-12 months, especially if used frequently, as continuous overwriting can degrade its lifespan.
3. Firmware Updates
Periodically check the Deedlite official website for available firmware updates. Updating the firmware can improve performance, add new features, and fix bugs.
Troubleshooting
- Dash Cam Not Powering On:
- Check if the car charger is properly connected to both the dash cam and the vehicle's power outlet.
- Ensure the vehicle's 12V power outlet is functional.
- Verify the AA battery (if applicable) is correctly installed and charged.
- Recording Issues (e.g., not recording, corrupted files):
- Ensure a high-speed (Class 10 or higher) microSD card is inserted.
- Format the microSD card within the dash cam's settings.
- Try a different microSD card to rule out card failure.
- GPS Not Working:
- Ensure the dash cam has a clear view of the sky.
- Allow sufficient time for GPS signal acquisition (can take several minutes on first use or after a long period of inactivity).
- WiFi Connection Problems:
- Ensure WiFi is enabled on the dash cam.
- Verify you are connecting to the correct WiFi network (SSID) and entering the correct password.
- Keep your smartphone close to the dash cam for a stable connection.
- Screen Display Issues:
- Check display settings in the menu.
- Perform a factory reset if issues persist (note: this will erase custom settings).
Specifications
| Feature | Detail |
|---|---|
| Model Name | FBA-ADL-US-M8-64G |
| Brand | Deedlite |
| Video Capture Resolution | 4K (Front), HD (Interior) |
| Wide Angle Lens | 150° |
| Special Features | Built-in GPS, G-Sensor, 24H Parking Mode, Loop Recording, WiFi |
| Connectivity Technology | Wireless |
| Storage Support | MicroSD Card (up to 64GB, Class 10 or higher) |
| Power Source | 12V Car Charger, 1 AA Battery (included) |
| Product Dimensions | 3"D x 4"W x 2"H |
| Item Weight | 12 ounces |
| Color | Black |
| Manufacturer | Deedlite |

Figure 6: 3.16-Inch Ultra-wide screen. This image shows the dash cam's display, highlighting its size and user interface for real-time video viewing and settings adjustments.
Warranty Information
Deedlite products are covered by a limited warranty from the date of purchase. Please refer to the official Deedlite website or contact customer support for detailed warranty terms and conditions.
This warranty typically covers manufacturing defects and malfunctions under normal use. It does not cover damage caused by misuse, accidents, unauthorized modifications, or natural disasters.
Customer Support
For technical assistance, troubleshooting, or warranty claims, please contact Deedlite customer support:
- Website: www.deedlite.com (Note: This is a placeholder URL as no official support link was provided in the JSON.)
- Email: support@deedlite.com (Note: This is a placeholder email as no official support email was provided in the JSON.)
- Phone: Refer to the Deedlite website for regional contact numbers.
When contacting support, please have your product model number (FBA-ADL-US-M8-64G) and purchase date ready.