1. Introduction
This manual provides essential information for the safe and efficient operation of your podoru 10000mAh Magnetic Power Bank. Please read these instructions thoroughly before using the device and retain them for future reference.
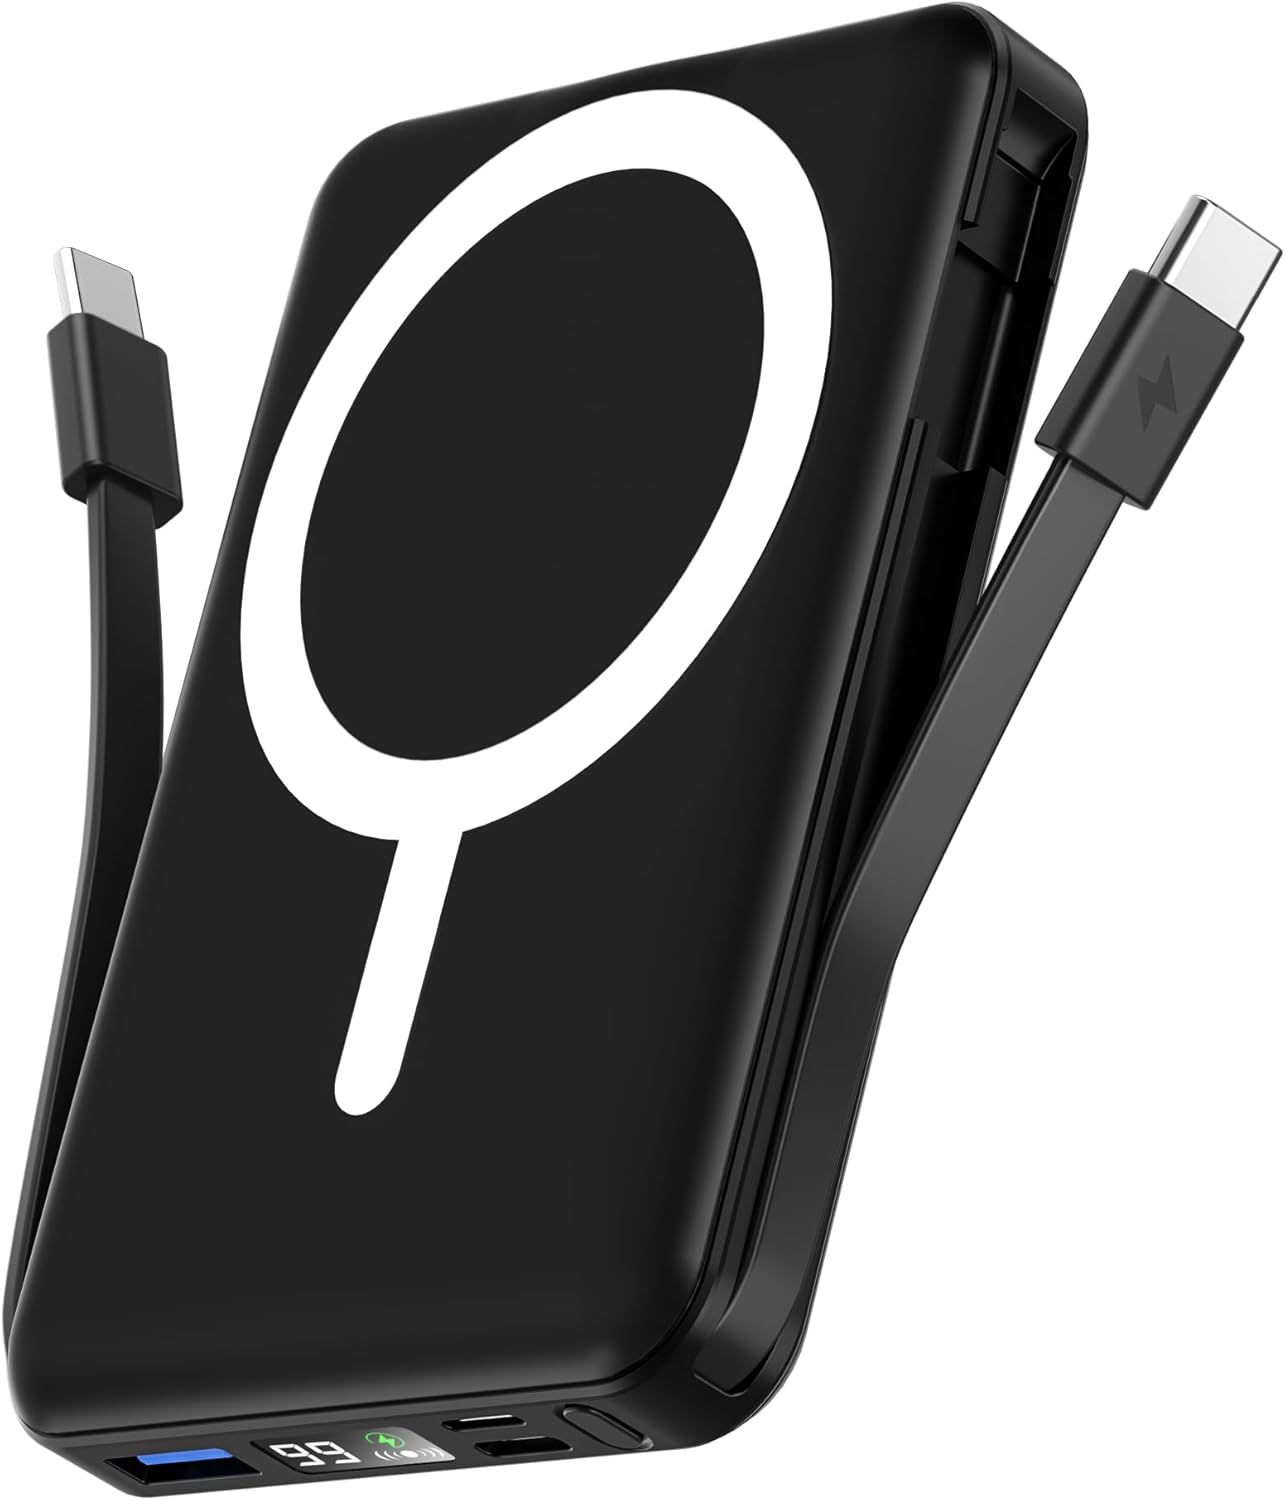
Image 1: The podoru 10000mAh Magnetic Power Bank in black, featuring its magnetic charging surface and built-in cables.
2. Key Features
- 10000mAh High Capacity: Provides substantial power for extended device usage.
- Magnetic Wireless Charging: Supports up to 15W wireless charging for compatible iPhone 12-17 series.
- Built-in Dual USB-C Cables: Integrated USB-C cables for convenient wired charging of various devices, eliminating the need for extra cables.
- Multi-Device Charging: Capable of charging up to 5 devices simultaneously via wireless, USB-C PD (20W output), USB (22.5W output), and built-in cables.
- Digital LED Display: Clear display shows exact remaining power percentage, wireless charging status, and PD fast charging indicator.
- Compact and Portable Design: Lightweight (186g) and pocket-sized (105x71x19mm) for easy portability.
- Integrated Kickstand: Allows for hands-free viewing while charging.
- Superior Safety: Features comprehensive multi-protect safety system including temperature control, overcharge protection, and short circuit protection.
3. Package Contents
Please check the package for the following items:
- podoru 10000mAh Magnetic Power Bank (Model KT-D011)
- User Manual
- USB-C to USB-C Charging Cable (for recharging the power bank)
4. Initial Setup
4.1 First Use
Before first use, fully charge your power bank. This ensures optimal battery performance and longevity. The digital LED display will show "100%" when fully charged.
4.2 Checking Battery Level
Press the power button once to activate the LED display and view the current battery percentage. The display will also show the wireless charging symbol and a green PD fast charging symbol when active.
5. Operating Instructions
5.1 Wireless Charging
- Ensure your device is compatible with magnetic wireless charging (e.g., iPhone 12-17 series).
- Align the back of your compatible device with the magnetic charging surface of the power bank. The magnets will securely attach the device.
- The power bank will automatically begin wireless charging. The LED display will show the wireless charging symbol.

Image 2: Illustrates an iPhone magnetically attached to the power bank for wireless charging.
5.2 Wired Charging (Using Built-in Cables)
- Locate the built-in USB-C cables on the sides of the power bank.
- Gently pull out the appropriate cable (USB-C to USB-C or USB-C to Lightning, depending on your device).
- Connect the cable to your device's charging port. The power bank will automatically begin charging.

Image 3: The power bank simultaneously charging multiple devices using its built-in cables and wireless function.
5.3 Wired Charging (Using External Ports)
- The power bank features additional USB-A and USB-C input/output ports.
- Connect your device using a compatible external charging cable to the desired port.
- The power bank will automatically begin charging.
5.4 Recharging the Power Bank
The power bank can be recharged using either a Lightning cable or a USB-C cable.
- Connect a Lightning cable to the Lightning input port or a USB-C cable to the USB-C input/output port.
- Connect the other end of the cable to a power adapter (not included).
- The LED display will show the charging progress.

Image 4: Demonstrates recharging the power bank using either a Lightning or USB-C cable.
5.5 Kickstand Functionality
The power bank features a built-in kickstand for convenient hands-free viewing while your phone is magnetically attached and charging.
- Gently pull out the integrated kickstand from the back of the power bank.
- Place the power bank with your attached phone on a flat surface.
- Adjust the angle for optimal viewing.
6. Compatibility
This power bank is compatible with a wide range of devices:
- Magnetic Wireless Charging: iPhone 12 Series, iPhone 13 Series (including mini, Pro, Pro Max), iPhone 14 Series (including Plus, Pro, Pro Max), iPhone 15 Series (including Plus, Pro, Pro Max), iPhone 16 Series (including Plus, Pro, Pro Max), iPhone 17 Series (including Pro, Pro Max, Air).
- Wired Charging: Compatible with iPhone and Type-C devices (e.g., Samsung, Pixel, Huawei series, Tablets) using the built-in USB-C cables or external cables via USB-A/USB-C ports.

Image 5: Illustrates the power bank's compatibility with various smartphone brands and tablets.
7. Specifications
| Feature | Detail |
|---|---|
| Product Dimensions | 4.13 x 2.79 x 0.74 inches |
| Item Weight | 8.4 ounces (186g) |
| Model Number | KT-D011 |
| Battery Type | 1 Lithium Polymer battery required |
| Battery Capacity | 10000 Milliamp Hours |
| Wireless Charging Output | Up to 15W |
| USB-C PD Output | Up to 20W |
| USB Output | Up to 22.5W |
| Lightning Input | Up to 12W |
| USB-C Input | Up to 20W |
| Special Features | Built-in Cables, Digital Display, Fast Charging, Pocket Size, Wireless Charging |
8. Safety Information
To ensure safe operation and prevent damage, please observe the following:
- Do not disassemble, hit, crush, or throw the power bank into fire.
- Discontinue use immediately if the battery is severely swollen.
- Do not use in a high-temperature environment.
- Do not immerse the power bank in water.
- Keep out of reach of children.
- It is normal for the power bank to become slightly warm during charging.
- Avoid using damaged cables or chargers.
- Do not place metal objects between the power bank and the device during wireless charging.
9. Maintenance
- Keep the power bank clean and dry. Do not wash with corrosive chemicals.
- Charge the power bank once every 3 months if it is not used for a long time to maintain battery health.
- Store in a cool, dry place away from direct sunlight and extreme temperatures.
10. Troubleshooting
- Device not charging: Ensure the power bank is charged. Check cable connections. For wireless charging, ensure proper alignment and device compatibility.
- Slow charging: Verify that your device and cable support fast charging. Ensure the power bank has sufficient charge.
- Power bank not charging: Try a different charging cable or power adapter. Ensure the charging port is clean and free of debris.
- LED display not working: Press the power button to activate the display. If it remains off, the power bank may be fully discharged or require service.
11. Warranty and Support
For warranty information or technical support, please refer to the contact details provided with your purchase or visit the official podoru website. Each item has a unique code that can be verified before shipping for authenticity.


