
HEI LIANG HL-Pro1
HEI LIANG Fingerprint Door Lock User Manual
Model: HL-Pro1 | Brand: HEI LIANG
Introduction
Thank you for choosing the HEI LIANG Fingerprint Door Lock. This smart door knob offers advanced security and convenience with multiple unlocking methods, including fingerprint, keypad, and app control. This manual provides detailed instructions for installation, operation, and maintenance to ensure optimal performance and security.
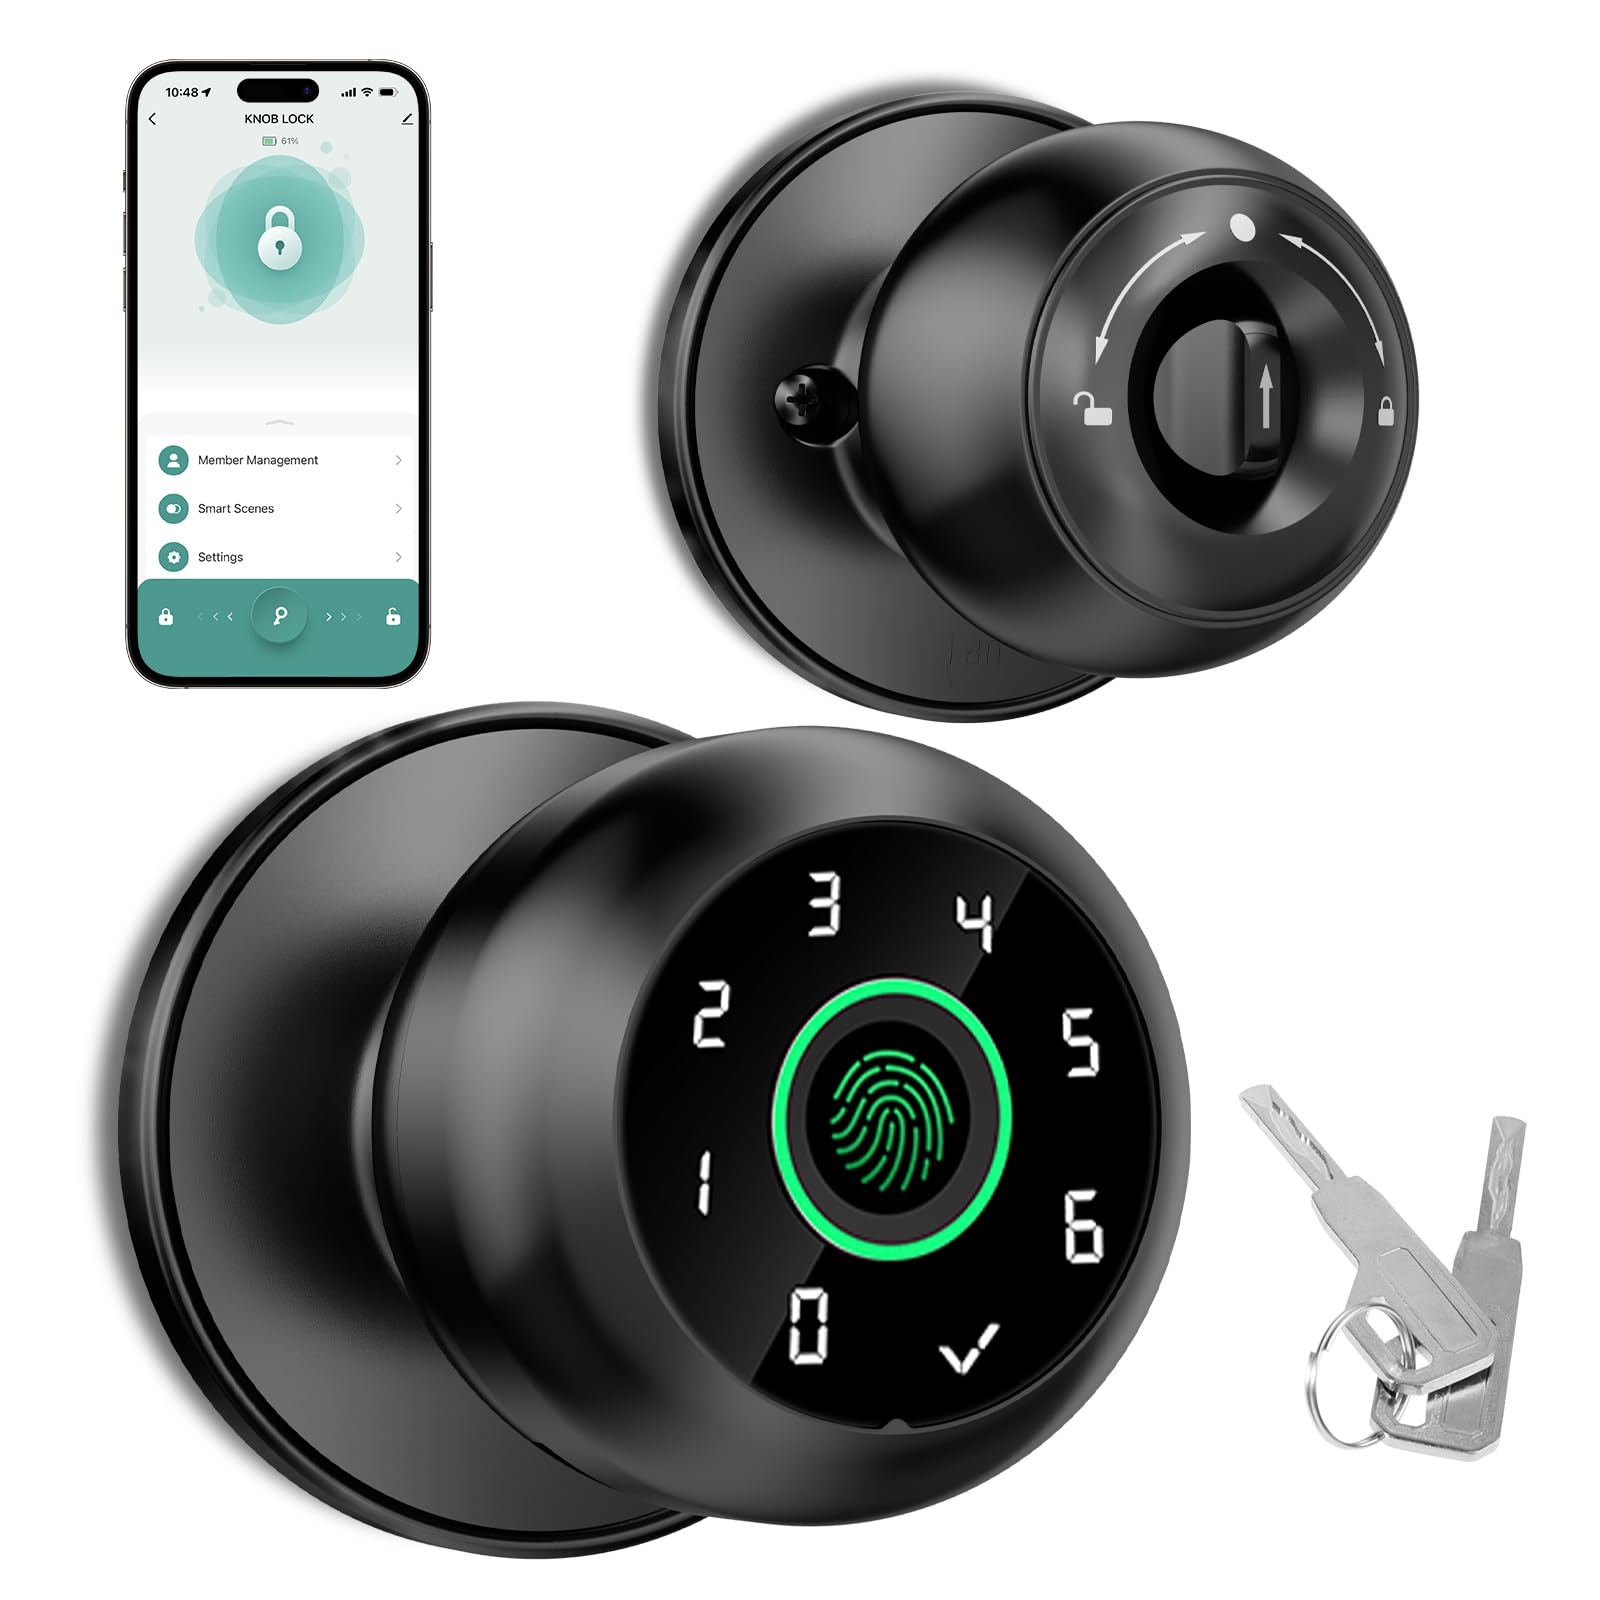
Image: The HEI LIANG Fingerprint Door Lock, showcasing its sleek design and integration into a modern home environment.
Safety Information
- Read all instructions carefully before installation and use.
- Do not attempt to disassemble or repair the lock yourself. Contact customer support for assistance.
- Ensure the lock is fully charged before initial use. Disconnect the charging cable once charging is complete; do not operate while plugged in.
- Keep emergency keys in a secure location outside the locked area.
- This lock is designed for indoor use or protected outdoor areas. Avoid direct exposure to extreme weather conditions.
Package Contents
Verify that all components are present before beginning installation:
- Fingerprint Door Knob (Exterior and Interior Assemblies)
- Latch Mechanism
- Strike Plate
- Mounting Screws
- Emergency Keys (2)
- Installation Template (if included)
- User Manual (this document)
Specifications
| Model Name | HL-Pro1 |
| Brand | HEI LIANG |
| Lock Type | Biometric, Keypad |
| Special Features | Fingerprint, Smart Lock, App Control |
| Material | Zinc |
| Color | Metallic Black |
| Product Dimensions (L x W x H) | 9 x 2.9 x 2.9 inches |
| Item Weight | 1.68 pounds (0.76 Kilograms) |
| Door Thickness Compatibility | 30-55mm (1.18-2.17 inches) |
| Backset Compatibility | 2-3/8" or 2-3/4" (60mm or 70mm) |
| Power Source | Internal Rechargeable Battery (Lithium) |
| Battery Life | Up to 1 year per charge (approx.) |
| Fingerprint Recognition Rate | 99% |
| False Acceptance Rate (FAR) | <0.01% |
| Identification Speed | <1 second |
| Max Fingerprints Stored | Up to 20 |
Installation Guide
The HEI LIANG Fingerprint Door Lock is designed for easy installation, typically requiring only a screwdriver. It is compatible with most standard American doors.
Preparation
- Check Door Compatibility: Ensure your door thickness is between 30-55mm (1.18-2.17 inches) and the backset is 2-3/8" or 2-3/4" (60mm or 70mm). The hole diameter should be 2-1/8" (54mm).
- Gather Tools: You will need a Phillips head screwdriver.
- Remove Existing Lock: Carefully remove your current door knob and latch mechanism.

Image: Diagram illustrating door thickness and backset measurements for compatibility, along with key lock components.
Installation Steps
- Install Latch Mechanism: Insert the latch into the door edge. Ensure the latch bolt faces the correct direction for your door swing. Secure with screws.
- Install Exterior Knob: Insert the exterior knob assembly into the door, ensuring the spindle rod passes through the latch mechanism.
- Install Interior Knob:
- Align the "UP" sign on both the outer and inner knobs.
- Ensure the spindle rod is in a vertical position.
- Turn the adjustment arrow with your thumb to point to the center point and the "UP" symbol.
- Insert the interior knob assembly, aligning the arrow upward into the mounting base. Apply slight force to fully insert the back lock.
- Secure the Lock: Fasten the interior knob to the exterior knob using the provided mounting screws. Do not overtighten.
- Install Strike Plate: Install the strike plate on the door frame, aligning it with the latch bolt. Secure with screws.
- Test Operation: Close the door and test the latch and lock mechanism to ensure smooth operation.

Image: A detailed view of the HEI LIANG Fingerprint Door Lock components, illustrating how the exterior and interior parts connect during installation.
Operation
The HEI LIANG Fingerprint Door Lock offers four convenient methods for unlocking your door.
1. Fingerprint Unlocking
The lock recognizes registered fingerprints in approximately 0.3 seconds, providing quick and secure access. Up to 20 fingerprints can be stored locally on the door knob.
- Place a registered finger on the fingerprint sensor.
- The lock will unlock instantly.
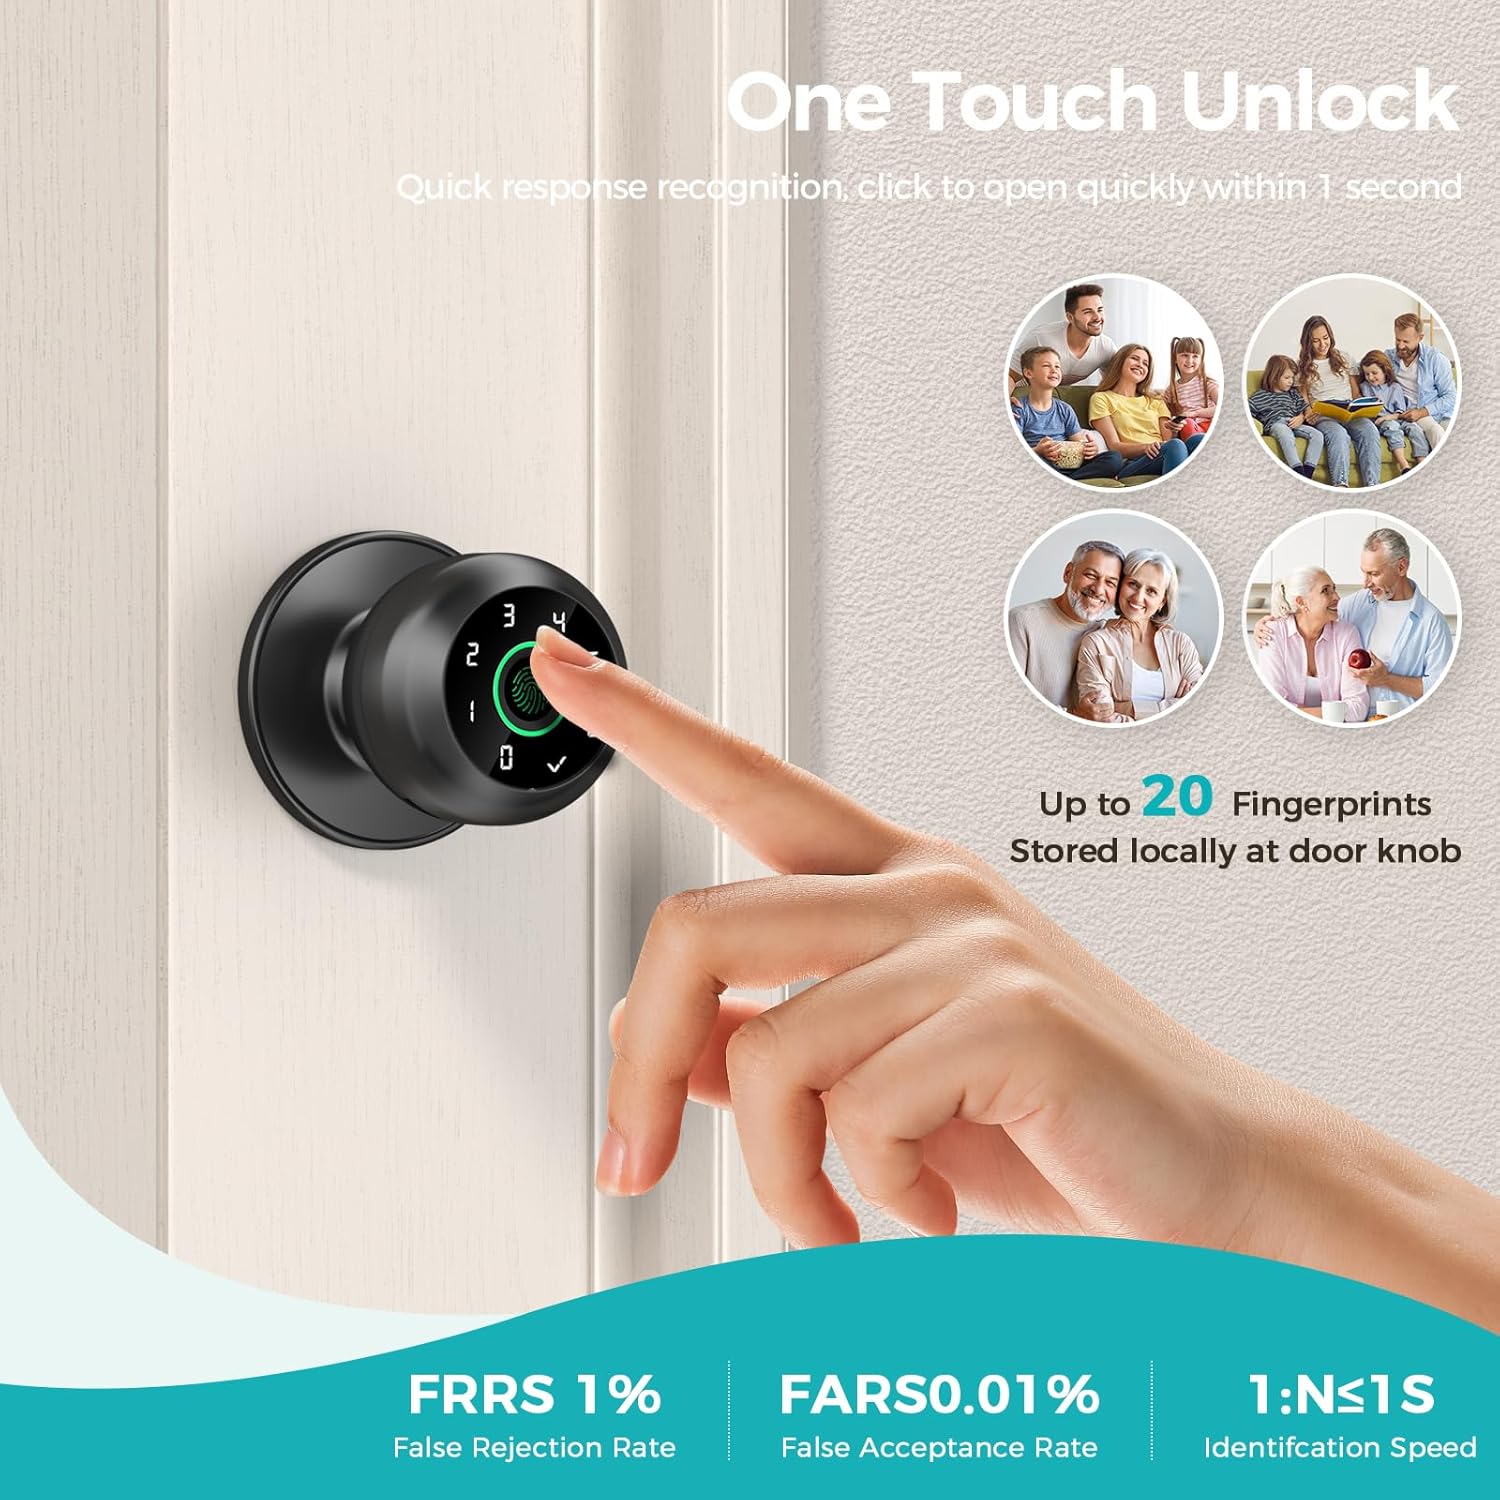
Image: A hand demonstrating the "One Touch Unlock" feature by placing a finger on the biometric sensor for quick access.
2. Passcode Unlocking
Enter your registered passcode on the keypad for secure entry.
- Press any key to activate the keypad.
- Enter your 6-digit passcode.
- Press the checkmark (✓) button to confirm.
Virtual Passcode (Anti-Snooping)
To prevent others from guessing your passcode, you can enter random digits before or after your actual passcode. As long as the correct passcode sequence is embedded within the entered digits, the lock will unlock.
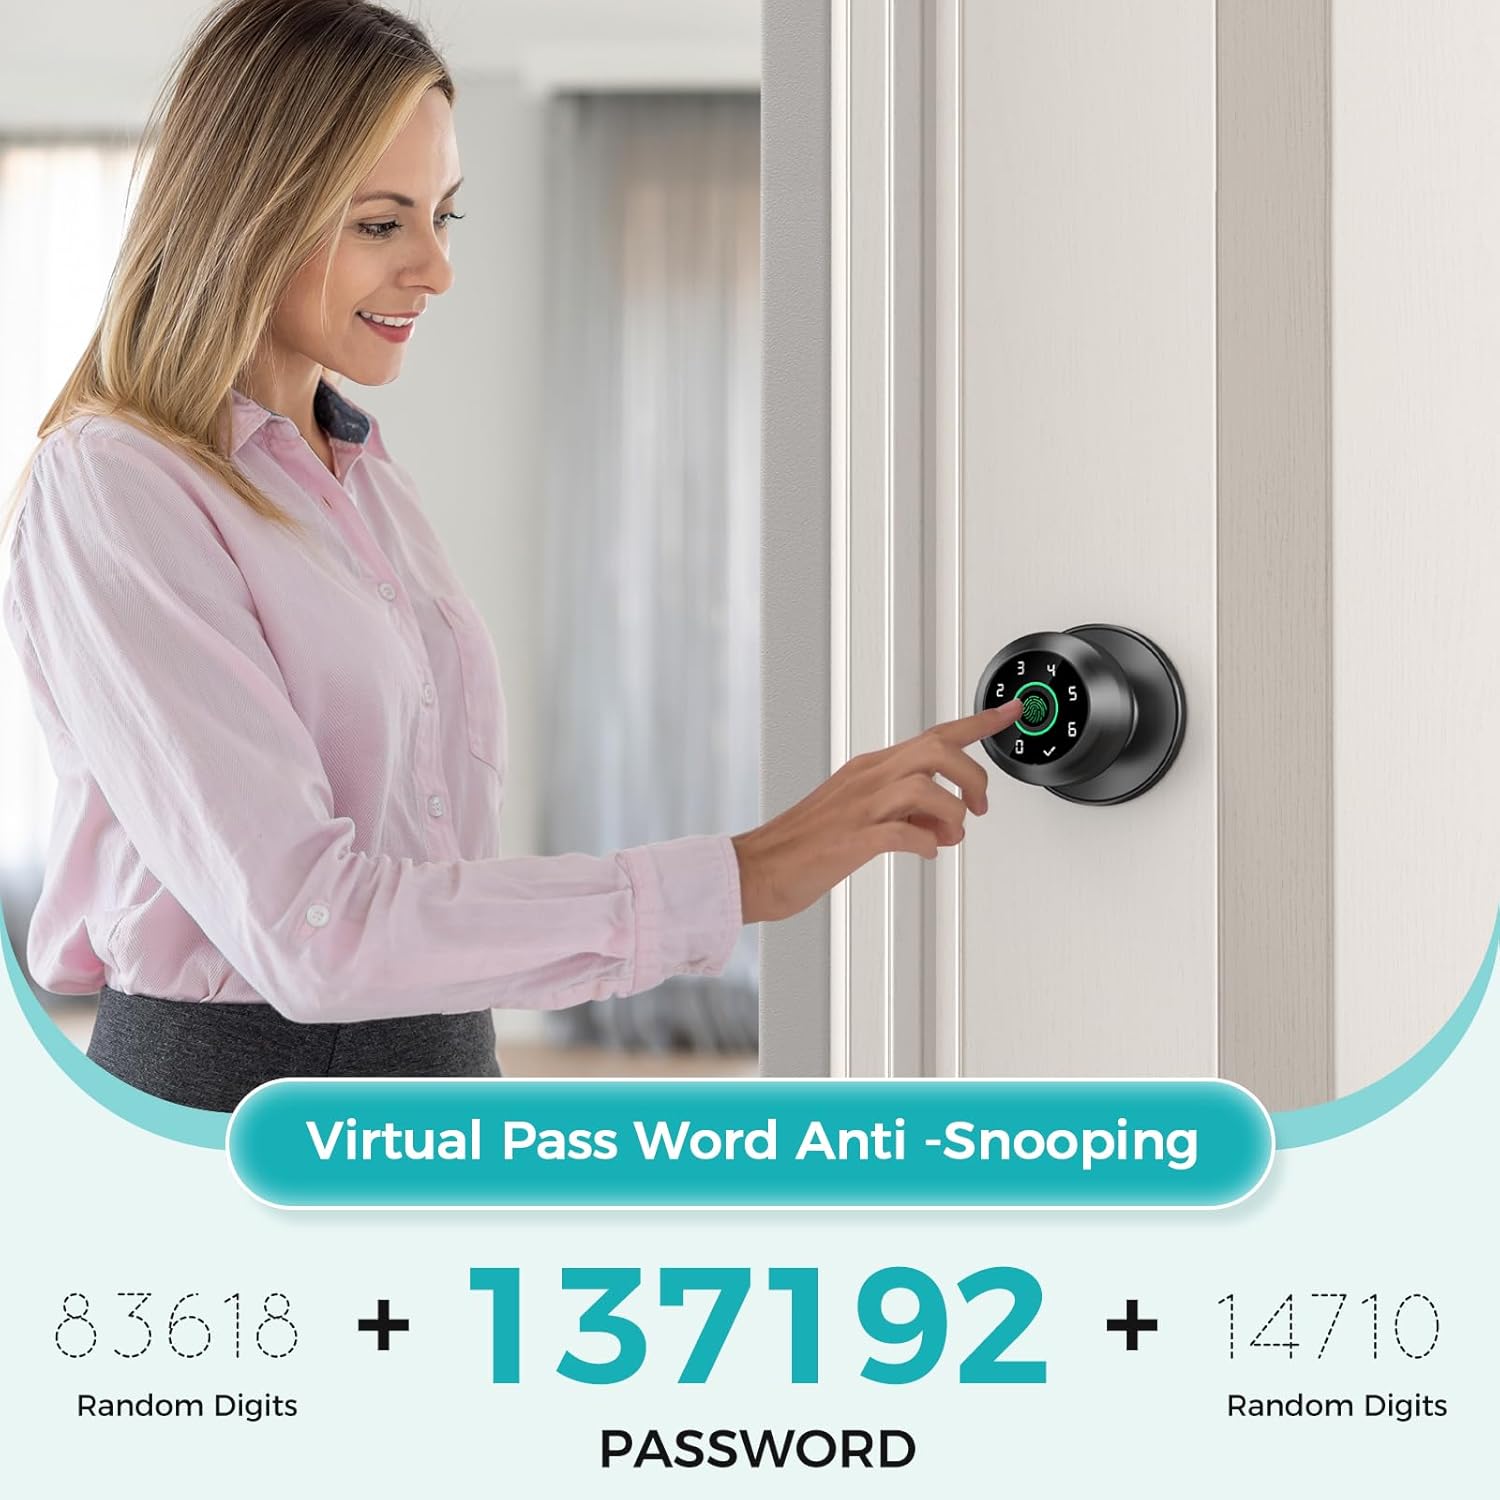
Image: A user demonstrating the Virtual Passcode feature, where random digits can be entered before or after the actual code for enhanced security.
3. App Control Unlocking
Manage and unlock your door remotely using the dedicated mobile application.
- Download and install the "Knob Lock" app (or specified app name) from your device's app store.
- Follow the in-app instructions to pair your lock.
- Use the app interface to unlock the door, manage fingerprints, passcodes, view unlocking records, and adjust settings.
Recurring Passwords
The app allows you to generate temporary or recurring passcodes for guests, service providers, or family members, providing flexible access control.
Image: A user interacting with the mobile application to control the lock, demonstrating the convenience of app-based unlocking and recurring password generation.
4. Emergency Key Unlocking
In case of battery depletion or electronic malfunction, use the provided emergency keys.
- Insert the emergency key into the keyhole located on the exterior knob.
- Turn the key to unlock the door manually.
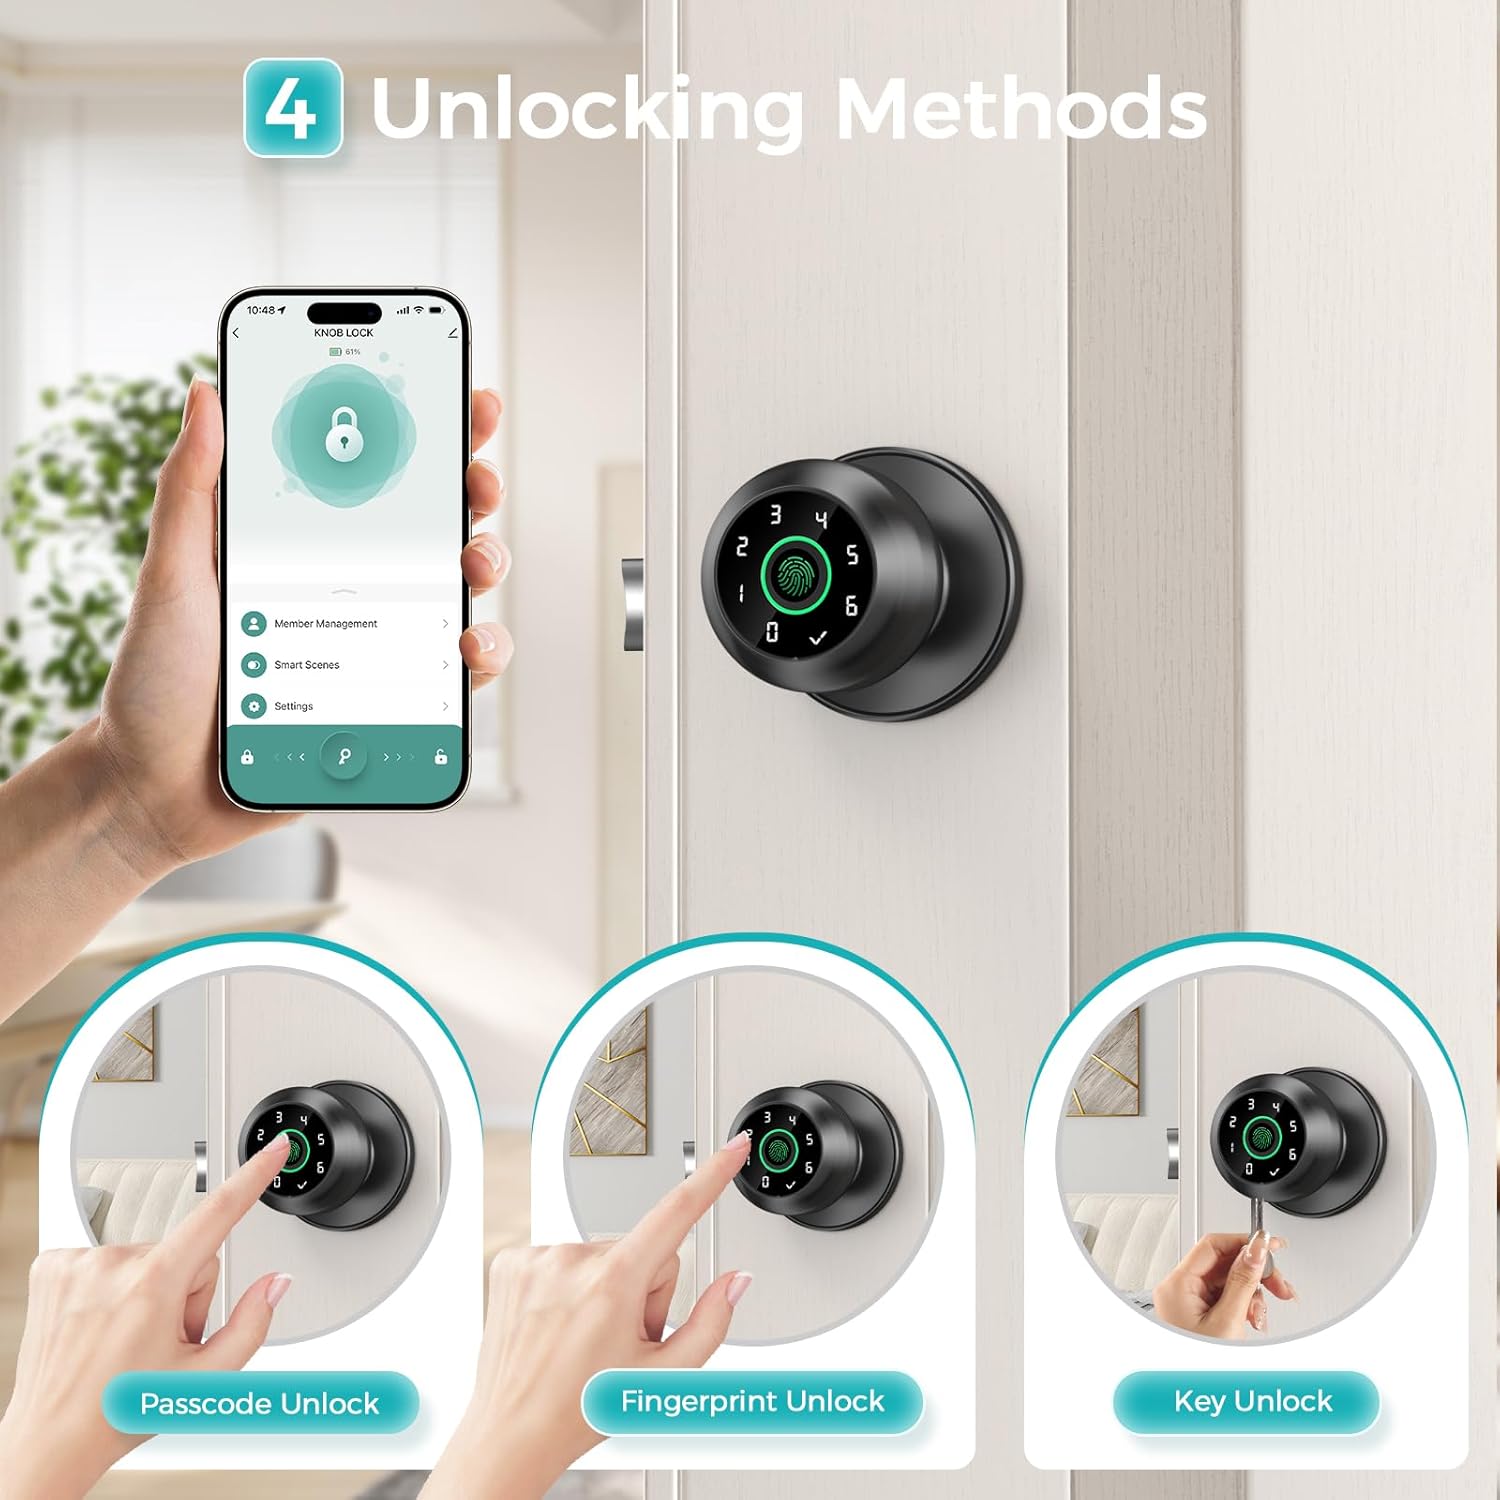
Image: An illustration detailing the four primary unlocking methods: App, Passcode, Fingerprint, and traditional Key, highlighting the versatility of the lock.
Automatic Lock Function
The lock can be configured to automatically lock after a set period, ensuring your door is always secured.
- Access the auto-lock settings through the mobile application.
- Choose from preset times (e.g., 5, 30, 60 seconds, 5 minutes) or set a custom duration (5-900 seconds).
- You can also disable the auto-lock function via the app if needed.
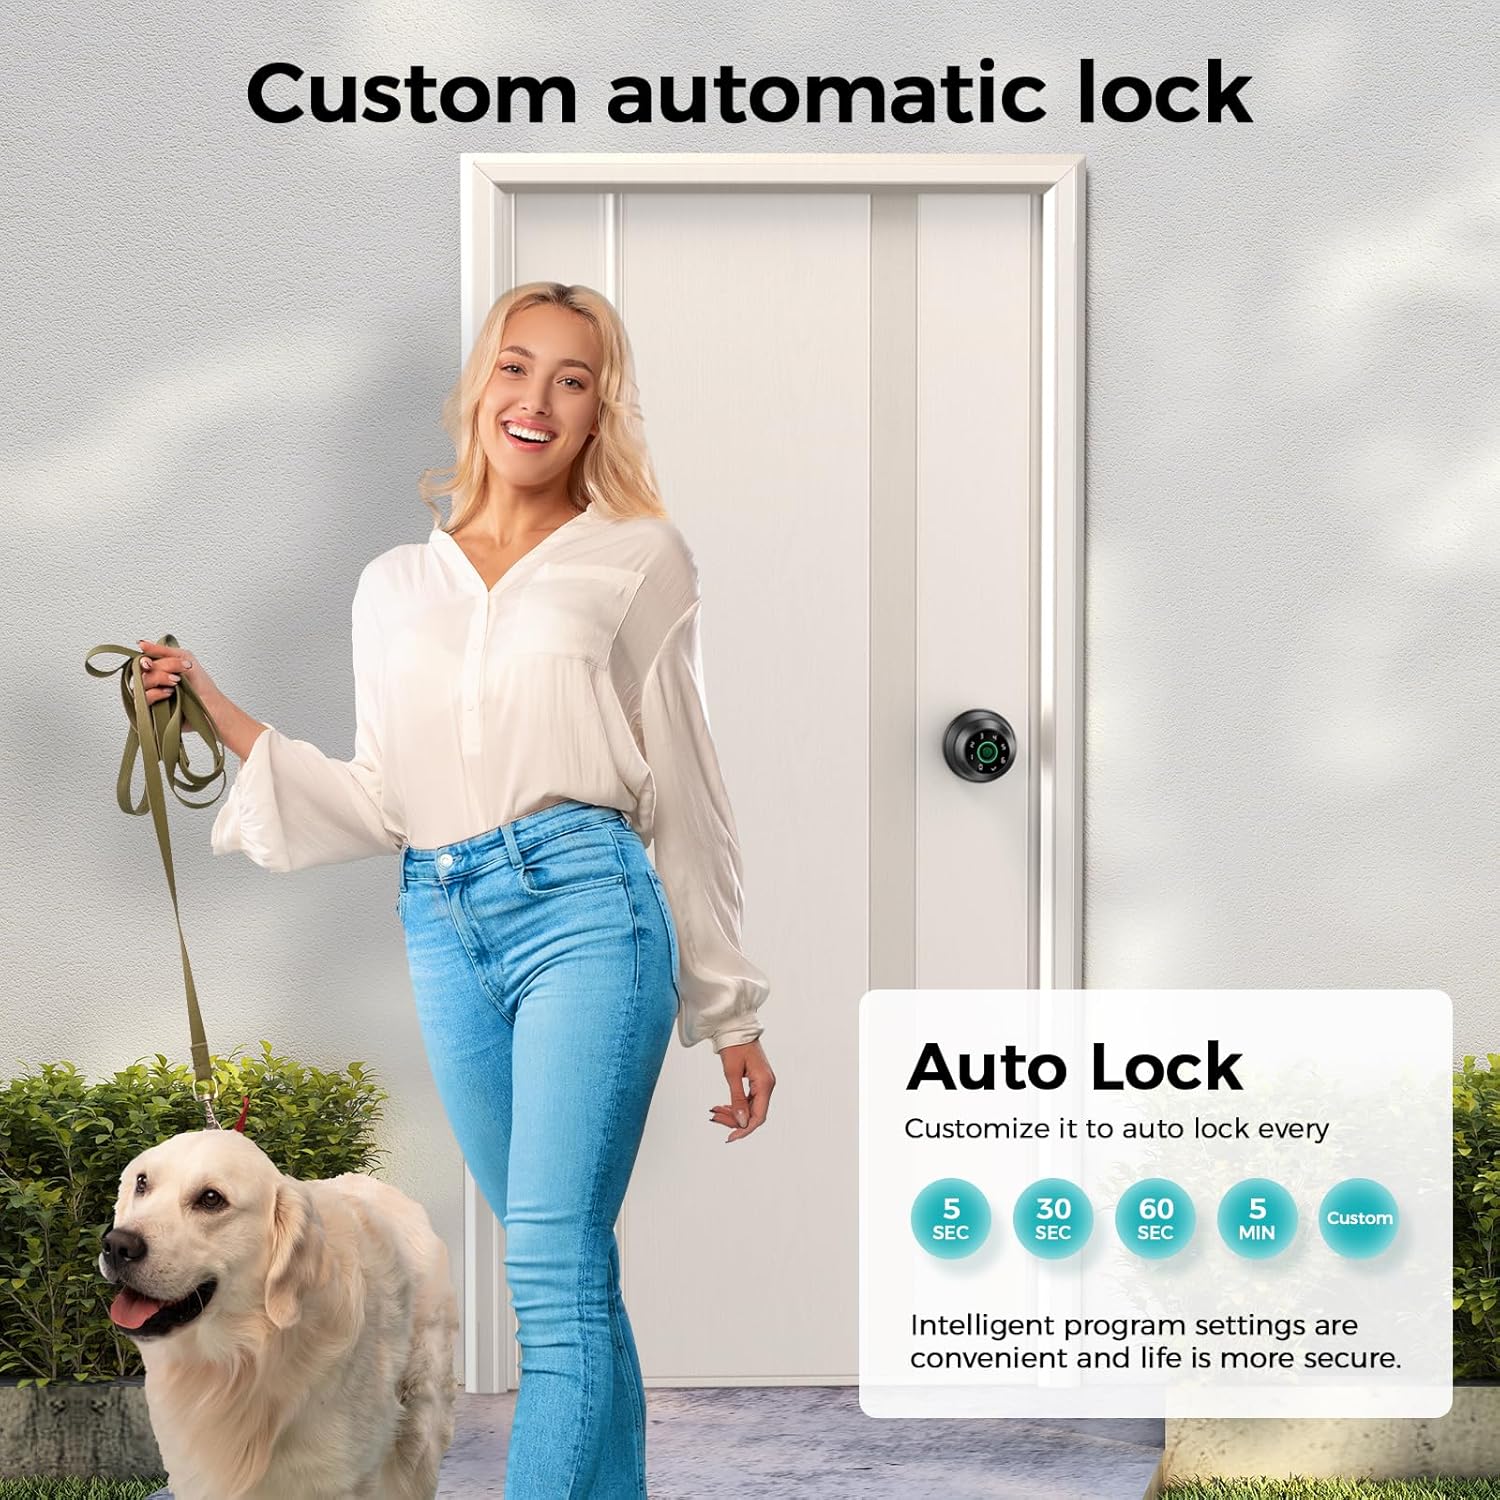
Image: A visual representation of the customizable auto-lock feature, allowing users to set the lock to automatically secure after a chosen time interval.
Mute Mode
For quiet environments, the lock's volume can be adjusted or muted via the app.
- Open the mobile application.
- Navigate to the lock settings.
- Adjust the volume or enable mute mode to silence operational sounds.

Image: The HEI LIANG lock in a bedroom setting, illustrating the benefit of "Mute Mode" for quiet operation, ideal for maintaining peace.
Maintenance
Battery Management
- The lock features an internal rechargeable lithium battery.
- A visual power display and low power alarm function will notify you when the battery is low.
- Charge the lock fully when the low power alarm activates.
- Important: Disconnect the charging cable once the battery is fully charged. Do not operate the lock while it is plugged in for charging. The battery is not removable by the user.

Image: Visual indicators for battery status, including full charge, low battery warning, and estimated battery life.
Cleaning
- Wipe the lock surface with a soft, dry cloth.
- Avoid using abrasive cleaners, solvents, or harsh chemicals, as these can damage the finish and electronic components.
- Keep the fingerprint sensor clean and free of debris for optimal performance.
Troubleshooting
| Problem | Possible Cause / Solution |
|---|---|
| Lock does not respond. |
|
| Fingerprint not recognized. |
|
| Passcode not working. |
|
| App connection issues. |
|
| Inner knob detaches easily. |
|
Warranty and Support
For warranty information or technical support, please contact HEI LIANG customer service. Refer to the product packaging or the official HEI LIANG website for contact details.
Please have your model number (HL-Pro1) and purchase date ready when contacting support.
Related documentsHL-Pro1


Ask a question about this manual
Ask about setup, troubleshooting, compatibility, parts, safety, or missing instructions. Manuals+ will review the question and use this page’s manual context to help answer it.