1. Product Overview
The RAINPOINT Automatic Watering System is designed to provide efficient and consistent watering for up to 20 potted plants. This system is ideal for indoor plants, balconies, and holiday watering, ensuring your plants receive the necessary hydration without constant manual intervention. It features a rechargeable design and a user-friendly interface for setting watering schedules.
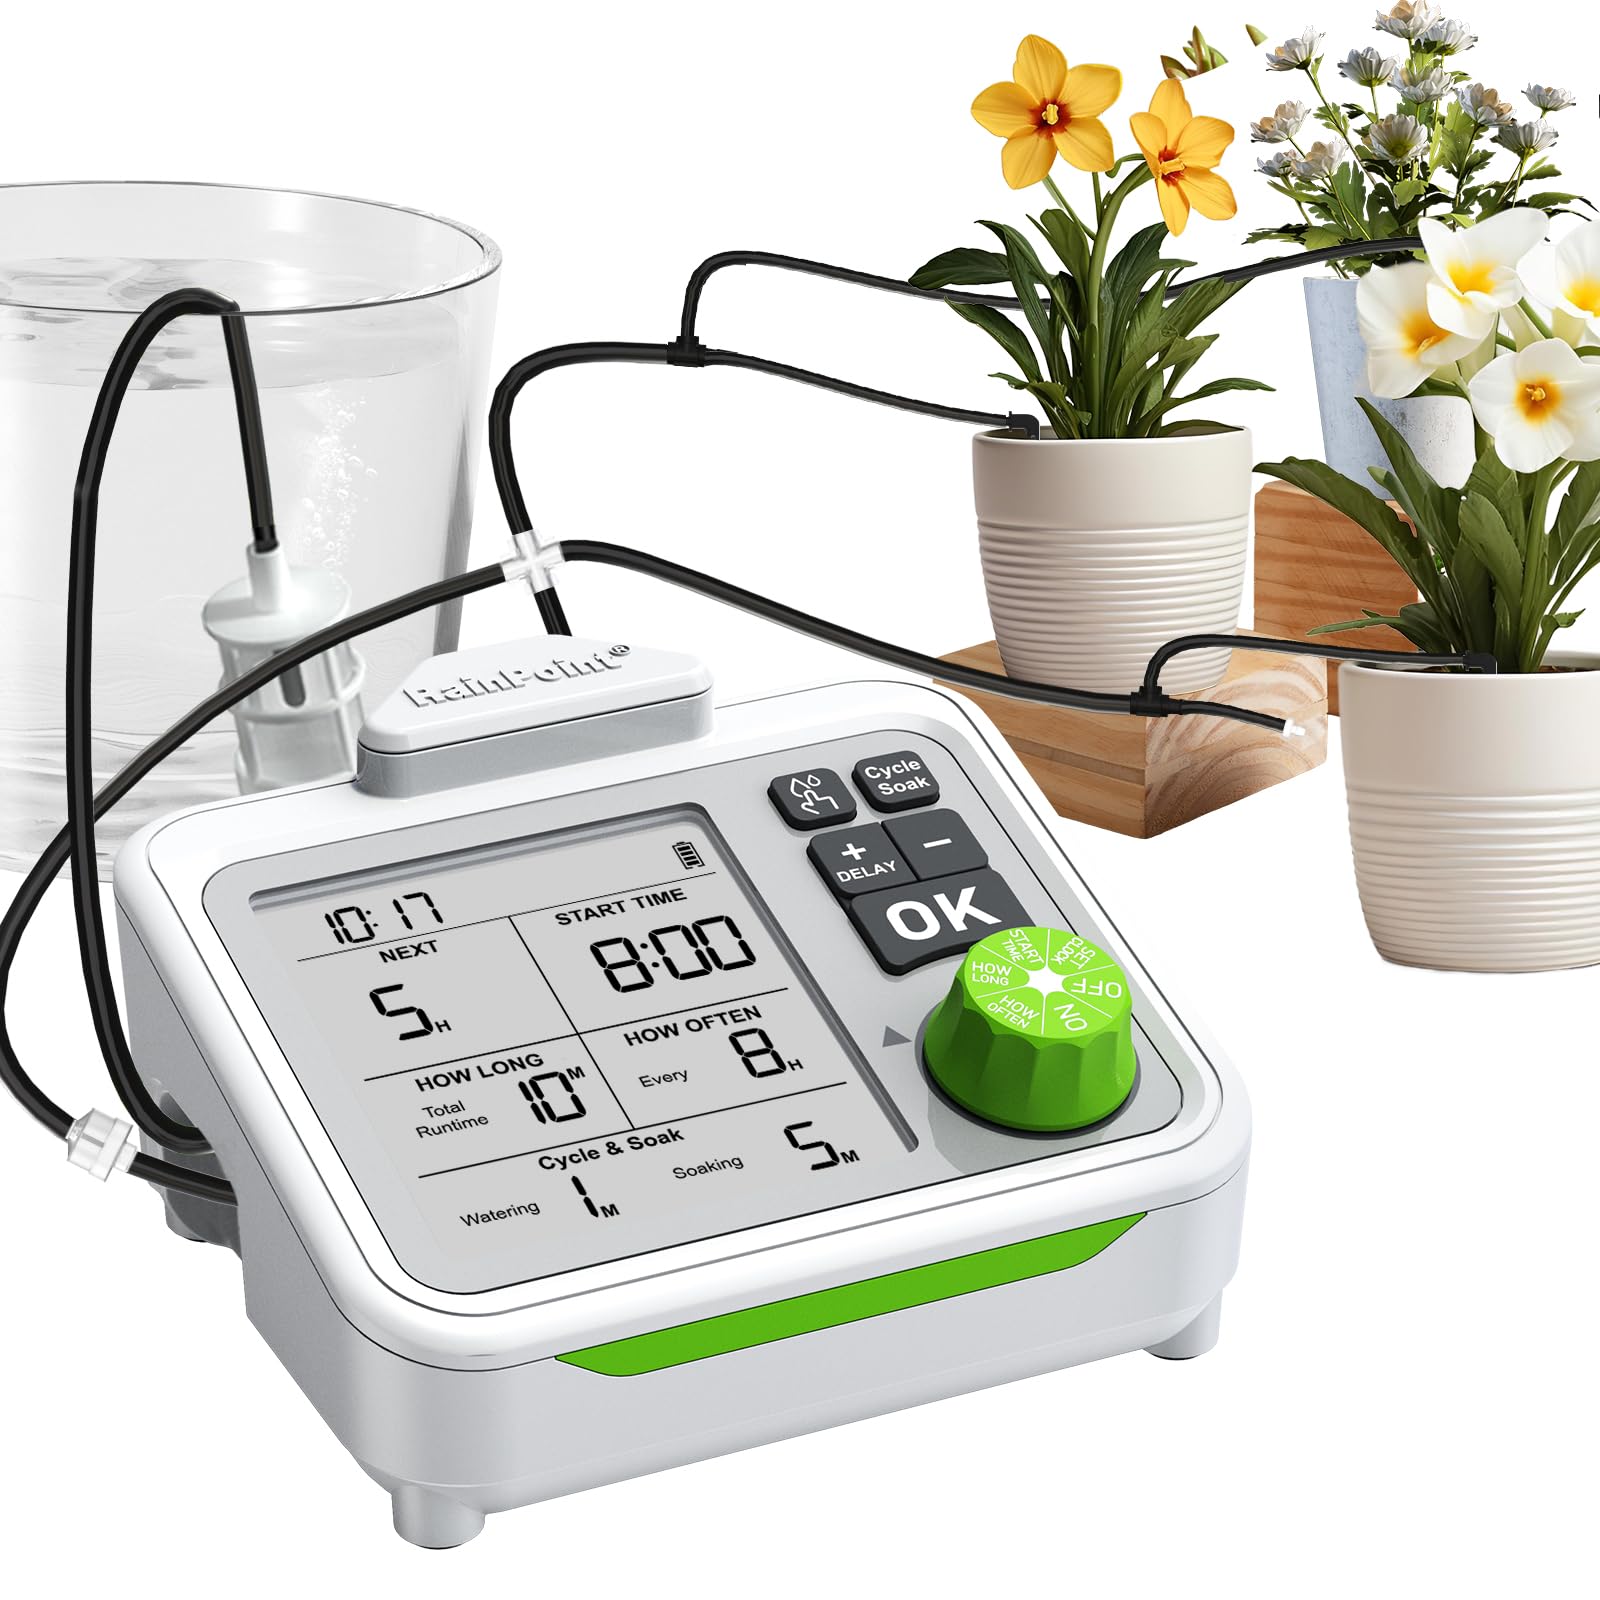
Image 1.1: The RAINPOINT Automatic Watering System main unit connected to plants.
2. Package Contents
Please verify that all components are present in your package:
- 1x Main Control Unit
- 1x 15-meter Main Hose (4 mm diameter)
- 1x 5-meter Branch Hose (3 mm diameter)
- 1x Water Filter (for inlet hose)
- 1x Check Valve (anti-siphon)
- 3x Hose End Caps
- 1x Cross Connector
- 20x Micro Drippers
- 20x T-Connectors
- 20x Cable Ties
- 1x USB-A to USB-C Charging Cable
- 1x Hanging Hook (for main unit)
- 1x User Manual

Image 2.1: Overview of the system components, including the main unit, hoses, drippers, and connectors.
3. Setup Instructions
Follow these steps to set up your RAINPOINT Automatic Watering System:
- Prepare Hoses: Cut the 4mm main hose and 3mm branch hose to the desired lengths based on your plant layout. For easier connection, briefly immerse the hose ends in hot water to make them more flexible.
- Connect Inlet and Outlet Hoses: Attach one end of the 4mm main hose to the water inlet port of the main control unit. Attach the water filter to the other end of this hose, ensuring it is submerged in your water reservoir (e.g., a bucket). Connect another section of the 4mm main hose to the water outlet port of the main control unit.
- Install Check Valve: Integrate the check valve into the outlet hose line. This prevents water backflow and allows for watering plants positioned higher than the water reservoir.
- Distribute Water: Use the cross connector and T-connectors to create a distribution network from the 4mm outlet hose. From each T-connector, run a 3mm branch hose to individual plants. Secure the micro drippers at the end of each 3mm hose, placing them near the plant roots.
- Secure Hoses: Use the provided cable ties to secure the hoses and drippers in place, ensuring a neat and stable setup.
- Seal Ends: Use hose end caps to seal any unused hose ends in your distribution network.
- Position Main Unit: The main unit can be placed on a flat surface or hung using the provided hook on the edge of your water reservoir.

Image 3.1: Recommended triple-line parallel distribution for even water flow to multiple plants.
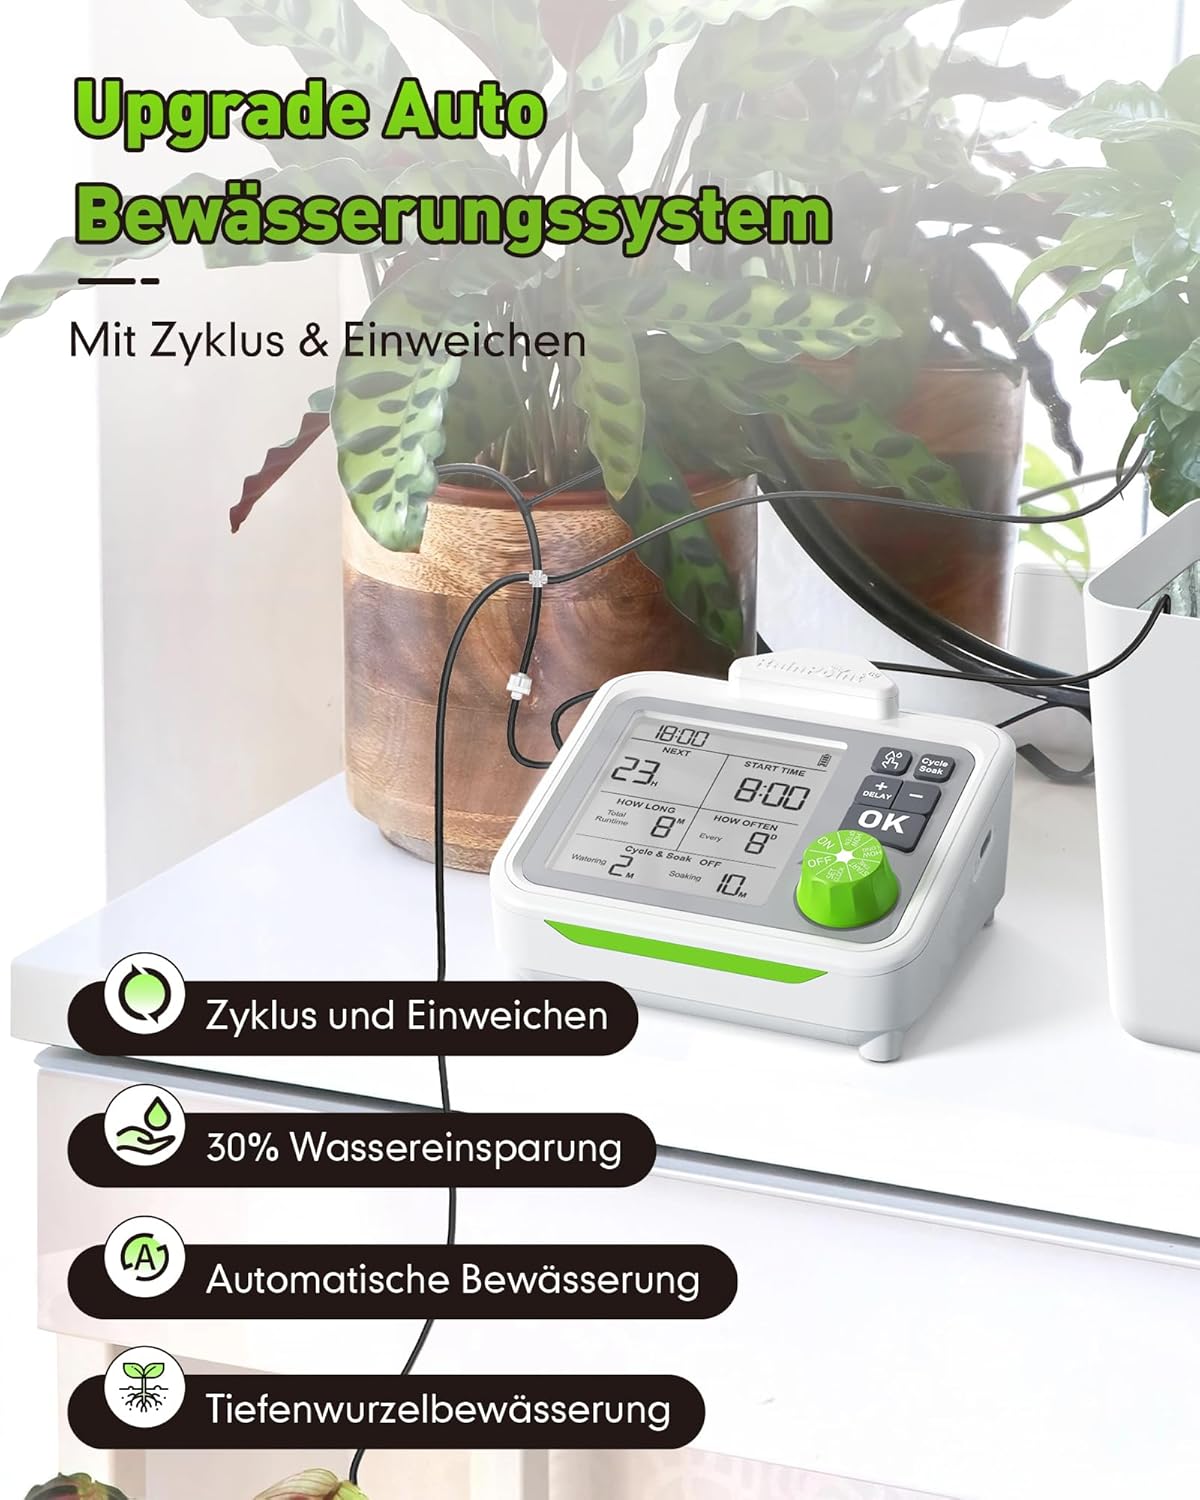
Image 3.2: Detail of the check valve, which prevents siphoning and allows for watering plants at different heights.
4. Operating Instructions
The RAINPOINT system offers intuitive controls for setting your watering schedule.
4.1. Setting Time and Watering Schedule
Use the control knob and buttons on the main unit to set the current time, start time, watering duration, and frequency.

Image 4.1: The control panel display showing options for setting time, start time, duration, and frequency.
4.2. Watering Modes: Normal vs. Cycle & Soak
The system supports two primary watering modes:
- Normal Mode: Delivers water for a set duration at specified intervals.
- Cycle & Soak Mode: Optimizes nutrient absorption by delivering water in short bursts followed by soak periods. This prevents runoff and ensures better soil saturation.

Image 4.2: Visual representation of Normal watering versus the Cycle & Soak method.

Image 4.3: Table illustrating different Cycle & Soak settings and their total watering times.
4.3. Manual Watering
You can initiate a manual watering cycle at any time without affecting your programmed schedule. Simply press the designated button to start watering for the duration currently set.
4.4. Delay Watering
If conditions are humid or rain is expected, you can delay the next scheduled watering cycle by 24, 48, or 72 hours to prevent overwatering.

Image 4.4: The manual watering function and options to delay watering by 24, 48, or 72 hours.
5. Maintenance
Regular maintenance ensures the longevity and optimal performance of your watering system.
- Filter Cleaning: Periodically check and clean the water filter to prevent blockages and ensure consistent water flow.
- Hose Inspection: Inspect hoses for kinks, damage, or blockages. Ensure all connections are secure.
- Battery Charging: The system features a rechargeable battery. Monitor the battery indicator on the display and recharge as needed using the provided USB-C cable. A full charge typically provides 30-60 days of operation, depending on watering frequency and duration.
- Low Water Auto-Stop: The system is equipped with a low water auto-stop feature to prevent dry running and protect the pump. Ensure your water reservoir has sufficient water.

Image 5.1: The display indicating battery warning and the low water auto-stop function.
6. Troubleshooting
If you encounter issues with your RAINPOINT Automatic Watering System, refer to the following common problems and solutions:
- No Water Flow:
- Check if the water reservoir is empty.
- Ensure the water filter is clean and not clogged.
- Verify all hose connections are secure and there are no kinks in the hoses.
- Check if the battery is charged.
- Uneven Water Distribution:
- Ensure the main hose and branch hoses are properly installed according to the parallel distribution diagram (Image 3.1).
- Check individual drippers for blockages.
- Confirm the water reservoir is positioned correctly and the pump is not struggling to draw water.
- System Not Turning On:
- Charge the battery completely.
- Ensure the power button is pressed firmly.
- Siphoning or Leaks:
- Verify the check valve is correctly installed in the outlet hose.
- Ensure all hose connections are tight and secure.
7. Specifications
| Feature | Specification |
|---|---|
| Brand | RAINPOINT |
| Model Number | B0FWQX3T53 |
| Material | Plastic |
| Number of Pieces | 47 (including accessories) |
| Max. Number of Plants | 20 |
| Flow Rate | 30 L/H |
| Max. Lift Height | 3 Meters |
| Battery Life | Approx. 30-60 days (depending on settings) |
8. Warranty and Support
For warranty information or technical support, please refer to the contact details provided on the RAINPOINT official website or contact your retailer. Keep your purchase receipt as proof of purchase.