Introduction
This manual provides detailed instructions for the operation and maintenance of your Delmodes 4K 30FPS Camcorder D2. Please read this manual thoroughly before using the camcorder to ensure proper function and to maximize its capabilities. Keep this manual for future reference.
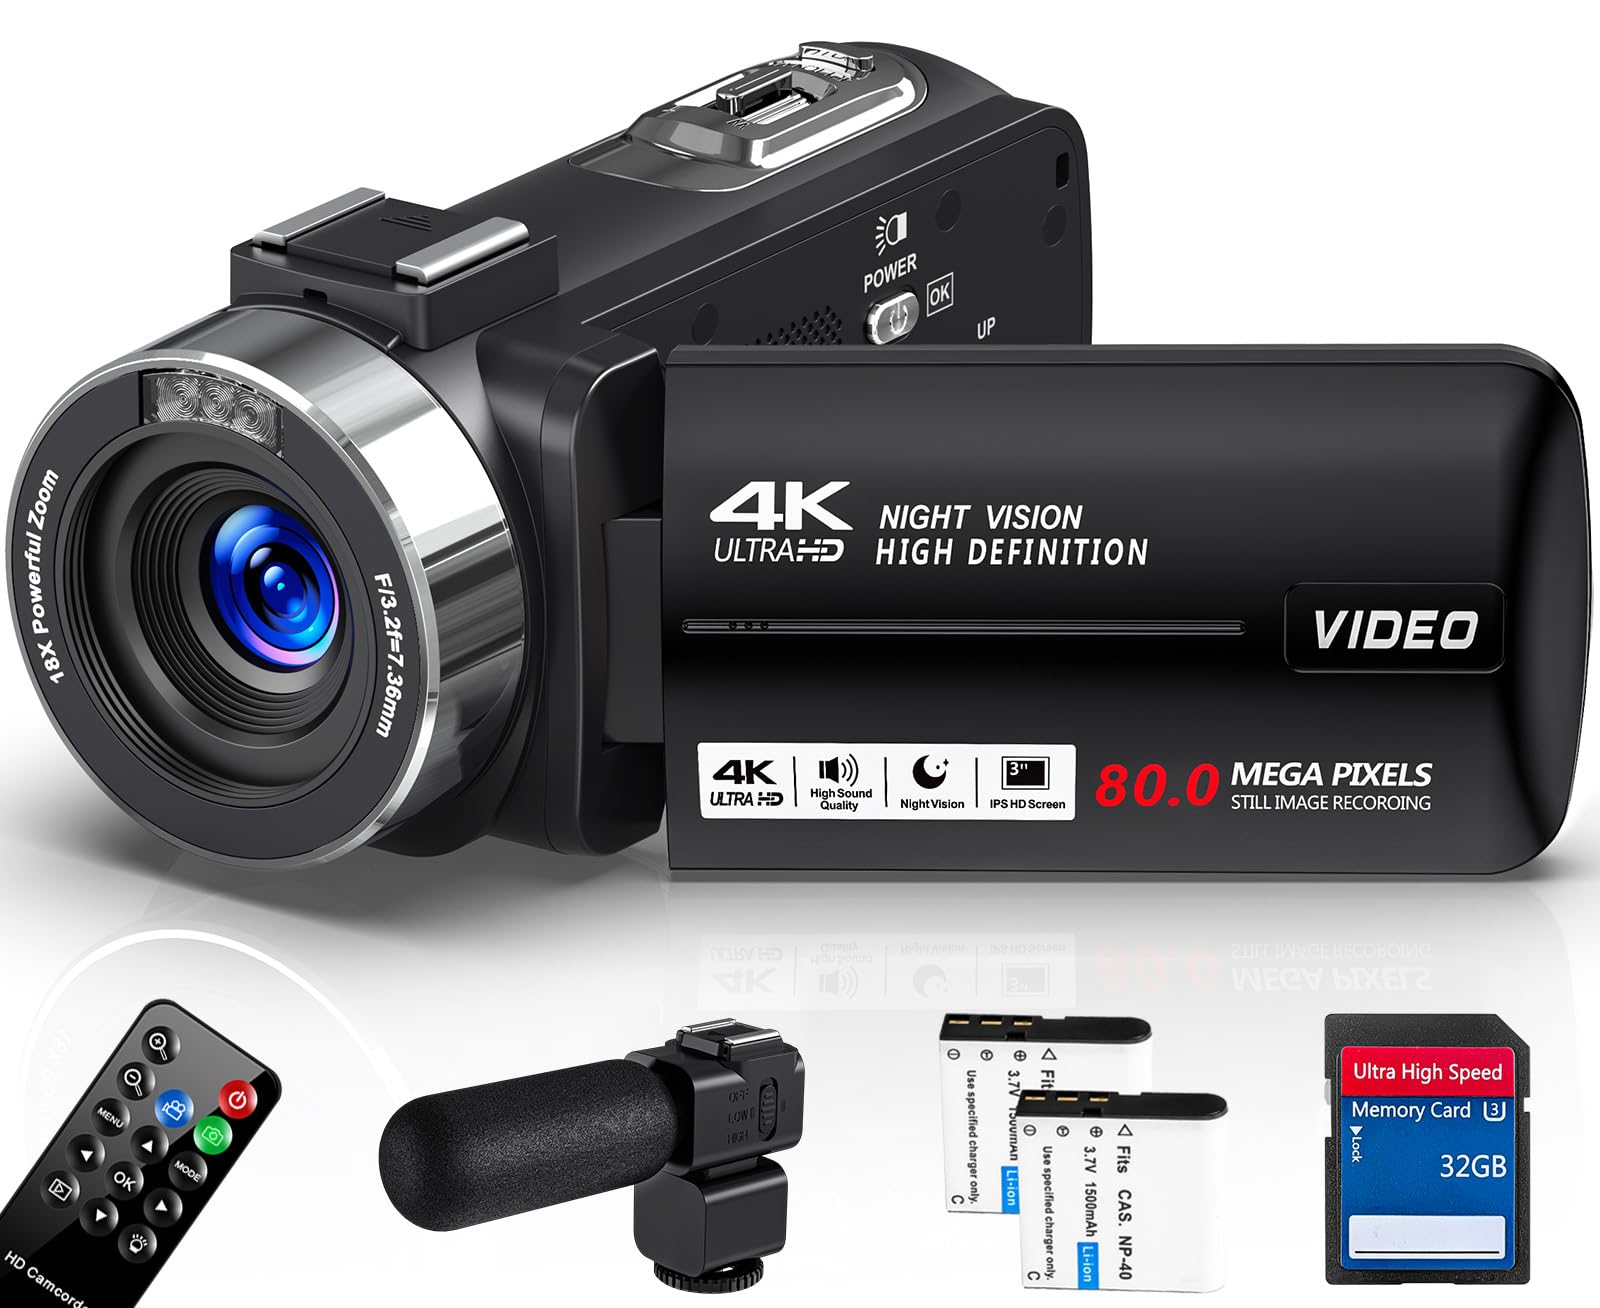
Figure 1: Delmodes 4K 30FPS Camcorder D2 Overview
Package Contents
Verify that all items listed below are included in your package. If any items are missing or damaged, please contact customer support.
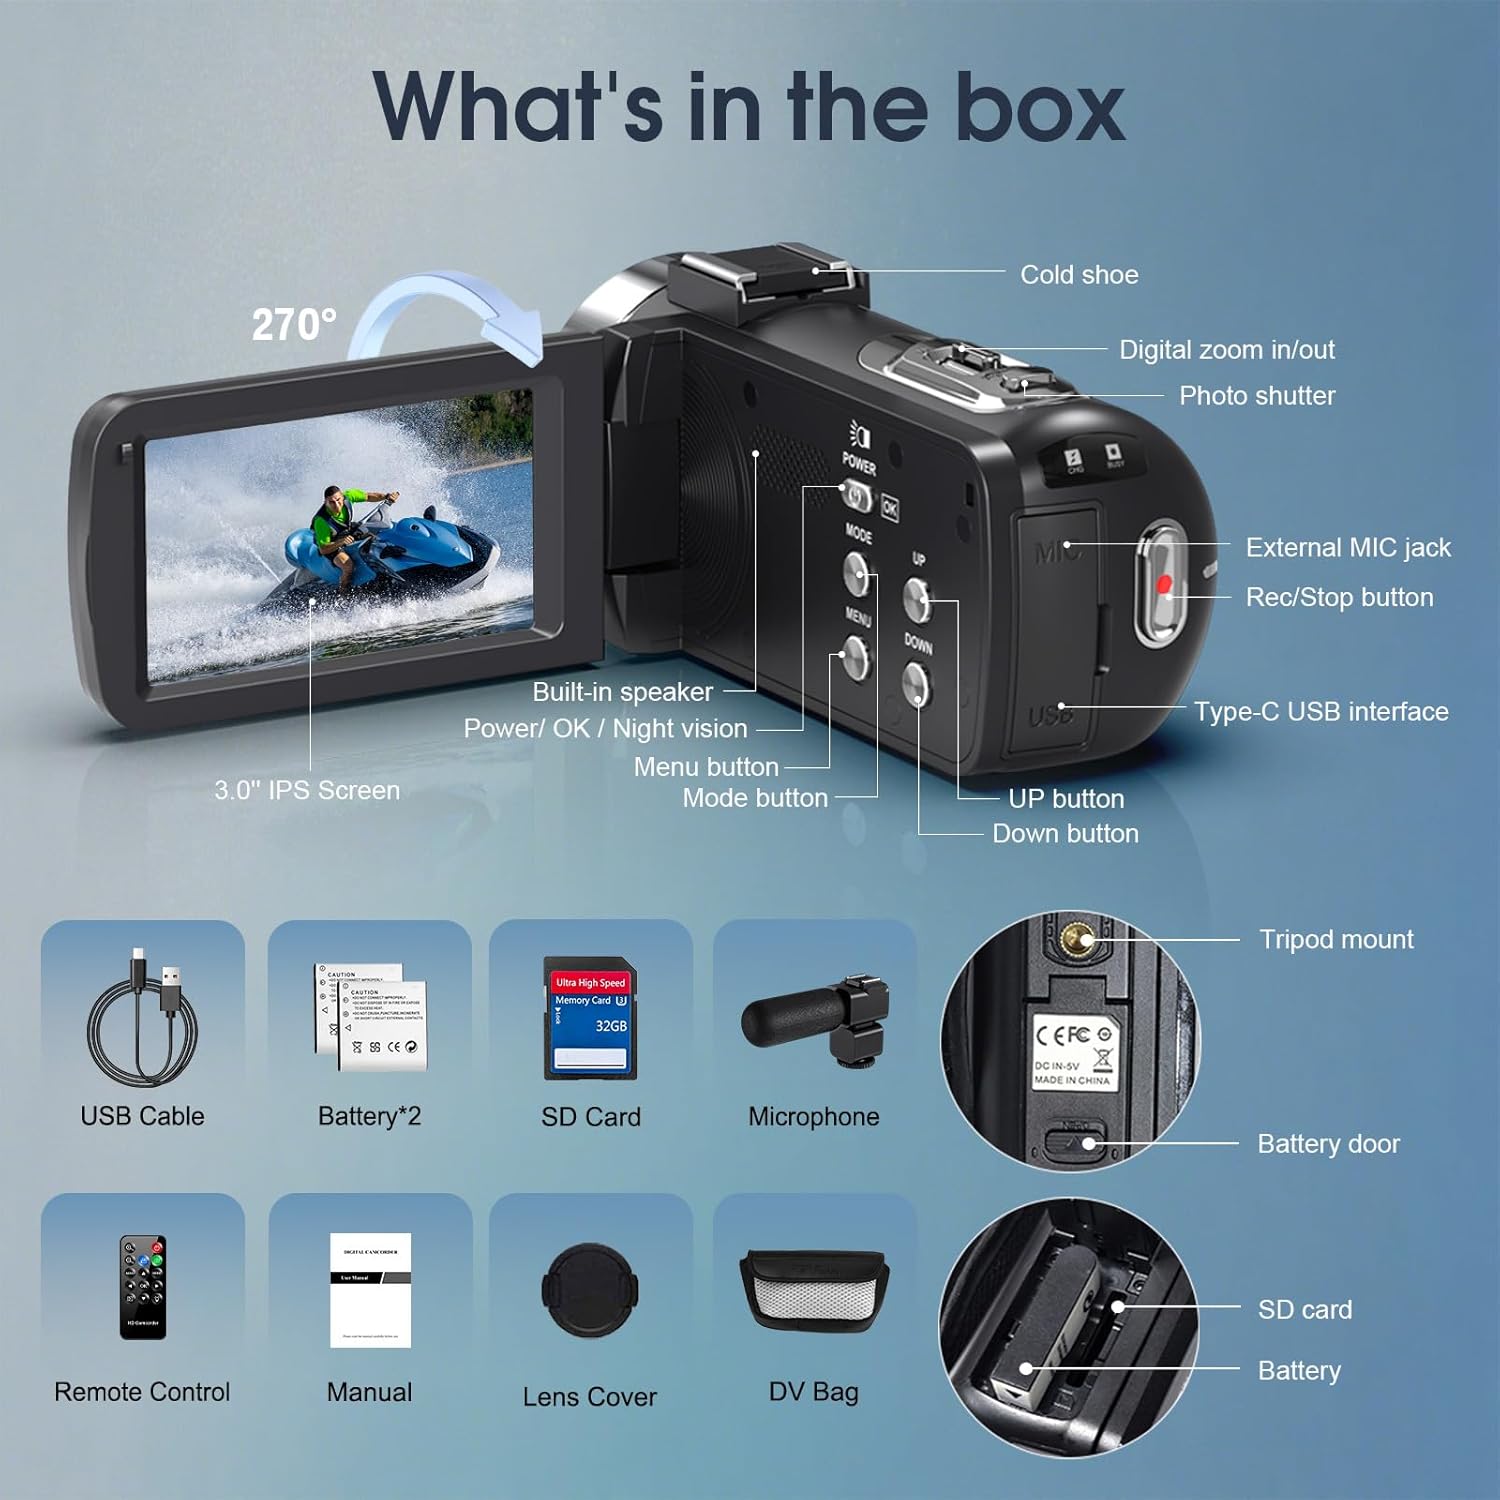
Figure 2: Camcorder and Included Accessories
- Delmodes 4K 30FPS Camcorder D2
- USB Cable
- Li-ion Battery (NP-40) x 2
- 32GB SD Card
- Microphone
- Remote Control
- User Manual
- Lens Cover
- DV Bag
Setup
1. Charging the Battery
Before initial use, fully charge both included Li-ion batteries (NP-40). Connect the camcorder to a power source using the provided USB cable. The charging indicator light will illuminate during charging and turn off when fully charged. The camcorder supports recording while charging.
2. Installing the Battery
- Open the battery compartment door located at the bottom of the camcorder.
- Insert a charged NP-40 battery, ensuring the correct polarity.
- Close the battery compartment door until it clicks securely.
3. Inserting the SD Card
- Locate the SD card slot, typically near the battery compartment.
- Insert the 32GB SD card with the metal contacts facing the front of the camcorder until it clicks into place.
- To remove, gently press the SD card inward until it springs out.
4. Attaching the Microphone
Connect the external microphone to the 3.5mm external MIC jack on the camcorder for enhanced audio recording quality.
5. Powering On/Off
Press and hold the POWER/OK button to turn the camcorder on or off. The 3.0-inch IPS screen will illuminate upon power-on.
Operating the Camcorder
1. Recording Video
- Ensure the camcorder is in video mode (indicated on the screen). If not, press the MODE button to switch.
- Press the Rec/Stop button to start recording. A red indicator will typically flash on the screen.
- Press the Rec/Stop button again to stop recording.
2. Taking Photos
- Press the MODE button to switch to photo mode.
- Frame your shot using the IPS screen.
- Press the Photo Shutter button to capture an image.
3. Using Digital Zoom
The camcorder features 18x digital zoom. Use the Digital Zoom In/Out buttons (often labeled T/W or +/–) to adjust the zoom level while recording or in standby mode.
4. IR Night Vision Mode
The camcorder is equipped with IR night vision technology for recording in low-light or dark environments.

Figure 3: IR Night Vision Comparison
To activate IR Night Vision, locate the dedicated IR Night Vision button or select it from the menu. This mode captures clear images and videos in monochrome when ambient light is insufficient.
5. Menu Navigation
Press the MENU button to access settings. Use the UP and DOWN buttons to navigate through options. Press POWER/OK to confirm a selection.
6. Webcam Functionality
The camcorder can function as a webcam for live streaming, video calls, or vlogging when connected to a computer.

Figure 4: Camcorder as Webcam for Live Streaming and Video Calls
Connect the camcorder to your computer using the USB cable. Select 'PC Camera' or 'Webcam Mode' from the camcorder's menu if prompted. Your computer should recognize it as a webcam.
7. Special Shooting Modes
The camcorder supports various shooting modes to enhance your creative options.

Figure 5: Special Shooting Modes
- Selfie: For self-portraits or vlogging.
- Continuous Shooting: Captures a rapid sequence of photos.
- Loop Recording: Records video in segments, overwriting the oldest footage when the memory card is full.
- Slow-Motion: Records video at a higher frame rate for slow-motion playback.
- Time-Lapse: Captures images at set intervals to create a sped-up video.
These modes can typically be selected via the camcorder's menu settings.
Maintenance
1. Cleaning the Camcorder
- Use a soft, dry cloth to clean the camcorder body.
- For the lens, use a specialized lens cleaning cloth and solution. Avoid touching the lens surface with bare hands.
- Do not use harsh chemicals or abrasive cleaners.
2. Battery Care
- Store batteries in a cool, dry place when not in use.
- Avoid fully discharging batteries frequently to prolong their lifespan.
- Remove batteries from the camcorder if it will not be used for an extended period.
3. Storage
When not in use, store the camcorder in its DV bag in a dry, dust-free environment away from direct sunlight and extreme temperatures.
Troubleshooting
- Camcorder does not power on: Ensure the battery is fully charged and correctly inserted. Try using the second battery.
- Cannot record video/take photos: Check if the SD card is inserted correctly and has sufficient free space. Ensure the camcorder is in the correct mode (video or photo).
- Poor image/video quality: Clean the lens. Ensure adequate lighting. For night recording, activate IR Night Vision.
- Computer does not recognize camcorder: Ensure the USB cable is securely connected. Select 'PC Camera' or 'Mass Storage' mode on the camcorder if prompted. Try a different USB port or cable.
- Remote control not working: Check the remote control battery. Ensure there are no obstructions between the remote and the camcorder's IR receiver.
Specifications
| Feature | Specification |
|---|---|
| Video Resolution | 4K 30FPS; 2.7K 30FPS; FHD 60FPS/30FPS; HD 30FPS |
| Video Format | MP4 |
| Image Resolution | 80MP, 75MP, 64MP, 56MP, 48MP, 30MP, 24MP, 20MP, 12MP, 8MP, 5MP, 3MP |
| Photo Format | JPG |
| Lens | F/3.2, f = 7.36 mm |
| Focal Length | 1.0 m ~ +∞ |
| Zoom | 18x Digital Zoom |
| Screen | 3.0 Inch IPS Screen |
| Photo Sensor Technology | CMOS |
| Power Supply | Li-ion Battery (NP-40) x 2 |
| Dimensions (L x H x W) | 125 × 58 × 58 mm |
| Weight | Approx. 300 g (without battery) |
| Flash Memory Installed Size | 32 GB (SD Card included) |
| Model Number | D2 |
| UPC | 640486899547 |
| ASIN | B0FWQPWQM5 |
Warranty and Support
For warranty information and customer support, please refer to the documentation provided with your purchase or contact the retailer. Keep your proof of purchase for any warranty claims.