1. Product Overview
This replacement dryer belt is designed to restore the drum rotation of compatible Kenmore dryers. It is a durable and flexible component essential for the proper functioning of your appliance, addressing issues such as a non-spinning drum or squeaking noises.

Image: A close-up view of the dryer belt, showing its ribbed surface.
2. Compatibility
This dryer belt is compatible with numerous Kenmore dryer models. Refer to the list below to confirm compatibility with your specific appliance:
Compatible Models: 110.86580100, 110.86580200, 110.86580400, 110.86580600, 110.86580800, 110.86581100, 110.86581110, 110.86581300, 110.86581310, 110.86581600, 110.86581610, 110.86581700, 110.86581710, 110.86581800, 110.86581810, 110.86582100, 110.86582110, 110.86582120, 110.86582200, 110.86582210, 110.86582300, 110.86582310, 110.86582320, 110.86582400, 110.86582410, 110.86582600, 110.86582610, 110.86582620, 110.86582700, 110.86582710, 110.86582720, 110.86582800, 110.86582810, 110.86582820, 110.86583100, 110.86583110.
3. Specifications
- Length: 92 inches (total length)
- Ribs: 4 ribs
- Width: 1/4 inch (designed to replace belts originally 5/16 inch wide)
- Material: High-quality rubber for durability and flexibility

Image: The dryer belt coiled, illustrating its full length and form.
4. Installation (Setup)
Replacing a dryer belt requires accessing the dryer's internal components. Always disconnect power before beginning any repair.
4.1 Safety Precautions
- Disconnect Power: Always unplug the dryer from the electrical outlet or turn off the circuit breaker before starting any work.
- Wear Protective Gear: Use work gloves to protect your hands from sharp edges or components.
- Work in a Well-Lit Area: Ensure adequate lighting to clearly see all components.
4.2 Required Tools
- Phillips head screwdriver
- Flathead screwdriver
- Nut driver (sizes may vary by model)
- Pliers (optional, for spring clips)
- Work light
4.3 Installation Steps
- Disconnect Power: Ensure the dryer is completely unplugged from its power source.
- Access Dryer Interior: Carefully remove the necessary panels (e.g., top, front, or rear) to gain access to the dryer drum, motor, and idler pulley. Refer to your specific dryer model's service manual if you are unsure how to proceed.
- Locate and Remove Old Belt: Identify the old belt wrapped around the dryer drum and the idler pulley. Release the tension from the idler pulley (usually by pushing it away from the motor) and carefully remove the old belt.
- Clean Drum and Pulleys: While the interior is accessible, clean any accumulated lint or debris from the dryer drum, motor pulley, and idler pulley. This helps prevent future issues.
- Install New Belt: Position the new belt around the dryer drum. Ensure the ribbed side of the belt faces the drum surface.
- Route Belt Around Idler Pulley and Motor Pulley: Carefully route the belt around the motor pulley and then under the idler pulley. The idler pulley should apply pressure to the belt to keep it taut. Double-check that the belt is properly seated on both pulleys.
- Verify Belt Alignment: Rotate the dryer drum manually a few full turns to ensure the belt is correctly aligned and does not slip or rub against any components.
- Reassemble Dryer: Reattach all removed panels and secure them with their original screws.
- Restore Power: Plug the dryer back into the electrical outlet or turn on the circuit breaker.
- Test Operation: Run a short, empty cycle to confirm the drum spins correctly and quietly. Listen for any unusual noises.

Image: A segment of the dryer belt, highlighting its ribbed texture.
5. Operation
Once correctly installed, the dryer belt facilitates the rotation of the dryer drum, which is essential for the drying process. Proper installation ensures smooth and quiet operation, allowing your dryer to function efficiently.
6. Maintenance
The dryer belt is a wear-and-tear component. Periodically inspect the dryer belt for signs of wear, such as cracks, fraying, or stretching. A worn belt can lead to reduced dryer performance or complete failure of the drum to spin. Replace the belt if any damage is observed to maintain optimal dryer functionality.
7. Troubleshooting
7.1 Dryer Drum Not Spinning
- Check Power: Ensure the dryer is receiving power and is not tripped at the circuit breaker.
- Inspect Belt: Disconnect power and access the dryer interior. Check if the belt has broken or slipped off the pulleys. Reinstall or replace as necessary.
- Idler Pulley: Verify that the idler pulley is providing adequate tension to the belt.
7.2 Squeaking or Grinding Noise
- Inspect Belt: A squeaking noise often indicates a worn or misaligned belt. Disconnect power and inspect the belt for damage, cracks, or fraying. Ensure it is properly seated on all pulleys.
- Clean Pulleys: Remove any lint or debris from the motor and idler pulleys, as this can cause friction and noise.
- Idler Pulley/Motor Bearings: If the noise persists after checking the belt, the idler pulley or motor bearings may be worn and require replacement.
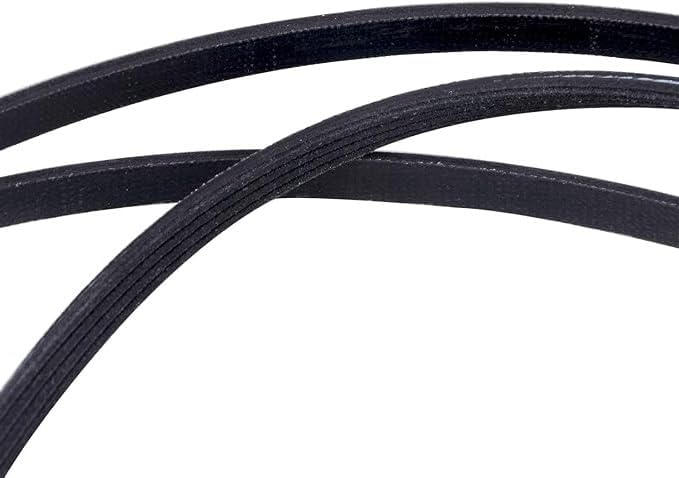
Image: A close-up of the dryer belt's ribbed side, emphasizing its construction.
8. Warranty and Support
This product is a replacement part. For specific warranty details or technical assistance, please refer to the documentation provided by the retailer or the manufacturer at the time of purchase. General support for installation can often be found through online resources or appliance repair guides.


