1. Introduction
This manual provides essential information for the proper installation, use, and maintenance of the DMK Relfar FWH30 Series Laser Welding Head Accessory, specifically the Bracket 3. This bracket is designed to ensure precise and stable positioning of components within the laser welding head system, contributing to optimal welding performance and safety. Please read this manual thoroughly before installation and operation.
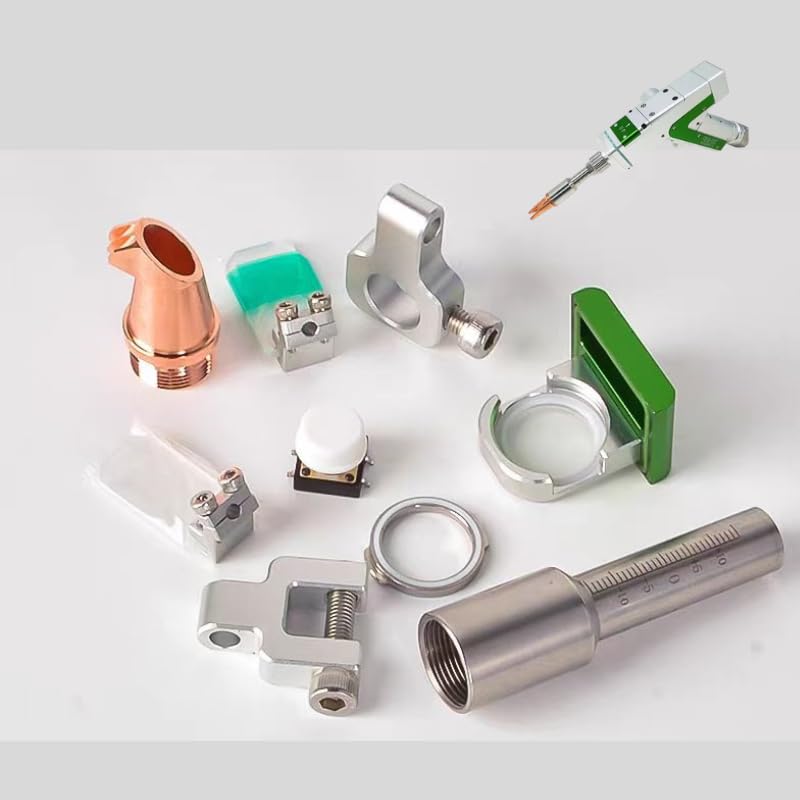
Figure 1: Illustration of the DMK Relfar FWH30 Series Bracket 3. This component is crucial for securing parts within the laser welding head assembly.
2. Safety Information
Always observe the following safety precautions when handling or installing welding equipment accessories:
- Ensure the main power to the welding system is disconnected before installing or removing any accessories.
- Wear appropriate personal protective equipment (PPE), including safety glasses and gloves, to prevent injury.
- Handle all components with care to avoid damage.
- Refer to the main welding gun manual for specific safety guidelines related to the overall system.
- Do not modify the bracket or use it for purposes other than its intended design.
3. Package Contents
Upon opening the package, verify that all items are present and undamaged. The standard package for this product includes:
- DMK Relfar FWH30 Series Bracket 3 (x1)
- (Optional: Mounting hardware, if applicable and included by manufacturer)

Figure 2: Example of various brackets and accessories for DMK Relfar welding guns. Your package contains the specific "Bracket 3" component.
4. Setup and Installation
Follow these steps to properly install the Bracket 3 onto your DMK Relfar FWH30 Series Laser Welding Head:
- Power Disconnection: Ensure the laser welding system is completely powered off and disconnected from its power source.
- Identify Mounting Location: Locate the designated mounting points on your FWH30 Series Laser Welding Head where Bracket 3 is to be installed. Refer to your main welding head manual for specific diagrams if necessary.
- Position the Bracket: Carefully align Bracket 3 with the mounting points. The design of the bracket ensures a precise fit.
- Secure the Bracket: Use the appropriate fasteners (screws, bolts, etc., typically provided with the welding head or bracket) to secure the bracket firmly in place. Do not overtighten, but ensure there is no wobble or looseness.
- Verify Installation: Gently attempt to move the installed bracket to confirm it is securely attached. A stable bracket is essential for the proper function of the welding head.

Figure 3: Various welding gun accessories. Ensure Bracket 3 is correctly integrated with other components as per the welding head's design.
5. Operating Instructions
As a structural component, Bracket 3 does not have active operational controls. Its function is passive, providing stable support for other parts of the laser welding head. Proper "operation" of the bracket involves ensuring its correct installation and integrity before and during welding tasks.
- Pre-Operation Check: Before each use of the welding head, visually inspect Bracket 3 to confirm it remains securely fastened and shows no signs of damage or deformation.
- Maintain Stability: The bracket's primary role is to maintain the precise alignment of components. Any looseness can affect welding accuracy and performance.
6. Maintenance
Regular maintenance of Bracket 3 helps ensure the longevity and reliable performance of your laser welding head:
- Cleaning: Periodically clean the bracket to remove any dust, debris, or welding spatter that may accumulate. Use a soft, dry cloth. For stubborn residue, a mild, non-abrasive cleaner suitable for metal surfaces can be used, ensuring it is completely dry before re-use.
- Inspection: Regularly inspect the bracket for any signs of wear, cracks, deformation, or corrosion. Pay close attention to mounting holes and stress points.
- Fastener Check: Check the tightness of all fasteners securing the bracket. Retighten if necessary, but avoid overtightening.
- Replacement: If Bracket 3 shows significant signs of damage or wear that could compromise its structural integrity or the performance of the welding head, replace it with a genuine DMK Relfar replacement part.
7. Troubleshooting
This section addresses common issues related to Bracket 3. For issues with the overall welding system, refer to the main welding gun manual.
| Problem | Possible Cause | Solution |
|---|---|---|
| Bracket is loose or wobbly. | Fasteners are not tightened sufficiently. | Tighten all mounting fasteners. Ensure they are snug but do not overtighten. |
| Bracket appears bent or damaged. | Physical impact or excessive stress. | Replace the damaged bracket immediately with a genuine replacement part to maintain system integrity. |
| Difficulty aligning components with the bracket. | Incorrect installation or incompatible part. | Re-check installation steps. Ensure Bracket 3 is correctly oriented. Verify that all components are compatible with the FWH30 Series. |
8. Specifications
| Feature | Detail |
|---|---|
| Brand | DMK Relfar |
| Model | Bracket 3 |
| Product Type | Laser Welding Head Accessory (Mounting Bracket) |
| Compatible Series | DMK Relfar FWH30 Series Laser Welding Heads |
| Material | Durable metal alloy (wear-resistant, heat-resistant, corrosion-resistant) |
| Part Number | Welding gun accessories (as per manufacturer's general classification) |
| Country of Origin | China |
9. Warranty and Customer Support
For warranty information, technical assistance, or to purchase replacement parts, please contact DMK Relfar customer support through their official channels or your authorized distributor. Keep your purchase receipt and product model information handy when contacting support.
Manufacturer: Relfar
Place of Business: DE MA KE (WUHAN) KE JI YOU XIAN GONGSl Gaoxin 2nd Road Guannan industrial parkBuilding one, Wuhan East lake hi-techdevelope zone