
1. Overview
The Nexaero F3 GPS Drone is designed for both beginners and experienced users, offering advanced features for capturing high-quality aerial footage. It boasts a 2K camera with Electronic Image Stabilization (EIS) for shake-free videos and 2K photos. The drone features a dedicated remote controller with a built-in 7.22-inch screen, eliminating the need for a smartphone during flight. Intelligent AI functions like object tracking and night shot capabilities enhance the user experience. With dual modular batteries, the F3 provides up to 64 minutes of total flight time. Its lightweight design (under 249g) means no FAA registration is required.
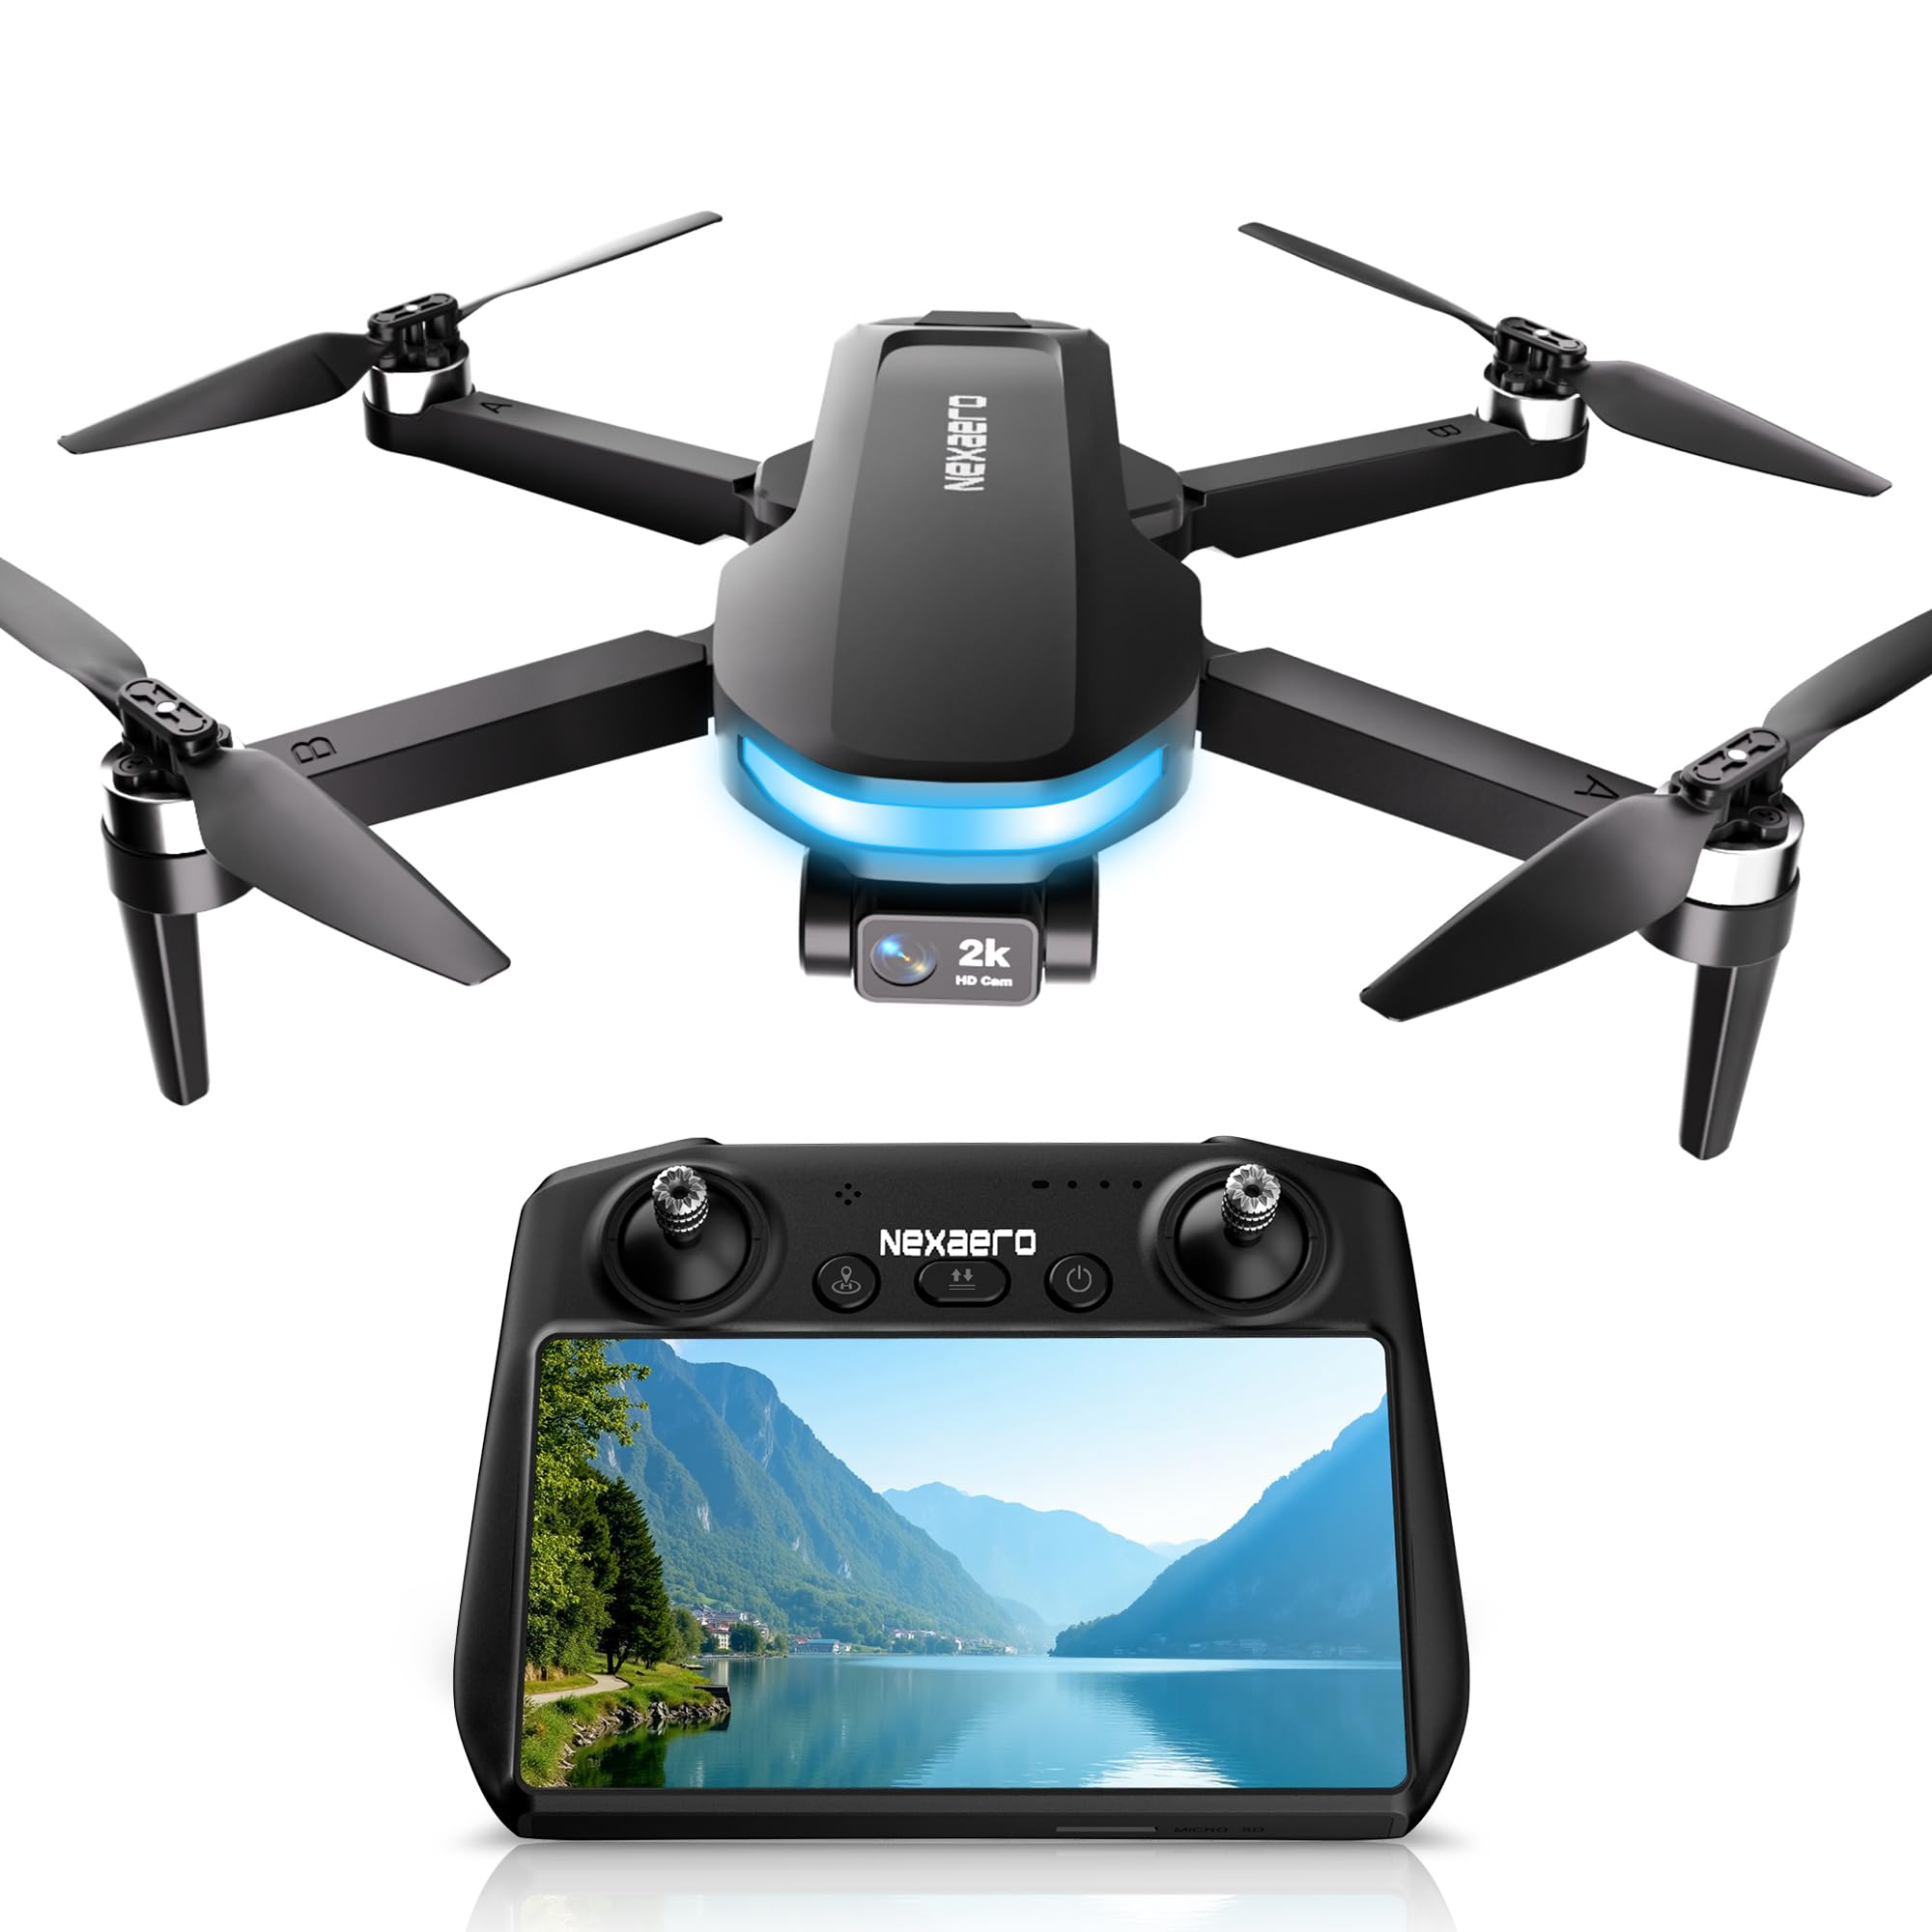
Image 1: The Nexaero F3 GPS Drone, showcasing its sleek design and integrated 2K camera.
2. What's in the Box
Your Nexaero F3 GPS Drone package includes the following components:
- Nexaero F3 Drone
- Remote Control with 7.22" Screen
- 2 x 7.6V 2700mAh Modular Batteries
- Carrying Case
- Memory Card (8GB included, supports up to 32GB)
- Memory Card Reader
- Spare Propellers (2 sets)
- USB Charging Cables (2x USB-A to USB-C)
- Screwdriver
- Spare Screws
- Operating Instructions (User Manual)

Image 2: All components included in the Nexaero F3 GPS Drone package, neatly arranged.
3. Setup
- Unfold the Drone: Carefully unfold the drone arms until they click into place.
- Install Propellers (if necessary): Ensure all propellers are securely attached. Spare propellers are provided if needed.
- Insert Battery: Slide a charged 7.6V 2700mAh modular battery into the drone's battery compartment until it locks.
- Insert MicroSD Card: Insert the provided MicroSD card into the drone's card slot for 2K video recording.
- Remove Camera Cover: Before powering on, gently remove the protective cover from the 2K camera gimbal.
- Power On Drone: Short press the power button once, then press and hold for 2 seconds until the drone powers on and emits a sound.
- Power On Remote Controller: Short press the power button once, then press and hold for 2 seconds until the controller powers on and displays the welcome screen.
- Calibrate Compass: Place the drone on a flat, horizontal surface. On the remote controller, push both joysticks to the bottom-outer corners simultaneously to initiate compass calibration. Follow the on-screen instructions to rotate the drone horizontally 2-3 times until calibration is complete. You will hear a beep as confirmation.
- GPS Signal Acquisition: Take the drone outdoors to an open area. Wait for the drone to acquire sufficient GPS satellites (indicated by a solid green light on the drone).
Video 1: A tutorial demonstrating the takeoff and calibration guidance for the Nexaero F3 drone.
4. Operating
4.1 Basic Flight Controls
- One-Key Takeoff/Landing: Press the dedicated button on the remote controller for automatic takeoff or landing.
- Throttle (Left Joystick Up/Down): Controls the drone's altitude.
- Direction (Right Joystick): Controls forward, backward, left, and right movement.
- Rotation (Left Joystick Left/Right): Controls the drone's yaw (rotation).
4.2 Camera Operation
The remote controller features dedicated buttons for camera functions:
- Shutter/Record Button: Short press to take a photo, long press to start/stop video recording.
- Camera Tilt Adjustment: Use the scroll wheel on the remote to adjust the camera's vertical angle (High/Low).

Image 3: The Nexaero F3 remote controller, featuring a 7.22-inch screen for real-time FPV and control.
4.3 Smart Flight Modes
- Auto Return: The drone will automatically return to its takeoff point if the battery is low, signal is lost, or the dedicated auto-return button is pressed.
- AI Track & Follow Me: Activate the tracking function, and the drone will automatically follow a designated subject, capturing dynamic footage.
- AI Stunning Night Shot: Utilizes AI technology to capture clear and crisp videos even in low-light conditions.
- 3 Speed Adjustable: Toggle between slow, medium, and fast-flight speeds to suit your skill level and environment.

Image 4: Visual representation of the Nexaero F3's intelligent flight modes, including Follow Me and adjustable speeds.
Video 2: An official product video showcasing the 2K UHD camera, FPV live video, and various flight features of the Nexaero F3 drone.
5. Maintenance
- Cleaning: Regularly clean the drone body, propellers, and camera lens with a soft, dry cloth. Avoid using harsh chemicals.
- Propeller Inspection: Before each flight, check propellers for any cracks, bends, or damage. Replace damaged propellers immediately using the provided spares and screwdriver.
- Battery Care: Store batteries in a cool, dry place. Do not overcharge or over-discharge. If not used for extended periods, charge them to about 50-60% capacity.
- Firmware Updates: Check the Nexaero official website periodically for any available firmware updates for your drone and remote controller.
6. Troubleshooting
| Problem | Possible Cause | Solution |
|---|---|---|
| Drone does not power on | Low battery; Battery not inserted correctly | Charge battery; Reinsert battery securely |
| No GPS signal | Flying indoors; Obstructions; Weak satellite signal | Fly outdoors in an open area; Wait for more satellites |
| Unstable flight | Improper compass calibration; Damaged propellers; Strong winds | Recalibrate compass; Replace propellers; Avoid flying in strong winds |
| No image on remote screen | Drone/remote not connected; Camera cover still on | Ensure drone and remote are paired; Remove camera cover |
7. Specifications
- Brand: Nexaero
- Model Name: F3
- Item Weight: 249 Grams (8.8 ounces)
- Video Capture Resolution: 2K
- Effective Still Resolution: 24 MP
- Special Features: 2K UHD Camera, 4x Digital Zoom, AI Track & AI Stunning Night Shot, Auto Follow, Foldable, EIS Image Stabilization
- Flight Time: Up to 64 minutes (with 2 batteries)
- Connectivity Technology: Bluetooth, Wi-Fi
- Control Type: Remote Control with 7.22" Screen
- Skill Level: Beginner
- Material: Plastic
- Product Dimensions: 11"L x 11"W x 2.2"H
- UPC: 730851450722
8. Warranty and Support
For warranty information, technical support, or replacement parts, please refer to the contact details provided in your product packaging or visit the official Nexaero website. Ensure you retain your proof of purchase for warranty claims.